
相信很多人都知道火力基地到底有多火了XD,火力基地就是我們熟悉的Firebase~ 今天要帶各位看一下firebase基本功能還有要如何應用到我們的project!
Firebase 是一個後端的服務,他同時可以支援Web, Android, IOS 的一個雲端開發平台~ 讓我們在做簡單的project時候不需要花時間去寫database,也不用擔心後端的部分XD
Firebase有非常多的功能~ 我們這次會著重在他的Cloud Firestore功能! 在我們開始介紹之前我要先提到基本的開發流程 (如果沒有Firebase的話)
這其實是很有趣的~ 但是
.
.
.
我懶XDXDX
我們既然有一個這麼好用的backend server,也有一個麼好用的firestore 拿來儲存 NoSQL的數據,何必要在小專案上自討苦吃?
接下來我們就要在firebase裡面創建一個專案~
傳送~ https://console.firebase.google.com/
如果你還沒有登入,就請先用google帳號登入啦
接下來請點選新增專案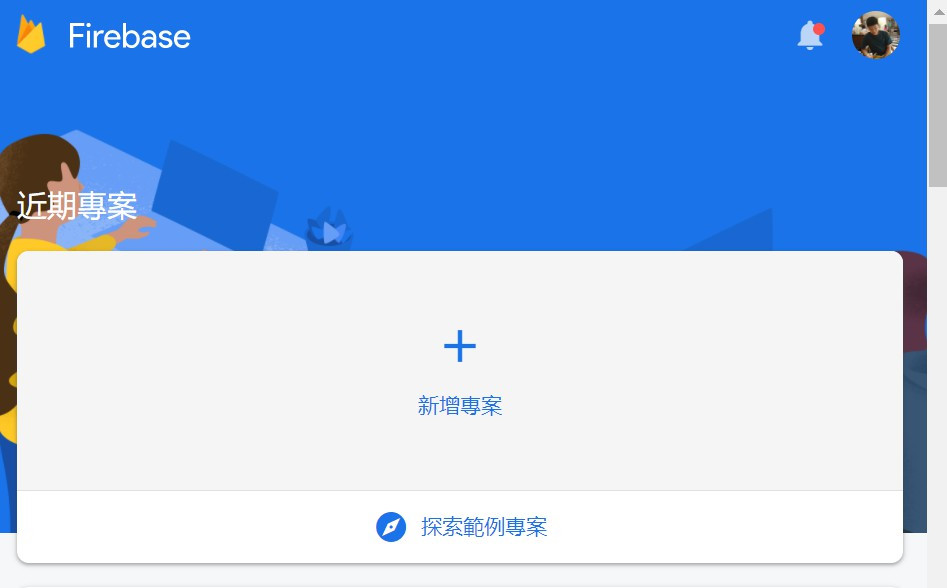
然後輸入專案名稱~ 之後就可以點繼續繼續 (如果你有google analytics也可以在第三個繼續十選擇使用)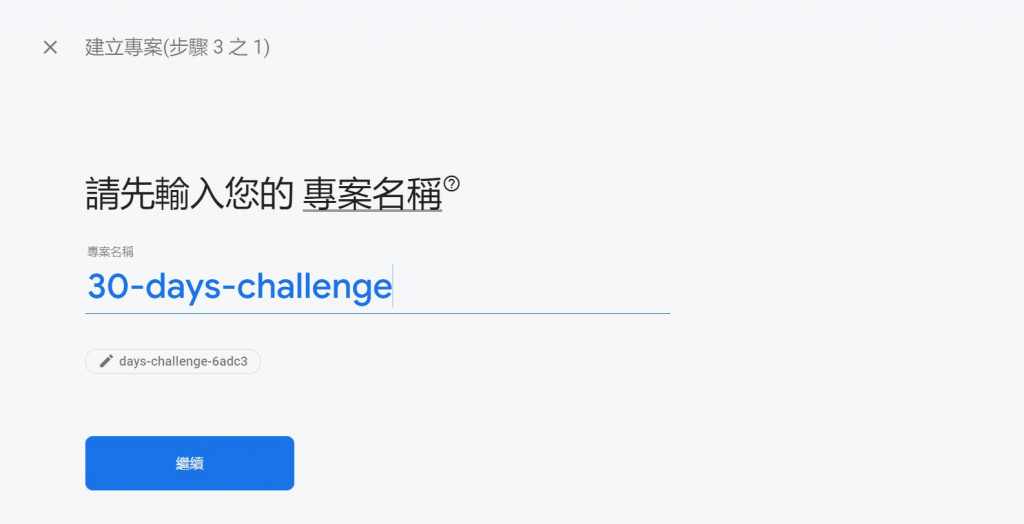
然後就恭喜你創建成功啦~ 你應該會看到類似這樣的畫面: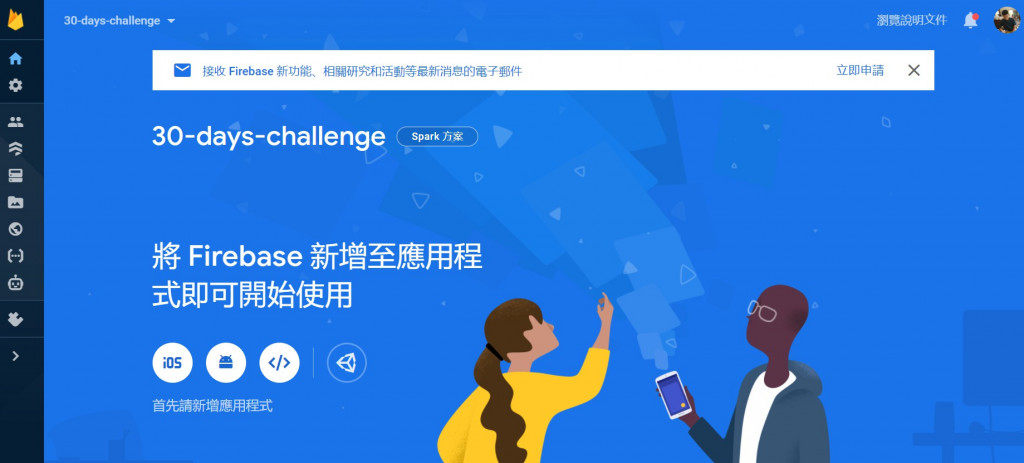
在剛剛的那個專案主頁裡面,你應該會看到三個icon,點選第三個web icon然後就可以新增一個網頁應用程式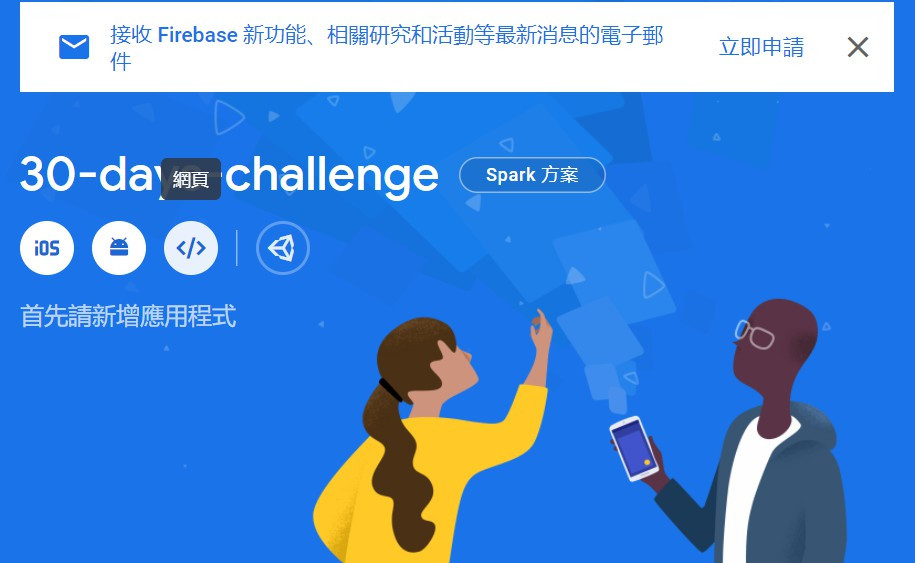
接下來你可以先輸入一個應用程式的暱稱,再來就點選註冊應用程式吧!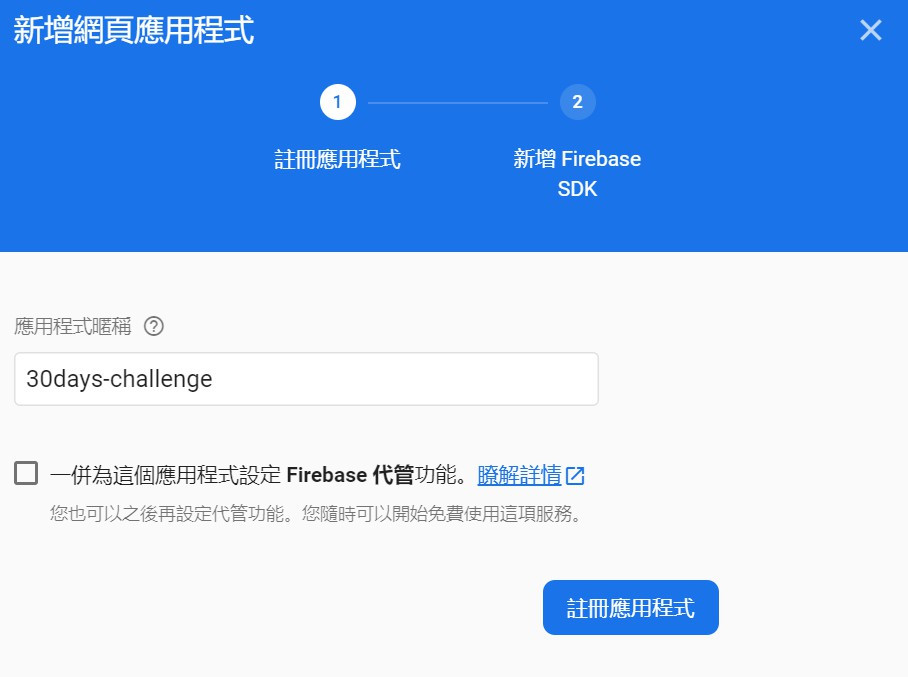
接下來你會看到一大串code, 這個東西是叫做SDK,你要先把這些東西放到你的專案裡面,我們才可以把你的code 跟這個forebase做一個連結~
但這邊請注意一點 !! 裡面包含你的金鑰~ 請不要隨意傳給別人,或著是上傳到github上面 !!
這邊先把 <script> 裡面的東西給他複製起來~
var firebaseConfig = {
    apiKey: "xxxxxxxxxxxxxxxxxxxxxx",
    authDomain: "xxxxxxxxxxxxxxxxxxxxxx",
    databaseURL: "xxxxxxxxxxxxxxxxxxxxxx",
    projectId: "days-challenge-6adc3",
    storageBucket: "xxxxxxxxxxxxxxxxxxxxxx",
    messagingSenderId: "xxxxxxxxxxxxxxxxxxxxxx",
    appId: "1:xxxxxxxxxxxxxxx:web:xxxxxxxxxxxxxxxx",
    measurementId: "G-xxxxxxxxxxxxxxxxxxxxxx"
  };

  firebase.initializeApp(firebaseConfig);
  firebase.analytics();
這邊所謂的project就是跟之前一樣的那個project,如果還沒看過我之前的文章~ 也可以先到我的 github 裡面看一下source code
這邊我通常都會習慣開一個 configuration file 給一些需要做config 的東西~ 例如firbase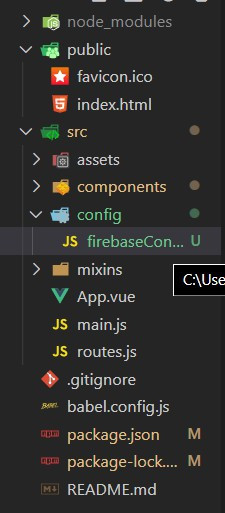
npm install firebase
這個我應就不用多講了XD
import * as firebase from "firebase";
import "firebase/firestore";

var firebaseConfig = {
    apiKey: "xxxxxxxxxxxxxxxxxxxxxx",
    authDomain: "xxxxxxxxxxxxxxxxxxxxxx",
    databaseURL: "xxxxxxxxxxxxxxxxxxxxxx",
    projectId: "days-challenge-6adc3",
    storageBucket: "xxxxxxxxxxxxxxxxxxxxxx",
    messagingSenderId: "xxxxxxxxxxxxxxxxxxxxxx",
    appId: "1:xxxxxxxxxxxxxxx:web:xxxxxxxxxxxxxxxx",
    measurementId: "G-xxxxxxxxxxxxxxxxxxxxxx"
  };

// Initialize Firebase
firebase.initializeApp(firebaseConfig);
firebase.analytics();

export const db = firebase.firestore();
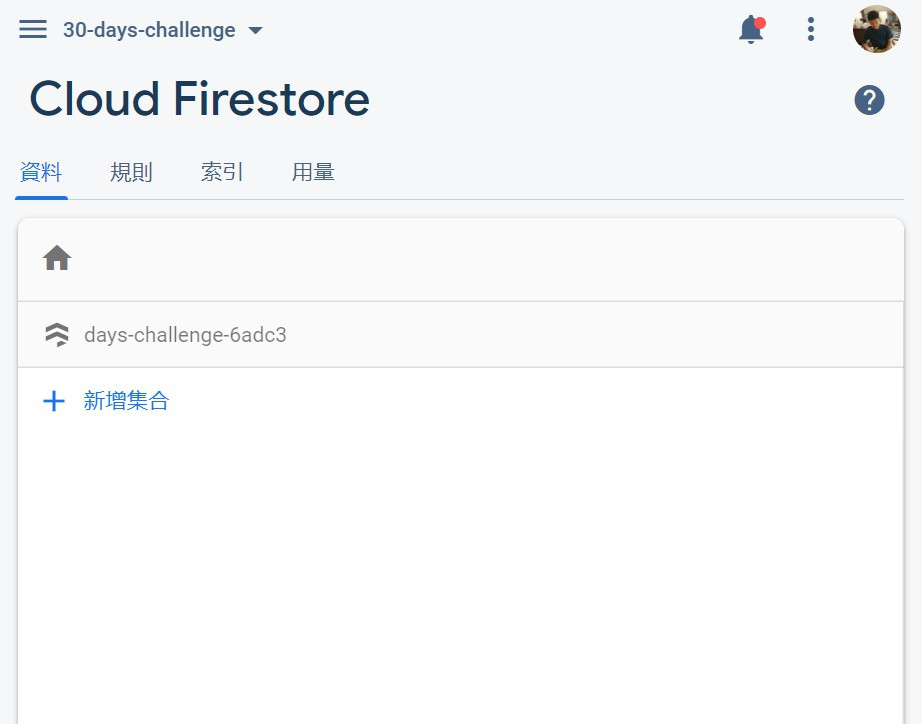
回到剛剛的firebase主控台,你會看到右邊的nav bar裡面有一個選項叫做cloud firestore,點選之後會看到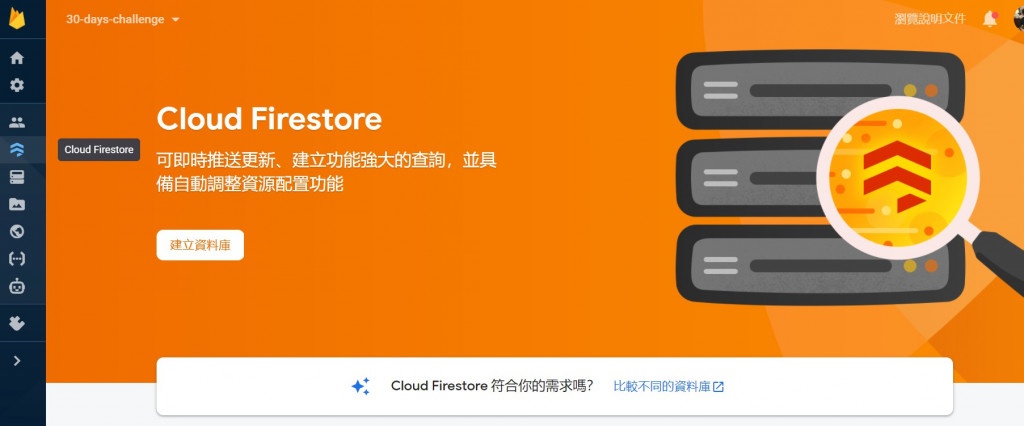
可以先用測試版~ 但是要注意這代表參照你資料庫的使用者都有權利查看與編輯!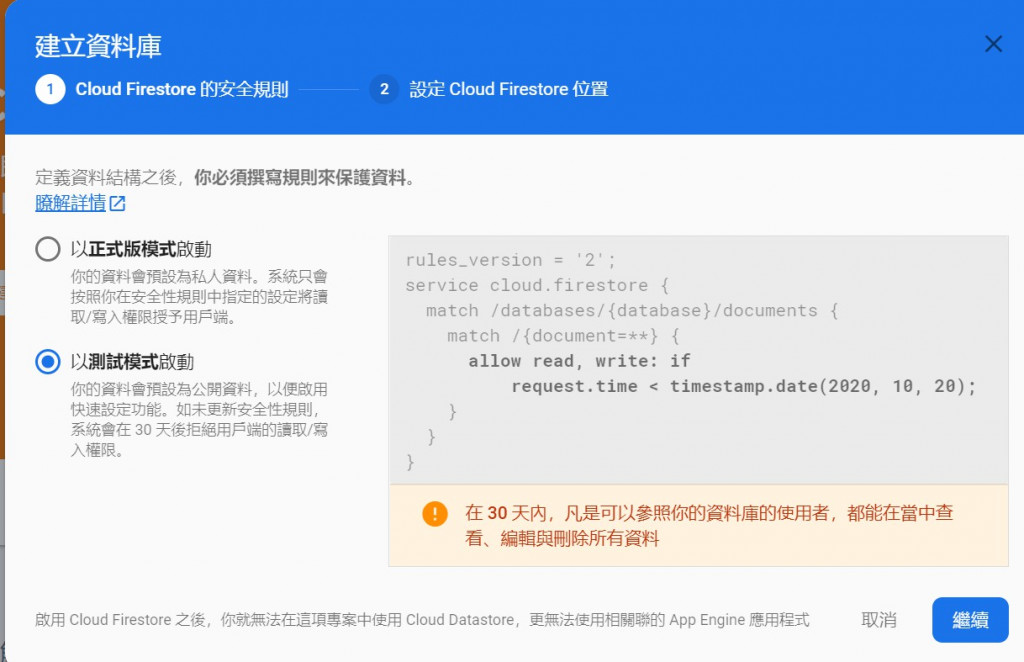
這個其實沒差啦~ 只是就是選一下serve的位置要放在哪裡,離你越近就越快
原本我想在稍微提到一下collection 集合,還有一些firebase的model要怎麼定義~ 但今天應該已經夠多了XD我們明天再學~
大家周末愉快! 明天見
