實作教學課程:Azure Resource Manager 範本與 Azure Pipelines 的持續整合
本教學課程涵蓋下列工作:
準備 GitHub 存放庫
建立 Azure DevOps 專案
建立 Azure 管線
驗證管線部署
更新範本並重新部署
創建一個全新的Repo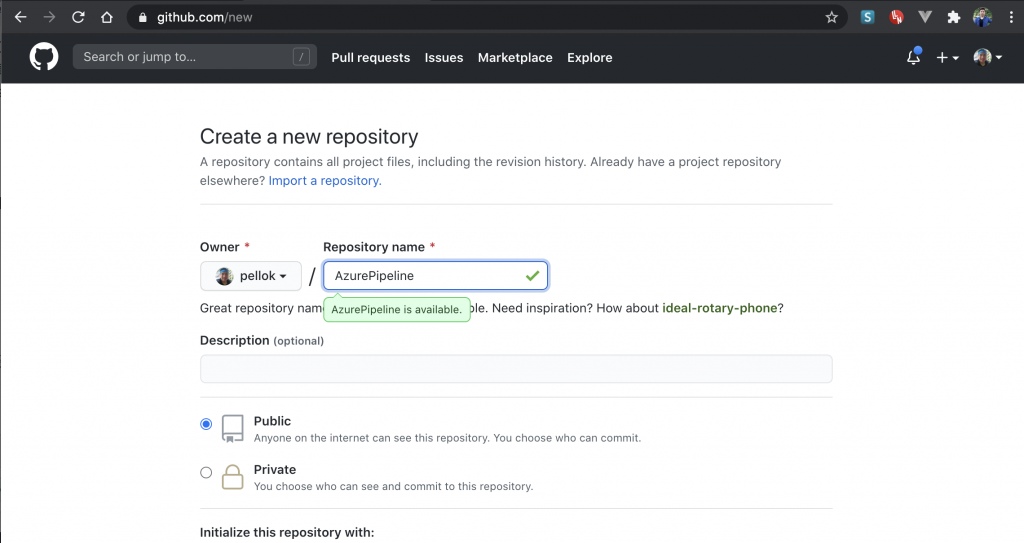
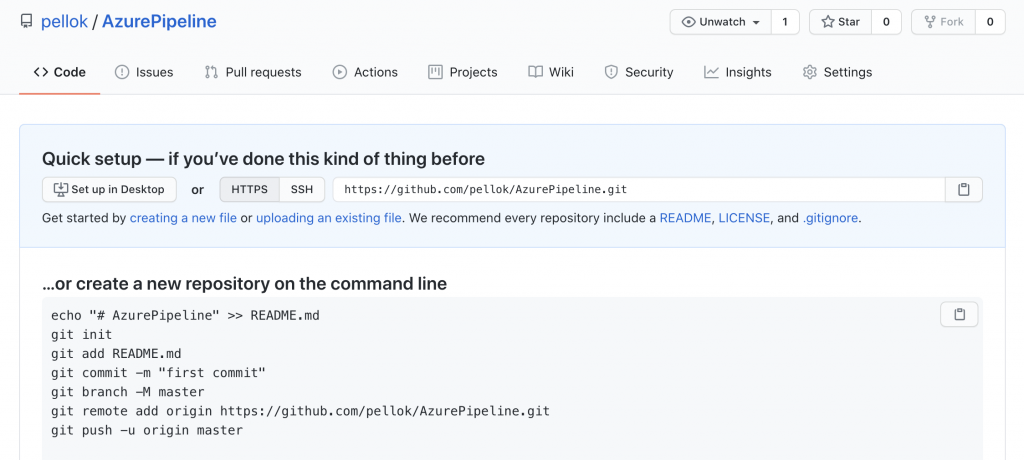
複製遠端存放庫
git clone https://github.com/pellok/AzurePipeline.git

切到專案目錄下,建立CreateWebApp資料夾
cd AzurePipeline
mkdir CreateWebApp
cd CreateWebApp
下載快速入門範本
主要範本:azuredeploy.json
連結的範本:linkedStorageAccount.json
使用 wget 下載,可以點節下載
wget https://raw.githubusercontent.com/Azure/azure-docs-json-samples/master/get-started-deployment/linked-template/azuredeploy.json
wget https://raw.githubusercontent.com/Azure/azure-docs-json-samples/master/get-started-deployment/linked-template/linkedStorageAccount.json
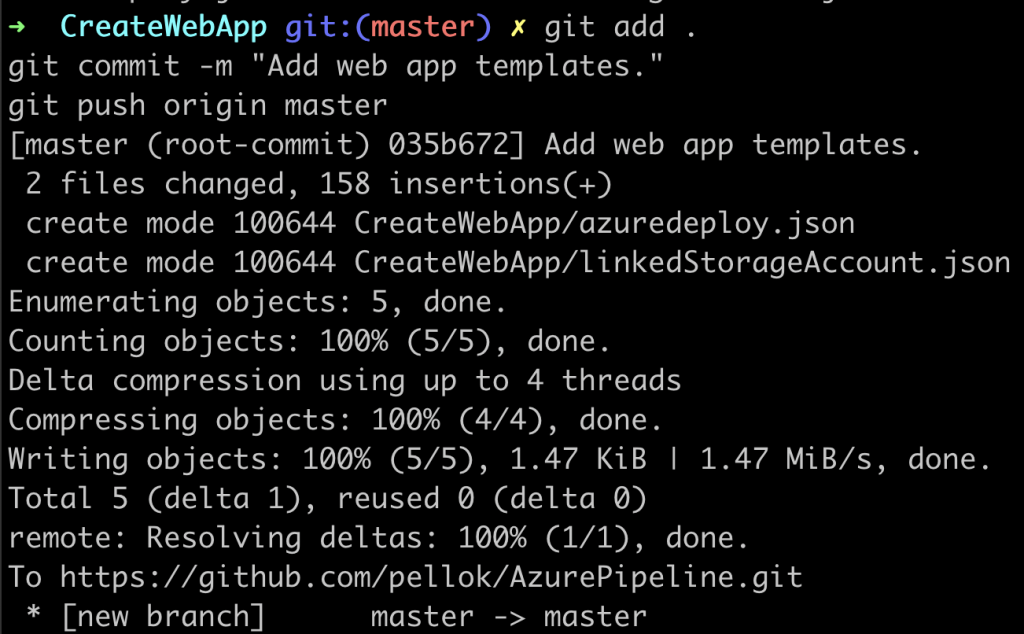
將範本推送至遠端存放庫
git add .
git commit -m "Add web app templates."
git push origin master
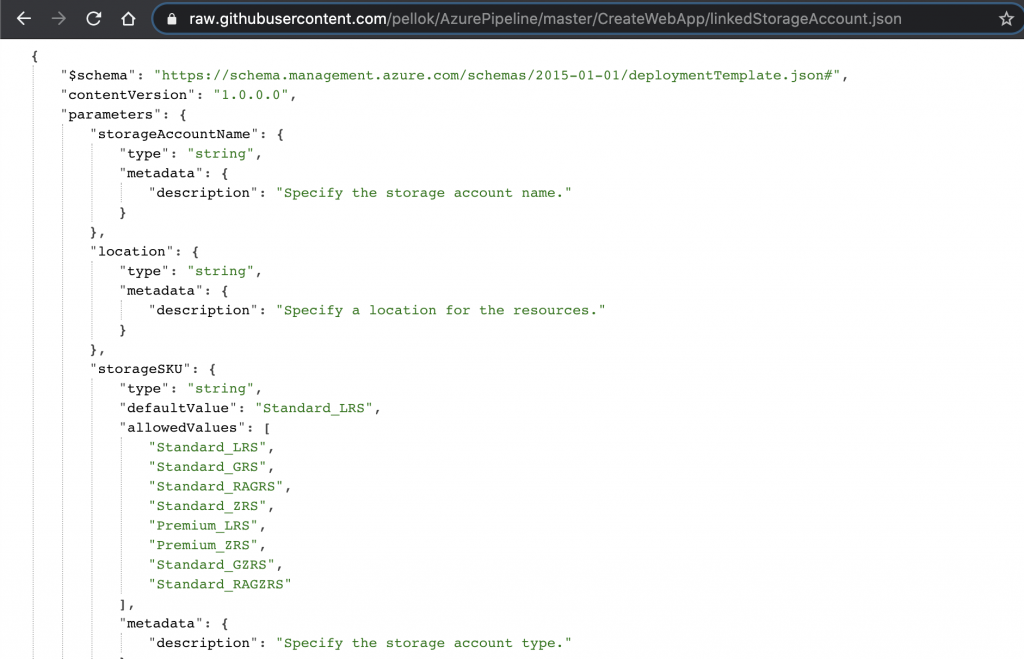
在GitHub查看檔案,
點選CreateWebApp資料夾,
點選linkedStorageAccount.json檔案,
點選RAW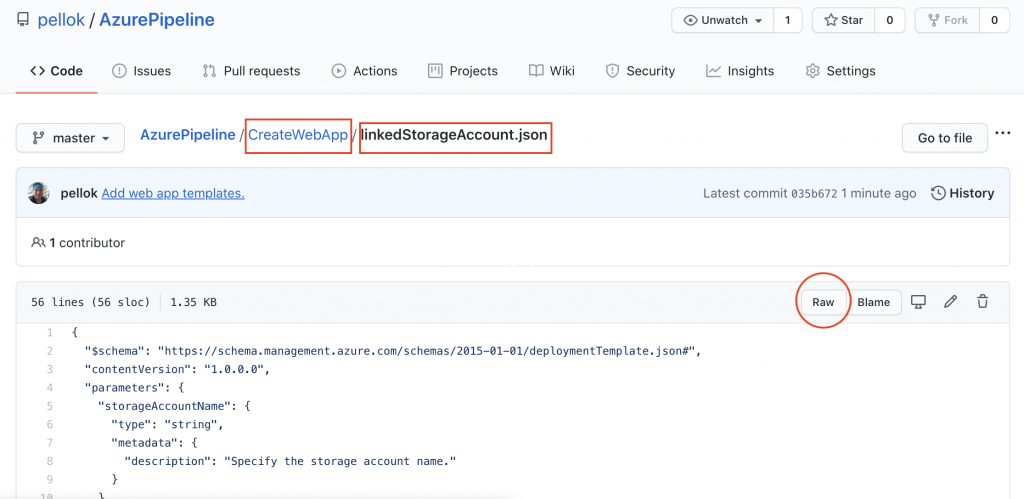
複製 raw 網址,等等會用到
https://raw.githubusercontent.com/pellok/AzurePipeline/master/CreateWebApp/linkedStorageAccount.json
登入 Azure DevOps
新增專案
以上兩個步驟已做過省略大家可以參考教學就知道怎麼做了。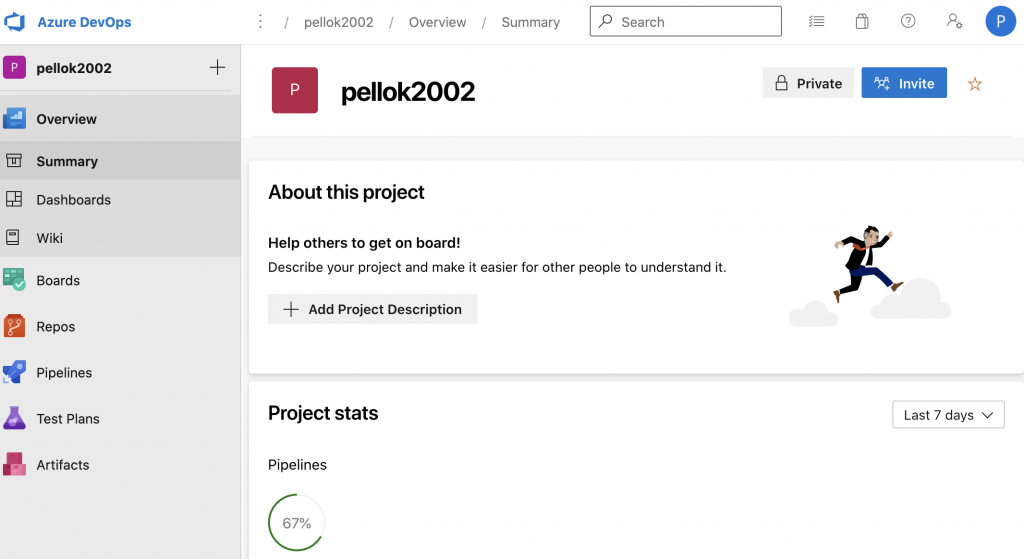
點選 "Project Settings",
"Pipelines" 下面的 "Service connections"
點選新增服務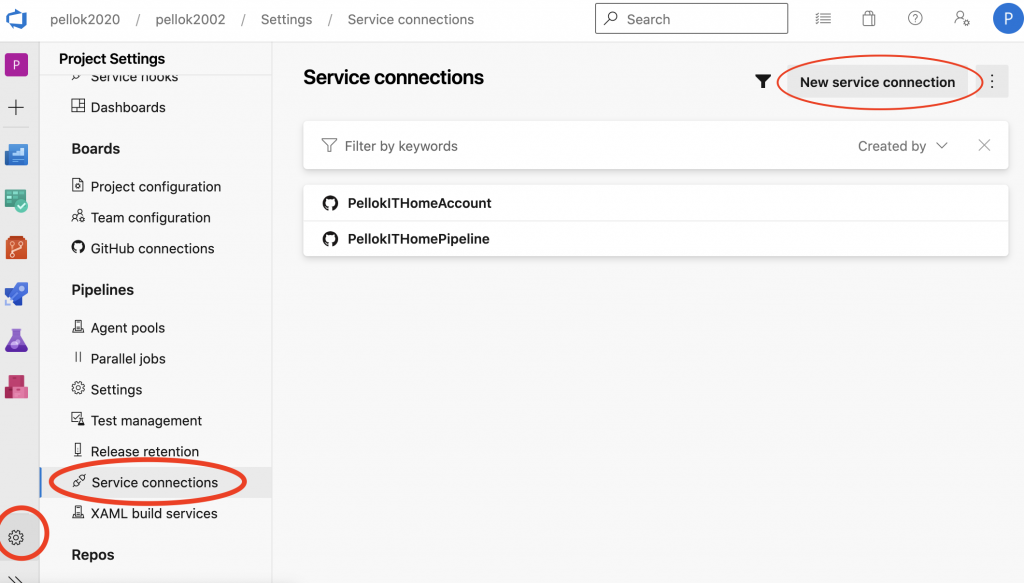
選擇 GitHub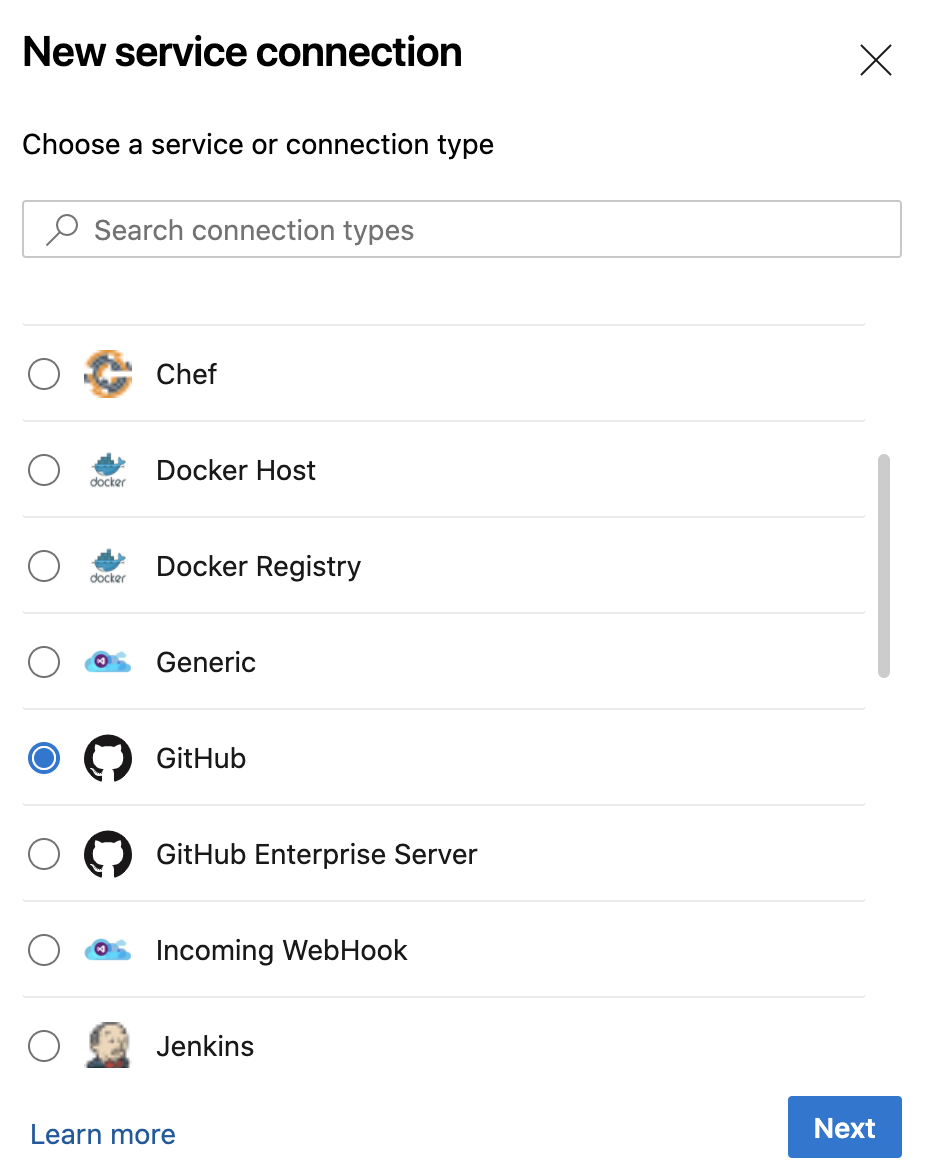
選擇 GitHub專案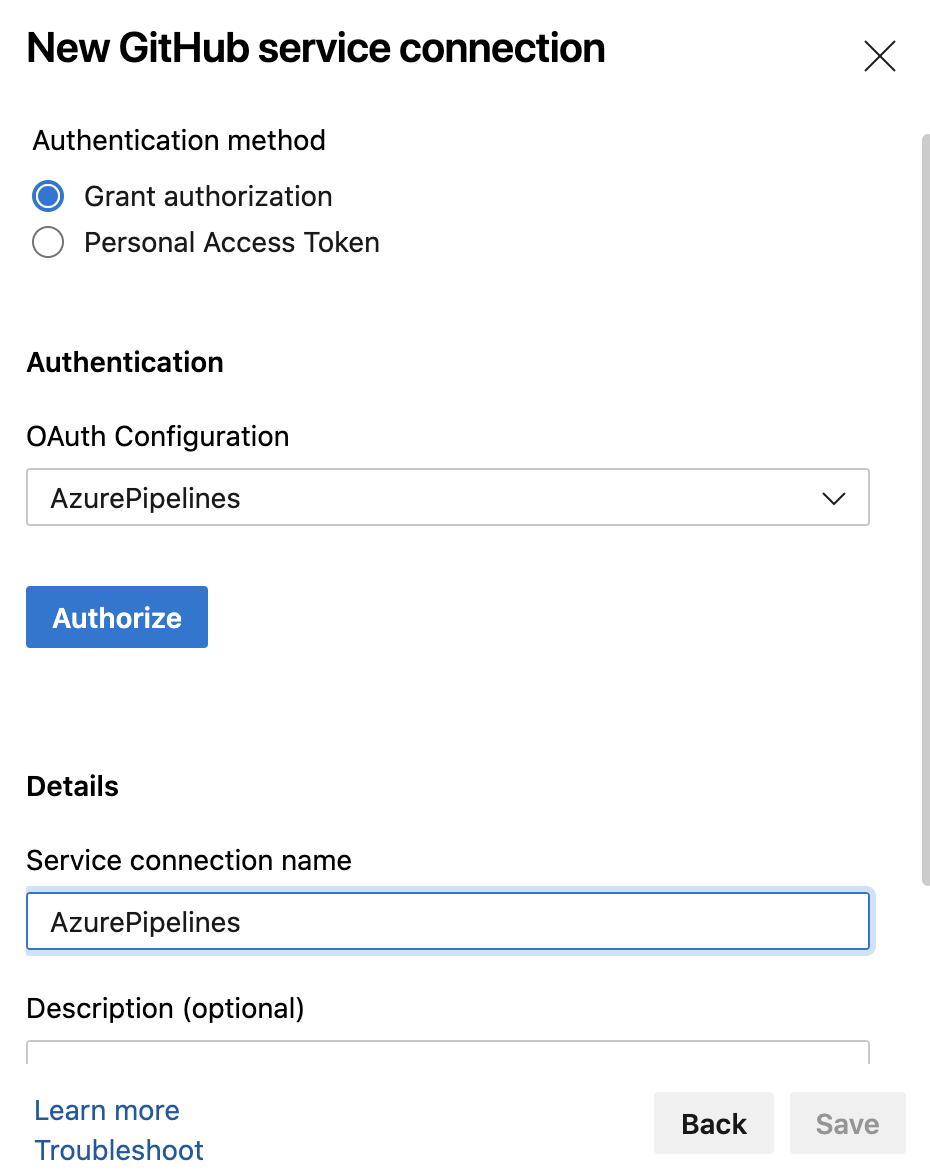
點擊 Authorize 驗證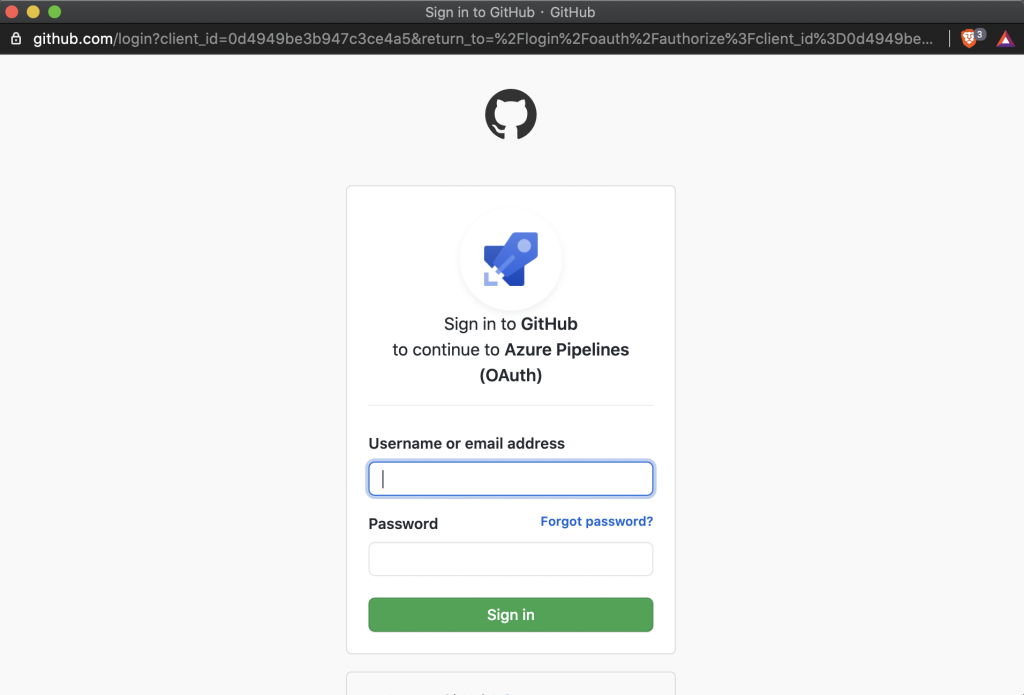
輸入 Github 帳密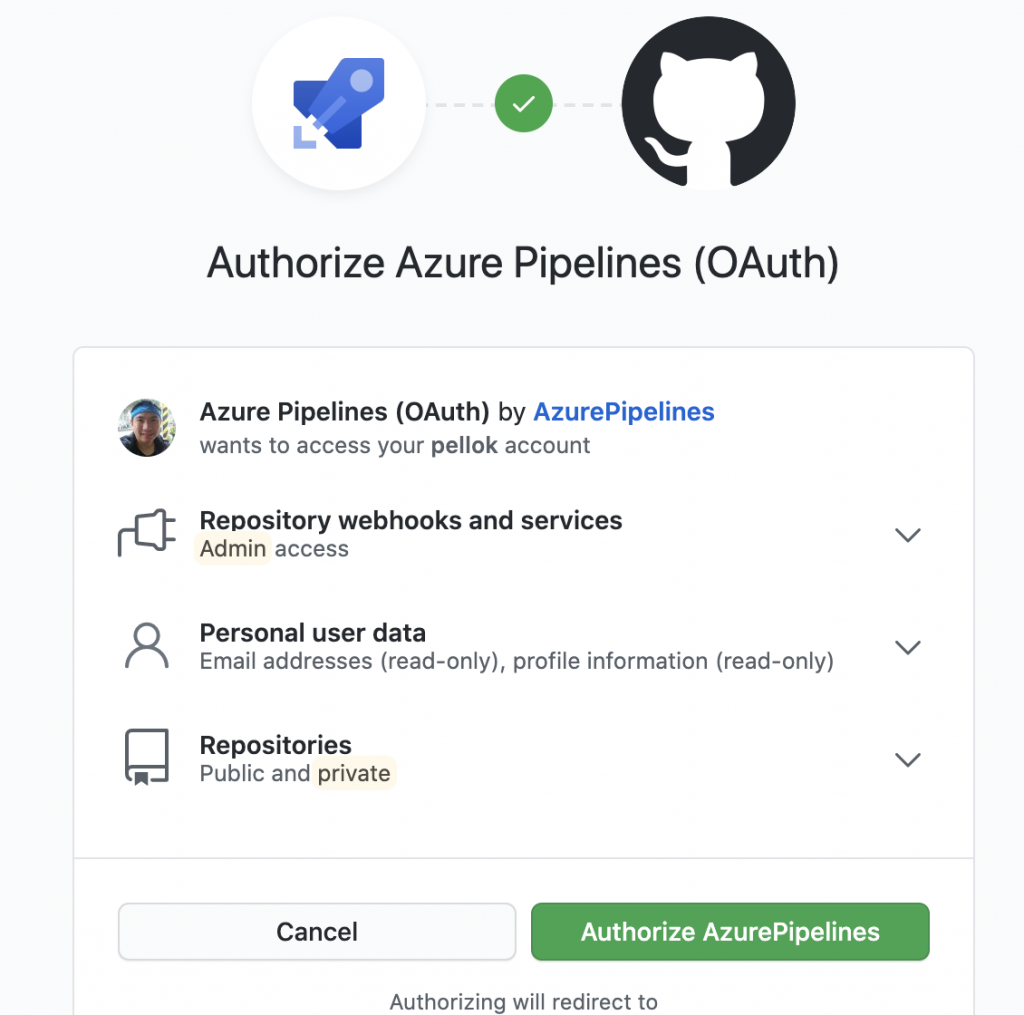
點擊儲存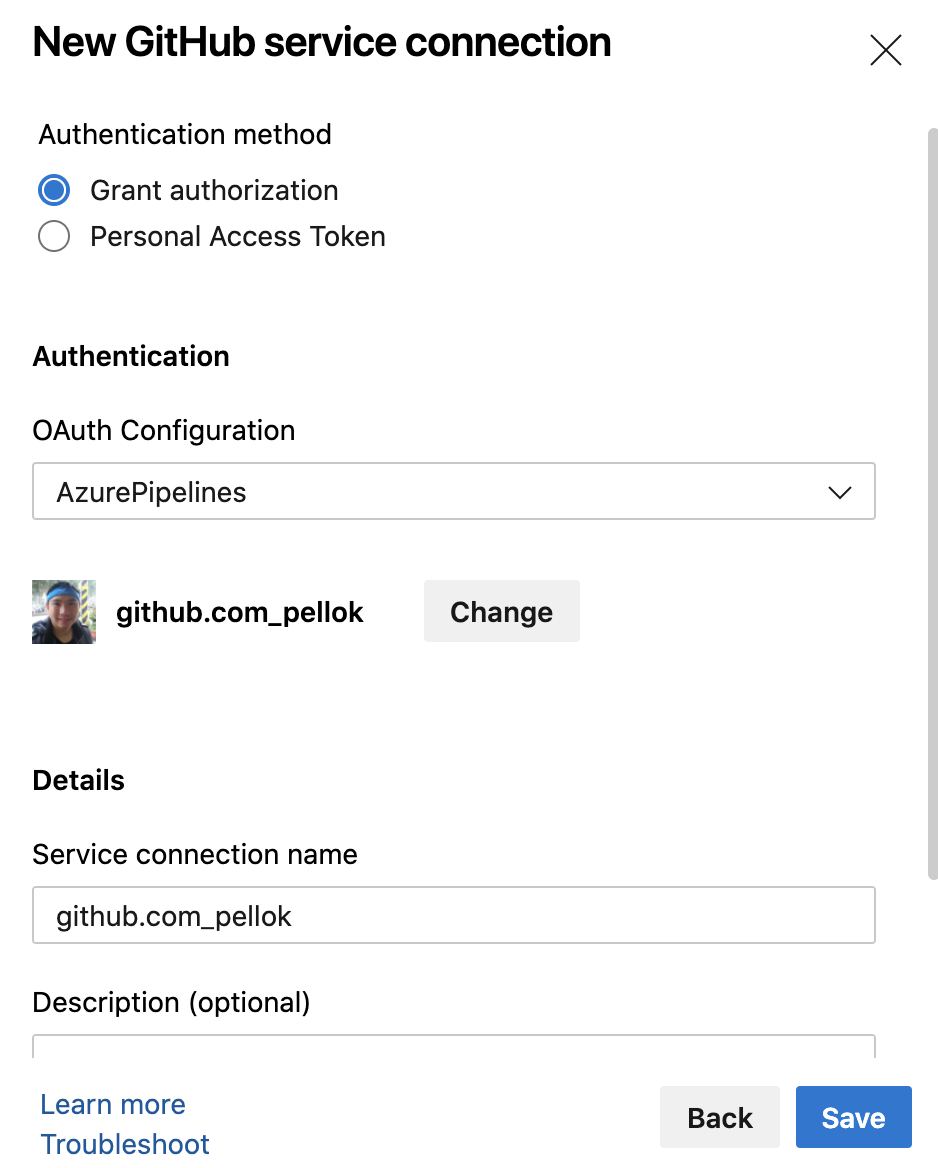
從左側功能表中選取 "Pipelines",選取 "New Pipeline"。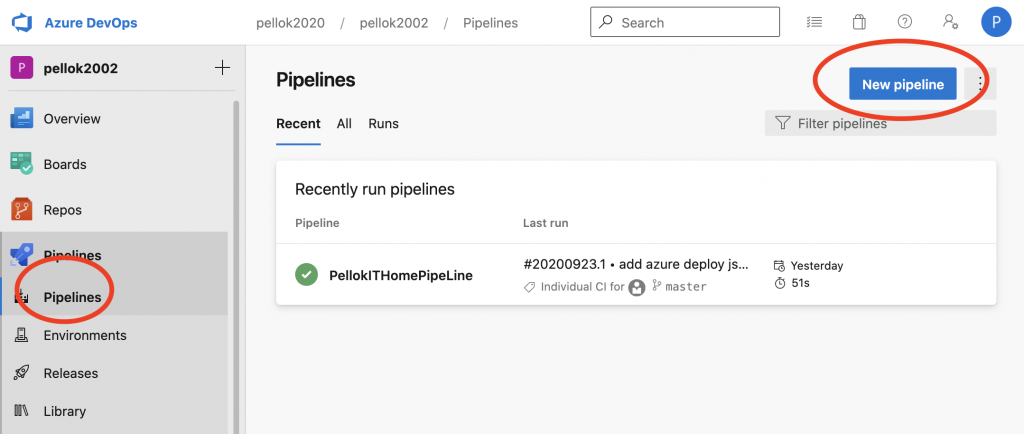
選擇 GitHub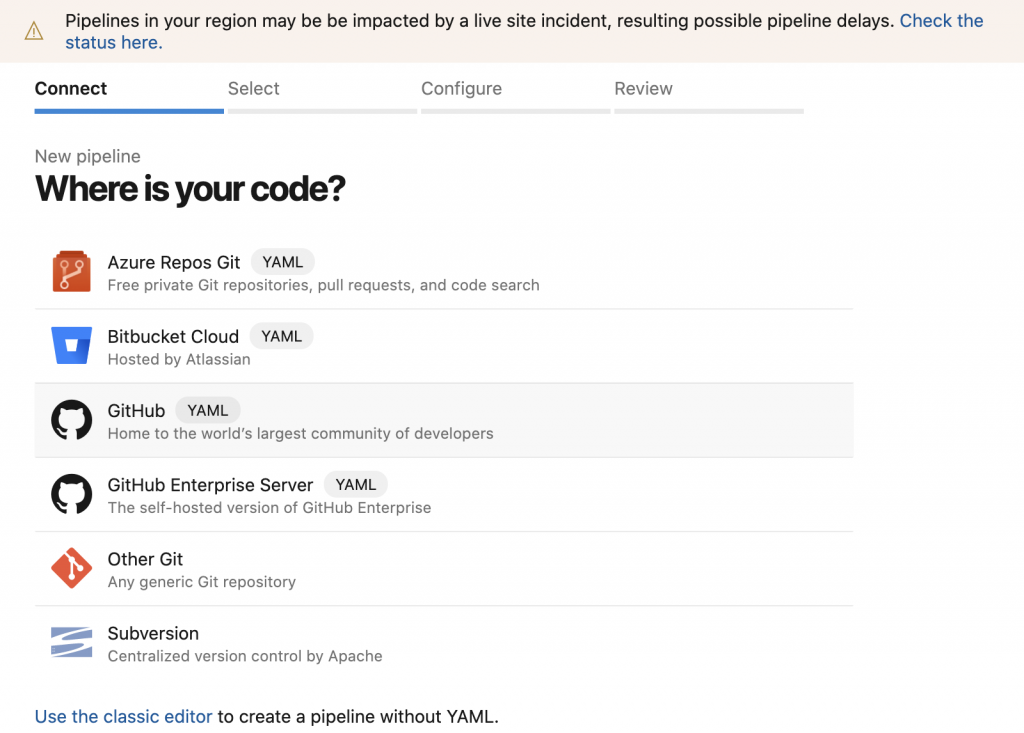
選擇 GitHub 專案
授權 Azure Pipeline
登入 Microsoft 帳號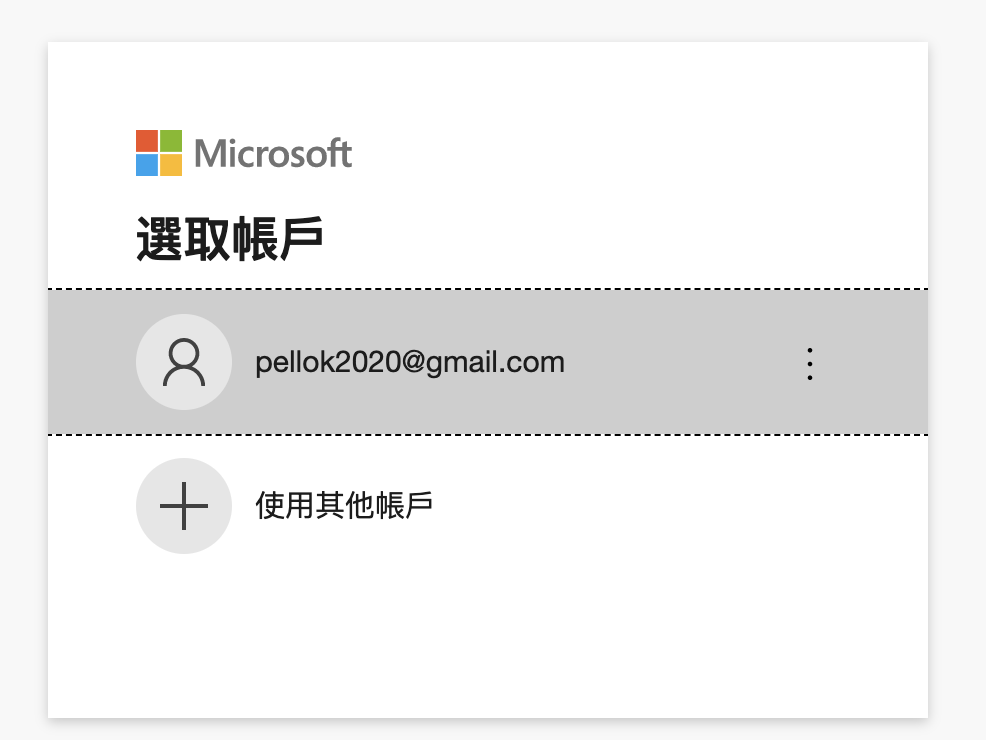
完成授權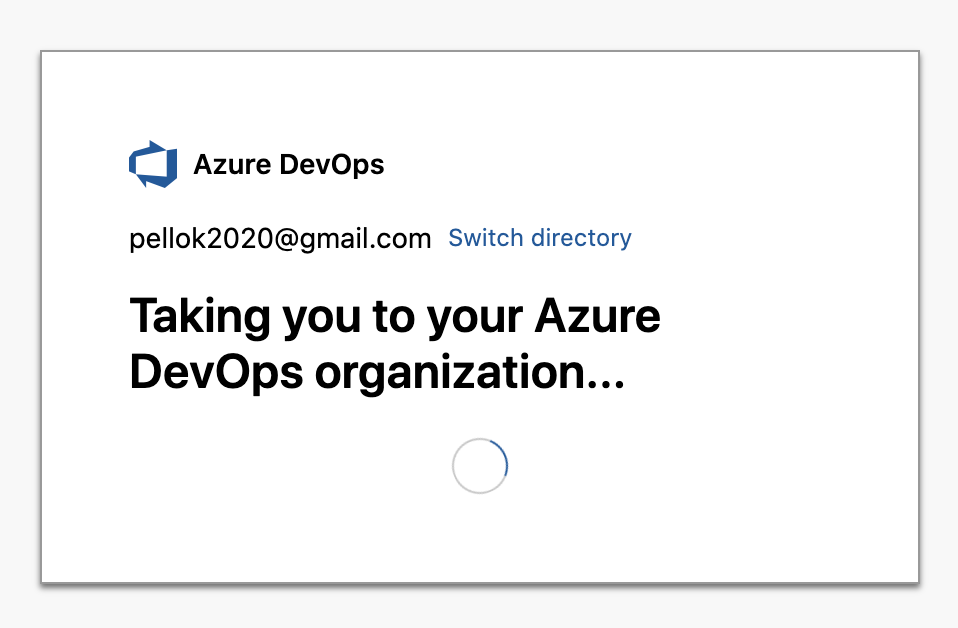
開啟新的 Pipeline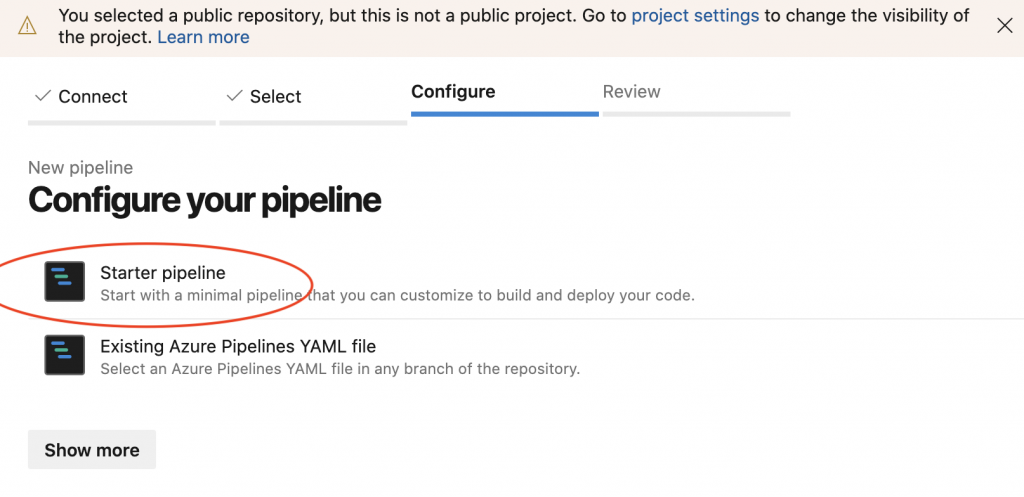
刪除預設的兩步驟,點擊 "Show assiant"
點擊 "Azure template deployment"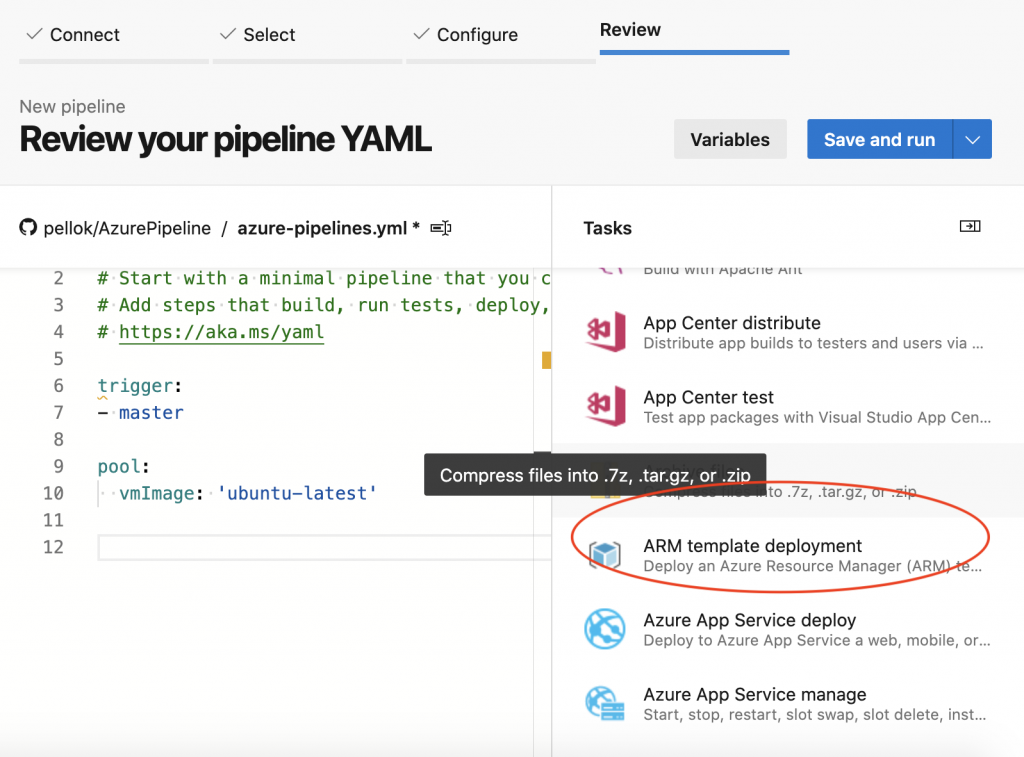
選擇 Scope 與 驗證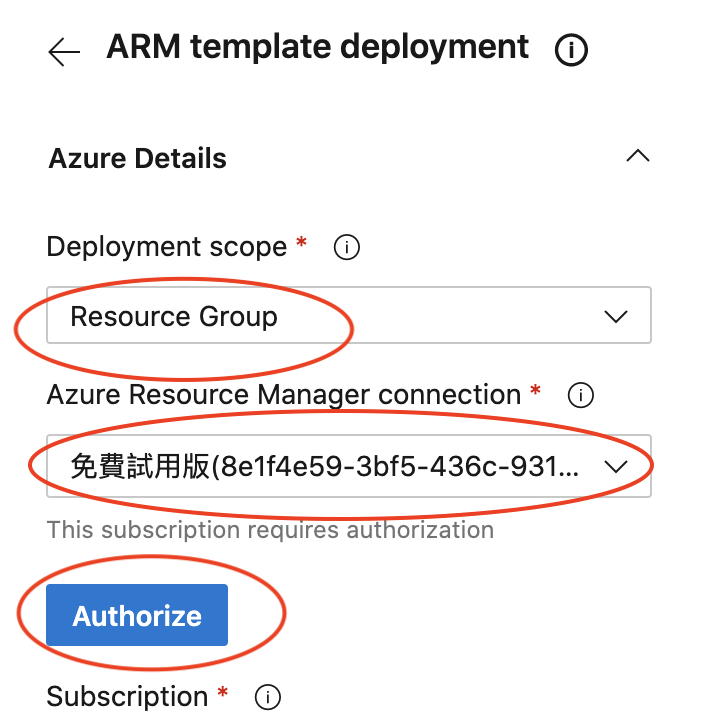
輸入參數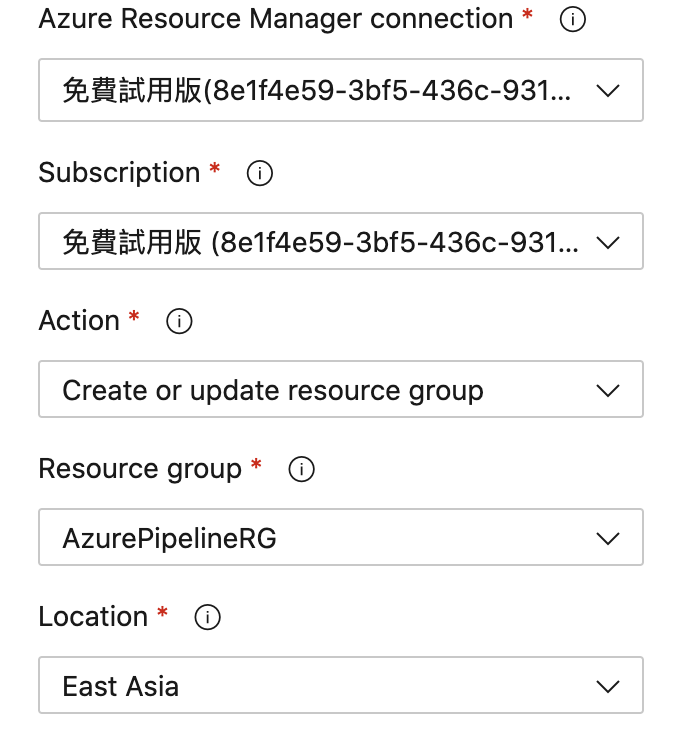
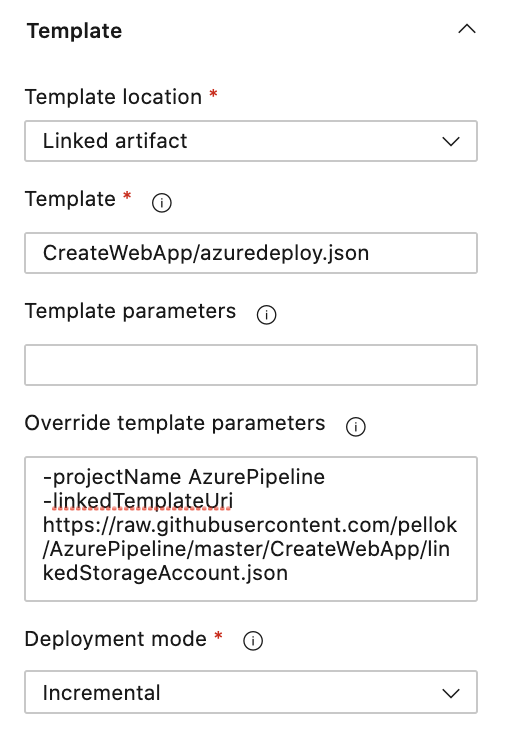
完成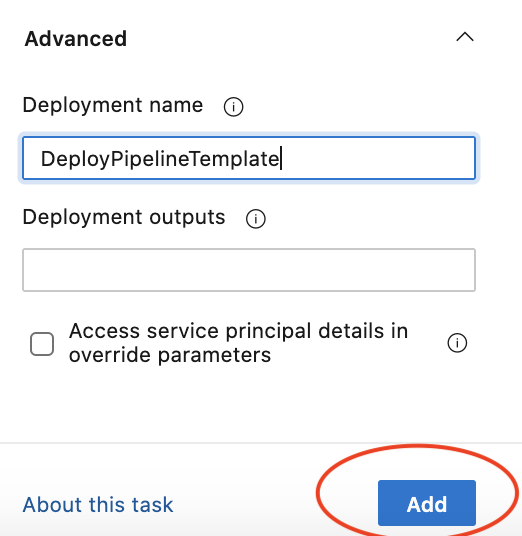
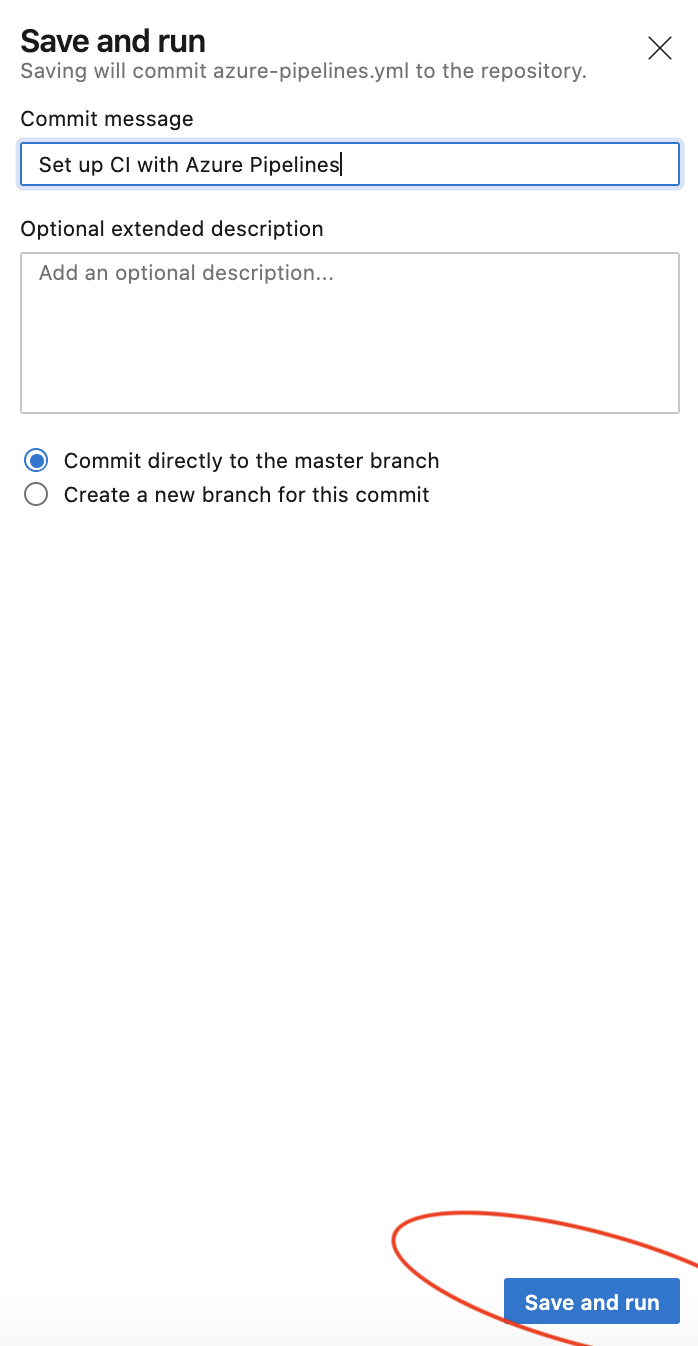
執行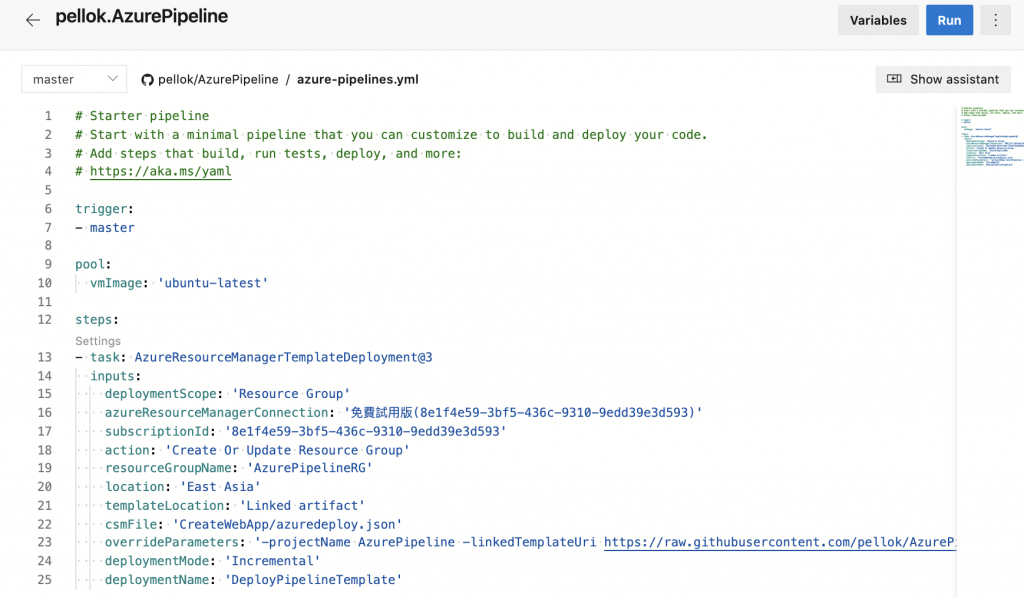
上一篇 Day23 介紹 Azure Resource Manager (ARM) 範本
下一篇 Day25 專案的 Azure Pipeline 部署到 Azure 平台