
記得第一次使用到 css 的 animation 跟 transform 系列效果
做了很多厲害的動畫東西飛來飛去轉來轉去
這次我們來使用 React Native animated 來做簡單的動畫吧!
經過前兩篇的介紹,大致簡單的使用都瞭解了吧~所以我們就直接開始嚕!
import { Animated } from 'react-native';
<View>
    //球 A 將 leftValue 放入 translateX
      <Animated.View
        style={{
          margin: 15,
          width: 50,
          height: 50,
          borderRadius: 100 / 2,
          backgroundColor: 'red',
          transform: [{translateX: leftValue}],
        }}
      />
    //球 B將 rightValue 放入 translateX
      <Animated.View
        style={{
          position: 'absolute',
          margin: 15,
          width: 50,
          height: 50,
          borderRadius: 100 / 2,
          backgroundColor: 'red',
          transform: [{translateX: rightValue}],
        }}
      />
      // 叫球A出去 func moveBall
      <TouchableOpacity onPress={moveBall}>
        <Text style={styles.btnText}>Move Me</Text>
      </TouchableOpacity>
      // 叫球B進來 func backBall
      <TouchableOpacity onPress={backBall}>
        <Text style={styles.btnText}>Back Me</Text>
      </TouchableOpacity>
    </View>
  const leftValue = useRef(new Animated.Value(0)).current;
  const rightValue = useRef(new Animated.Value(-500)).current;
// B 球 Value - 500 到 0
  const backBall = () => {
    Animated.timing(rightValue, {
      toValue: 0,
      duration: 1000,
      useNativeDriver: true,
    }).start();
  };
// A 球 Value 0 到 500
  const moveBall = () => {
    Animated.timing(leftValue, {
      toValue: 500,
      duration: 1000,
      useNativeDriver: true,
    }).start();
  };
import React, {useRef} from 'react';
import {Animated, View, StyleSheet, TouchableOpacity, Text} from 'react-native';
const AnimatedTranslate = props => {
  const leftValue = useRef(new Animated.Value(0)).current;
  const rightValue = useRef(new Animated.Value(-500)).current;

  const backBall = () => {
    Animated.timing(rightValue, {
      toValue: 0,
      duration: 1000,
      useNativeDriver: true,
    }).start();
  };
  const moveBall = () => {
    Animated.timing(leftValue, {
      toValue: 500,
      duration: 1000,
      useNativeDriver: true,
    }).start();
  };

  return (
    <View>
      <Animated.View
        style={{
          margin: 15,
          width: 50,
          height: 50,
          borderRadius: 100 / 2,
          backgroundColor: 'red',
          transform: [{translateX: leftValue}],
        }}
      />
      <Animated.View
        style={{
          position: 'absolute',
          margin: 15,
          width: 50,
          height: 50,
          borderRadius: 100 / 2,
          backgroundColor: 'red',
          transform: [{translateX: rightValue}],
        }}
      />
      <TouchableOpacity onPress={moveBall}>
        <Text style={styles.btnText}>Move Me</Text>
      </TouchableOpacity>
      <TouchableOpacity onPress={backBall}>
        <Text style={styles.btnText}>Back Me</Text>
      </TouchableOpacity>
    </View>
  );
};

const styles = StyleSheet.create({
  btnText: {
    textAlign: 'center',
    backgroundColor: '#aaa',
    marginVertical: 10,
  },
});

export default AnimatedTranslate;
按 Move Me 球球滾出去 (下圖)
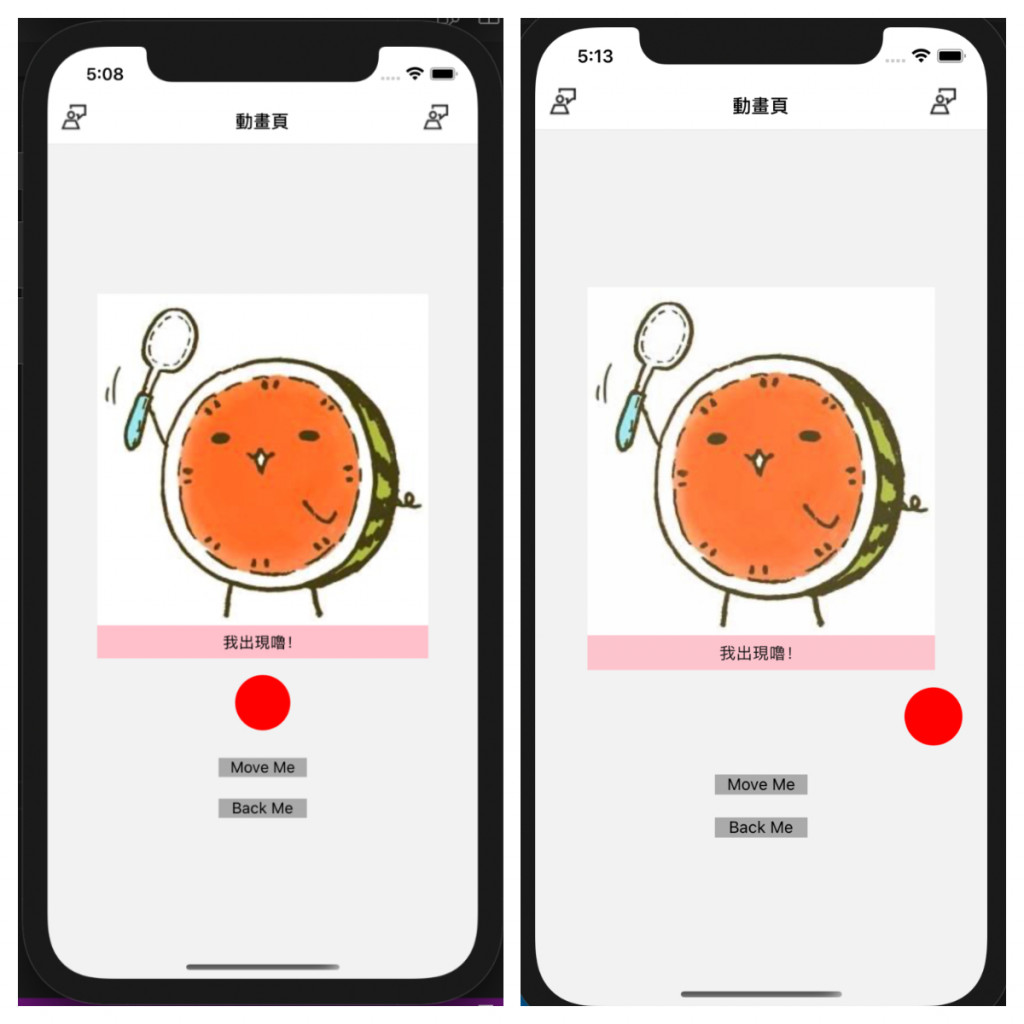
按 Back Me 球球滾回來(下圖)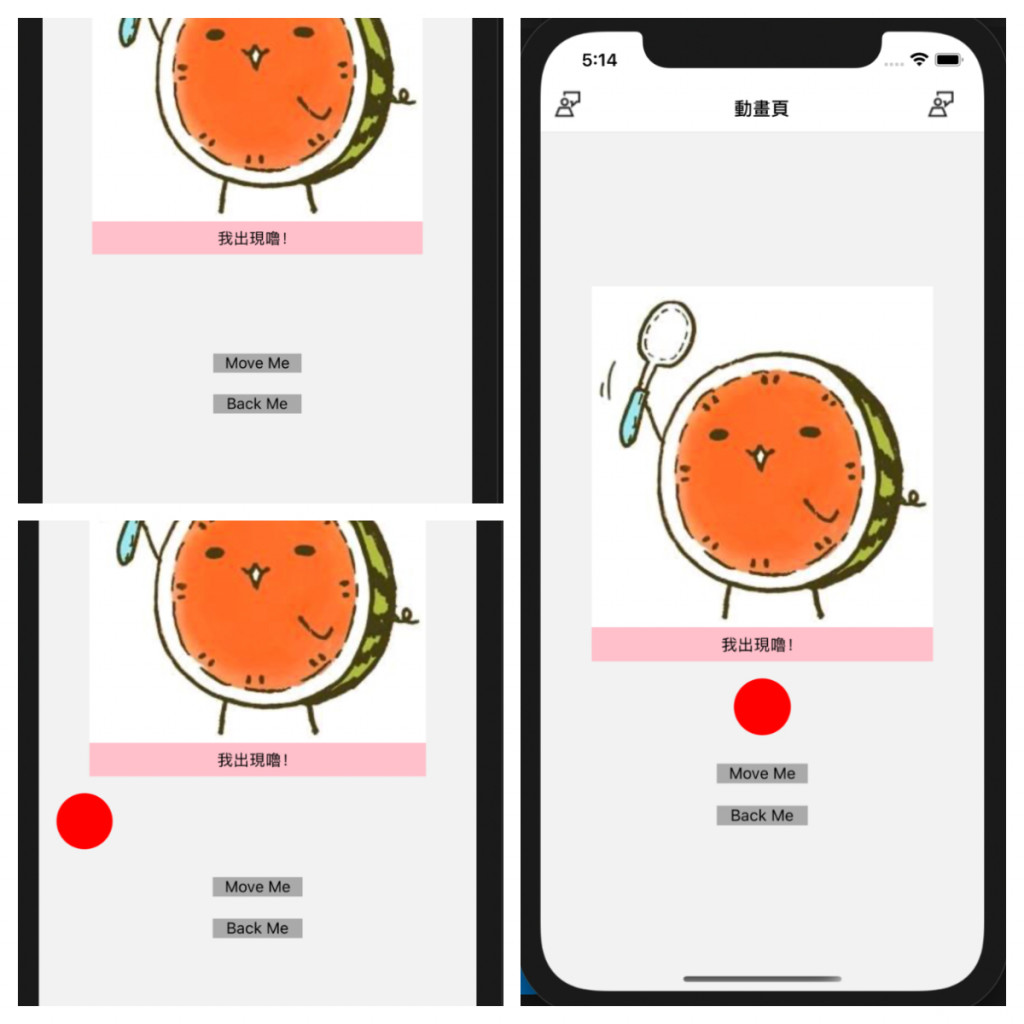
Day 18 done!! 請多多指教
