今天我們要來串接我們之前寫好的 使用者登入 的API連結。
昨天我們已經可以在按鈕綁定的doLogin方法上取得輸入的account&password的值了
接下來我們要開始與之前寫的API登入進行串接,還記得我們之前實作過使用者登入嗎?
忘記的話可以去看之前實作:JWT實作(四)
@angular/common/http:
Most front-end applications need to communicate with a server over the HTTP protocol, to >download or upload data and access other back-end services. Angular provides a client HTTP API >for Angular applications, the HttpClient service class in @angular/common/http.
大意是大部分的前後端連結的應用都可以使用這個模組完成
HttpClient: 提供http連線的物件
好了,介紹完HttpClient的資訊讓我們開始進行實作吧
首先在app.module.ts引入模組
import { NgModule } from '@angular/core';
import { BrowserModule } from '@angular/platform-browser';
import { ZingchartAngularModule } from 'zingchart-angular';
import { FormsModule, ReactiveFormsModule } from '@angular/forms';
import { AppRoutingModule } from './app-routing.module';
import { AppComponent } from './app.component';
import { LoginComponent } from './login/login.component';
import { HttpClientModule } from '@angular/common/http';

@NgModule({
  declarations: [
    AppComponent,
    LoginComponent
  ],
  imports: [
    BrowserModule,
    AppRoutingModule,
    ZingchartAngularModule,
    FormsModule,
    ReactiveFormsModule,
    HttpClientModule #新增模組
  ],
  providers: [],
  bootstrap: [AppComponent]
})
export class AppModule { }
接著新增一個service用來放置我們要用來負責連線的service
service/http.service.ts
import { Injectable } from '@angular/core';
import { HttpClient } from '@angular/common/http';

import { HttpParams, HttpHeaders } from '@angular/common/http';
@Injectable({
  providedIn: 'root'
})
export class HttpService {
  private url = 'http://localhost:8080/user/login';
  constructor(private http: HttpClient) { }

  getPosts(account: string, password: string) {
#設置帳號&密碼的參數
    let headers = new HttpHeaders({
      'Content-Type': 'application/json',
      'responseType': 'json'
    });
    let options = {
      headers
    };
    let params = {
      'account': account,
      'password': password
    };

    return this.http.post<any>(this.url, params, options);
  }
}
接著在login.component.ts放入HttpService
import { Component, OnInit } from '@angular/core';
import { FormControl, Validators } from '@angular/forms';
import { HttpService } from '../service/http.service';

@Component({
  selector: 'app-login',
  templateUrl: './login.component.html',
  styleUrls: ['./login.component.css']
})
export class LoginComponent implements OnInit {
  title = "登入";
  account = new FormControl('', [Validators.required, Validators.maxLength(10)]); //驗證字數須大於10個字
  password = new FormControl('', [Validators.required, Validators.minLength(3)]);//驗證字數須不少於3個字
  posts: any;
  constructor(private httpService: HttpService) {

  }

  ngOnInit(): void {

  }
  doLogin() {

    this.httpService.getPosts(this.account.value, this.password.value).subscribe(
      (response) => { this.posts = response; console.log(response) },
      (error) => { console.log(error); });
  }
}
接下來我們必須對我們AngularAPI專案進行一些設定
@CrossOrigin(origins = "*", maxAge = 3600)
	@PostMapping("login")
	public APIReturnObject login(@RequestBody User user) {
		APIReturnObject result = new APIReturnObject();
		Map<String, Object> data = new HashMap<String, Object>();
		String token = jWTService.generateToken(user);
		result.setMessage("登入成功,取得token");
		data.put("token", token);
		result.setData(data);
		return result;
	}
在我們的登入連結上加上@CrossOrigin的標籤,可以防止等一下登入時發生Access-Control-Allow-Origin的問題
接著讓我們來實際操作啦~!
首先在登入頁上按F12
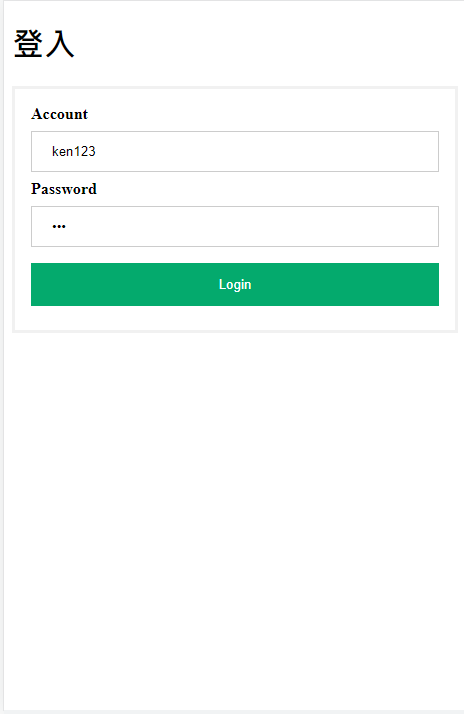
輸入我們之前新增過的帳號:ken123 密碼:123 之後點選Login登入鍵
就可以看到

好~那今天先到這邊,明天再繼續囉~!
參考資料
在 Angular 使用 HttpClient 的各種 TypeScript 地雷與陷阱