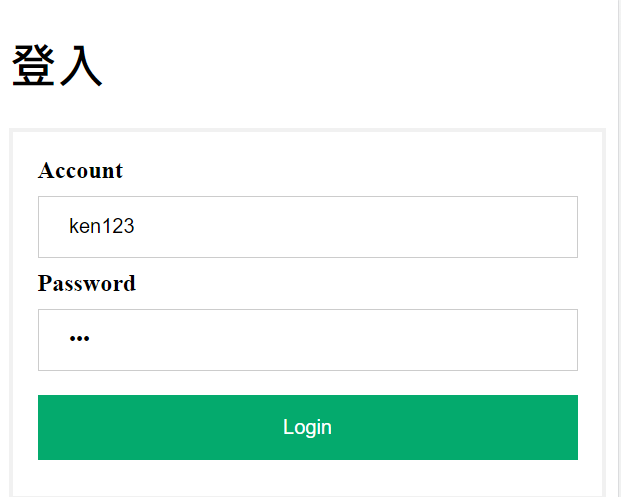
透過昨天我們提到的路由,今天我們要實現登入後將token存入sessionStorage後轉導到首頁
首先我們先建立一個物件是可以與API回傳物件進行相互對應的
新增一個model資料夾,在裡面新增一個APIReturnObject.class
model.APIReturnObject
export class APIReturnObject{
  message: string;
  data: Map<string, object> ;
  constructor(message: string , data: Map<string, object> ){
    this.message = message;
    this.data = data ;
  }
}
接著我們改造一下HttpService的方法
import { Injectable } from '@angular/core';
import { HttpClient } from '@angular/common/http';
import { APIReturnObject } from '../model/APIReturnObject';

import { HttpHeaders } from '@angular/common/http';
@Injectable({
  providedIn: 'root'
})
export class HttpService {
  private url = 'http://localhost:8080/user/login';
  constructor(private http: HttpClient) { }

  getPosts(account: string, password: string) {
    let headers = new HttpHeaders({
      'Content-Type': 'application/json',
      responseType: 'json'
    });
    let options = {
      headers
    };
    let params = {
      'account': account,
      'password': password
    }


    return this.http.post<APIReturnObject>(this.url, params, options); #新增回傳物件設定
  }
}
再來是在login.component.ts裡面判斷登入邏輯
import { Component, OnInit } from '@angular/core';
import { FormControl, Validators } from '@angular/forms';
import { HttpService } from '../service/http.service';
import { Router} from '@angular/router';

@Component({
  selector: 'app-login',
  templateUrl: './login.component.html',
  styleUrls: ['./login.component.css']
})
export class LoginComponent implements OnInit {
  title = '登入';
  account = new FormControl('', [Validators.required, Validators.maxLength(10)]); // 驗證字數須大於10個字
  password = new FormControl('', [Validators.required, Validators.minLength(3)]); // 驗證字數須不少於3個字
  posts: any;
  constructor(
    private httpService: HttpService,
    private router: Router,
) {

  }

  ngOnInit(): void {

  }

  doLogin() {
    this.httpService.getPosts(this.account.value, this.password.value).subscribe(
      (response) => {
        this.posts = response;
        const data = new Map(Object.entries(response.data)); #response.data取出的物件是object屬性,所以要轉換成map
        if (data.get('token')) {
          sessionStorage.setItem('token', data.get('token'));.setItem('token', data.get('token')); #儲存在html5提供的localStorage
          this.router.navigate(['index']); #轉頁到index
        }
      },
      (error) => { console.log(error); });
  }
}
sessionStorage:
1.可以儲存資料的空間(約5MB)
2.儲存方式為key-value鍵值對
3.頁面清除或關閉後消失
router.navigate方法:
可以將頁面傳導向指定路徑,也可以傳遞參數。
接著我們實際操作一下
輸入帳號密碼

登入後發現被傳導到index.html

打開F12→左側Storage →Session Storage→點 http://localhost:4200

就可以看到

今天就做到這裡~ 我們明天見啦
