之前有安裝過 vue-router 這個套件,它就是可以用來做單頁式應用程式,可以讓你的網站速度效能變好,因為在點擊站內連結時,不會每次都重新整理頁面。
目前我們也已經有了一個頁面,也就是首頁,今天也要來建立第二個頁面,然後在這兩個頁面加上連結,來互相切換。
然後比較使用 router-link 元件以及使用傳統的 a 標籤的差異。
在 src/router 資料夾下,建立 index.js 檔案,內容如下:
import { createRouter, createWebHistory } from 'vue-router'

const routes = [
  {path: "/", name: "Home", component: () => import("@/views/Home.vue")},
  {path: "/web_build", name: "WebBuild", component: () => import("@/views/auth/WebBuild.vue")}
]

const router = createRouter({
  history: createWebHistory(),
  routes
})

export default router
這邊的重點在於 routes 陣列,大意是指:
所以上述的程式碼當中,有使用到 Home.vue 元件及 WebBuild.vue 元件,這兩個元件,對我們來說,就是兩個網頁,因為放在 views 資料夾當中的,代表的就是各個網頁的元件。
在 src 資料夾下的 views 資料夾下,建立 auth 資料夾,然後再建立 WebBuild.vue 檔案,內容如下:
<script>
</script>

<template lang="pug">
div
  h1 Web Build
  router-link(:to="{name: 'Home'}") 回首頁(使用 router-link)
  br
  a(href="/") 回首頁(使用 a 標籤)
</template>

<style>
</style>
這裡幾個重點:
在 src 資料夾下的 views 資料夾下,建立 Home.vue 檔案(想成這是首頁),然後將原來 App.vue 的原始碼,原封不動的搬過來,所以 Home.vue 的原始碼如下(有額外加上連到 /web_build 的連結,一樣是使用 router-link 標籤及 a 標籤):
<script>
</script>

<template lang="pug">
header.header
  div.inner_header
    div.left
      h1 Efficiency
      p 有效率的建立您的品牌官網
      router-link(:to="{name: 'WebBuild'}" style="color: white;") 進到建立網頁的後台(使用 router-link)
      a(href="/web_build" style="color: white;") 進到建立網頁的後台(使用 a 標籤)
    div.right
      form(action="#" method="#" class="login_form")
        div.input_group
          label 帳號
          input(type="text")
        div.input_group
          label 密碼
          input(type="password")
        div.input_group
          label
          button(type="button") 登入
  div.waves_block
    svg(class="waves" xmlns="http://www.w3.org/2000/svg" xmlns:xlink="http://www.w3.org/1999/xlink" viewBox="0 24 150 28" preserveAspectRatio="none" shape-rendering="auto")
      defs
        path(id="gentle-wave" d="M-160 44c30 0 58-18 88-18s 58 18 88 18 58-18 88-18 58 18 88 18 v44h-352z")
      g(class="parallax")
        use(xlink:href="#gentle-wave" x="48" y="0" fill="rgba(255,255,255,0.7)")
        use(xlink:href="#gentle-wave" x="48" y="3" fill="rgba(255,255,255,0.5)")
        use(xlink:href="#gentle-wave" x="48" y="5" fill="rgba(255,255,255,0.3)")
        use(xlink:href="#gentle-wave" x="48" y="7" fill="#fff")
footer.footer
  p Copyright © 2022
</template>

<style lang="sass" scoped>
  header.header
    position: relative
    background: linear-gradient(60deg, rgba(84,58,183,1) 0%, rgba(0,172,193,1) 100%)
    color: white
    height: 80vh
    display: flex
    flex-direction: column

  .inner_header
    width: 100%
    margin: 0
    padding: 0
    flex-grow: 1
    display: flex
    @media (max-width: 767.98px)
      flex-direction: column
    div.left
      // border: 1px solid red
      flex-grow: 1
      flex-basis: 50%
      display: flex
      flex-direction: column
      justify-content: center
      text-align: center
      h1
        font-weight: 300
        letter-spacing: 2px
        font-size: 4.8rem
        color: white
        margin: 0
        font-weight: bold
        background: radial-gradient(circle, rgba(222,222,222,1) 0%, rgba(255,255,255,1) 8%, rgba(237,232,232,1) 16%, rgba(195,195,195,1) 59%)
        background-size: cover
        -webkit-background-clip: text
        -webkit-text-fill-color: transparent
      p
        letter-spacing: 1px
        font-size: 2rem
        color: white
        margin-bottom: 0
    div.right
      // border: 1px solid blue
      flex-shrink: 0
      flex-basis: 50%
      display: flex
      flex-direction: column
      justify-content: center
      form.login_form
        // border: 1px solid red
        width: 80%
        margin: 0 auto
        padding: 0 20px
        @media (max-width: 767.98px)
          width: 100%
        div.input_group
          // border: 1px solid blue
          padding: 20px 0
          display: flex
          &:first-child
            padding-top: 0
          &:last-child
            padding-bottom: 0
          label, button
            font-size: 1.8rem
          label
            width: 40px
            // border: 1px solid yellow
            display: inline-block
            text-align: right
            margin-right: 10px
            flex-shrink: 0
            height: 32px
          input
            border: 0
            border-bottom: 1px solid white
            border-radius: 0
            background: none
            outline: none
            color: white
            flex-grow: 1
            padding: 0 10px 4px
            font-size: 1.6rem
            display: inline-block
            letter-spacing: 3px
            &:focus
              border-bottom: 1px solid yellow
          button
            align-items: center
            appearance: none
            background-image: radial-gradient(100% 100% at 100% 0, rgba(0,172,193,1) 0, #4e5aba 100%)
            border: 0
            border-radius: 6px
            box-shadow: rgba(45, 35, 66, .4) 0 2px 4px,rgba(45, 35, 66, .3) 0 7px 13px -3px,rgba(58, 65, 111, .5) 0 -3px 0 inset
            box-sizing: border-box
            color: #fff
            cursor: pointer
            display: inline-flex
            font-family: "JetBrains Mono",monospace
            height: 48px
            justify-content: center
            line-height: 1
            list-style: none
            overflow: hidden
            padding-left: 16px
            padding-right: 16px
            position: relative
            text-align: left
            text-decoration: none
            transition: box-shadow .15s,transform .15s
            user-select: none
            -webkit-user-select: none
            touch-action: manipulation
            white-space: nowrap
            will-change: box-shadow,transform
            min-width: 100px
            &:focus
              box-shadow: #3c4fe0 0 0 0 1.5px inset, rgba(45, 35, 66, .4) 0 2px 4px, rgba(45, 35, 66, .3) 0 7px 13px -3px, #3c4fe0 0 -3px 0 inset
            &:hover
              box-shadow: rgba(45, 35, 66, .4) 0 4px 8px, rgba(45, 35, 66, .3) 0 7px 13px -3px, #3c4fe0 0 -3px 0 inset
              transform: translateY(-2px)
            &:active
              box-shadow: #3c4fe0 0 3px 7px inset
              transform: translateY(2px)

  .waves_block
    font-size: 0
  .waves
    position: relative
    width: 100%
    height: 15vh
    min-height: 100px
    max-height: 150px

  footer.footer
    position: relative
    height: 20vh
    text-align: center
    background-color: white
    display: flex
    justify-content: center
    align-items: center
    font-size: 1.6rem
    color: gray

  /* Animation */
  .parallax > use
    animation: move-forever 25s cubic-bezier(.55,.5,.45,.5) infinite
  .parallax > use:nth-child(1)
    animation-delay: -2s
    animation-duration: 7s
  .parallax > use:nth-child(2)
    animation-delay: -3s
    animation-duration: 10s
  .parallax > use:nth-child(3)
    animation-delay: -4s
    animation-duration: 13s
  .parallax > use:nth-child(4)
    animation-delay: -5s
    animation-duration: 20s
  @keyframes move-forever
    0%
     transform: translate3d(-90px,0,0)
    100%
      transform: translate3d(85px,0,0)
</style>
在 src 資料夾下的 main.js 檔案,更新成如下:
import { createApp } from "vue"
import "./style.sass"
import App from "./App.vue"
import router from '@/router/index.js'

createApp(App).use(router).mount("#app")
這邊的重點呢,就是:
在 src 資料夾下的 App.vue 檔案,更新成如下:
<script>
</script>

<template lang="pug">
router-view(v-slot="{Component}")
  component(:is="Component" :key="$route.path")
</template>

<style lang="sass" scoped>

</style>
這邊的重點呢,就是:
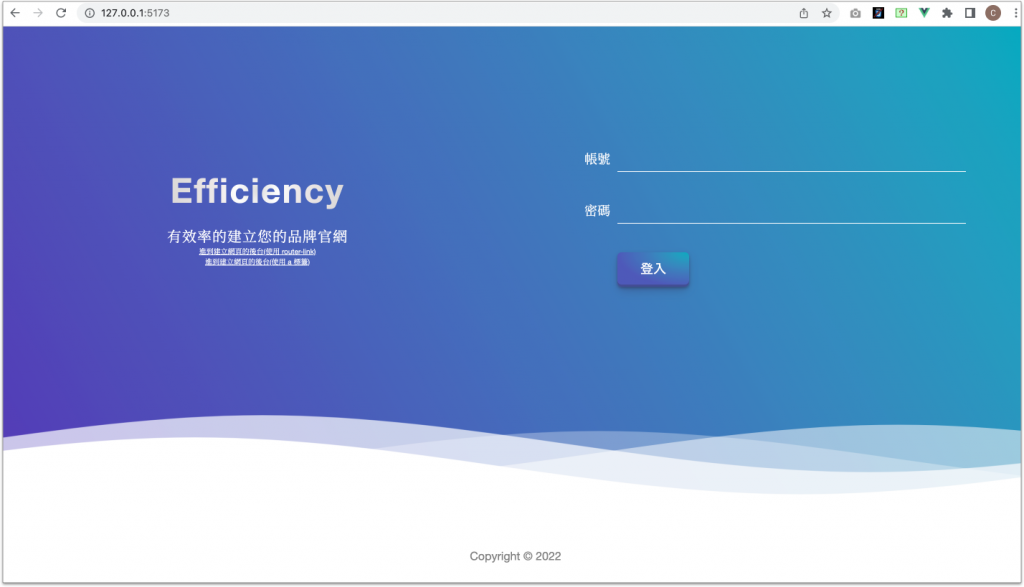
第一個網頁的網址,即首頁:http://127.0.0.1:5173/
留意左邊有多兩個連結(分別是使用 router-link 標籤及 a 標籤),示意圖如下:
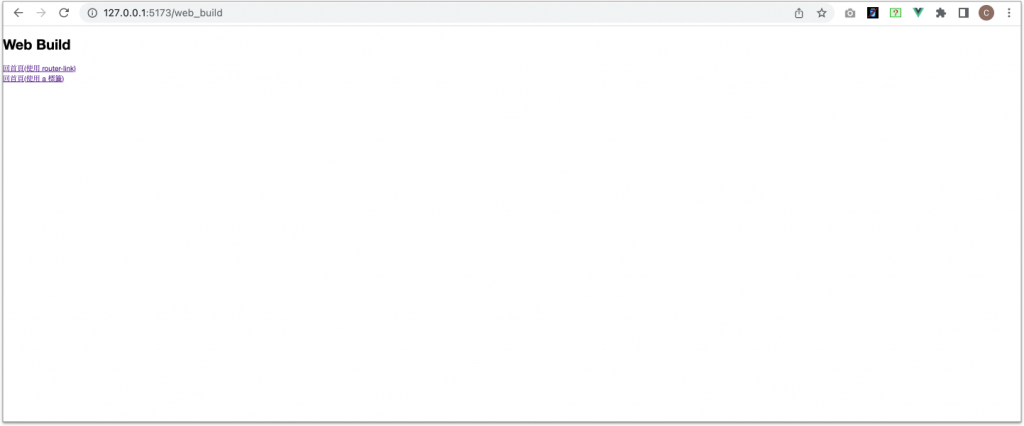
第二個網頁的網址,http://127.0.0.1:5173/web_build
很簡單的內容,留意一樣有兩個連結(分別是使用 router-link 標籤及 a 標籤),示意圖如下:
然後就可以在開發者工具的 network 頁籤,比較使用 router-link 標籤和使用 a 標籤的差異了:
是不是很棒呢!!!又是一個技術上的進步了,vue-router 很適合拿來做單頁式應用程式(SPA)。
目前導入了 vue-router 串起了兩個頁面,接下來要先來把第二個頁面的畫面來實作一下了。


 iThome鐵人賽