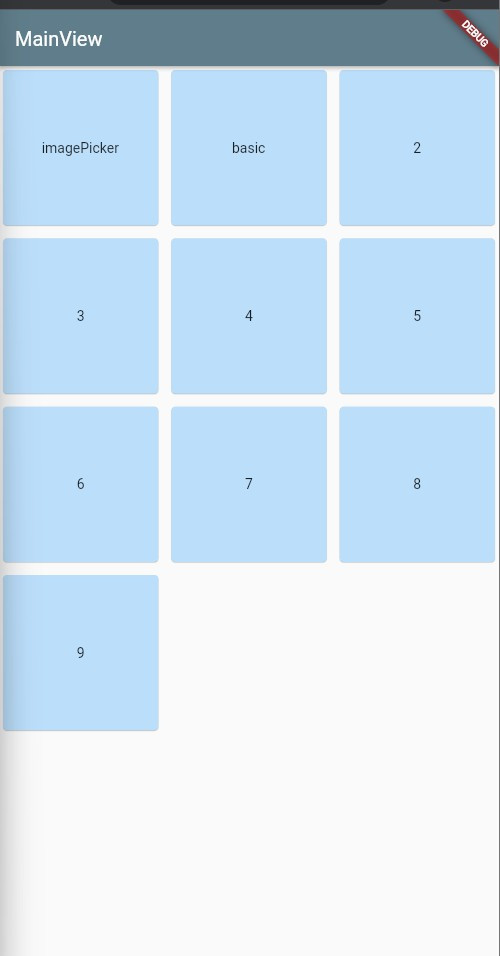
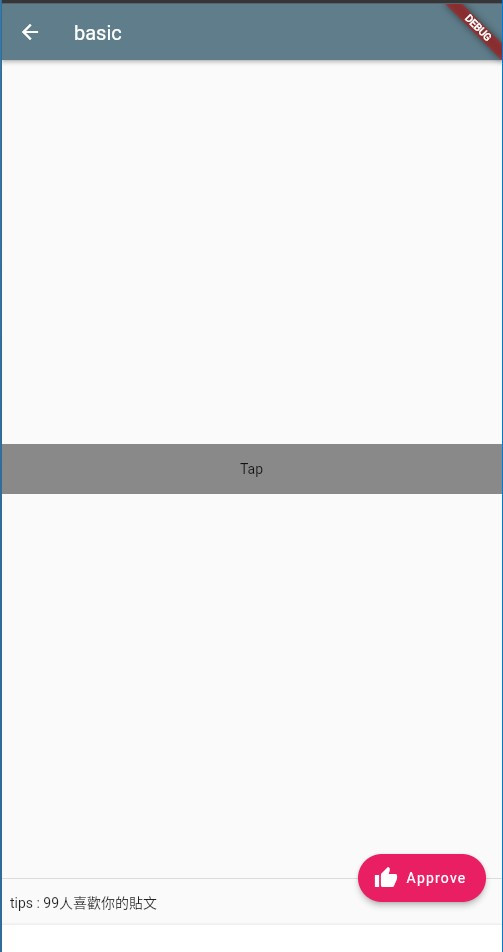
本文會增加新畫面BasicView
因此Route也會增加 , 對於Route還不理解可以參考下方連結
D-9 Route | 引路帶你進入Flutter世界
class MyApp extends StatelessWidget {
  const MyApp({Key? key}) : super(key: key);
  static const IMAGEPICKER = '/imagePicker';
  static const BASIC = '/basic';

  @override
  Widget build(BuildContext context) {
    return MaterialApp(
      title: 'Flutter Demo',
      initialRoute: '/',
      routes: {
        '/': (context) => const MainView(),
        BASIC: (context) => const BasicView(),
        IMAGEPICKER: (context) => ImagePickerPage(),
      },
      theme: ThemeData(
        primarySwatch: Colors.blueGrey,
      ),
    );
  }
}

p1 設定Basic畫面的上方Bar
p2 floatingActionButton : 設定固定的按鈕
p3 floatingActionButtonLocation : 按鈕固定的位置 有多種選擇FloatingActionButtonLocation.endDocked : 本次設定於畫面下方
p4 persistentFooterButtons : 固定於底部的按鈕欄 會在bottomNavigationBar上方
p5 bottomNavigationBar : 設定置底的AppBar 配合按鈕排版
p6 會將Scaffold除了AppBar以外的地方填滿
class basicView extends StatelessWidget {
  @override
  Widget build(BuildContext context) {
    return Scaffold(
      //p1
      appBar: AppBar(
        title: Text(MyApp.BASIC.replaceFirst('/', '')),
      ),
      //p2
      floatingActionButton: const FloatingActionButton.extended(
        onPressed: null,
        label: Text('Approve'),
        icon: Icon(Icons.thumb_up),
        backgroundColor: Colors.pink,
      ),

      //p3
      floatingActionButtonLocation: FloatingActionButtonLocation.endDocked,

      //p4
      persistentFooterButtons: [
        Container(
          alignment: Alignment.centerLeft,
          height: 30,
          child: const Text('tips : 99人喜歡你的貼文'),
        ),
      ],
      //p5
      bottomNavigationBar: BottomAppBar(
        shape: const CircularNotchedRectangle(),
        child: Container(height: 30.0),
      ),
      //p6
      body: Container(
        color: Colors.transparent,
        child: Column(
            crossAxisAlignment: CrossAxisAlignment.stretch,
            mainAxisAlignment: MainAxisAlignment.center,
            children: [
              GestureDetector(
                onTap: () => print('tap?'),
                child: Container(
                  color: Colors.black45,
                  height: 50,
                  child: const Center(
                    child: Text('Tap'),
                  ),
                ),
              )
            ]),
      ),
    );
  }
}

