在『設計格局,Django 多租戶架構』我們已經把房間準備好了,接下來就來迎接第一個租戶吧!
工欲善其事,必先利其器。要迎接租戶前,先來看看之後要怎麼與租戶進行良好溝通,了解多租戶指令就是進行溝通的最佳捷徑。
create_tenant 建立租戶
建立一個新租戶,以下為參數說明與範例:
--schema_name 為 schema 名稱
--name 租戶名稱
--paid_until 截止日期
--on_trial 正在試用
--domain-domain 網域名稱
--domain-is_primary 是否為主要網域名稱
./manage.py create_tenant \
    --schema_name=example01 \
    --name=example01 \
    --paid_until=2099-12-31 \
    --on_trial=0 \
    --domain-domain=example01.localhost \
    --domain-is_primary=False
delete_tenant 刪除租戶
刪除一個現有租戶
./manage.py delete_tenant
clone_tenant 複製租戶
複製一個現有租戶
./manage.py clone_tenant
查看使用說明
./manage.py clone_tenant -h
migrate_schemas 資料庫遷移
遷移租戶共用資料表
./manage.py migrate_schemas
多進程遷移租戶共用資料表
./manage.py migrate_schemas --executor=multiprocessing
tenant_command 單獨租戶指令
匯入指定租戶的資料
./manage.py tenant_command loaddata --schema=customer1
all_tenants_command 全部租戶指令
在每個租戶上運行指令
./manage.py all_tenants_command loaddata
create_tenant_superuser 建立超級使用者
為租戶建立一個超級使用者,以下為參數說明與範例:
--username 指定使用者名稱
--schema 指定 schema 名稱
./manage.py create_tenant_superuser \
    --username=admin \
    --schema=new_tenant
重命名 schema
重新命名 schema 與更新資料庫對應的 Client
./manage.py rename_schema \
    --rename_from old_name \
    --rename_to new_name
檢查缺失的 schema table
如果找到缺失的 schema
./manage.py create_missing_schemas
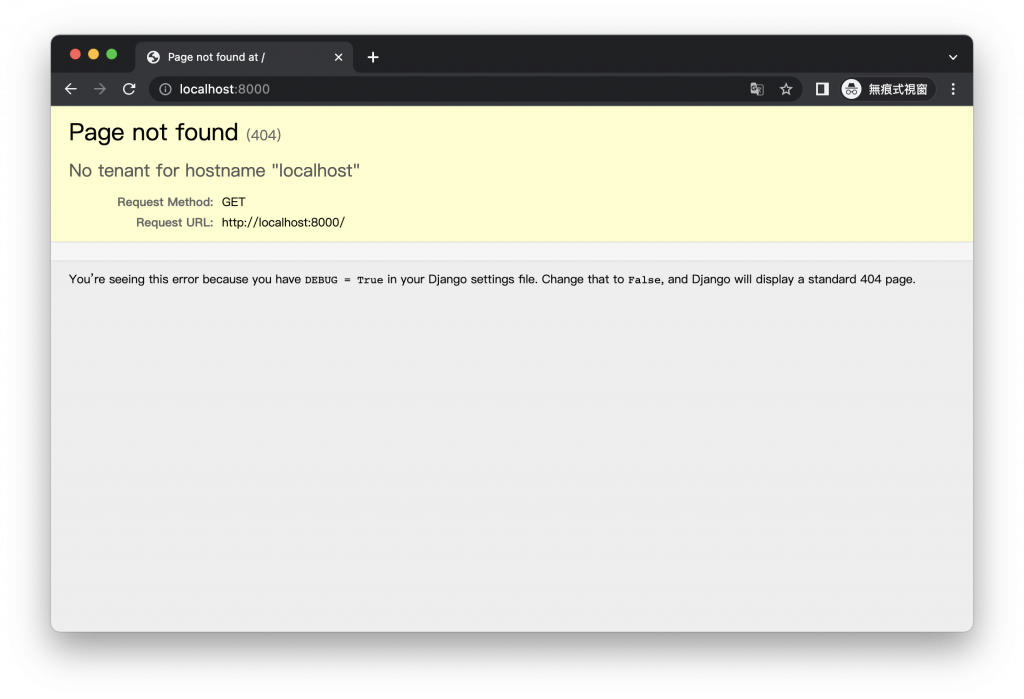
在建立租戶之前我們先看看調整為多租戶架構後網頁顯示的內容,已經無法正常顯示上次運行的 Django 預設網頁。

建立一個名為 example01 的租戶
docker exec -it --workdir /opt/app/web example_tenant_web \
    python3.10 manage.py create_tenant \
        --schema_name=example01 \
        --name=example01 \
        --paid_until=2099-12-31 \
        --on_trial=0 \
        --domain-domain=example01.localhost \
        --domain-is_primary=False

...

[1/1 (100%) standard:example_first] === Starting migration
[1/1 (100%) standard:example_first] Operations to perform:
[1/1 (100%) standard:example_first]   Apply all migrations: admin, auth, contenttypes, customers, sessions, sites
[1/1 (100%) standard:example_first] Running migrations:
[1/1 (100%) standard:example_first]   Applying contenttypes.0001_initial...
[1/1 (100%) standard:example_first]  OK
[1/1 (100%) standard:example_first]   Applying auth.0001_initial...
[1/1 (100%) standard:example_first]  OK
[1/1 (100%) standard:example_first]   Applying admin.0001_initial...
[1/1 (100%) standard:example_first]  OK
[1/1 (100%) standard:example_first]   Applying admin.0002_logentry_remove_auto_add...
[1/1 (100%) standard:example_first]  OK
[1/1 (100%) standard:example_first]   Applying admin.0003_logentry_add_action_flag_choices...
[1/1 (100%) standard:example_first]  OK
[1/1 (100%) standard:example_first]   Applying contenttypes.0002_remove_content_type_name...
[1/1 (100%) standard:example_first]  OK
[1/1 (100%) standard:example_first]   Applying auth.0002_alter_permission_name_max_length...
[1/1 (100%) standard:example_first]  OK
[1/1 (100%) standard:example_first]   Applying auth.0003_alter_user_email_max_length...
[1/1 (100%) standard:example_first]  OK
[1/1 (100%) standard:example_first]   Applying auth.0004_alter_user_username_opts...
[1/1 (100%) standard:example_first]  OK
[1/1 (100%) standard:example_first]   Applying auth.0005_alter_user_last_login_null...
[1/1 (100%) standard:example_first]  OK
[1/1 (100%) standard:example_first]   Applying auth.0006_require_contenttypes_0002...
[1/1 (100%) standard:example_first]  OK
[1/1 (100%) standard:example_first]   Applying auth.0007_alter_validators_add_error_messages...
[1/1 (100%) standard:example_first]  OK
[1/1 (100%) standard:example_first]   Applying auth.0008_alter_user_username_max_length...
[1/1 (100%) standard:example_first]  OK
[1/1 (100%) standard:example_first]   Applying auth.0009_alter_user_last_name_max_length...
[1/1 (100%) standard:example_first]  OK
[1/1 (100%) standard:example_first]   Applying auth.0010_alter_group_name_max_length...
[1/1 (100%) standard:example_first]  OK
[1/1 (100%) standard:example_first]   Applying auth.0011_update_proxy_permissions...
[1/1 (100%) standard:example_first]  OK
[1/1 (100%) standard:example_first]   Applying auth.0012_alter_user_first_name_max_length...
[1/1 (100%) standard:example_first]  OK
[1/1 (100%) standard:example_first]   Applying customers.0001_initial...
[1/1 (100%) standard:example_first]  OK
[1/1 (100%) standard:example_first]   Applying sessions.0001_initial...
[1/1 (100%) standard:example_first]  OK
[1/1 (100%) standard:example_first]   Applying sites.0001_initial...
[1/1 (100%) standard:example_first]  OK
[1/1 (100%) standard:example_first]   Applying sites.0002_alter_domain_unique...
[1/1 (100%) standard:example_first]  OK
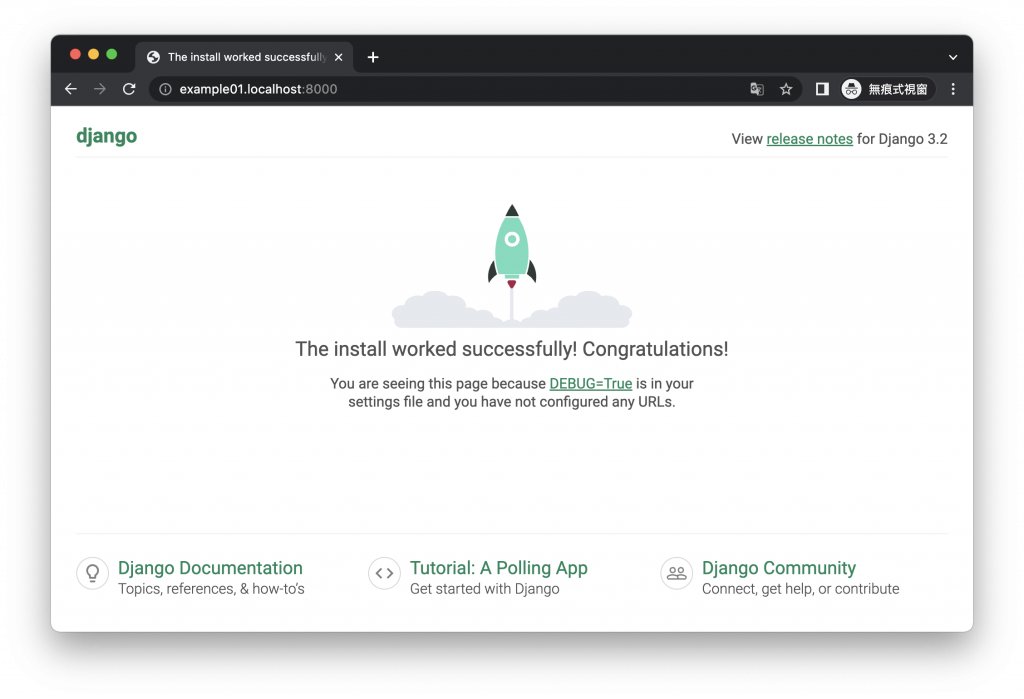
建立完成,透過 example01.localhost 來查看

太好了,成功以多租戶架構建立了 django 服務。
為了之後進行多租戶架構的開發,馬上來建立第二個租戶 example02。
docker exec -it --workdir /opt/app/web example_tenant_web \
    python3.10 manage.py create_tenant \
        --schema_name=example02 \
        --name=example02 \
        --paid_until=2099-12-31 \
        --on_trial=0 \
        --domain-domain=example02.localhost \
        --domain-is_primary=False
[1/1 (100%) standard:example02] === Starting migration
[1/1 (100%) standard:example02] Operations to perform:
[1/1 (100%) standard:example02]   Apply all migrations: admin, auth, contenttypes, customers, sessions, sites
[1/1 (100%) standard:example02] Running migrations:
[1/1 (100%) standard:example02]   Applying contenttypes.0001_initial...
[1/1 (100%) standard:example02]  OK
[1/1 (100%) standard:example02]   Applying auth.0001_initial...
[1/1 (100%) standard:example02]  OK
[1/1 (100%) standard:example02]   Applying admin.0001_initial...
[1/1 (100%) standard:example02]  OK
[1/1 (100%) standard:example02]   Applying admin.0002_logentry_remove_auto_add...
[1/1 (100%) standard:example02]  OK
[1/1 (100%) standard:example02]   Applying admin.0003_logentry_add_action_flag_choices...
[1/1 (100%) standard:example02]  OK
[1/1 (100%) standard:example02]   Applying contenttypes.0002_remove_content_type_name...
[1/1 (100%) standard:example02]  OK
[1/1 (100%) standard:example02]   Applying auth.0002_alter_permission_name_max_length...
[1/1 (100%) standard:example02]  OK
[1/1 (100%) standard:example02]   Applying auth.0003_alter_user_email_max_length...
[1/1 (100%) standard:example02]  OK
[1/1 (100%) standard:example02]   Applying auth.0004_alter_user_username_opts...
[1/1 (100%) standard:example02]  OK
[1/1 (100%) standard:example02]   Applying auth.0005_alter_user_last_login_null...
[1/1 (100%) standard:example02]  OK
[1/1 (100%) standard:example02]   Applying auth.0006_require_contenttypes_0002...
[1/1 (100%) standard:example02]  OK
[1/1 (100%) standard:example02]   Applying auth.0007_alter_validators_add_error_messages...
[1/1 (100%) standard:example02]  OK
[1/1 (100%) standard:example02]   Applying auth.0008_alter_user_username_max_length...
[1/1 (100%) standard:example02]  OK
[1/1 (100%) standard:example02]   Applying auth.0009_alter_user_last_name_max_length...
[1/1 (100%) standard:example02]  OK
[1/1 (100%) standard:example02]   Applying auth.0010_alter_group_name_max_length...
[1/1 (100%) standard:example02]  OK
[1/1 (100%) standard:example02]   Applying auth.0011_update_proxy_permissions...
[1/1 (100%) standard:example02]  OK
[1/1 (100%) standard:example02]   Applying auth.0012_alter_user_first_name_max_length...
[1/1 (100%) standard:example02]  OK
[1/1 (100%) standard:example02]   Applying customers.0001_initial...
[1/1 (100%) standard:example02]  OK
[1/1 (100%) standard:example02]   Applying sessions.0001_initial...
[1/1 (100%) standard:example02]  OK
[1/1 (100%) standard:example02]   Applying sites.0001_initial...
[1/1 (100%) standard:example02]  OK
[1/1 (100%) standard:example02]   Applying sites.0002_alter_domain_unique...
[1/1 (100%) standard:example02]  OK
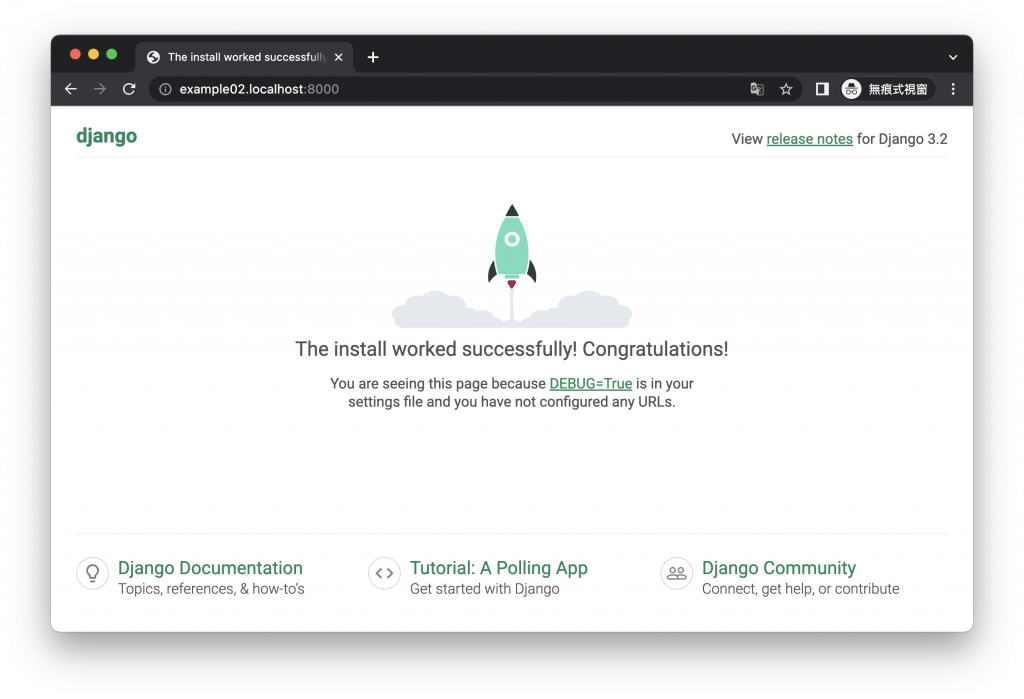
建立完成,透過 example02.localhost 來查看

完美,第二個租戶也建立成功了。
看似雙胞胎的兩個租戶實際上其實使用了不同的 schema,
public 為租戶共用 schema,
example01 為 example01 租戶獨立 schema,
example02 為 example02 租戶獨立 schema,
以下為當前資料庫結構:
                            List of relations
       Schema       |            Name            |    Type     |  Owner
--------------------+----------------------------+-------------+---------
 public             | customers_client           | table       | db_user
 public             | customers_domain           | table       | db_user
 public             | django_content_type        | table       | db_user
 public             | django_migrations          | table       | db_user

 example01          | auth_group                 | table       | db_user
 example01          | auth_group_permissions     | table       | db_user
 example01          | auth_permission            | table       | db_user
 example01          | auth_user                  | table       | db_user
 example01          | auth_user_groups           | table       | db_user
 example01          | auth_user_user_permissions | table       | db_user
 example01          | django_admin_log           | table       | db_user
 example01          | django_migrations          | table       | db_user
 example01          | django_session             | table       | db_user
 example01          | django_site                | table       | db_user

 example02          | auth_group                 | table       | db_user
 example02          | auth_group_permissions     | table       | db_user
 example02          | auth_permission            | table       | db_user
 example02          | auth_user                  | table       | db_user
 example02          | auth_user_groups           | table       | db_user
 example02          | auth_user_user_permissions | table       | db_user
 example02          | django_admin_log           | table       | db_user
 example02          | django_migrations          | table       | db_user
 example02          | django_session             | table       | db_user
 example02          | django_site                | table       | db_user
多租戶指令是與多租戶架構溝通的途徑之一,熟練之後我們甚至能將這些指令轉換為管理介面上的表單,讓有特殊權限的使用者只需要填寫表單就能執行特定的多租戶指令。
現在,房客已入住完成,是時候來認識一下模型了,下一回『認識模型,常用欄位與參數介紹 』
