今天是挑戰的第11天,不知不覺已經過了1/3了~~
今天要來介紹攝影機的控制,目標是要加入更隨角色的功能,還有在移動後不能超出邊界!
以下的程式碼是讓攝影機更隨角色。
using System.Collections;
using System.Collections.Generic;
using UnityEngine;

public class Cameracontrol : MonoBehaviour
{
    GameObject player;
    // Start is called before the first frame update
    void Start()
    {
        this.player = GameObject.Find("player");
    }

    // Update is called once per frame
    void Update()
    {
        Vector3 playerPos = this.player.transform.position;
        transform.position = new Vector3(
            playerPos.x, playerPos.y, transform.position.z);
    }
}
首先是this.player = GameObject.Find("player");先來簡單介紹一下this的用法。"this"代表本身載入的物件,也就是說this.player代表是本身載入的物件所持有的player變數。
接著尋找到Player的變數後,設定要更隨playerPos(角色的位置),並以向量來表示,這編是設定跟隨的是X軸,y軸。
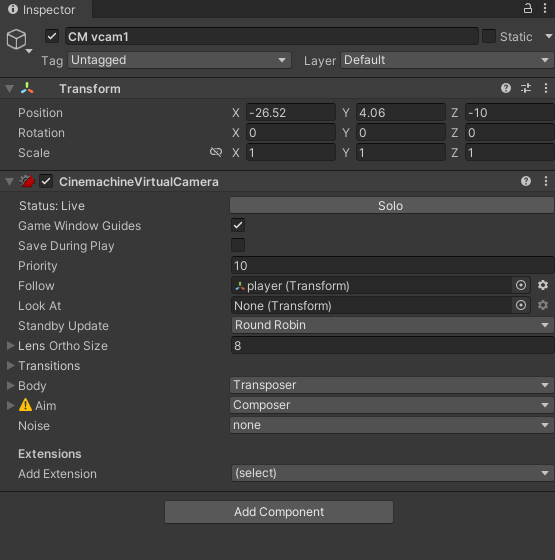
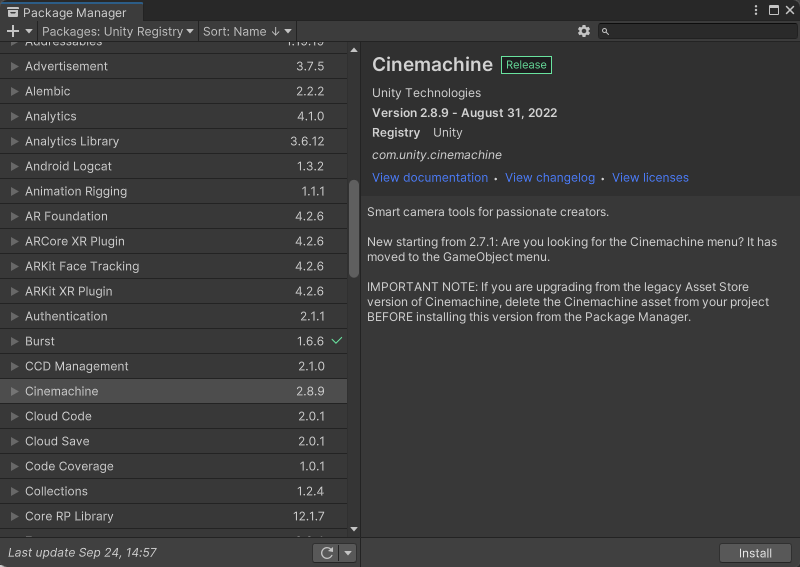
再來介紹一下另一種更簡單的方法,在打完程式後發現更好用的也是更多人在用的外掛"Cinemachine",在右上角的Window裡中的Package Manager

先安裝下來後,輸出到專案裡。之後用"Cinemachine"新增Virtual Camera,接著在右側就會有補少選項能設定其中的Follow把我們要的物件拉過去就能直接選定攝影機要更隨的物件!!