現在我們要來為我們的 Django 小屋打造一個大廳,也就是電商網站的首頁。透過上一章節我們已經理解了 Django 的工作流程,今天我們將一步一步的實作,讓我們開始吧!
main 為 Django 主要應用程式,Product 為商品應用程式。
我們之後將會在商品應用程式建立我們的首頁與商品列表、商品頁面。
.
├── customers
│   ├── __init__.py
│   ├── admin.py
│   ├── apps.py
│   ├── migrations
│   │   ├── 0001_initial.py
│   │   └── __init__.py
│   ├── models.py
│   ├── tests.py
│   └── views.py
├── main
│   ├── __init__.py
│   ├── asgi.py
│   ├── settings.py
│   ├── urls.py
│   └── wsgi.py
├── manage.py
└── product
    ├── __init__.py
    ├── admin.py
    ├── apps.py
    ├── migrations
    │   └── __init__.py
    ├── models.py
    ├── tests.py
    └── views.py
從瀏覽器收到請求後,首先會被 Django URLs 接收,URL 會將請求與視圖進行對應。
這裡首先會對應到 main 應用程式裡的 urls.py ,但我們不希望所有應用程式的每一條 URL 規則都寫在 main 應用程式裡面,所以我們要使用 include 的方式將 products 應用程式裡的 URL 匯入進來(稍後會建立該檔案),這樣我們可以清楚的在各個應用程式中設定 URL 與視圖的對應。
# main/urls.py

from django.contrib import admin
from django.urls import path, include

urlpatterns = [
    path('admin/', admin.site.urls),
    path('products/', include(('products.urls', 'products'), namespace='products')),
]
在 products 應用程式建立 urls.py,
當 URL 為空時,對應到 HomeView 視圖,
當 URL 為 list 時,對應到 ProductListView 視圖,
當 URL 為 pk 流水號 時,對應到 ProductDetailView 視圖,
我們在 products/urls.py 寫入以下內容:
# products/urls.py
from django.urls import path

from . import views

urlpatterns = [
    path('', views.HomeView.as_view(), name='home'),
    path('list/', views.ProductListView.as_view(), name='list'),
    path('<int:pk>/', views.ProductDetailView.as_view(), name='detail')
]
在多租戶架構下,URL 到視圖之前會先在 middleware 設定租戶資料庫與覆蓋 URL 設定。接著才會來到處理 URLs 分派過來的請求。
本專案採用的是 Class Base View(CBV)基於類的視圖,相較 Function Base View(FBV)基於函數的視圖能夠更好的繼承與擴展,雖然犧牲了 FBV 的簡單性,但也因此變得更加強大。
首頁
TemplateView 視圖類別可以根據 template_name 設定模板、context 來定義內容。
我們編寫一個 HomeView 的 class 來繼承 TemplateView,
指定 template 檔案為 products/home.html(稍後會建立該檔案)。
覆寫 get 方法來調整 context 內容,
使用 model 提供的 API 來查詢 Product 模型中的所有商品資料,並將其存入 products 變數。
在context 定義一個 items 參數儲存 products 為值,這讓我們之後可以在 template 使用 Django Template Language (DTL) 來取得該值。
# products/views.py
from django.views.generic import TemplateView, ListView, DetailView
from products.models import Product

class HomeView(TemplateView):
    template_name = "products/home.html"

    def get(self, request, *args, **kwargs):
        products = Product.objects.all()
        context = self.get_context_data(**kwargs)
        context['items'] = products
        return self.render_to_response(context)
商品列表頁面
ListView 視圖類別可以展示指定模型的資料清單。
我們編寫一個 ProductListView 的 class 來繼承 ListView,
指定 template 檔案為 products/list.html(稍後會建立該檔案)。
model 指定模型為 Product。
這裡指定 context_object_name 的物件為 items,會將 Product 模型的所有資料轉換為可疊代物件,並資料存入 items 變數傳遞給 Template。
paginate_by 設定分頁器同一頁顯示的筆數。
# products/views.py
from django.views.generic import TemplateView, ListView, DetailView
from products.models import Product

class HomeView(TemplateView):
    # ...

class ProductListView(ListView):
    model = Product
    template_name = 'products/list.html'
    context_object_name = 'items'
    paginate_by = 10
商品詳細頁面
DetailView 視圖類別可以用來檢視單一筆資料。
我們編寫一個 ProductDetailView 的 class 來繼承 DetailView,
指定 template 檔案為 products/list.html(稍後會建立該檔案)。
model 指定模型為 Product。
這裡指定 context_object_name 的物件為 item,會使用傳遞進來的商品編號在 Product 模型進行查詢,並將找到的單筆資料存入 item 變數傳遞給 Template。
# products/views.py
from django.views.generic import TemplateView, ListView, DetailView
from products.models import Product

class HomeView(TemplateView):
    # ...

class ProductListView(ListView):
    # ...

class ProductDetailView(DetailView):
    model = Product
    template_name = 'products/detail.html'
    context_object_name = 'item'
HTML 頁面基本的編寫本系列文就不贅述了,重點將放在 DTL 的部分。
在 {{ }} 使用 context 儲存的變數,可以返回其中儲存的值,使用 . 連接可以返回該值中的屬性。
而可以 url 模板標籤可以進行 url 反向解析來進行頁面導轉。
{% url '命名空間:名稱' 參數 %}
如果 context 儲存的值為一個可疊代的物件,可以使用 for 語法進行疊代,將在後續進行示範。
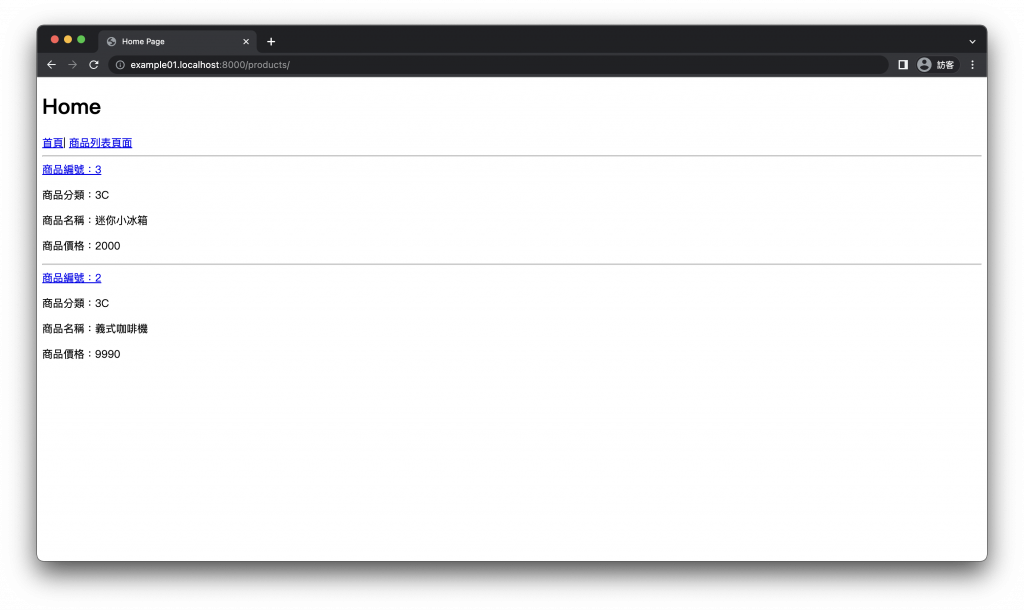
首頁
在 HomeView 視圖中指定了 home.html 為模板頁面,我們要在 products 應用程式目錄底下建立一個 templates 目錄,templates 目錄底下再建立一個 products 模板目錄,最後在其中建立 home.html 頁面。
將 HomeView 中 context 傳遞的 items 參數(所有商品資料)進行疊代,透過 . 來對其中的屬性進行存取,這裡的每個 item 皆為一項商品。
<!-- products/templates/products/home.html -->
<!DOCTYPE html>
<html>
<head>
<title>Home Page</title>
</head>
<body>

<h1>Home</h1>
<span><a href="{% url 'products:home' %}">首頁</a><span>|
<span><a href="{% url 'products:list' %}">商品列表頁面</a><span>
{% for item in items %}
    <hr>
    <a href="{% url 'products:detail' item.id %}">商品編號:{{ item.id }}</a>
    <p>商品分類:{{ item.category.name }}</p>
    <p>商品名稱:{{ item.name }}</p>
    <p>商品價格:{{ item.price }}</p>
{% endfor %}

</body>
</html>
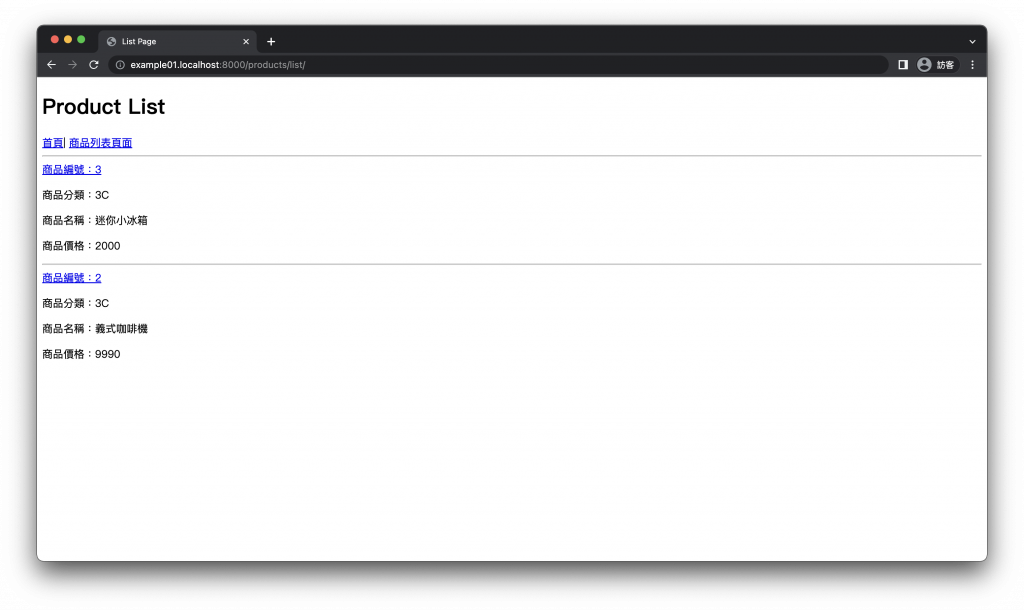
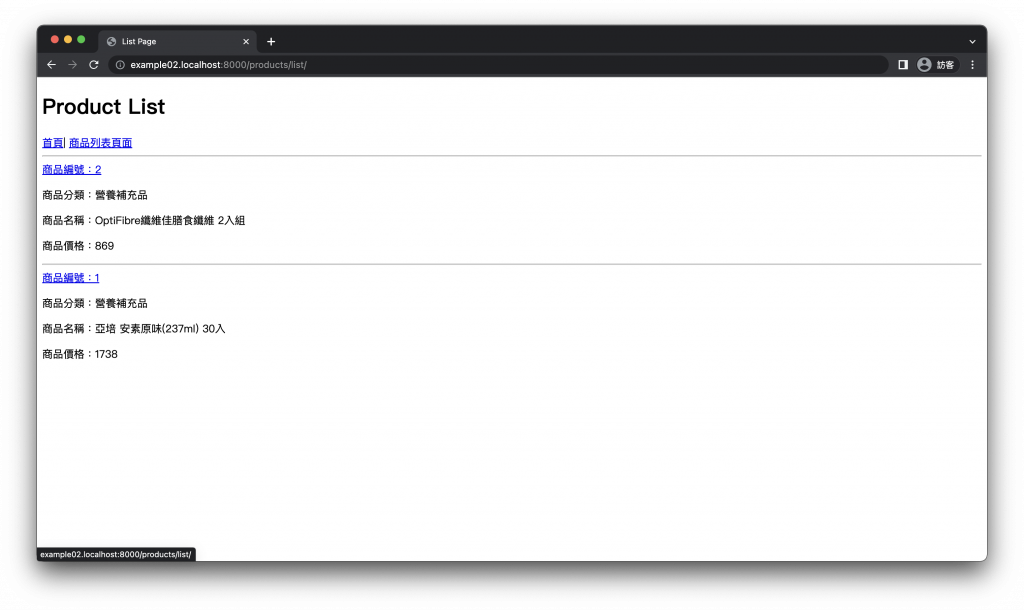
商品列表頁面
在 ProductListView 視圖中指定了 list.html 為模板頁面,我們要在 products 模板目錄中建立 list.html 頁面。
在 ProductListView 中的 context_object_name 指定了 items 參數(所有商品資料),與首頁一樣對其進行疊代,透過 . 來對其中的屬性進行存取,這裡的每個 item 皆為一項商品。
<!-- products/templates/products/list.html -->
<!DOCTYPE html>
<html>
<head>
<title>List Page</title>
</head>
<body>

<h1>Product List</h1>
<span><a href="{% url 'products:home' %}">首頁</a><span>|
<span><a href="{% url 'products:list' %}">商品列表頁面</a><span>
{% for item in items %}
    <hr>
    <a href="{% url 'products:detail' item.id %}">商品編號:{{ item.id }}</a>
    <p>商品分類:{{ item.category.name }}</p>
    <p>商品名稱:{{ item.name }}</p>
    <p>商品價格:{{ item.price }}</p>
{% endfor %}

</body>
</html>
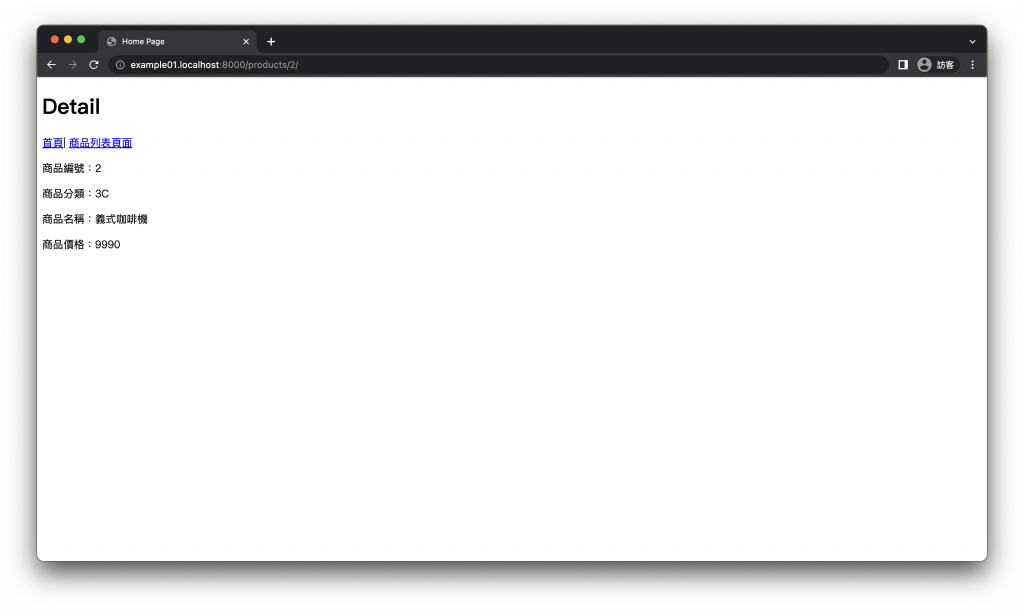
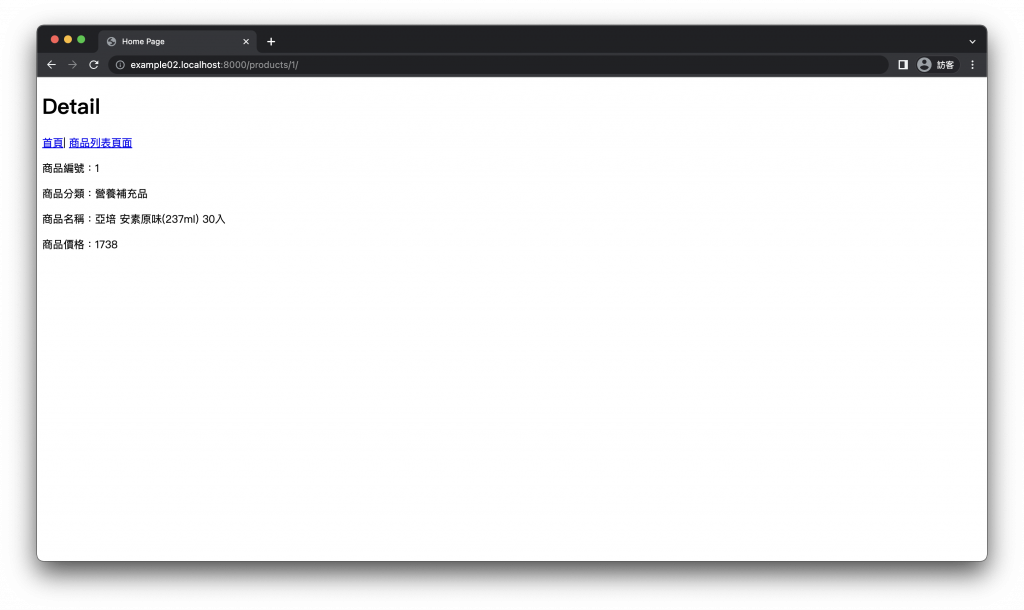
商品詳細頁面
在 ProductDetailView 視圖中指定了 detail.html 為模板頁面,我們要在 products 模板目錄中建立 detail.html 頁面。
而在 ProductDetailView 中的 context_object_name 指定了 item 參數(單筆商品資料),直接透過 . 來對其中的屬性進行存取,這裡的只有一項商品。
<!-- products/templates/products/detail.html -->
<!DOCTYPE html>
<html>
<head>
<title>Home Page</title>
</head>
<body>

<h1>Detail</h1>
<span><a href="{% url 'products:home' %}">首頁</a><span>|
<span><a href="{% url 'products:list' %}">商品列表頁面</a><span>

<p>商品編號:{{ item.id }}</p>
<p>商品分類:{{ item.category.name }}</p>
<p>商品名稱:{{ item.name }}</p>
<p>商品價格:{{ item.price }}</p>

</body>
</html>
我們要從哪個的 URL 來查看我們新的頁面呢?
Django 預設的首頁網址在兩個租戶分別如下:
http://example01.localhost:8000/
http://example02.localhost:8000/
我們在 main 應用程式的 urls.py 中 include 了 products 應用程式的 urls.py,
在進行 products 對應後,我們的新增的首頁、商品列表頁面、商品詳細頁面分別如下:
租戶 example01
http://example01.localhost:8000/products/
首頁
商品列表頁面
http://example01.localhost:8000/products/list/
商品詳細頁面
http://example01.localhost:8000/products/<int:pk>/
點選商品列表頁面的商品編號進入
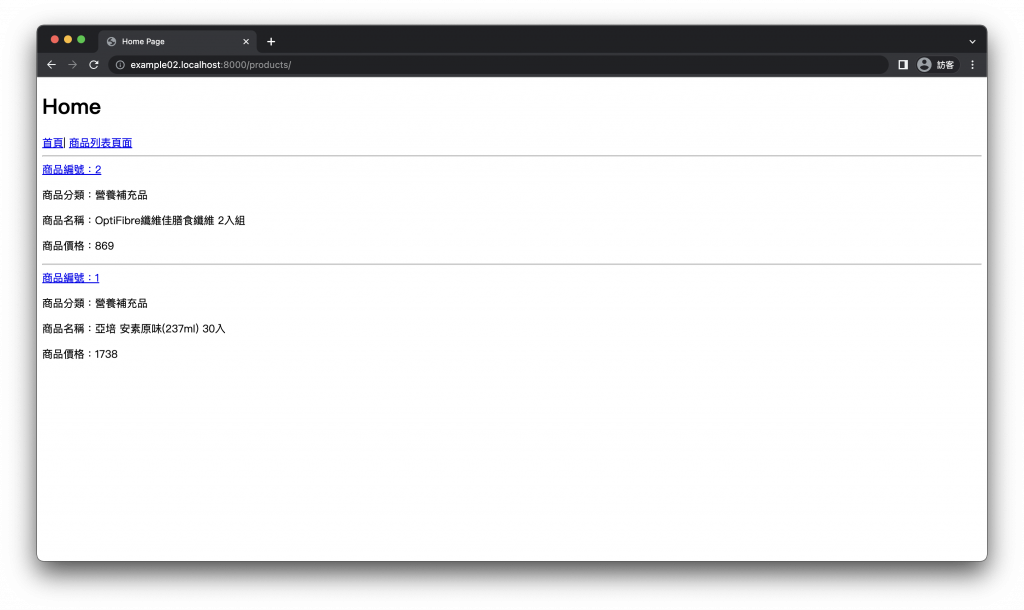
租戶 example02
首頁
http://example02.localhost:8000/products/
商品列表頁面
http://example02.localhost:8000/products/list/
商品詳細頁面
http://example02.localhost:8000/products/<int:pk>/
點選商品列表頁面的商品編號進入
本章節完成後的專案架構
.
├── customers
│   ├── admin.py
│   ├── apps.py
│   ├── __init__.py
│   ├── migrations
│   │   ├── 0001_initial.py
│   │   └── __init__.py
│   ├── models.py
│   ├── tests.py
│   └── views.py
├── main
│   ├── asgi.py
│   ├── __init__.py
│   ├── settings.py
│   ├── urls.py
│   └── wsgi.py
├── manage.py
└── products
    ├── admin.py
    ├── apps.py
    ├── __init__.py
    ├── migrations
    │   ├── 0001_initial.py
    │   └── __init__.py
    ├── models.py
    ├── templates
    │   └── products
    │       ├── detail.html
    │       ├── home.html
    │       └── list.html
    ├── tests.py
    ├── urls.py
    └── views.py
完成了!能在同一個 Django 網站在不同的網域呈現了不同的資料,是不是很神奇?
讓我們最後再來順一次工作流程:
瀏覽器發出請求後透過 URLs 分派給 View,View 接收請求之前會在 Middleware 根據請求的網域來設定 Model 對應的 schema 再將請求傳遞到 View,View 使用 Model 與資料庫溝通時查詢到不同的 schema 表從而返回不同的資料,再將這些資料格式化為回應格式,最後透過 Template 返回給瀏覽器。
能在同一個網站能根據不同網域呈現不同的資料與樣貌,這就是多租戶架構的精華所在,下一章節我們要來講解 『貼上照片牆,Django 多租戶圖片上傳』。