都介紹得差不多了,我們就直接來設計一個自己的網站吧~!
(๑•̀ㅂ•́)و✧
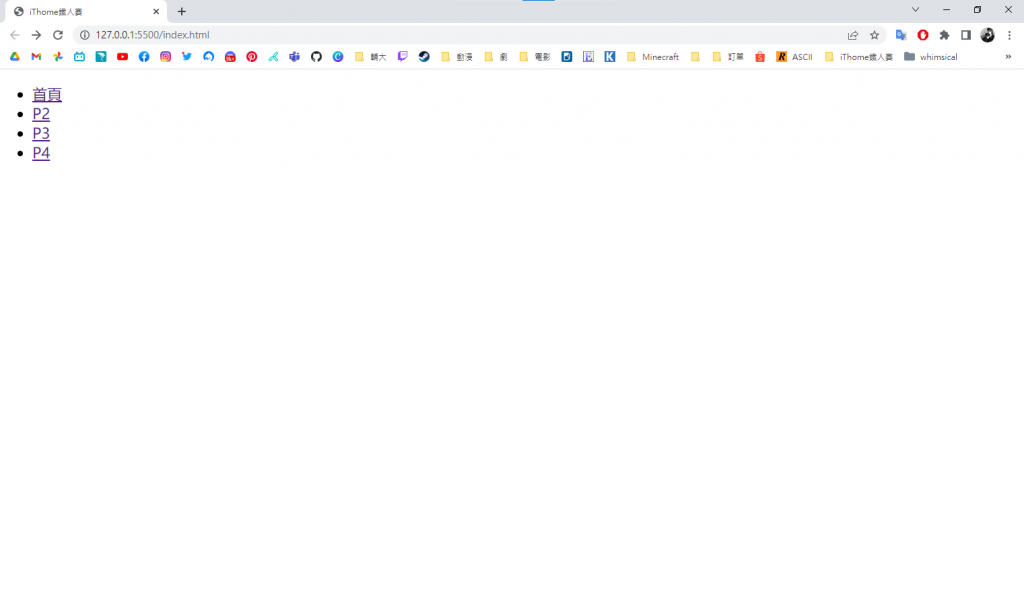
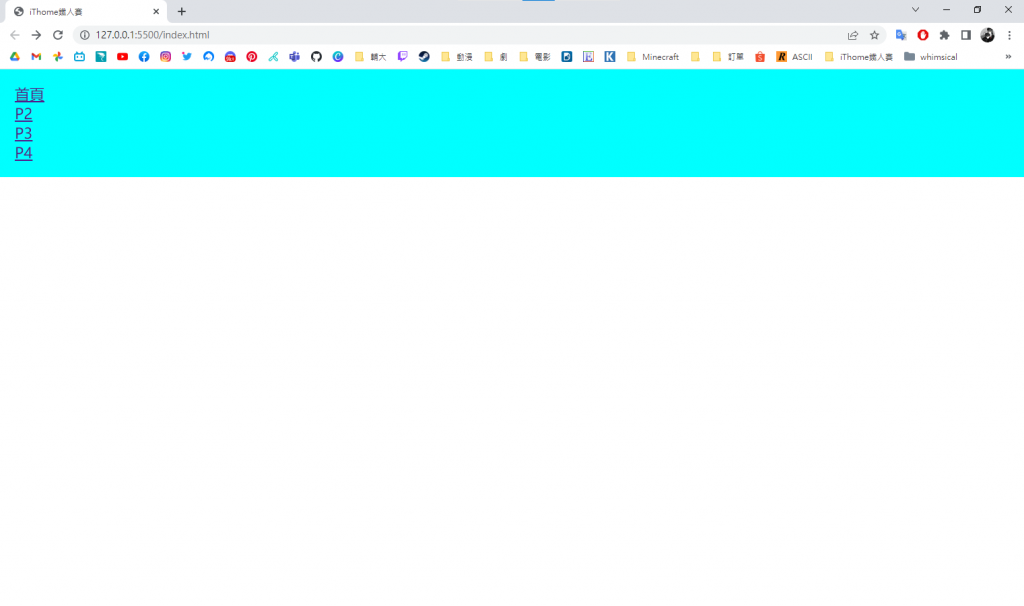
首先,我們看到一個網站的首頁,通常最基本會有的就是選單欄,點選可以通往網站的其他部分,那我們就先來設計選單欄吧~
<header>標頭標籤包住<nav>容器,裡面再放一個列表清單當作選單欄herf設定連結位置,如果是當前頁面就用#
<header>
    <nav>
        <ul>
            <li><a href="#">首頁</a></li>
            <li><a href="">P2</a></li>
            <li><a href="">P3</a></li>
            <li><a href="">P4</a></li>
        </ul>
    </nav>
</header>
*」為對所有元素進行設定* {
padding: 0;
margin: 0;
}
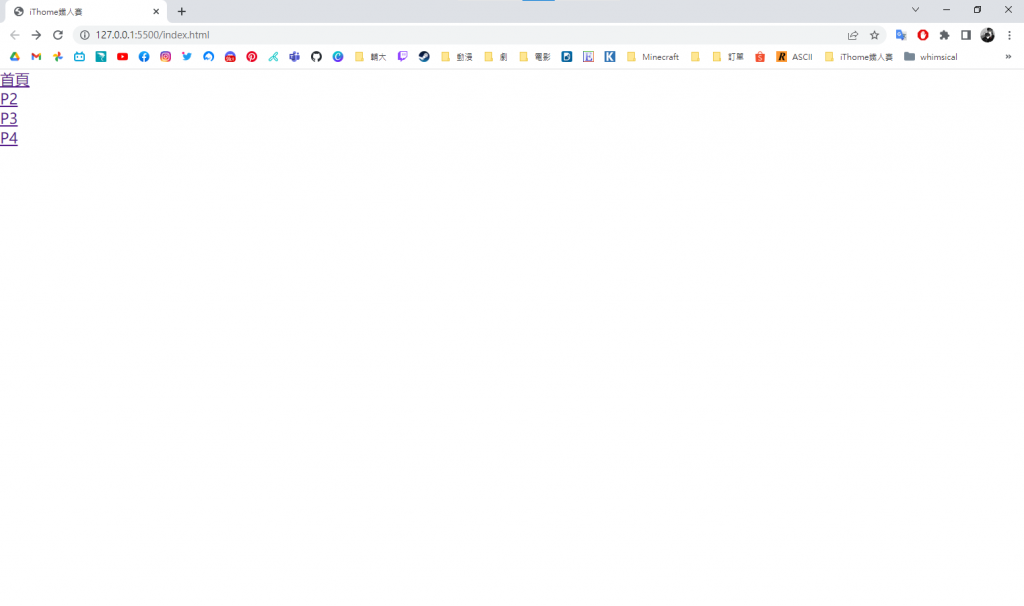
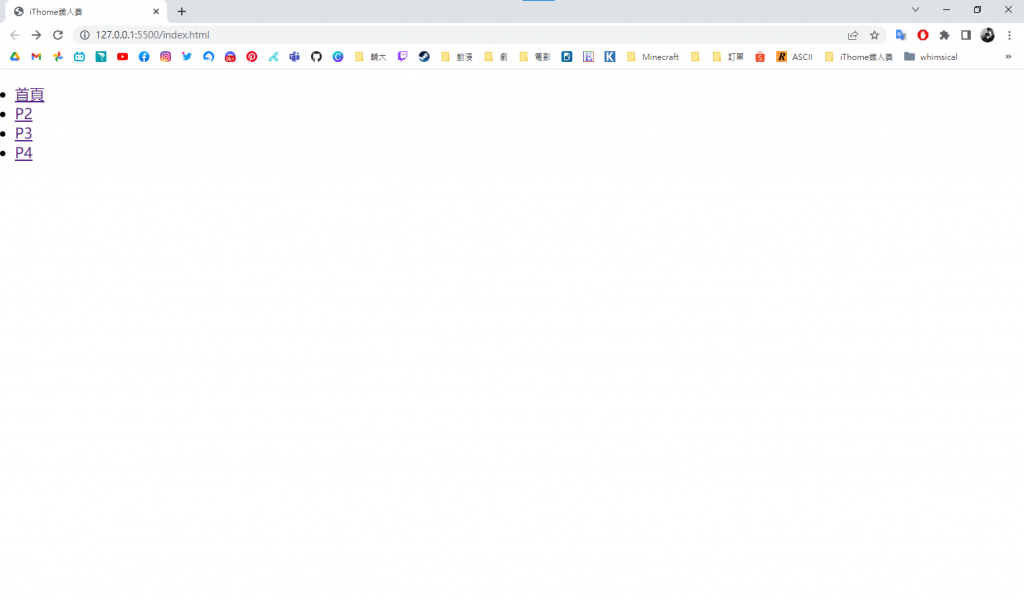
ul設定邊距,讓選單欄不要緊貼的邊界header nav ul {
padding: 1rem;
}
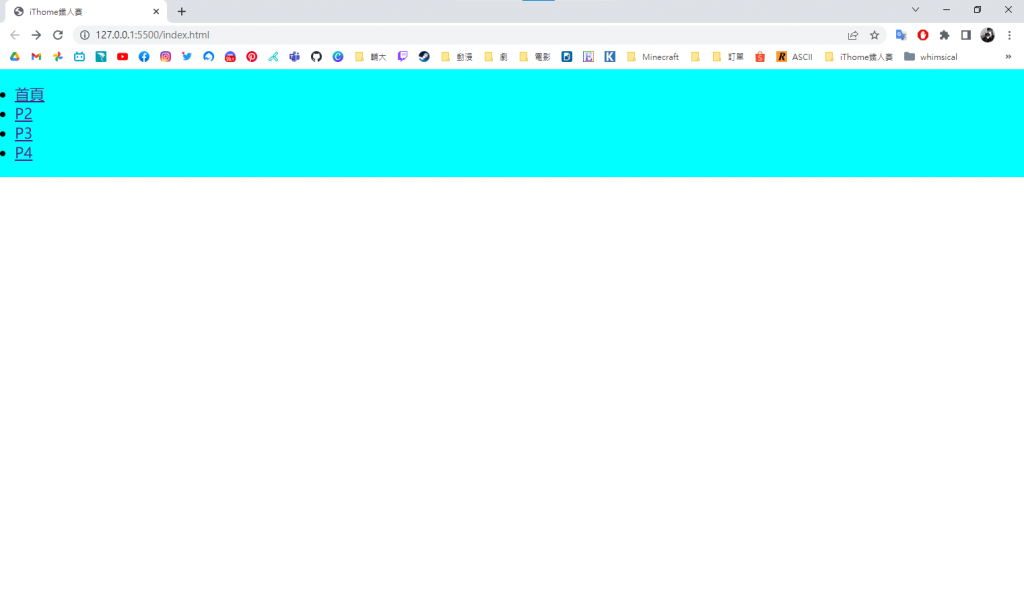
header nav ul {
    padding: 1rem;
    background-color: aqua;
}
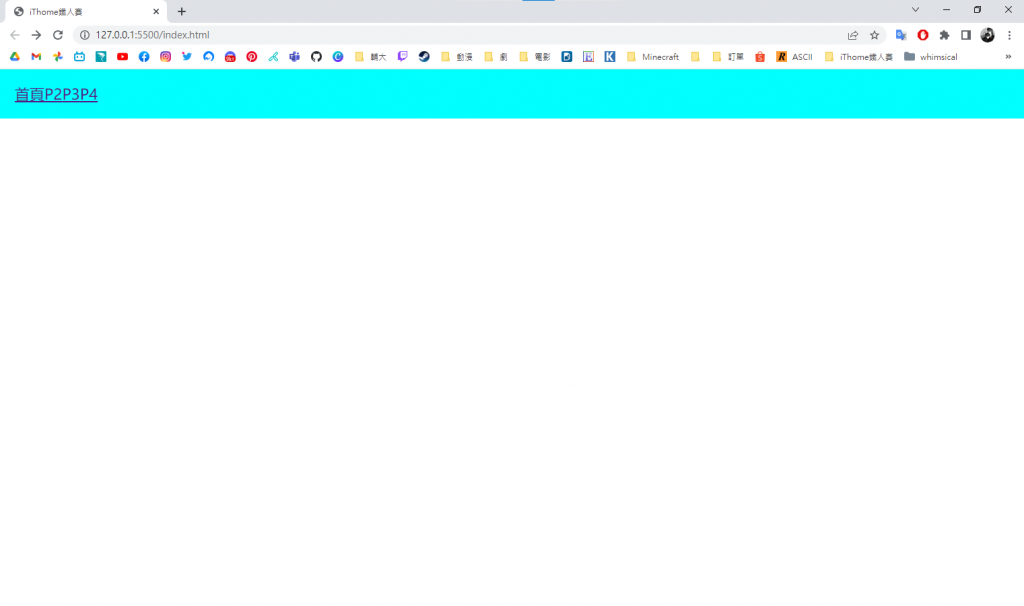
header nav ul {
    padding: 1rem;
    background-color: aqua;
    list-style-type: none;
}
header nav ul {
    padding: 1rem;
    background-color: aqua;
    list-style-type: none;
    display: flex;
}
header nav ul {
    padding: 1rem;
    background-color: aqua;
    list-style-type: none;
    display: flex;
    justify-content: space-between;
}
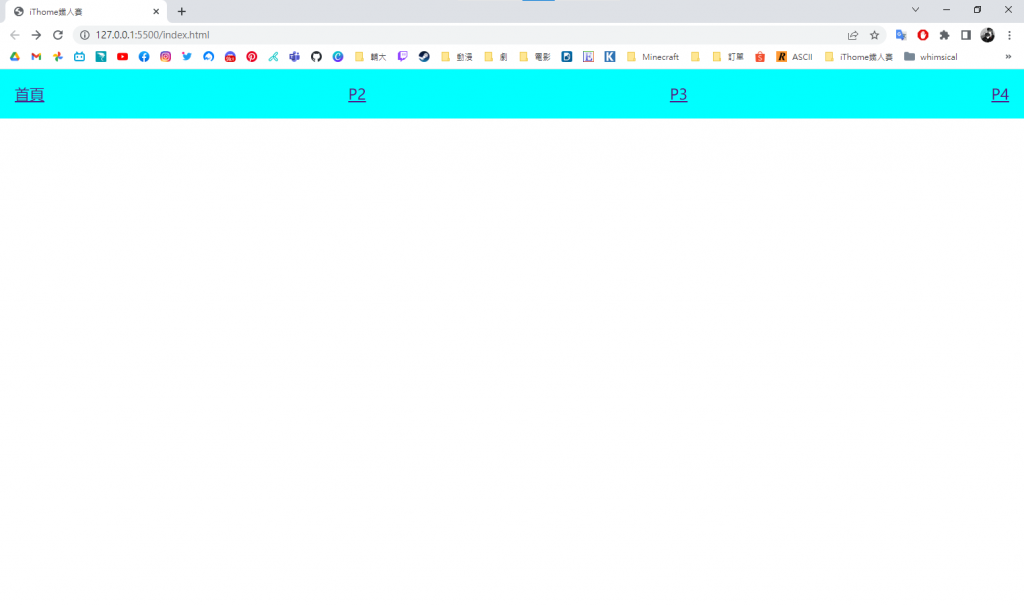
header nav ul li a {
    text-decoration: none;
}
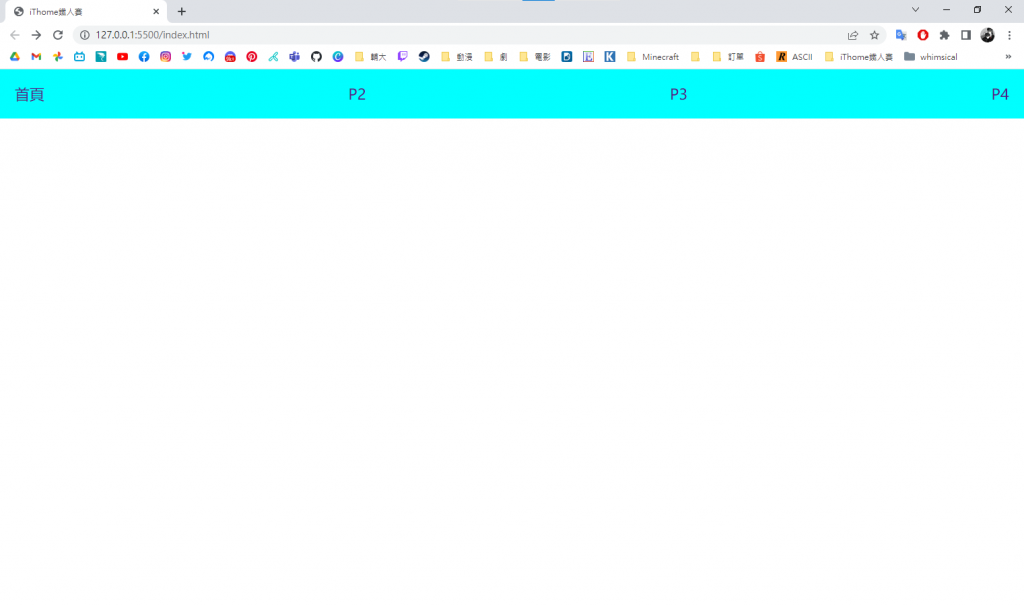
header nav ul li a {
    text-decoration: none;
    font-size: 1.5rem;
    color: blue;
}
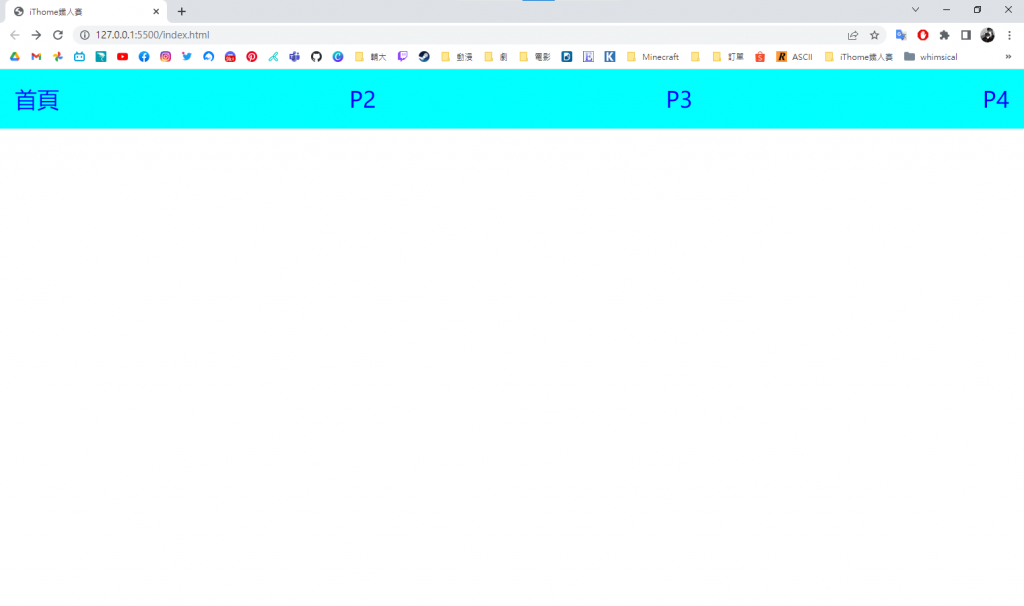
一個簡單的網頁選單欄就完成啦~