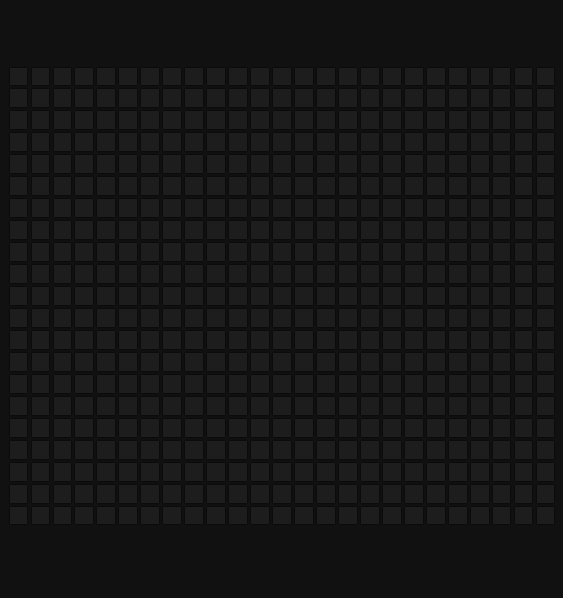
今天要來做的是由多個正方形所組成的hover面板
| 知識點 | 使用說明 |
|---|---|
| transition | 設置方塊的效果變化 |
| box-shadow | 利用陰影製造螢光色 |
| 知識點 | 使用說明 |
|---|---|
| createElement | 創建「方塊」元素 |
| addEventListener | 監聽方塊的mouseover和mouseout事件 |
| classList.add( ) | 新增class="square"屬性 |
| Math.floor( ) | 無條件捨去 |
| Math.random() | 取隨機小數,介於0~1之間(包含 0,不包含 1) |
<div class="square"></div> 這一行,因為要用JS直接操作DOM,就不需要寫一堆HTML<div class="container" id="container">
<div class="square"></div>
//後面省略
</div>
* {
  box-sizing: border-box;
}

body {
  background-color: #111;
  margin: 0;
  padding: 0;
  display: flex; /*讓內容水平垂直置中*/
  justify-content: center;
  align-items: center;
  height: 100vh;
  overflow: hidden;
}
外部容器
.container {
  display: flex;
  justify-content: center;
  align-items: center;
  flex-wrap: wrap;
}
正方形格子
.square {
  background-color: #1d1d1d;
  box-shadow: 0 0 2px #000;
  height: 16px;
  width: 16px;
  margin: 2px;
  transition: all 2s ease; /*2s是要製造一種褪色效果*/
}
.square:hover {
  transition-duration: 0s; /*滑鼠一過去馬上就會亮起來*/
}
let container = document.getElementById("container");

//顏色可以任意選擇想要的,可以是rgb、hex、hsl都可以
let colors = ["#146152", "#44803F", "#B4CF66", "#FFEC5C", "#FF5A33"];

let SQUARES = 500  //方塊總數
創建方塊格子
for (let i = 0; i < SQUARES; i++) {
  let squares = document.createElement("div");
  squares.classList.add("square");
}
創建方塊格子這部分成以下幾個知識點講解

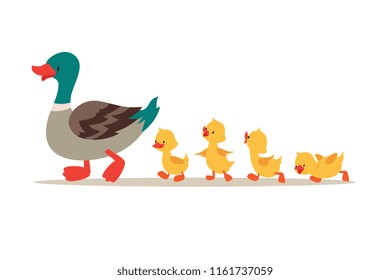
老實說,覺得 document.createElement() 就很像途中鴨媽媽在生蛋的概念XD,創建新的生命,就像透過 document.createElement() 去創造新的元素
In an HTML document, the document.createElement() method creates the HTML element specified by tagName, or an HTMLUnknownElement if tagName isn't recognized.
擷取至MDN
document.createElement() 去新增HTML元素createElement("tagName", options)is 的物件,可以點此看更詳細說明以上都設好,這時候我們在瀏覽器上還看不到它,直到透過 appendChild()等方法將新元素加入至指定的位置之後才會顯示,可以看底下程式碼。
for (let i = 0; i < SQUARES; i++) {
  let squares = document.createElement("div");
  squares.classList.add("square");
  container.appendChild(squares);   //透過appendChild()讓正方形出現在畫面上
}

The appendChild() method of the Node interface adds a node to the end of the list of children of a specified parent node.
擷取至MDN
appendChild() 可以新增新增子節點(childNode)在父節點(parent node)的尾巴處,如果將被插入的節點已經存在於當前文檔的文檔中,那麼 appendChild() 只會將它從原先的位置移動到新的位置,不需要事先移除要移動的節點element.appendChild(childNode)
呈現如下圖,可以在畫面上順利看到方塊後,接下來要處理滑鼠懸停在正方形上會有的效果
為squares加入事件監聽
  squares.addEventListener("mouseover", () => { setColor(squares)} );  //滑鼠進入
  squares.addEventListener("mouseout", () => { removeColor(squares)} ); //滑鼠離開

 //顏色顯現
 function setColor(element) {
  let color = getRandomColor();
  element.style.backgroundColor = color;
  element.style.boxShadow = `0 0 2px ${color} , 0 0 10px ${color}`;
  }

function getRandomColor() {
  return colors[Math.floor(Math.random() * colors.length)];
}
以上拆成以下幾個知識點做講解
The Math.random() function returns a floating-point, pseudo-random number that's greater than or equal to 0 and less than 1, with approximately uniform distribution over that range — which you can then scale to your desired range.
擷取至MDN
Math.random() 會根據給定的數字範圍,回傳一個隨機小數 (pseudo-random)給我們 ,它介於 0 到 1 之間(包含 0,但不包含 1) ,符合數學與統計上的均勻分佈 (uniform distribution)若你想找某數(min)~某數(max)間隨機值,這裡有一個常見的公式可以參考Math.floor(Math.random() * (max - min + 1) ) + min;
Math.random()常會跟Math.floor()無條件捨去一起使用,把回傳值轉換為整數以上都設定好會看到如下圖的呈現,顏色並沒有消失,所以要來處理這個問題
顏色消失
其實就是還原為原廠設定的概念XD,當初CSS寫甚麼這裡就放甚麼
function removeColor(element) {
  element.style.backgroundColor = "#1d1d1d"; //原本square的背景色
  element.style.boxShadow = "0 0 2px #000"; //原本square的陰影
}
以上都設定好就完成囉,如下圖
附上codepen連結 https://codepen.io/hangineer/pen/poVaWvp
若有解說不夠詳盡或是錯誤歡迎指教,感激不盡!那明天見囉
50 Projects In 50 Days - HTML, CSS & JavaScript
重新認識 JavaScript: Day 13 DOM Node 的建立、刪除與修改
