今天要來做的是畫畫面板,使用到HTML5的canvas這個元素
| 知識點 | 使用說明 |
|---|---|
| canvas | 設定畫布 |
| 知識點 | 使用說明 |
|---|---|
| selector | 這裡用到了 * 以及 :last-child (在此只列出部分選擇器) |
| inline-flex | 設置彈性容器,可以想想他跟flex的差別 |
| 知識點 | 使用說明 |
|---|---|
| 各種Canvas有關的API(請看更下方說明) | 繪製圖形、線條等2D平面圖像 |
| offsetX / offsetY | 滑鼠距離外層指定容器的偏移量 |
   <canvas id="canvas" width=500 height=500></canvas>
    <div class="toolBox">
        <button id="decrease">-</button>
        <span id="size">20</span>
        <button id="increase">+</button>
        <input type="color" name="color" id="color">
        <button id="clear">X</button>
    </div>
<canvas> 它看起來有點像 <img> 元素,兩者的差異點在於 <canvas> 沒有 src 和 alt 屬性,只有 width 與 height 這兩個屬性,這兩個屬性皆為選填、能透過 DOM 屬性設定;若是沒有設定 width 和 height 屬性,預設的寬為 300 px、高為 150 px
* {
  box-sizing: border-box;
}

body {
  background-color: #f5f5f5;
  margin: 0;
  padding: 0;
  display: flex; /*讓內容水平垂直置中*/
  flex-direction: column;
  justify-content: center;
  align-items: center;
  height: 100vh;
}
主體
/* 畫布 */
canvas {
  border: 2px solid steelblue;
}
/* 控制工具 */
.toolBox {
  background-color: steelblue;
  border: 1px solid slateblue;
  display: flex;
  width: 504px;
  padding: 1rem;
}
/* 控制工具裡的所有子元素 */
.toolBox > * {
  background-color: #fff;
  border: none;
  display: inline-flex;
  justify-content: center;
  align-items: center;
  font-size: 2rem;
  height: 50px;
  width: 50px;
  margin: 0.25rem;
  padding: 0.25rem;
  cursor: pointer;
}
/* 選取toolBox中的最後一個子元素 */
.toolBox > *:last-child {
  margin-left: auto;
  background-color: aqua;
}
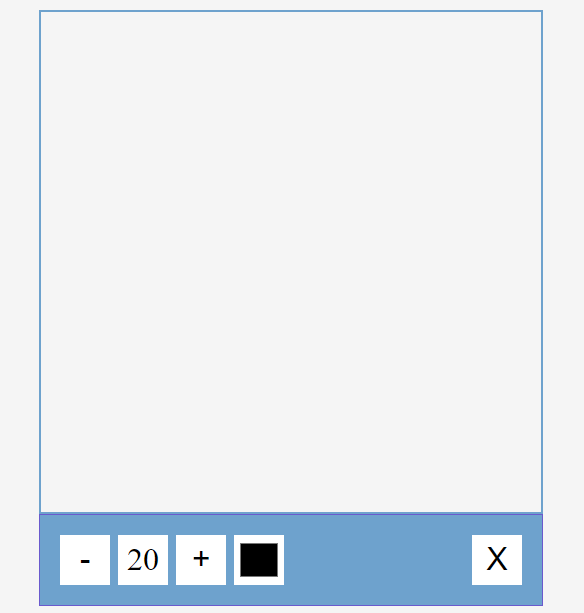
以上都設設置好,呈現如下,一開始 canvas 為空白,需透過canvas API渲染環境,在上面繪圖,然後才會顯現影像
const canvas = document.getElementById("canvas");
const increaseBtn = document.getElementById("increase");
const decreaseBtn = document.getElementById("decrease");
const sizeEL = document.getElementById("size");
const colorEl = document.getElementById("color");
const clearEl = document.getElementById("clear");
const ctx = canvas.getContext("2d");
針對最後一個變數ctx來說明,ctx 其實就是 Context(渲染環境)的簡寫,不同環境(context)可能會提供不同型態的渲染方式,有2D和3D,本篇因為是2D,所以就不討論3D的部分
getContext()
可以取得渲染環境及其繪圖函數(function),可以傳入參數,代表渲染環境的類型,此賽project為 2d ,所以輸入getContext("2d")
繪製圓圈
let radius = 20;
let color = "black";

function drawCircle(x, y) {
  ctx.beginPath();
  ctx.arc(x, y, size, 0, Math.PI * 2);
  ctx.fillStyle = color;
  ctx.fill();

  drawCircle(100, 200);
}
繪製圓圈的部分,分成以下幾個知識點來說明
beginPath()用來開始一個新路徑,之後再使用其他繪圖API來設定路徑走向,可以想像成「起點」
closePath()用來結束路徑,可以想像成「終點」
fill()用來填滿路徑區域產生圖形
moveTo(x, y)用來移動畫筆,可將畫筆移動到指定的(x,y)座標點
arc(x, y, radius, startAngle, endAngle, anticlockwise)用來畫弧形,x, y 代表圓心的座標,radius 代表半徑,startAngle, endAngle 分別代表沿著弧形曲線上的起始點與結束點的弧度,anticlockwise為布林值,true 代表逆時針、false 代表順時針
fillStyle = color設定填滿圖形的顏色
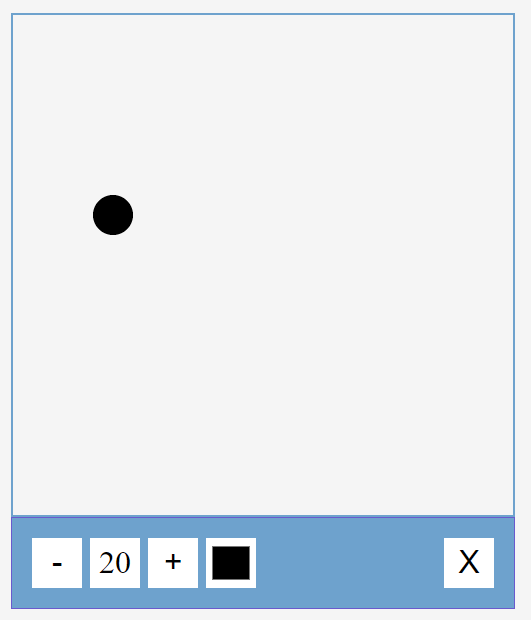
以上設置好會看到如下圖的呈現,畫面上多了一個黑色點點
繪製線條
function drawLine(x1, y1, x2, y2) {
  ctx.beginPath();
  ctx.moveTo(x1, y1);
  ctx.lineTo(x2, y2);
  ctx.strokeStyle = color;
  ctx.lineWidth = radius * 2;  //40px
  ctx.stroke();

}
繪製線條的部分,分成以下幾個知識點來說明
lineTo(x, y)用來畫直線,從目前繪圖點畫一條直線到指定的(x,y)座標點lineWidth設置線條的寬度(粗細)stroke()用來畫出圖形的邊框
fillStyle = color設定填滿圖形的顏色 (上面繪製圓圈的部分有使用到)strokeStyle = color設定筆畫用的顏色.
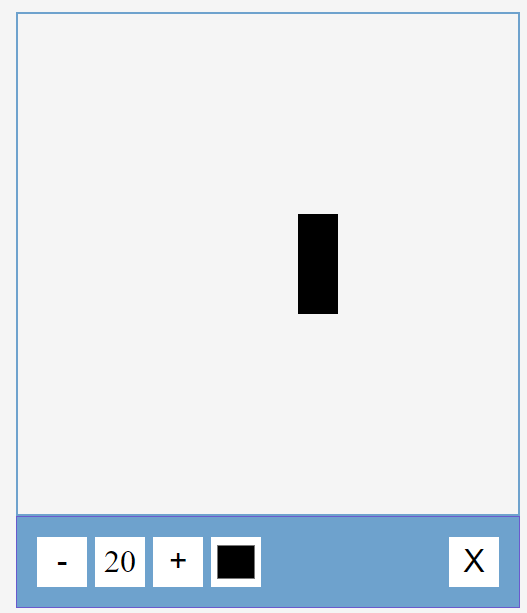
以上都設置好,呈現如下,畫面上會出現一條黑色線條
那因為要是動態的座標,所以我們新增兩個變數分別為X、Y來存放座標
let x;
let y;
事件監聽
let isPressed = false;

//滑鼠按下
canvas.addEventListener('mousedown', (e) => {
  isPressed = true
  x = e.offsetX
  y = e.offsetY
})

//移動滑鼠
canvas.addEventListener('mousemove', (e) => {
    if(isPressed) {
         let x2 = e.offsetX
         let y2 = e.offsetY

        drawCircle(x2, y2)
        drawLine(x, y, x2, y2)

       //x、y跟著滑鼠移動而有不同值,為動態的
        x = x2
        y = y2
    }
})

//滑鼠拿起
document.addEventListener('mouseup', (e) => {
    isPressed = false

    x = undefined
    y = undefined
})
因為我們要在畫布(canvas)上作畫,所以在畫布上加入 mousedown 以及 mousemove 事件,滑鼠點下去的的瞬間去計算x和y軸在畫布上的偏移量,滑鼠拿起則代表x和y不會有值,所以是 undefined
以上都設置好,呈現如下,當滑鼠一按下就可以開始畫畫了~~繪製部分沒問題了,接下來要設定toolbox控制區的部分
顏色變換
colorEl.addEventListener("change", (e) => (color = e.target.value)); //取得所選的顏色
呈現如下
+ 和 - 按鈕(調整筆刷粗細)
increaseBtn.addEventListener("click", () => {
  radius += 5;

  if (radius > 50) {
    radius = 50;
  }

  updateSizeOnScreen();
});

decreaseBtn.addEventListener("click", () => {
  radius -= 5;

  if (radius < 5) {
    radius = 5;
  }

  updateSizeOnScreen();
});

function updateSizeOnScreen() {
  sizeEL.innerText = radius;
}
以上這段是設置筆刷的粗細,當按下+或是-的按鈕就要能調整大小,所以添加click事件來監聽這兩個按鈕,並讓筆刷的最小粗細和最大粗細界於5 ~ 50 之間(預設是20),並讓 updateSizeOnScreen() 更新大小
呈現如下
清除按鈕
clearEl.addEventListener('click', () => ctx.clearRect(0,0, canvas.width, canvas.height))
0 , 0 , canvas.width , canvas.height 代表把畫布清除,從左上角原點開始(0,0),並重新計算畫布的寬度和高度
clearRect(x, y, width, height)清除指定矩形區域內的內容
附上codepen連結 https://codepen.io/hangineer/pen/WNJywzo
關於畫布的各個用法和知識點,可以看Canvas 教學文件,解說蠻詳盡的,自己也是一邊看這篇文的教學一邊做賽project,若有解說不夠詳盡或是錯誤歡迎指教,感激不盡!那明天見囉
50 Projects In 50 Days - HTML, CSS & JavaScript
Canvas 教學文件
