在前面章節Issue type有稍微介紹到Epic,它是最大型用戶故事,可以分解成許多較小的故事;一個Epic可以跨越多個迭代、專案、團隊和Board;可以包含其他的Issue(Story、Task、Bug、Subtask及客製化類型)。
這章節你將學會
建立Epic的方式與建立Issue相同,Issue type選擇Epic,並輸入下面的必填欄位,點擊「Create」按鈕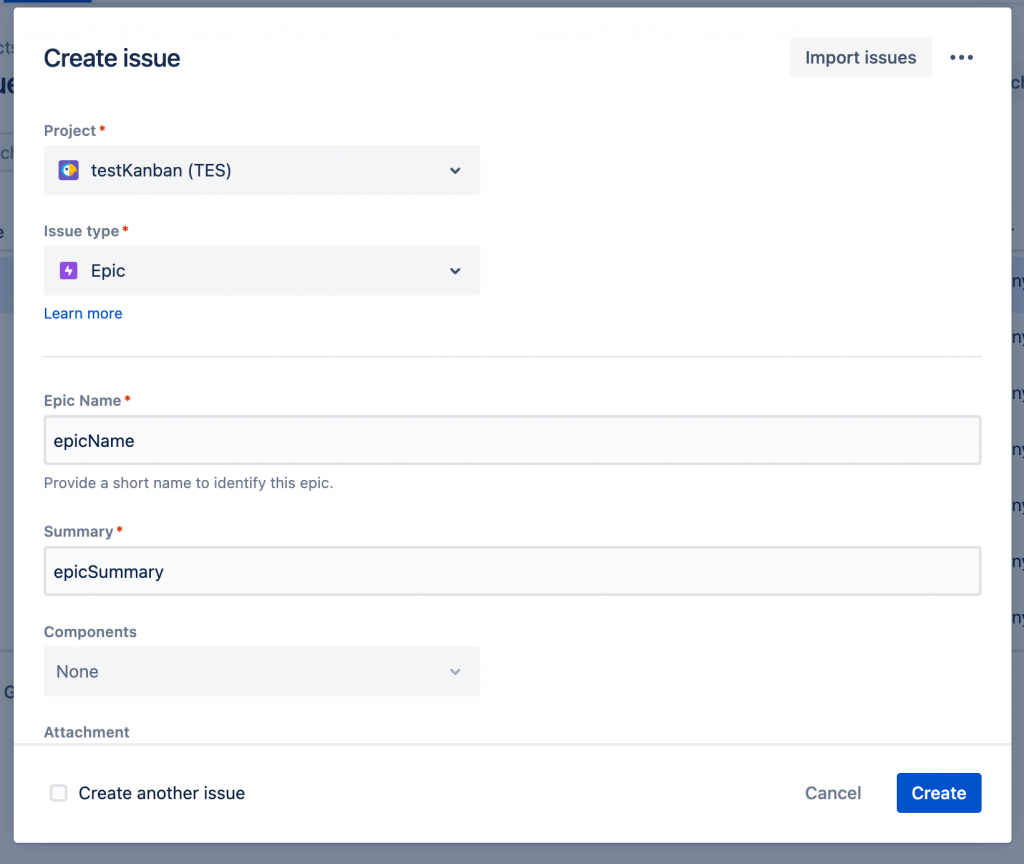
建立好的Epic會顯示在Issue列表裡
除了可以點擊上方的Create按鈕建立Epic外,還可以在Scrum與Kanban建立,接下來我們就分別介紹建立的步驟
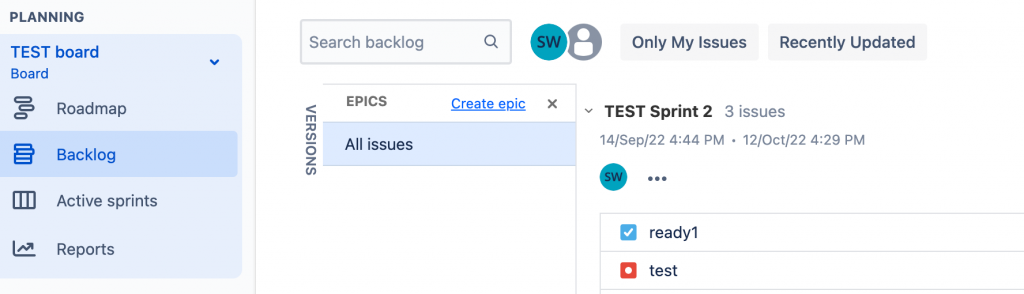
點選「Backlog」連結,在Sprint列表,點擊Epics → Create epic,就會顯示與上方相同的Create issue彈窗內容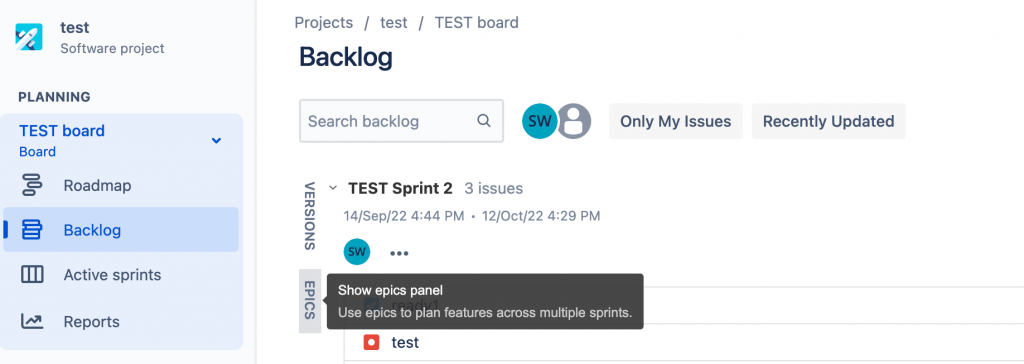
建立好後,左側就會看見你建立好的Epic資訊,包括Issue、Completed、Unestimated、Estimate數據,監控Epic的當前狀態。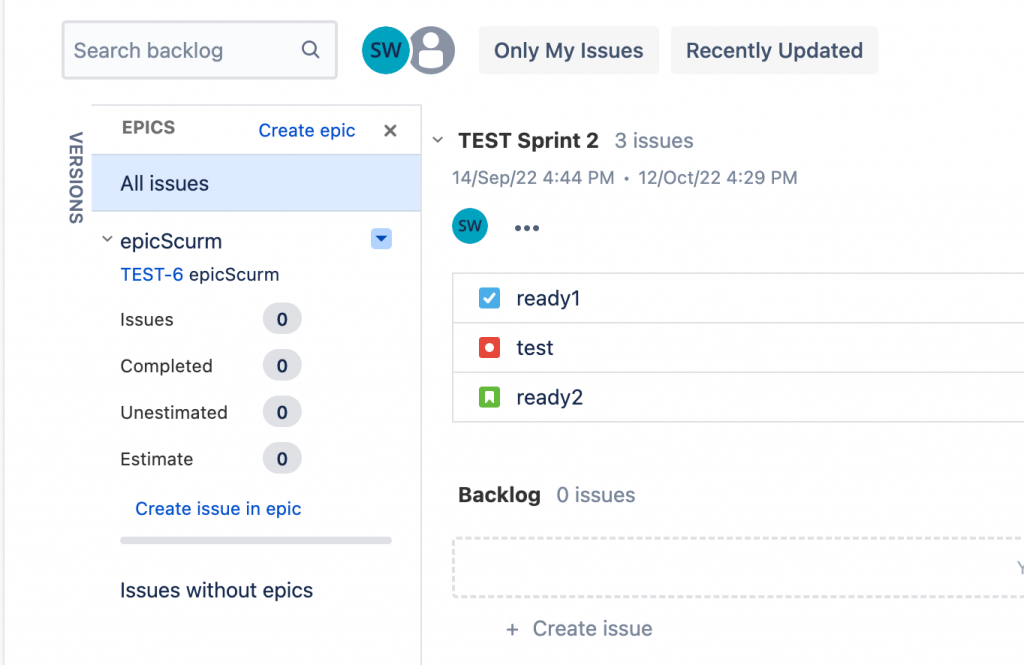
當你建立問題後,在左邊就會顯示在Epic建立問題的過程數據統計。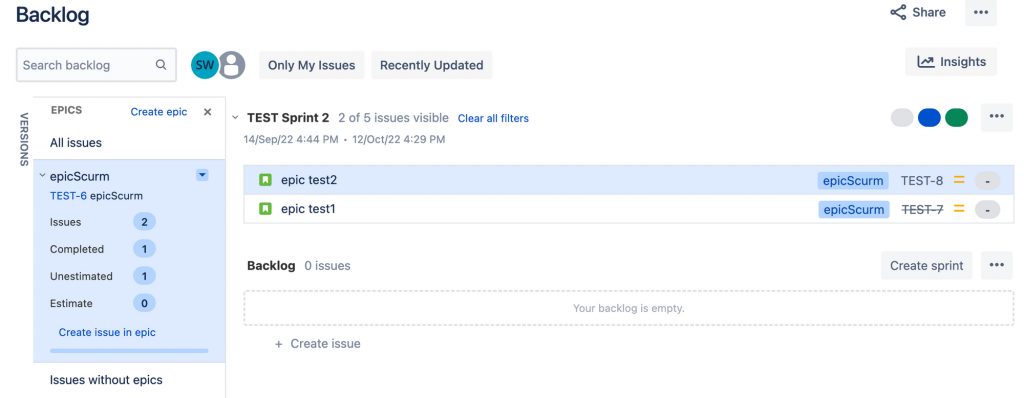
在Kanban backlog裡面是沒有Epic選項,必須到Board settins裡面打開
點擊右上三個點點 → Board settings → Columns找到「Epics panel」將開關打開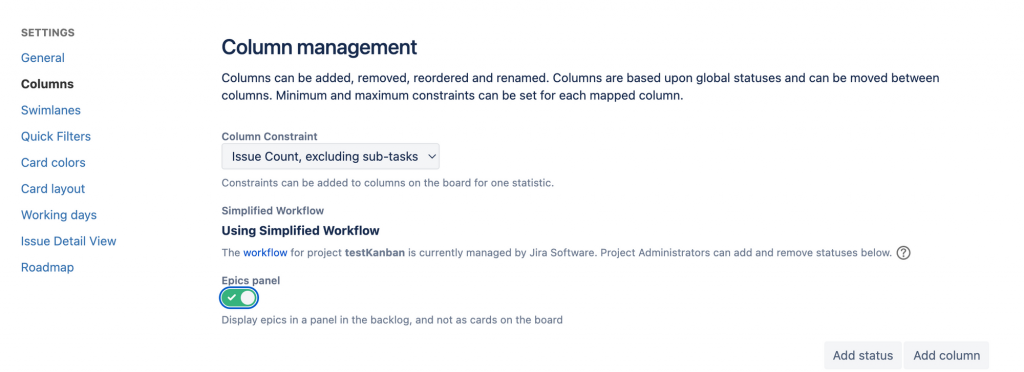
回到Kanban backlog後,你就會看到Epic了,建立Epic的方法與Scrum相同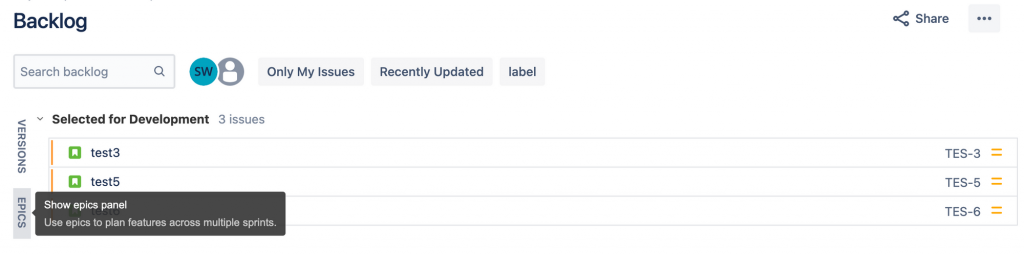
與Scrum不同的地方是在Kanban backlog問題完成後,就不會顯示在sprint
建立好Epic後,就要在裡面新增任務,接下來會針對Epic與Issue關係做介紹
可以點擊Epic的問題,查看Epic裡面有哪些Issue,點擊project key:TES-8,你會看到右邊是在TES-8裡面所有的Issue列表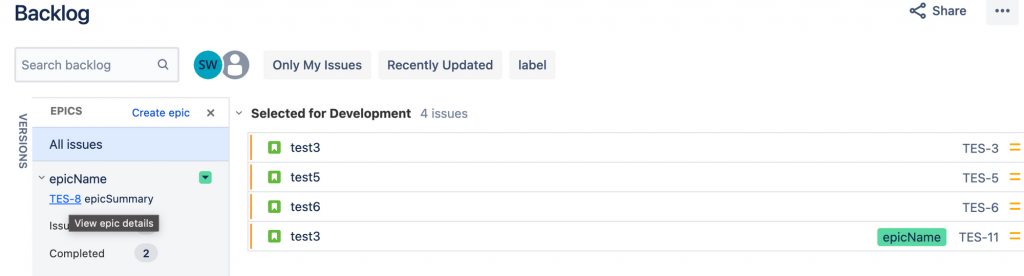
點擊其中一個Issue,可以看到Issue詳細資訊
將Issue加入EpicEpic有三種方式
點擊要加入Epic的issue,進入Issue詳細頁面,右側欄位找到一個Epic link欄位,選擇你要將這張issue加入到哪個Epic裡,這裡選擇TES-5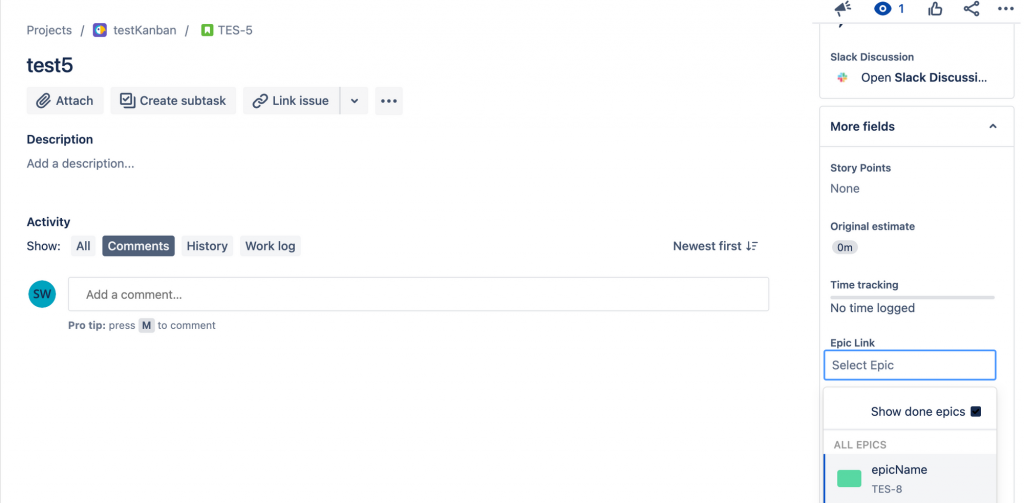
接著到Epic裡面就看剛加入的Issue了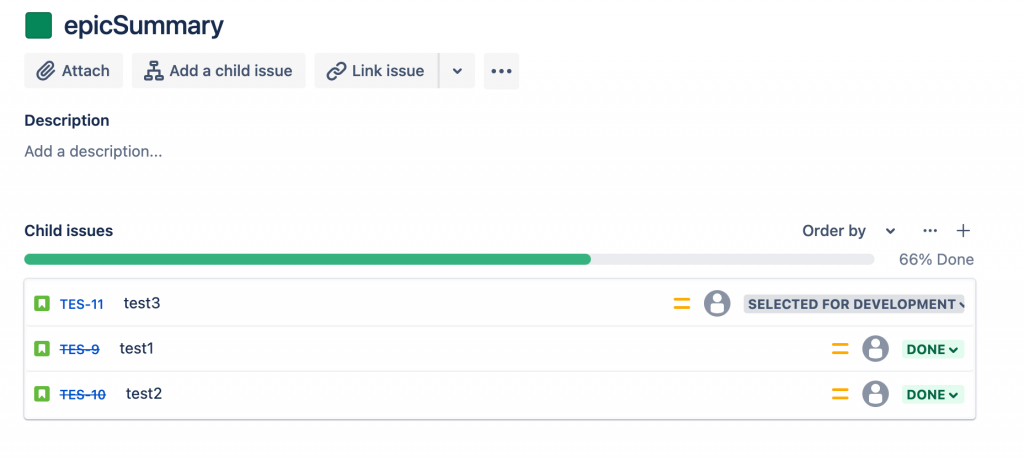
在Roadmap滑鼠停留在要加入Issue的Epic上,點擊「+」可以新增Issue

點擊要加入Issue的Epic,下方Child issue右邊有個「+」可以新增Issue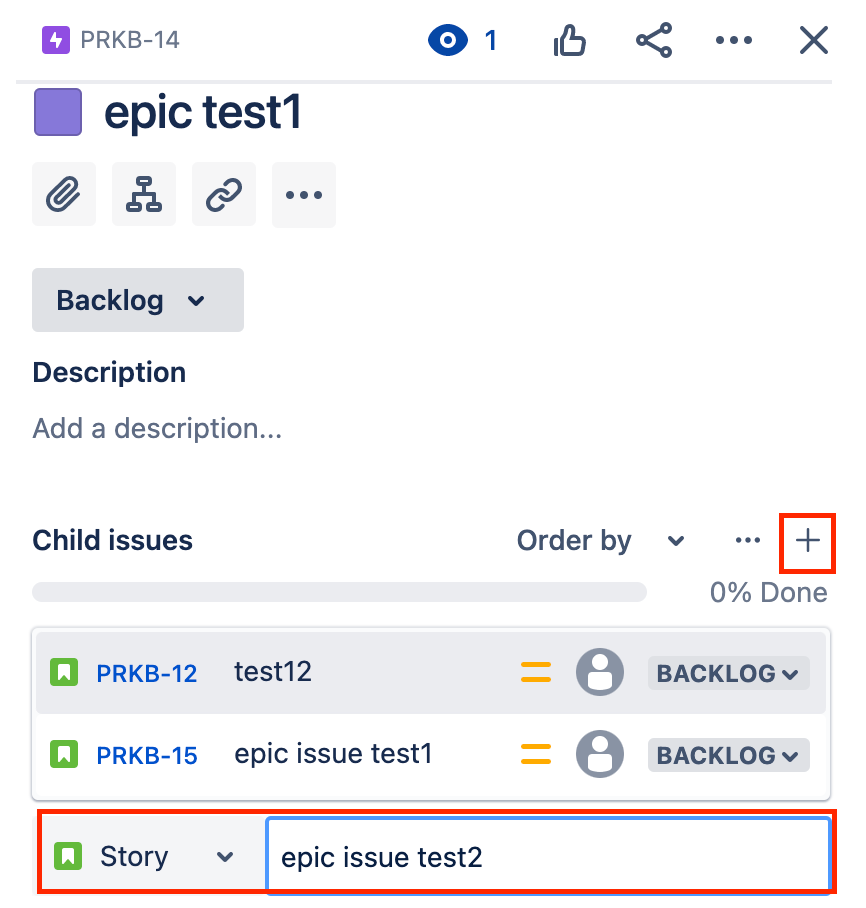
在某些時候,可能會意識到現有故事比您想像的要大,希望將問題轉為Epic。下面就來教你將已存在的issue轉成Epic
點擊要轉換Epic的Issue,選擇左上Story圖示,點擊Epic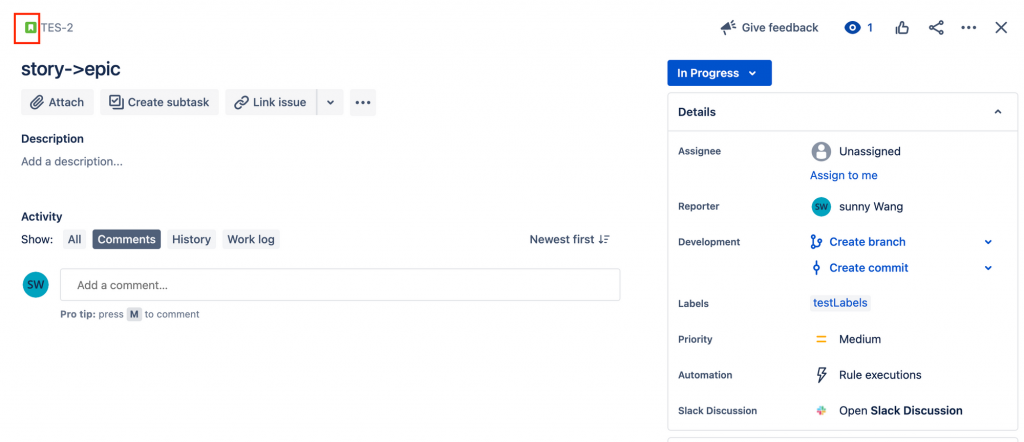
會跳轉到移動issue頁面,New Issue Type選擇Epic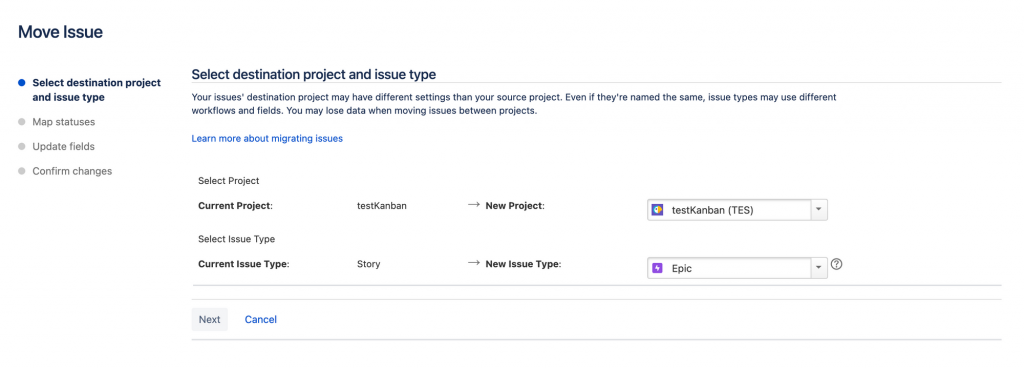
輸入新的Epic名稱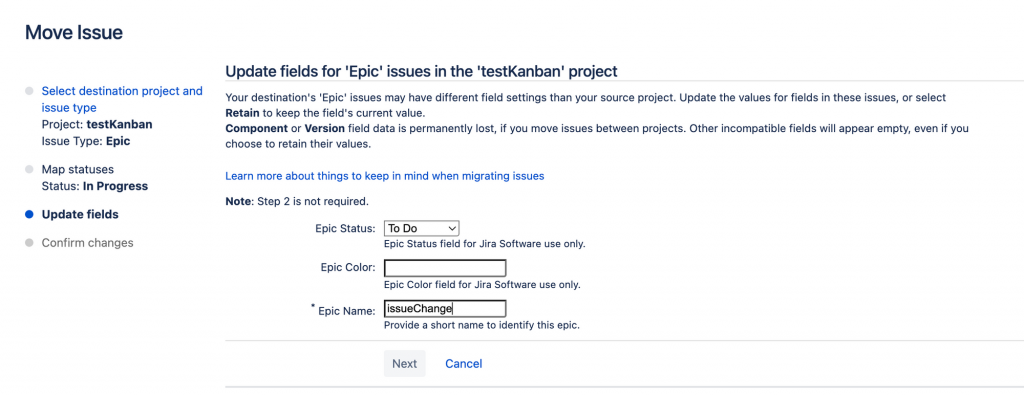
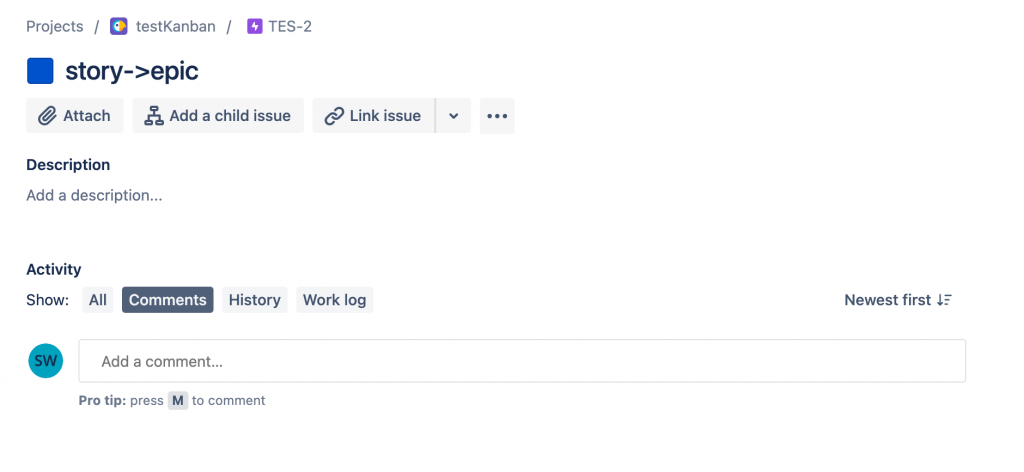
確認改變的需求,確認後就會看到Story已經變成Epic了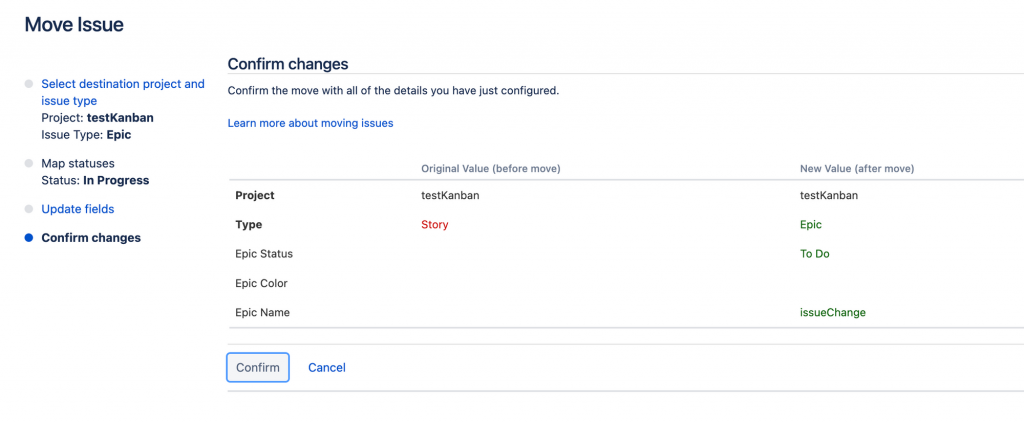
在前面章節有講到Board swimlanes設定,找到「Base Swimlanes on」選項選擇Epic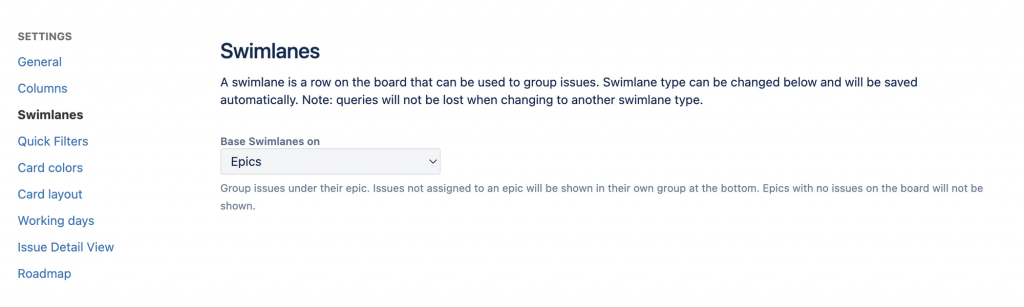
回到Board後,你會看到在Board上面,會與其他問題分開,每個Epic都會自動擁有自己的Swimlanes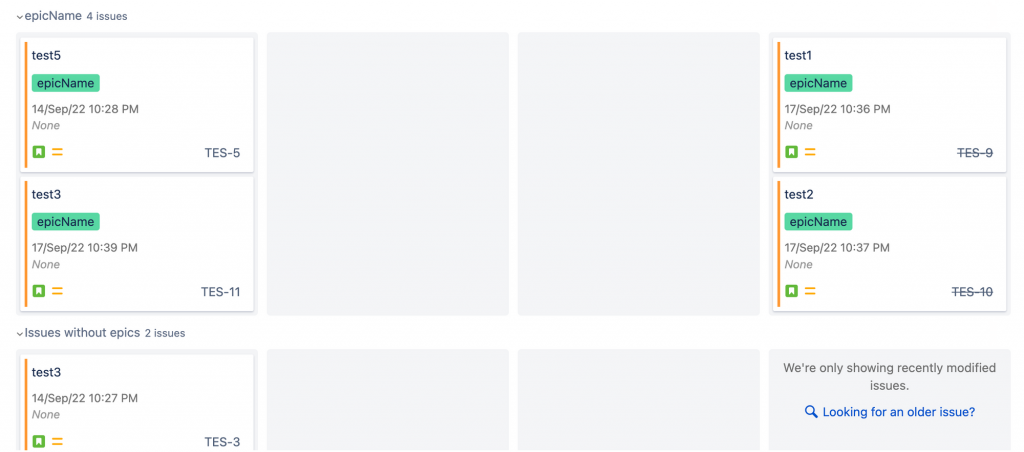
可以通過選擇史詩名稱旁邊的下拉菜單並選擇標記為已完成來將史詩標記為已完成。
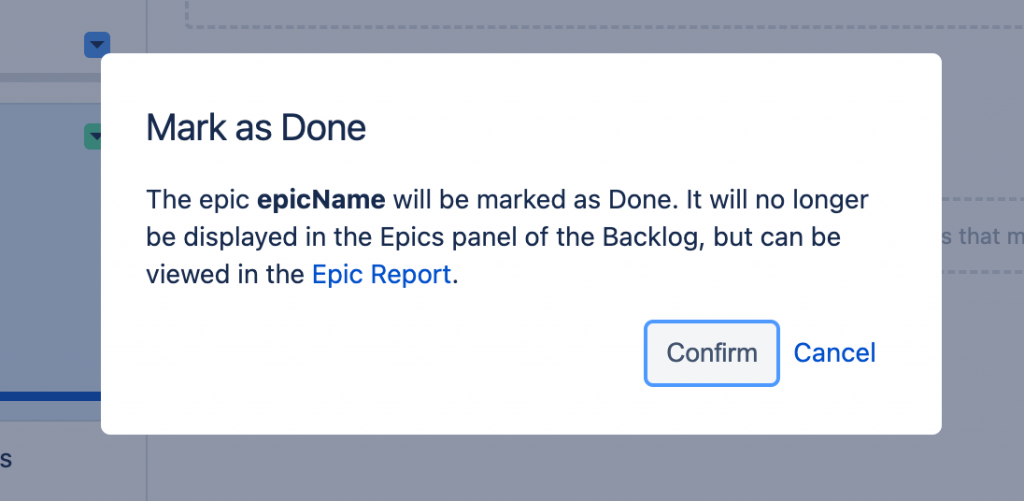
當完成Epic裡面所有問題後,點擊Epic名稱旁邊的下拉選單,選擇「Make as Done」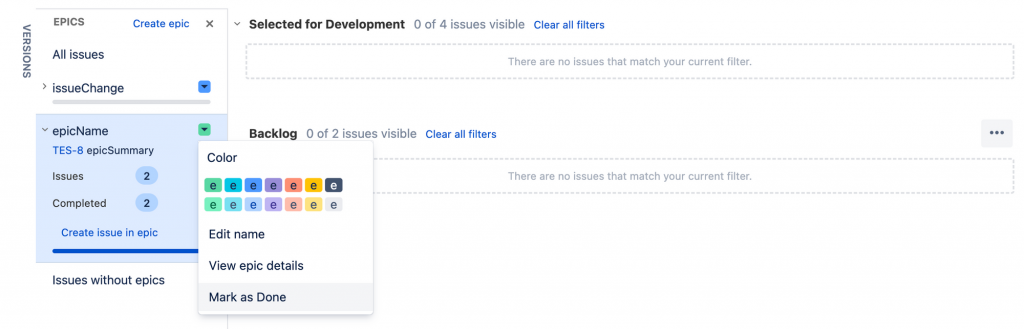
就會出現提示訊息,如果有問題沒有完成就會出現警告訊息,要求你確認,否則就可以按「Confirm」完成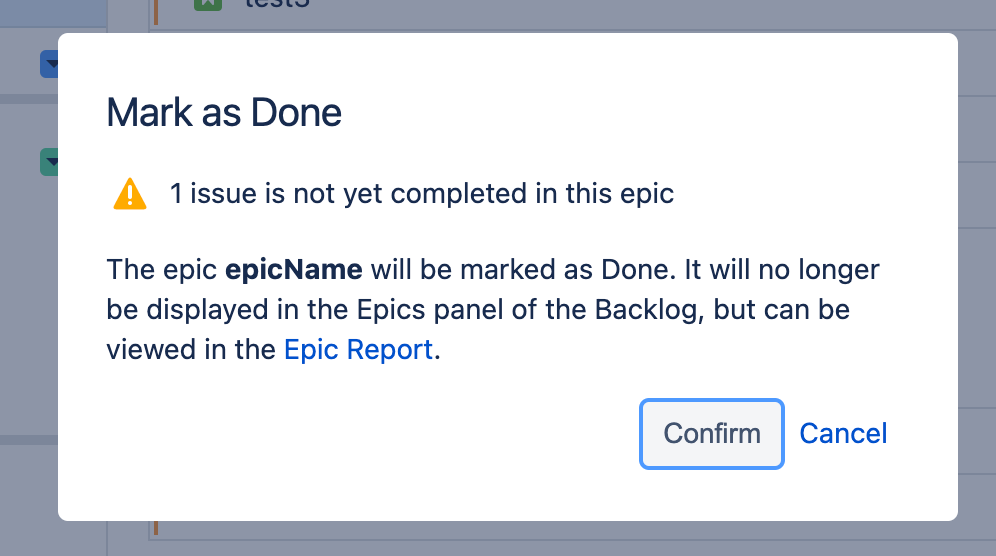
完成後,剛剛的Epic名稱就會消失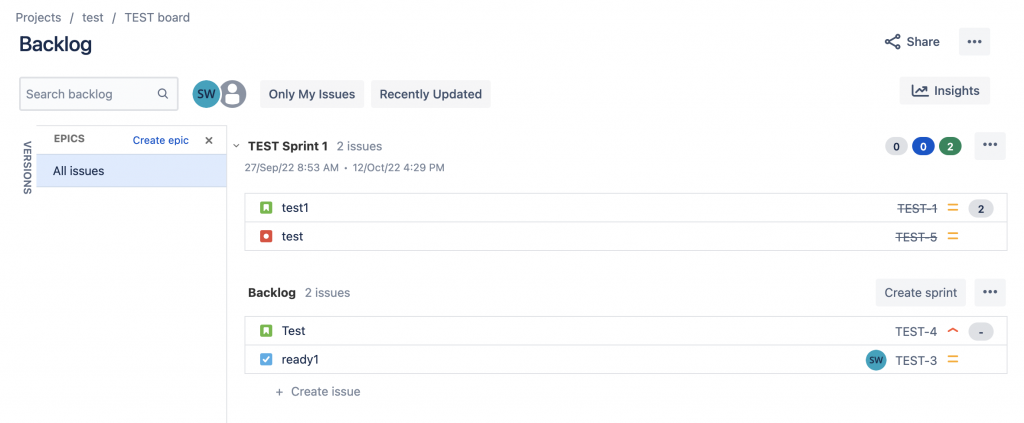
如果您想撤消標記為完成的Epic,您可以搜索Epic狀態字段設置為完成的問題。以下範例以Scrum做介紹。
點擊Issue,在搜尋最右側點擊JQL,之後再輸入框輸入「"Epic Status" = Done」,就會顯是已經標記完成的Epic。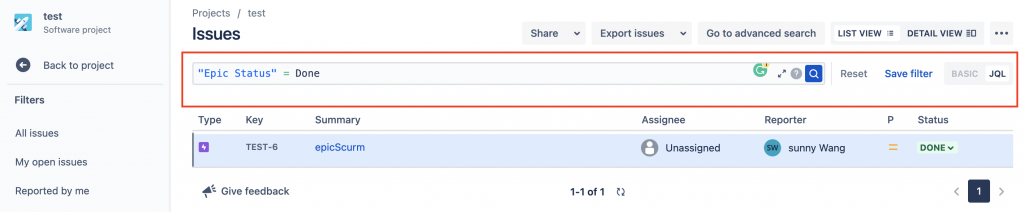
點擊右上角三個點點,選擇「Bulk change」選項。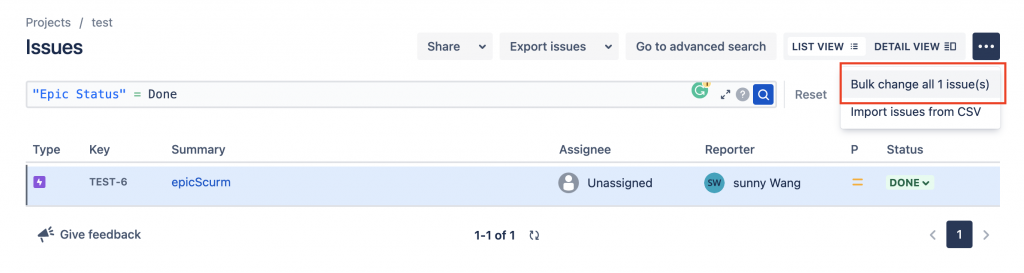
選擇要修改的Epic,這邊選擇「TEST-6」Epic,接著點擊「Next」按鈕
選擇「Edit issues」選項,點擊「Next」按鈕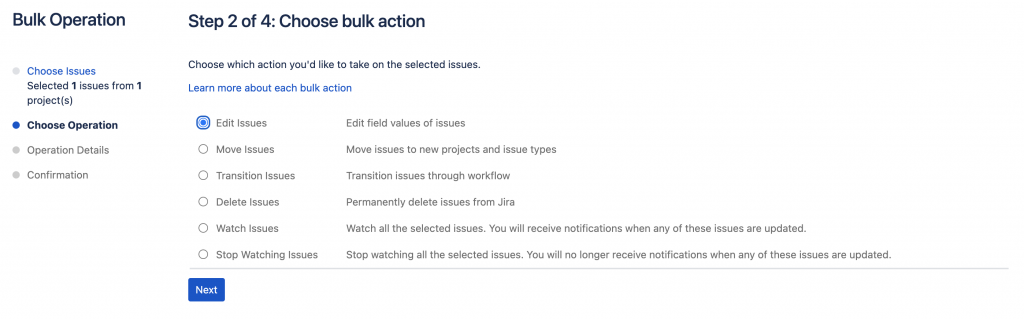
找到「Change Epic Statuse」,並將狀態改完「In Progress」,按下「Next」按鈕
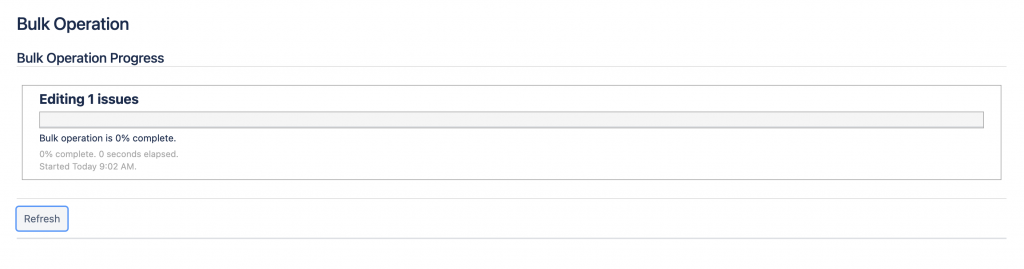
確認完成送出依照點擊按鈕完成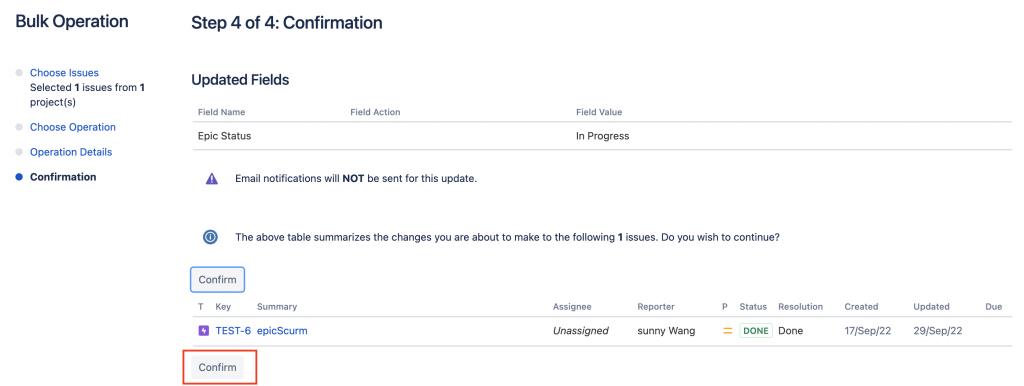
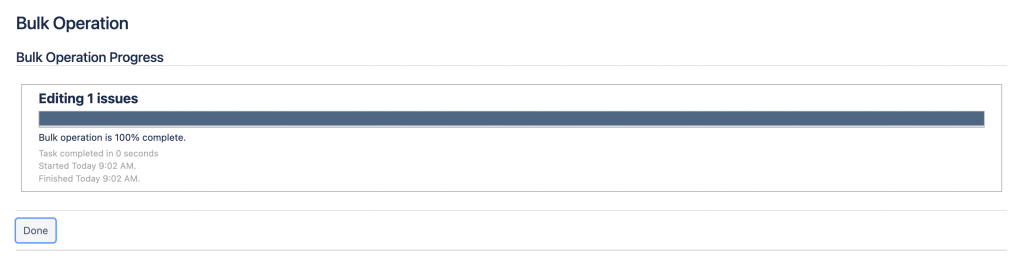
再回到Backlog就會看到Epic
Epic位於層次結構的上層,描述了產品大部分的功能,是最大型用戶故事,一般會將故事切分成更小的任務,為了更方便管理使用者故事,因為故事太大,沒有明確的需求,對團隊來說沒有太大的意義。
這章節學會如何從建立到管理及查看Epic,相信你對Epic也有一定的了解,下章節將會介紹Roadmap,那我們明天見囉~