每個租戶都會有各自的網站相關資訊,這些資訊可不能只由我們開發者才能調整,這樣當要頻繁更動資料時開發者會非常辛苦,將這些調整時會更動的內容放上管理介面讓網站管理者自行控制吧!
將頁面可能會時常調整的內容定義成欄位,主要分為網站語言、網站資訊、網站樣式、首頁、商品詳細頁、更多資訊。
網站語言
語言的設定將會在之後介紹多語系的時候進行講解
網站資訊
網站名稱、聯絡電話
網站樣式
包含 網站logo、網站圖示、還有主要 css 檔案。
首頁
將上方商品類型區塊預設取前三筆資料改為讓管理者能自行選擇哪三筆
商品詳細頁
將會新增第二個版面進行選擇
更多資訊
為頁尾的社群媒體連結
# core/models.py

from django.db import models
from core import helpers

# Create your models here.
class Setting(models.Model):
    id = models.CharField('語言代碼', max_length=10, primary_key=True)
    language = models.CharField('系統語言', max_length=50)
    sitename = models.CharField(
        '系統名稱', default='', null=True, max_length=100, blank=True
    )
    logo = models.FileField(
        "logo 圖片", null=True, blank=True, upload_to=helpers.upload_handle
    )
    favicon = models.FileField(
        "favicon 圖片", null=True, blank=True, upload_to=helpers.upload_handle
    )
    style = models.FileField(
        "CSS樣式", null=True, blank=True, upload_to=helpers.upload_handle
    )
    home_type1 = models.ForeignKey(
        'products.ProductCategory', blank=True, null=True,
        on_delete=models.RESTRICT, verbose_name='左上商品分類', related_name='home_type1_set'
    )
    home_type2 = models.ForeignKey(
        'products.ProductCategory', blank=True, null=True,
        on_delete=models.RESTRICT, verbose_name='左下商品分類', related_name='home_type2_set'
    )
    home_type3 = models.ForeignKey(
        'products.ProductCategory', blank=True, null=True,
        on_delete=models.RESTRICT, verbose_name='右側商品分類', related_name='home_type3_set'
    )
    detail_template = models.CharField(
        '詳細頁面版型',
        max_length=100,
        choices=(("Template-1", "版型一"),("Template-2", "版型二")),
        default="Template-1"
    )
    facebook = models.CharField(
        'Facebook 連結', default='', null=True, max_length=100, blank=True
    )
    instagram = models.CharField(
        'Instagram 連結', default='', null=True, max_length=100, blank=True
    )
    twitter = models.CharField(
        'Twitter 連結', default='', null=True, max_length=100, blank=True
    )
    class Meta:
        verbose_name = '網站設定'
        verbose_name_plural = '網站設定'

    def __str__(self):
        return "%s" % (self.language)
將 core 放入 TENANT_APPS (原先沒有使用到 Model 所以沒有加入)
# main/settings.py

TENANT_APPS = (
    'django.contrib.auth',
    'django.contrib.sessions',
    'django.contrib.sites',
    'django.contrib.messages',
    'django.contrib.staticfiles',
    'django.contrib.admin',
    'django.contrib.sitemaps',
    'core',
    'products',
)
建立資料庫遷移檔案
docker exec --workdir /opt/app/web example_tenant_web \
python3.10 manage.py makemigrations core

Migrations for 'core':
  core/migrations/0001_initial.py
    - Create model Setting
執行資料庫遷移
docker exec --workdir /opt/app/web example_tenant_web python3.10 manage.py migrate core
=== Starting migration
Operations to perform:
  Apply all migrations: core
Running migrations:
  Applying core.0001_initial...
 OK
=== Starting migration
Operations to perform:
  Apply all migrations: core
Running migrations:
  Applying core.0001_initial...
 OK
=== Starting migration
Operations to perform:
  Apply all migrations: core
Running migrations:
  Applying core.0001_initial...
 OK
這裡使用 fieldsets 設定將欄位分為組為多個區塊
# core/admin.py

from django.contrib import admin

# Register your models here.
from core.models import Setting

class SettingAdmin(admin.ModelAdmin):
    fieldsets = [
        ('語言', {
            'fields': (
                'id',
                'language',
            )
        }),
        ('網站資訊設定', {
            'classes': (
                'tab',
                'tab-general',
            ),
            'fields': (
                'sitename',
                'phone',
            )
        }),
        ('樣式設定', {
            'classes': (
                'tab',
                'tab-style',
            ),
            'fields': (
                'logo',
                'favicon',
                'style',
            )
        }),
        ('首頁設定', {
            'classes': (
                'tab',
                'tab-home',
            ),
            'fields': (
                'home_type1',
                'home_type2',
                'home_type3',
            )
        }),
        ('商品詳細頁設定', {
            'classes': (
                'tab',
                'tab-detail',
            ),
            'fields': (
                'detail_template',
            )
        }),
        ('更多資訊設定', {
            'classes': (
                'tab',
                'tab-more',
            ),
            'fields': (
                'facebook',
                'instagram',
                'twitter',
            )
        }),
    ]

admin.site.register(Setting, SettingAdmin)
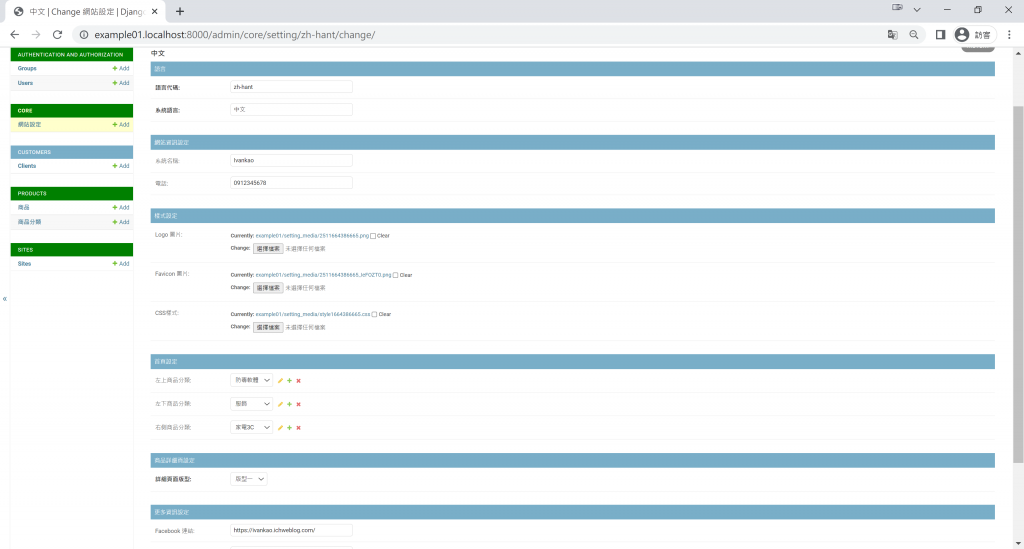
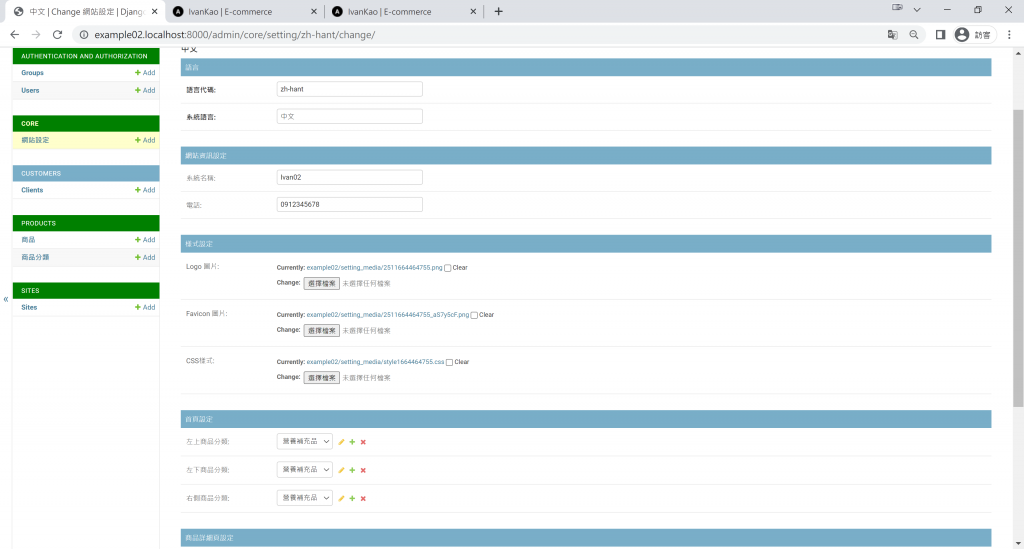
網站設定管理介面展示:
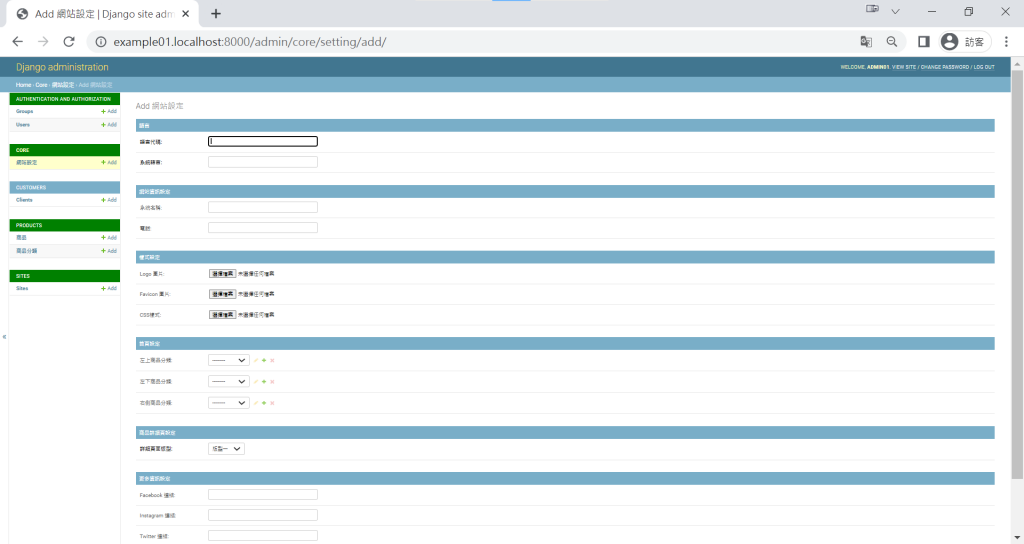
在租戶 example01 與 example02 分別建立一筆語言代碼為 zh-hant 的資料
成功建立好管理介面與設定資料,但要如何在使用者介面能夠使用這些資料呢?
Django Template Language 本身已經有許多模板標籤,而想要擁有自定義的標籤就需要使用到 templatetags。
在 core 應用程式目錄底下建立一個 templatetags 目錄,並在其中再建立空白的 __init__.py 檔案與 core_tag.py 檔案。
以下為 core 應用程式目錄架構:
.
├── admin.py
├── apps.py
├── helpers.py
├── __init__.py
├── migrations
│   ├── 0001_initial.py
│   └── __init__.py
├── models.py
├── templatetags
│   ├── core_tag.py
│   └── __init__.py
├── tests.py
└── views.py
在core_tag.py 檔案中定義一個 get_setting 函數來返回網站設定的資料。
由於網站設定會在每個頁面中使用,如果取每個欄位的資料都傳欄位名稱進函數溝通資料庫取值會有很多重複的查詢,因此我們將整個網站設定轉換成一張 setting_dict 字典表,這樣每個頁面只要查詢一次即可。
而因為 Foreignkey 的欄位預設是顯示關聯 id,這裡重新取得完整後轉換為字典後加入 setting_dict ,再將更新後的 setting_dict 返回。
# core/templatetags/core_tag.py

from django import template
register = template.Library()

from core.models import Setting

@register.simple_tag
def get_setting():
    setting = Setting.objects.get(id='zh-hant')
    setting_dict = Setting.objects.get(id='zh-hant').__dict__
    setting_dict['home_type1'] = setting.home_type1.__dict__ if setting.home_type1 else None
    setting_dict['home_type2'] = setting.home_type2.__dict__ if setting.home_type2 else None
    setting_dict['home_type3'] = setting.home_type3.__dict__ if setting.home_type3 else None
    return setting_dict
在 core_tag.py 寫好函數後,就可以在模板使用 load 語法載入自定義標籤,標籤的名稱為檔案名稱 core_tag。
在基底頁面使用 load 語法載入自定義標籤 {% load core_tag %}, 而要使用函數也是用 {% %} 將函數名稱包起來 {% get_setting %}。
在這裡使用 DTL 的 as 語法再將返回值存入 DTL 模板變數 get_setting 方便後續使用字典。
<!-- products/templates/base.html -->
{% load core_tag %}
{% get_setting as get_setting %}
基底頁面使用 . 語法取得 sitename
<!-- products/templates/base.html -->
<!-- ... -->

<text id="sitename">
    <tspan x="108.94" y="325">{{ get_setting.sitename }}</tspan>
</text>

<!-- ... -->
基底頁面使用 . 語法取得頁尾更多資訊
<!-- products/templates/base.html -->
<!-- ... -->

<ul class="social-media">
    <li>
        <a href="{{ get_setting.facebook }}" target="_blank">
            <i class="tf-ion-social-facebook"></i>
        </a>
    </li>
    <li>
        <a href="{{ get_setting.instagram }}" target="_blank">
            <i class="tf-ion-social-instagram"></i>
        </a>
    </li>
    <li>
        <a href="{{ get_setting.twitter }}" target="_blank">
            <i class="tf-ion-social-twitter"></i>
        </a>
    </li>
</ul>

<!-- ... -->
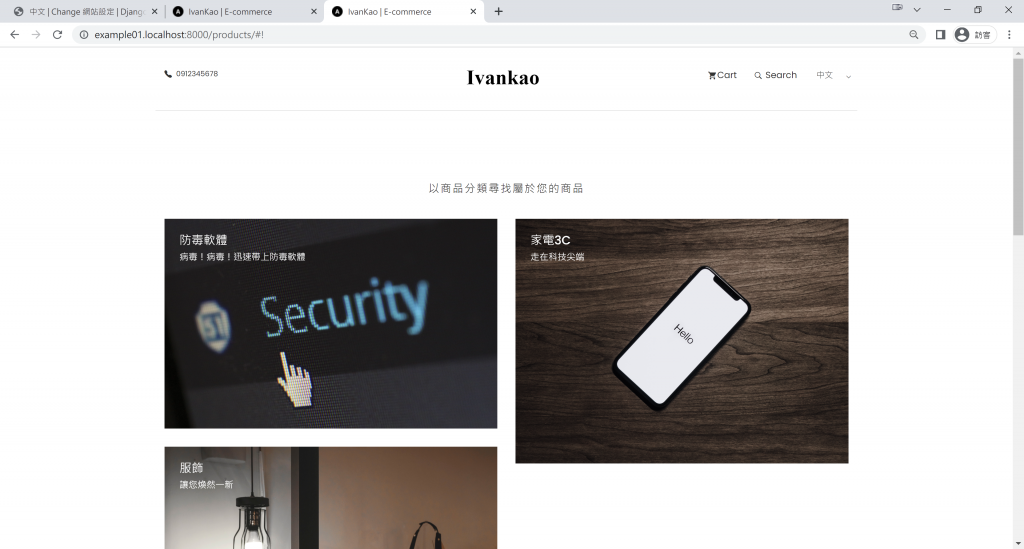
首頁取得三筆網站設定定義的商品分類
<!-- products/templates/products/home.html -->
<!-- ... -->

<section class="product-category section">
    <div class="container">
        <div class="row">
            <div class="col-md-12">
                <div class="title text-center">
                    <h2>以商品分類尋找屬於您的商品</h2>
                </div>
            </div>
            <div class="col-md-6">
                <div class="category-box">
                    <a href="#!">
                        {% if get_setting.home_type1.image %}
                            <img src="{% get_media_prefix %}{{ get_setting.home_type1.image }}" alt="" />
                        {% endif %}
                        <div class="content">
                            <h3 style="color: white;">{{ get_setting.home_type1.name }}</h3>
                            <p style="color: white;">{{ get_setting.home_type1.description }}</p>
                        </div>
                    </a>
                </div>
                <div class="category-box">
                    <a href="#!">
                        {% if get_setting.home_type2.image %}
                            <img src="{% get_media_prefix %}{{ get_setting.home_type2.image }}" alt="" />
                        {% endif %}
                        <div class="content">
                            <h3 style="color: white;">{{ get_setting.home_type2.name }}</h3>
                            <p style="color: white;">{{ get_setting.home_type2.description }}</p>
                        </div>
                    </a>
                </div>
            </div>
            <div class="col-md-6">
                <div class="category-box category-box-2">
                    <a href="#!">
                        {% if get_setting.home_type3.image %}
                            <img src="{% get_media_prefix %}{{ get_setting.home_type3.image }}" alt="" />
                        {% endif %}
                        <div class="content">
                            <h3 style="color: white;">{{ get_setting.home_type3.name }}</h3>
                            <p style="color: white;">{{ get_setting.home_type3.description }}</p>
                        </div>
                    </a>
                </div>
            </div>
        </div>
    </div>
</section>

<!-- ... -->
租戶 example01
租戶 example02
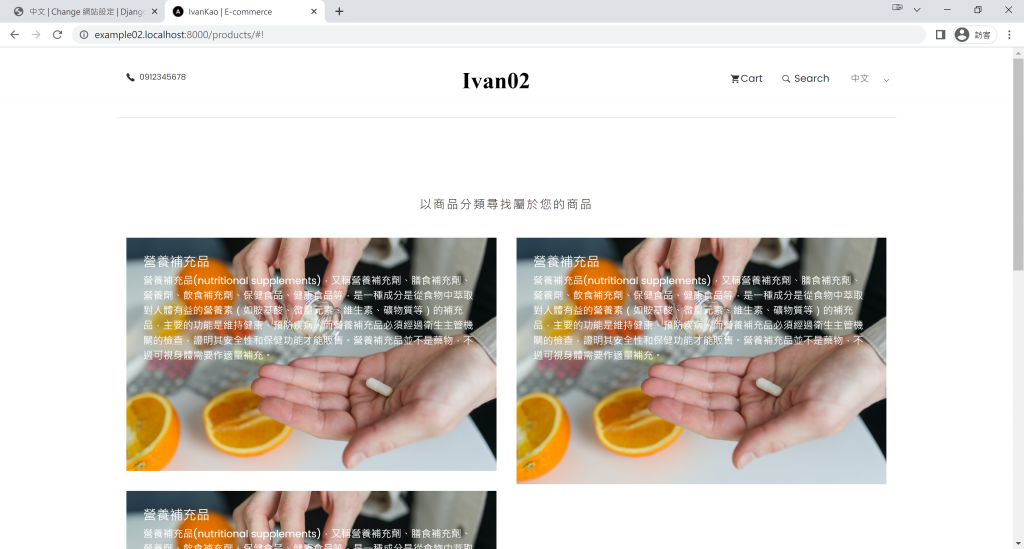
個人化設定完成!
今天完成了多租戶個人化的網站資訊,下一回將進行網站樣式與版面的切換調整『個性風格,自定義樣式版面』。