設定個人化資訊之外,我們還要讓租戶有各自的風格,除了樣式風格外還可以預先定義不同模板讓租戶自行切換,讓我們繼續看下去。
如果要代表一個網站就要從他的網站圖示、Logo、與整體樣式風格來展現。
自定義圖示
調整基底頁面 Favicon 區塊
<!-- products/templates/base.html -->
<!-- ... -->

<!-- Favicon -->
<link rel="shortcut icon" type="image/x-icon" href="{% get_media_prefix %}{{ get_setting.favicon }}">

<!-- ... -->
圖示展示:

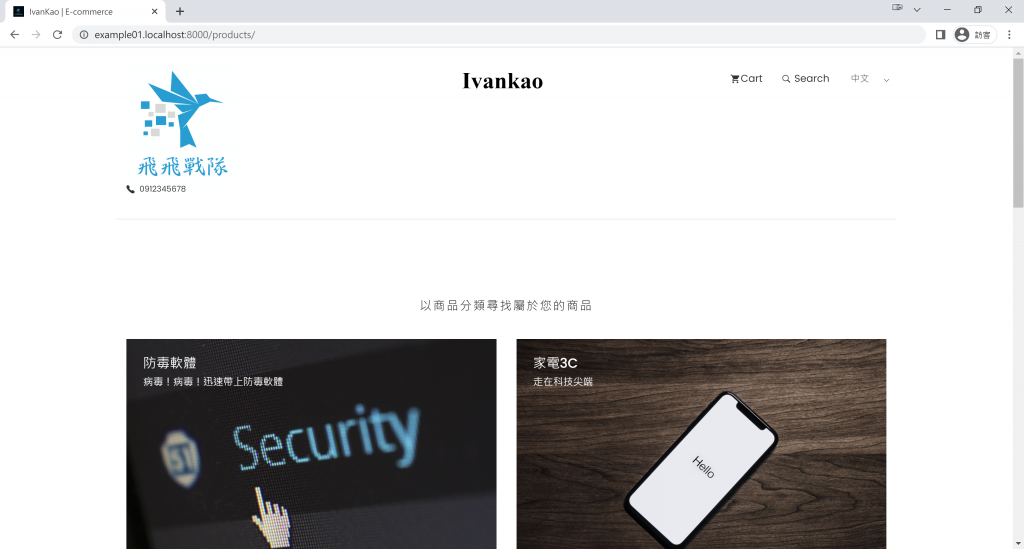
新增網站 logo
調整基底頁面 top-header 區塊
<!-- products/templates/base.html -->
<!-- ... -->

<section class="top-header">
    <div class="container">
        <div class="row">
            <div class="col-md-4 col-xs-12 col-sm-4">
                <img style="height: 12em;width: 12em" src="{% get_media_prefix %}{{ get_setting.logo }}">
                <div class="contact-number">
                    <i class="tf-ion-ios-telephone"></i>
                    <span>{{ get_setting.phone }}</span>
                </div>
            </div>
<!-- ... -->
logo 展示:

自定義 css 樣式
將原本的 style.css 下載下來後調整使用的字體為 Noto Sans TC 並上傳。
@import url('https://fonts.googleapis.com/css2?family=Noto+Sans+TC:wght@300;400;500&display=swap');

body {
  line-height: 1.5;
  font-family: 'Noto Sans TC', sans-serif;
  -webkit-font-smoothing: antialiased;
}

p {
  font-family: 'Noto Sans TC', sans-serif;
  color: #757575;
  font-size: 15px;
}

h1, h2, h3, h4, h5, h6 {
  font-family: 'Noto Sans TC', sans-serif;
}
調整基底頁面 Stylesheet 區塊,這裡先判斷是否有上傳自定義的 style.css,若無就使用系統預設的。
<!-- products/templates/base.html -->
<!-- ... -->

<!-- Main Stylesheet -->
{% if get_setting.style %}
    <link rel="stylesheet" href="{% get_media_prefix %}{{ get_setting.style }}">
{% else %}
    <link rel="stylesheet" href="{% static 'products/css/style.css' %}">
{% endif %}

<!-- ... -->
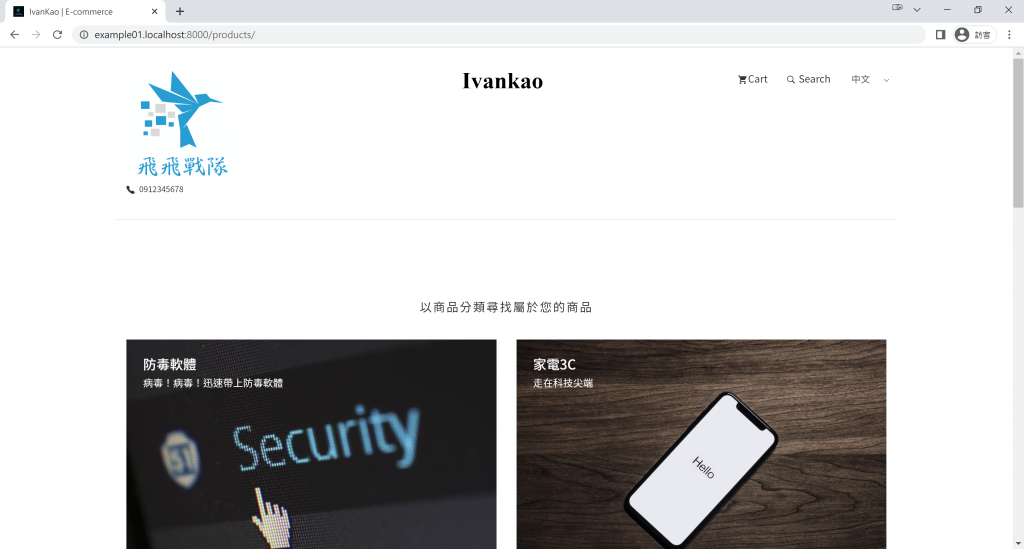
自定義 css 展示:

在上一章節的網站設定我們有定義了 詳細頁面版型 欄位,現在就來設定第二個版型吧!
調整模板目錄結構
原先在 products 應用程式的 template 目錄結構如下:
.
├── base.html
└── products
    ├── detail.html
    ├── home.html
    └── list.html
建立一個 detail 目錄,將 detail.html 改名為 template1.html,並且多複製一個 template2.html(後續將對其進行調整)
.
├── base.html
└── products
    ├── detail
    │   ├── template1.html
    │   └── template2.html
    ├── home.html
    └── list.html
在視圖切換 template
透過繼承 DetailView 改寫 get_template_names 函數,根據 Setting 網站設定中的 detail_template 欄位值返回不同的 html 頁面。
# products/admin.py

# ...
from core.models import Setting

# ...

class ProductDetailView(DetailView):

    model = Product
    context_object_name = 'item'

    def get_template_names(self):
        """
        Return a list of template names to be used for the request. Must return
        a list. May not be called if render_to_response() is overridden.
        """
        setting = Setting.objects.get(id='zh-hant')
        template_name = 'products/detail/template1.html'

        if setting.detail_template == "Template-1":
            template_name = "products/detail/template1.html"
        elif setting.detail_template == "Template-2":
            template_name = "products/detail/template2.html"
        return [template_name]
這裡進行簡單的示範,將商品詳細頁面的左右區塊互換。
template1.html 如下:
<!-- products/templates/detail/template1.html -->

{% extends "base.html" %}
{% load static %}

{% block content %}

<!-- ... -->

<div class="col-md-5">
    <!-- ... -->
</div>
<div class="col-md-7">
    <!-- ... -->
</div>

<!-- ... -->
template2.html 則調製為
```html
<!-- products/templates/detail/template2.html -->

{% extends "base.html" %}
{% load static %}

{% block content %}

<!-- ... -->

<div class="col-md-7">
    <!-- ... -->
</div>
<div class="col-md-5">
    <!-- ... -->
</div>

<!-- ... -->
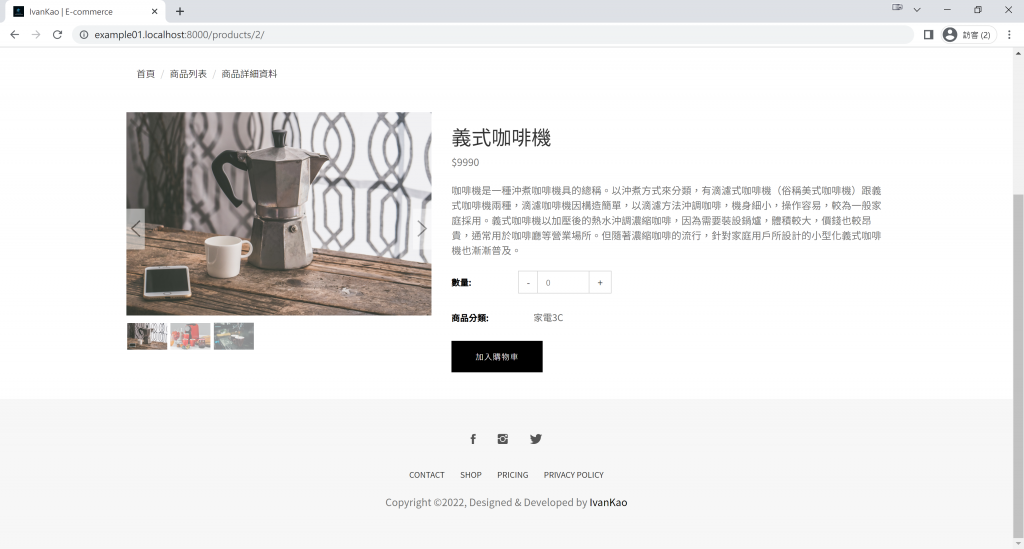
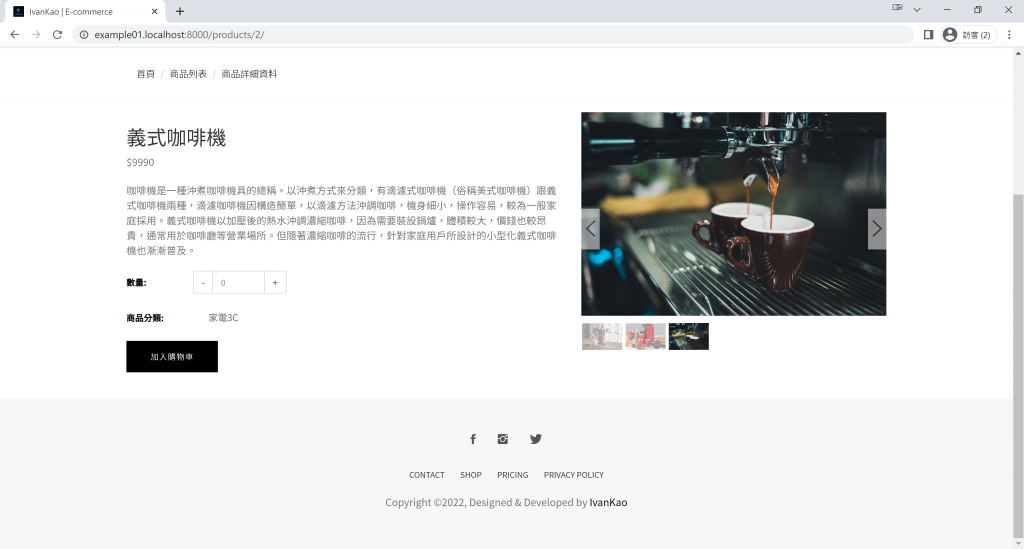
只要透過網站設定管理介面選擇商品詳細頁面的版型,就能馬上進行切換
版型一

版型二

完成!
要讓租戶擁有自己的個性風格一點都不困難,可以是一個頁面的小區塊變換,也能是基底頁面的大風格調整。接下來將要和大家分享『邁向國際化,Django 多語系』。
