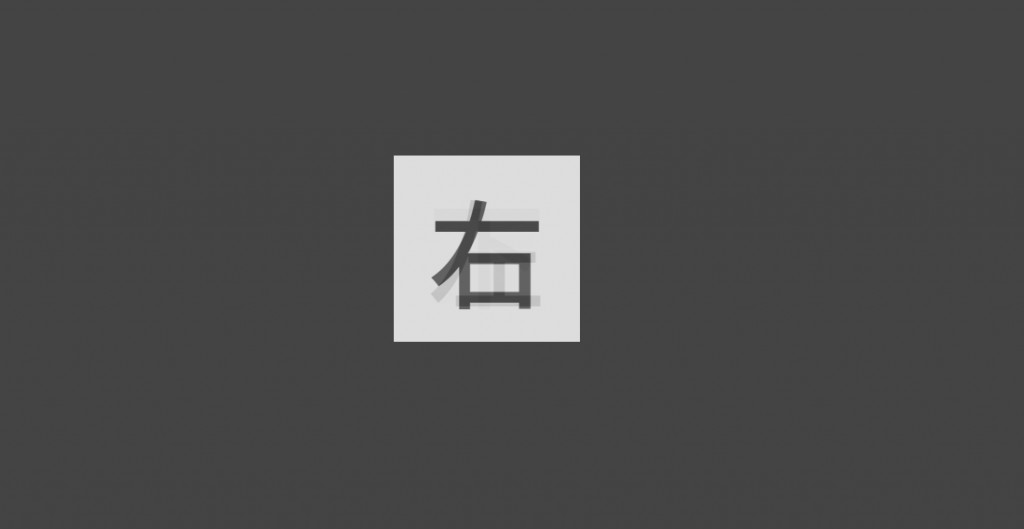
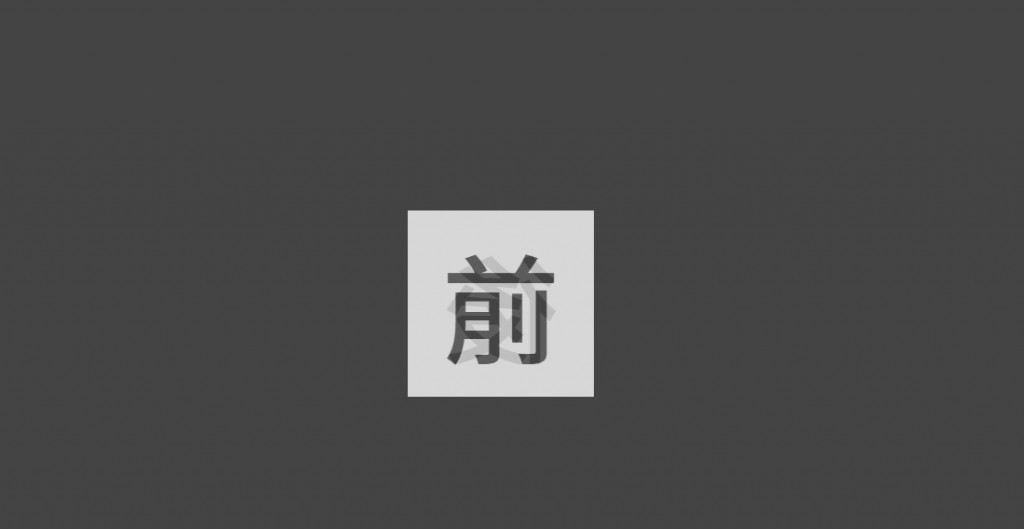
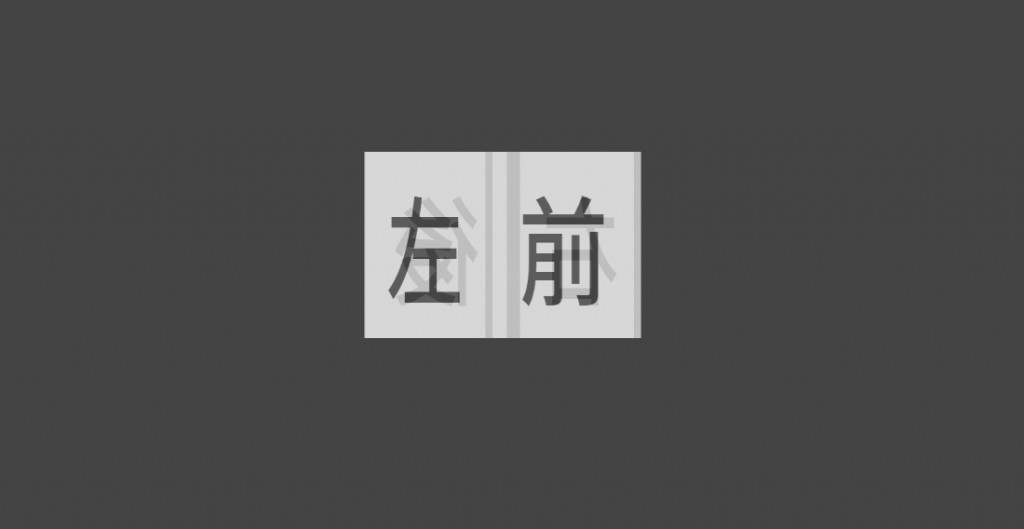
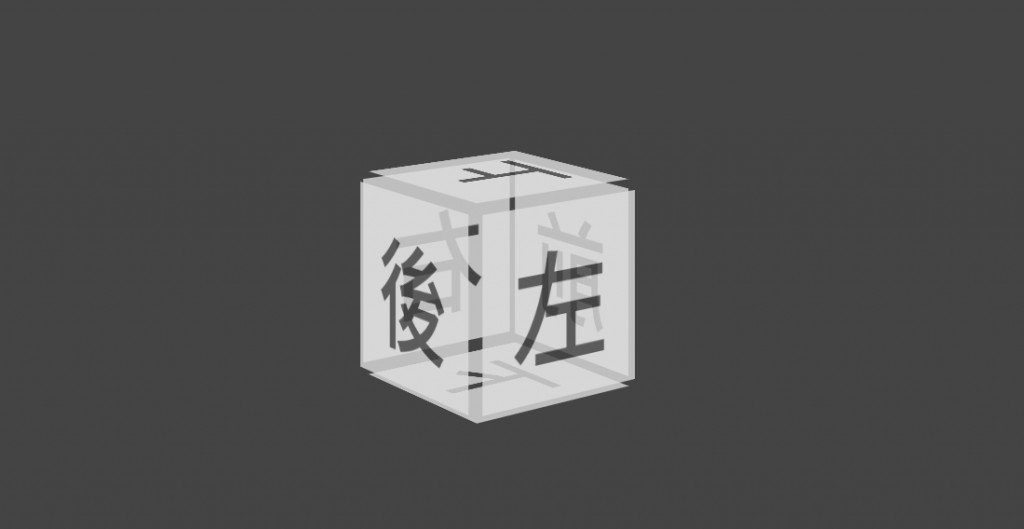
上一篇說明了脫離文件流的概念,這時候就會想到之前任務常用到的屬性了吧:z-index
這就是給那些重疊的元素重新排序的好東西,後面給的值越大,排序就會越前面,相反的也可以設定負值把元素往後放,當然既然這個屬性是用在重疊的元素,那沒有重疊的狀況就失效了。
梳理一下前面所說的,transform可以用來旋轉、位移、縮放,加上脫離文件流那可以弄一點3D的東西了吧!![]()
<div class="scene">
		<div class="box">
			<div class="surface surface1">前</div>
			<div class="surface surface2">後</div>
			<div class="surface surface3">上</div>
			<div class="surface surface4">下</div>
			<div class="surface surface5">左</div>
			<div class="surface surface6">右</div>
		</div>
	</div>
position: absolute;脫離文件流,就會看到他們全部疊在一起,而順序就像我們將紙張擺放在桌面一樣,最先的在最底層,最後的在最上方。.surface{
position: absolute;
}

transform-style: preserve-3d;rotate() translate()一一設定好它們的位置。設定的方式很多種,只要能夠讓元素到達他的位置就可以,以下透過先旋轉轉向對應的面向,再利用Z軸位移的方式來定位六個面。(這邊位移了110px,為啥呢?繼續看下去。)
.box{
 transform-style: preserve-3d;
}

.surface-front {
	transform: translateZ(110px);
}  /*  前  */

.surface-back {
	transform: rotateY(180deg) translateZ(110px);
}  /*  後  */

.surface-top {
	transform: rotateX(90deg) translateZ(110px);
}  /*  上  */

.surface-buttom {
	transform: rotateX(-90deg) translateZ(110px);
}  /*  下  */

.surface-left {
	transform: rotateY(-90deg) translateZ(110px);
}  /*  左  */

.surface-right {
	transform: rotateY(90deg) translateZ(110px);
}  /*  右  */

@keyframes前的這面確實的跑到前面了,但還是沒fu阿,這時候就應該讓他轉一轉才行。這裡將box寬高設定跟每個面一樣,如果不設定的話會發生什麼事呢?
@keyframes rotate {
	0% {
		transform: rotateY(0);
	}

	100% {
		transform: rotateY(360deg);
	}
}

.box{
    animation: rotate 8s infinite ease;
    width: 200px;
	height: 200px;
}

perspective:視線,後面接一個長度,表示你的眼睛與這個元素的距離。perspective-origin:視角表示你的視線所在的位置,後面給的參數為 x座標、 y座標。在視線距離部分,太近的話會變形的很嚴重,就像看電視一樣保持距離吧,範例用的是10倍的元素寬2000px。
而在視角Y軸設定偏移了150px,這邊可以注意到Y座標為負的時候視角高於元素,X軸設定50%等同於center。
.scene{
    perspective: 2000px;
	perspective-origin: 50% -150px;
}

fcc的任務終於接近了尾聲鐵人賽快沒東西水了,先完成這次揮揮手的企鵝任務吧,之後就要來完成最後的證書任務了。
引用與資源:
freecodecamp
動手玩 CSS 3dby 卡斯伯
變形(transform) 3D基本使用_gitbooksby Eddy Chang
我的企鵝
