Required 的處理完畢後,今天讓我們開始來處理 optional 的需求。
為了讓 UI 整體看起來不要那麼突兀,筆者決定先用比較偷懶的方式處理。
先讓我們在最後一個按鈕的 Section 後面,新增四個 Section,讓 elements 加起來的總長度超過我們的 viewport 即可。
如此一來我們的畫面不再有破圖的效果。
根據這篇介紹,筆者找到這款 AndroidAssetStudio 所推出的 icons-launcher 服務。
進入頁面後,首先點選左上角的 image,上傳圖片: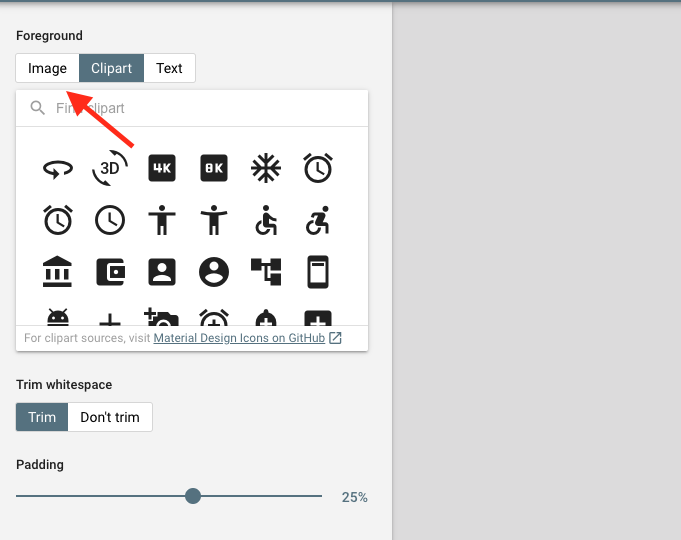
接著我們可以客製化圖片。
Name 的屬性。此處的 Name 是與 React Native 預設的一致,調整後 build 會有錯誤訊息,但錯誤訊息筆者並沒有記錄下來,而是直接將檔名調整為跟預設的一致重新下載,若以後有特殊需求再來研究。
完成以後,點選右上角的下載: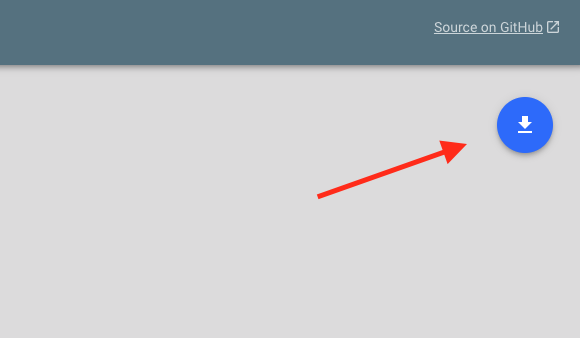
回來之後解壓縮,另一方面,在我們 android 的資料夾中,可以在以下路徑找到 icons 相關檔案 AnnoyancePrediction/android/app/src/main/res :
稍微比較一下,我們可以發現下載回來的資料夾,多了一張 1024 還有一張 512 的,推測是屆時 app 送審所需要。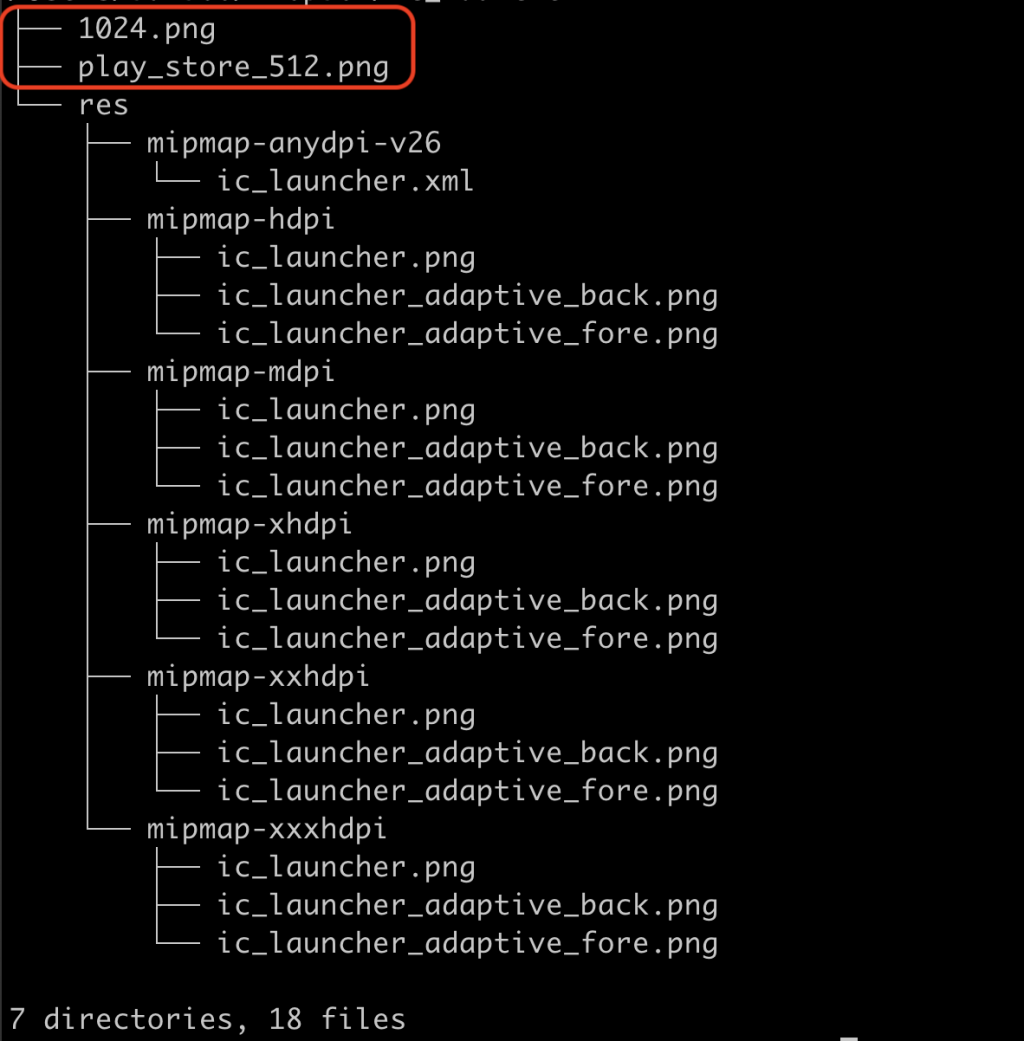
而在我們專案中的資料夾,則多了 drawable 和 values 兩個資料夾。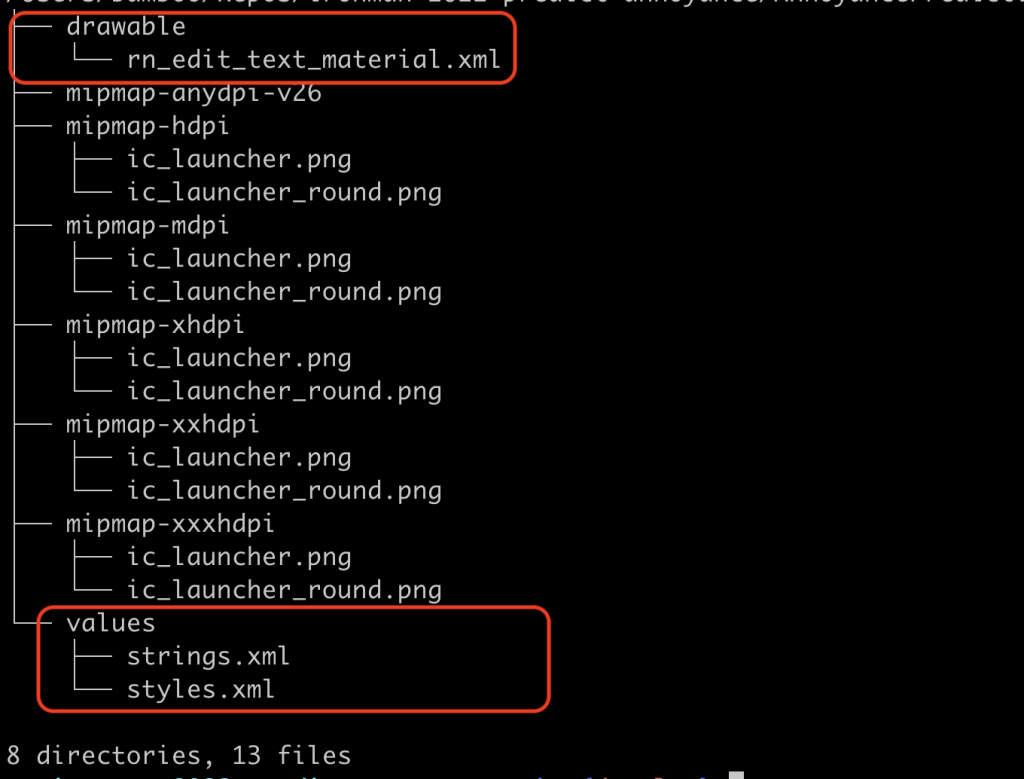
讓我們來更換 icon 吧!應該沒有很難吧~
失敗筆者直接將下載回來的 res 取代我們專案的 res,失敗,此處漏記錄 build 的錯誤訊息,推測是 app 的名稱和 drawable 和 values 的檔案不符。
失敗筆者這次學乖了,只取代 mipap 開頭的資料夾,結果還是失敗!
錯誤訊息顯示:
Task :app:processDebugResources FAILED

Deprecated Gradle features were used in this build, making it incompatible with Gradle 8.0.

You can use '--warning-mode all' to show the individual deprecation warnings and determine if they come from your own scripts or plugins.

See https://docs.gradle.org/7.5.1/userguide/command_line_interface.html#sec:command_line_warnings
83 actionable tasks: 3 executed, 80 up-to-date

FAILURE: Build completed with 2 failures.

1: Task failed with an exception.
-----------
* What went wrong:
Execution failed for task ':app:processDebugResources'.
> A failure occurred while executing com.android.build.gradle.internal.res.LinkApplicationAndroidResourcesTask$TaskAction
   > Android resource linking failed
     /Users/bamboo/Repos/ironman-2022-predict-annoyance/AnnoyancePrediction/android/app/build/intermediates/packaged_manifests/debug/AndroidManifest.xml:29: error: resource mipmap/ic_launcher_round (aka com.annoyanceprediction:mipmap/ic_launcher_round) not found.
     error: failed processing manifest.
其中我們可以看到接近尾巴的部分:
error: resource mipmap/ic_launcher_round (aka com.annoyanceprediction:mipmap/ic_launcher_round) not found.
哦~原來是 ic_launcher_round 找不到!
看了一下我們取代後的 git diff: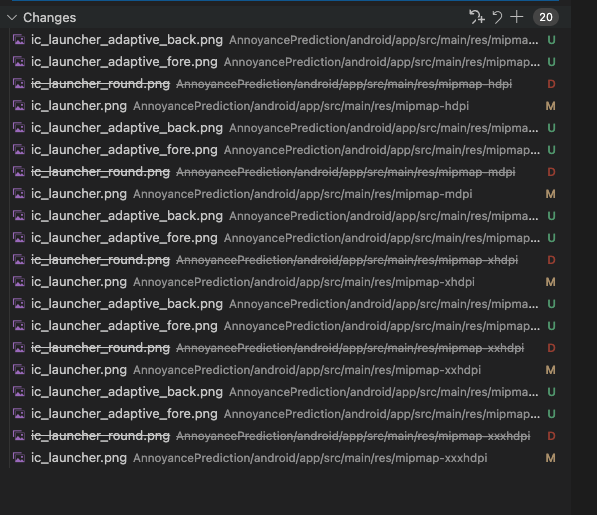
我們可以看到原先的 ic_launcher_round 都被刪除了,然後 ic_launcher 都被修改,並且新增了 _fore 以及 _back 檔。
正當筆者準備開始找資料之際,突然發現......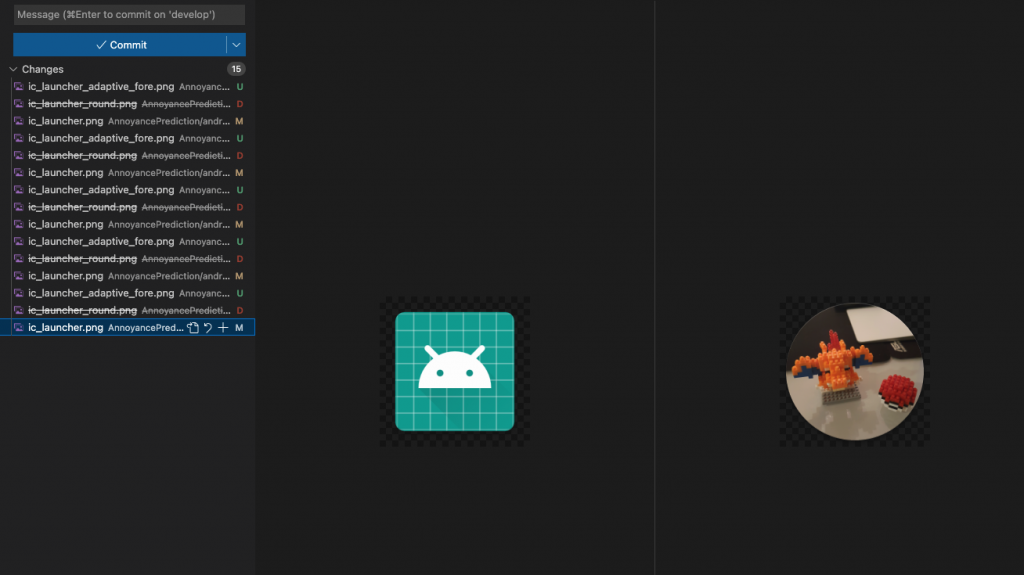
ic_launcher 其實是 ic_launcher_round_fore 檔是 ic_launcher逐一更改,並刪除 _back 檔後,確實如我們的預期,再次 build 就正常了!
讓我們看一下製作完成的圖示: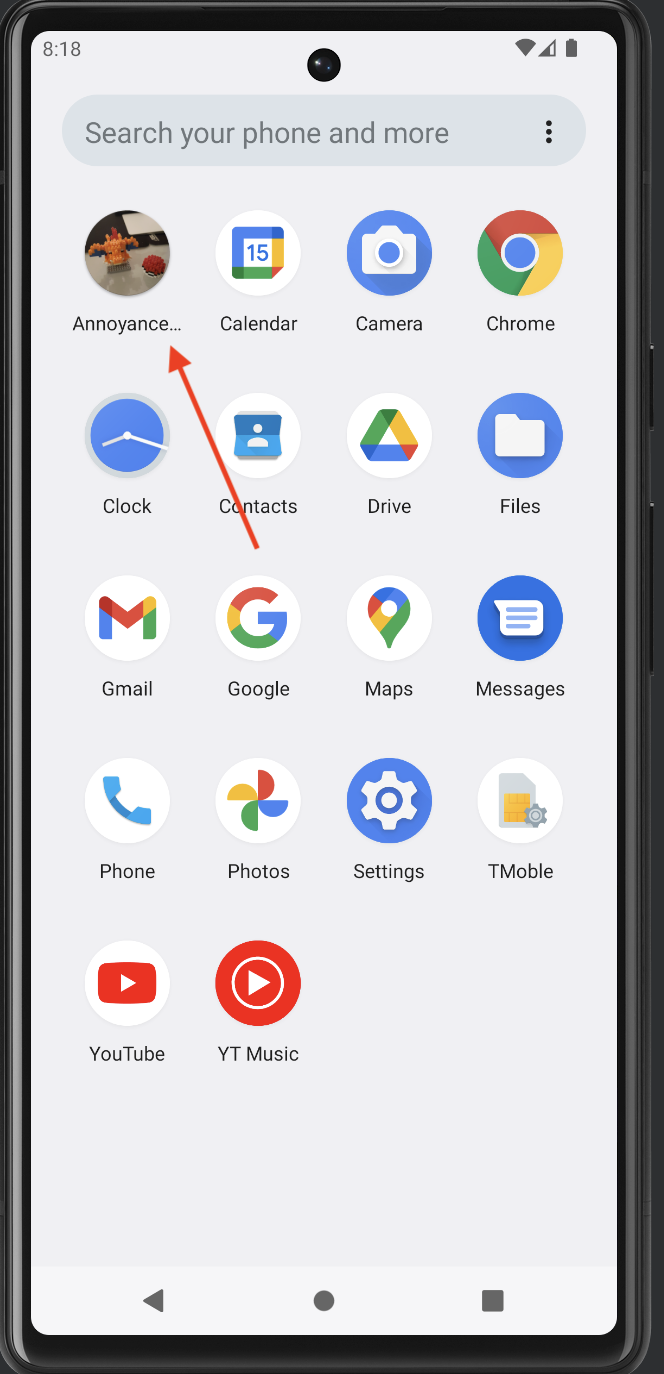
由於白天和晚上都可能會聽到關門,但依照目前 storeTimeRecord 的機制,存在 asyncStorage 中的 key 是${year}${formattedMonth}${date},故再被觸發後,API 的行為是複寫掉原來 key 對應的記錄,這顯然不是筆者想要的結果。
故讓我們修改之:
// AnnoyancePrediction/src/asyncStorage.js
const storeTimeRecord = async isNight => {
  const now = new Date();
  // Monday: 1
  const weekday = now.getDay();
  const preciseHour = now.getHours();
  const preciseMin = now.getMinutes();
  const year = now.getFullYear();
  const month = now.getUTCMonth() + 1;
  const formattedMonth = month < 10 ? `0${month}` : month;
  const date = now.getDate();

  // eg. 20221010-night
  const key =
    isNight === null
      ? `${year}${formattedMonth}${date}`
      : isNight === true
      ? `${year}${formattedMonth}${date}-night`
      : `${year}${formattedMonth}${date}-day`;

  const value = {
    preciseTime: `${preciseHour}:${preciseMin}`,
    weekday,
  };

  try {
    await AsyncStorage.setItem(key, JSON.stringify(value));
    Alert.alert('record stored');
  } catch (e) {
    console.error(e);
  }
};
其中,我們建立一個 isNight 的參數傳入,透過這個參數來決定三種不同的 key 值,同時意味著我們一天之中最多只能存三筆資料。
在底下,讓我們透過 JavaScript function 的 bind,將 storeTimeRecord 包成另外三個 function。
export const storeNightRecord = storeTimeRecord.bind(null, true);
export const storeDayRecord = storeTimeRecord.bind(null, false);
export const storeSimpleRecord = storeTimeRecord.bind(null, null);
接著讓我們回到 App.js,這邊我們將原來的一個按鈕改為三個按鈕:
      <Section title="記錄?關門聲">
        {/* TODO: how to make the button same size */}
        <Button title="點我" onPress={storeNightRecord} />
      </Section>
      <Section title="記錄?關門聲">
        <Button title="點我" onPress={storeDayRecord} />
      </Section>
      <Section title="單純記錄關門聲">
        <Button title="點我" onPress={storeSimpleRecord} />
      </Section>
並順道修改清除資料的按鈕:
      <Section title="清除所有儲存資料">
        <Button title="考慮一下吧" onPress={clearAll} />
      </Section>
一天最多記錄多筆的需求,完成。
完成今日文章後,筆者發現漏截圖了ORZ
故 UI 先偷渡一部分明日要分享的~
明亮模式: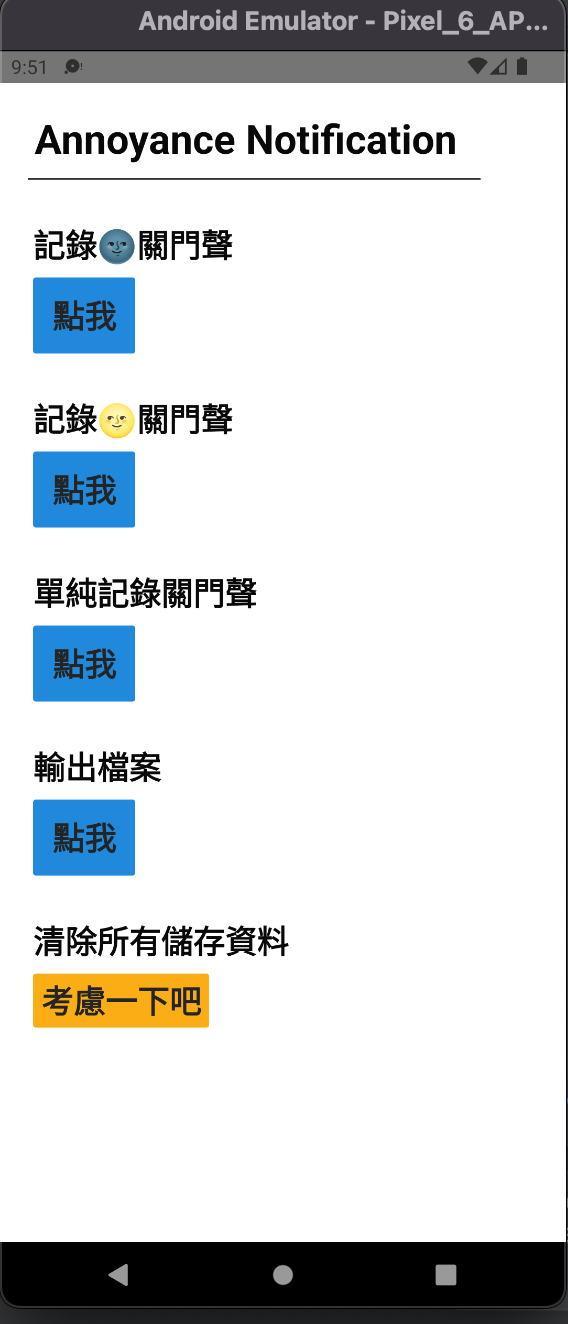
暗黑模式: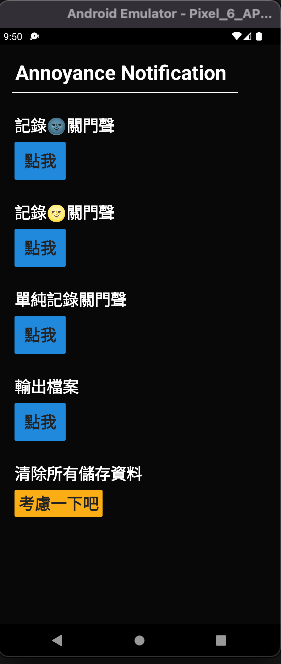
UI 背景破圖需要一個更完善的處理方式,故不能算完成。
今天收工!
