前些日子呢,我們一同學習了許多有關網頁三件套 —— HTML、CSS、JS的內容。納在本日的篇章中,我將帶著您使用這幾日所學,來實作出一個計算機的應用!
完成效果:https://ttdragon0722.github.io/A-Calculator/
範例如下圖所示: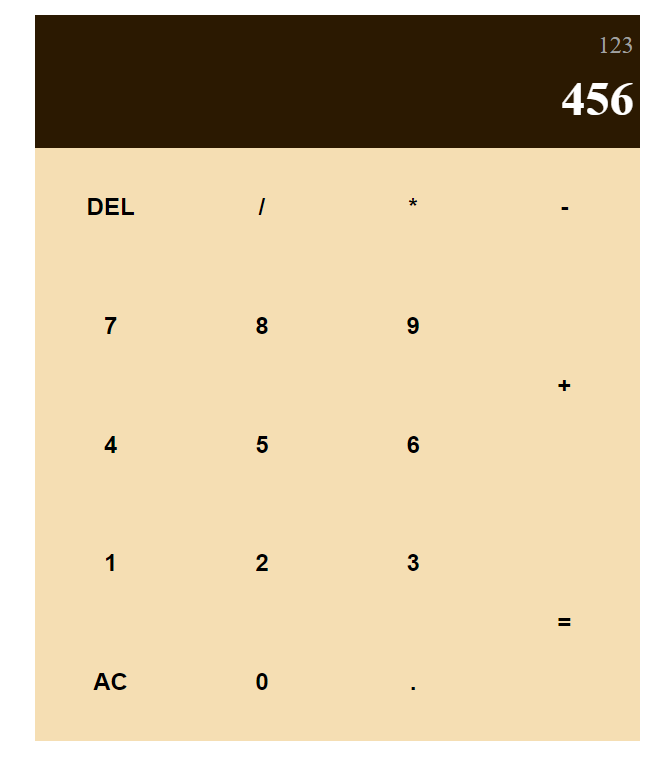
<!DOCTYPE html>
<html lang="en">
<head>
    <meta charset="UTF-8">
    <meta name="viewport" content="width=device-width, initial-scale=1.0">
    <title>CALCULATOR</title>
</head>
<body>
    <div class="app">
        <div class="panel">
            <div class="history">123</div>
            <div class="output">456</div>
        </div>
        <button>DEL</button>
        <button>/</button>
        <button>*</button>
        <button>-</button>
        <button>7</button>
        <button>8</button>
        <button>9</button>
        <button class="col-2">+</button>
        <button>4</button>
        <button>5</button>
        <button>6</button>
        <button>1</button>
        <button>2</button>
        <button>3</button>
        <button class="col-2">=</button>
        <button>AC</button>
        <button>0</button>
        <button>.</button>
    </div>
</body>
</html>
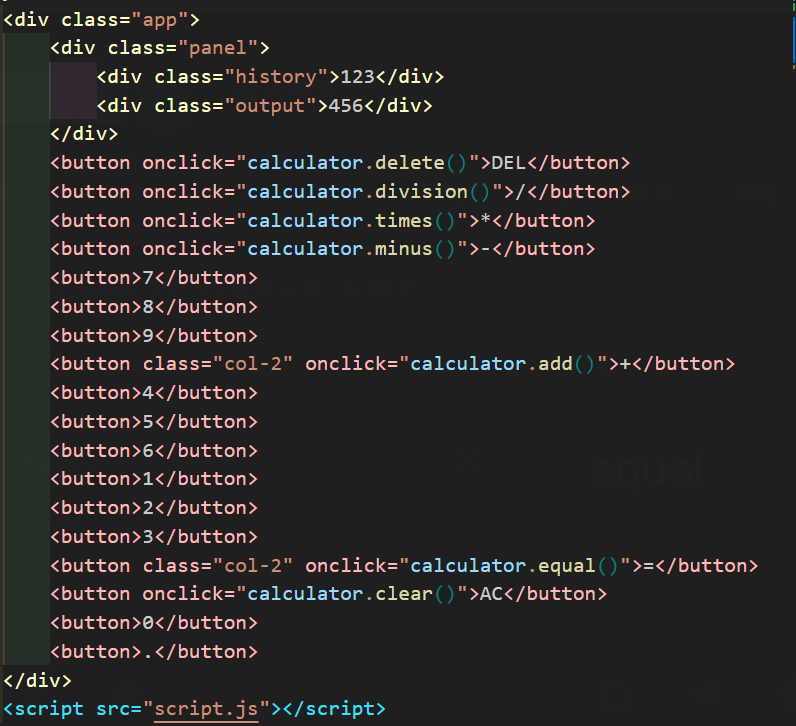
首先我們設置了兩個區塊,分別為:
然後,我們要從app內的數字與運算鍵的部分下手: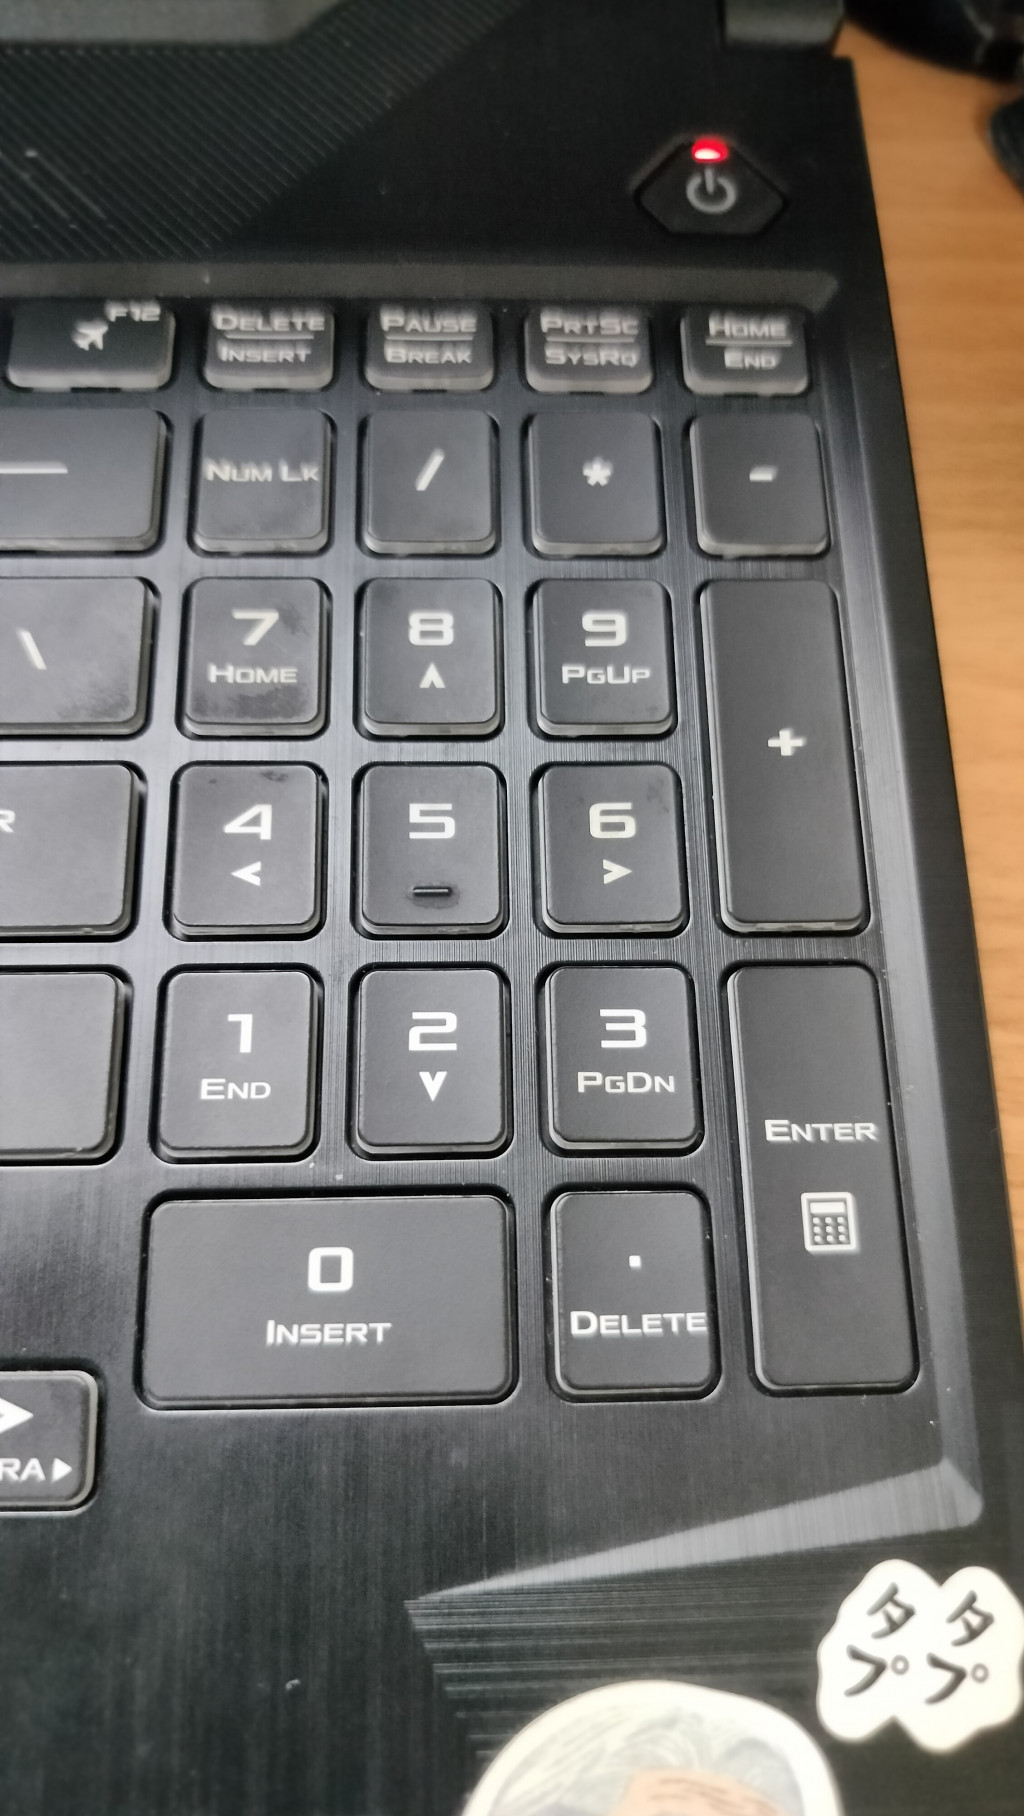
這裡的設計,我個人參考我的筆電鍵盤,排版的部分便是由num lock那邊往後數。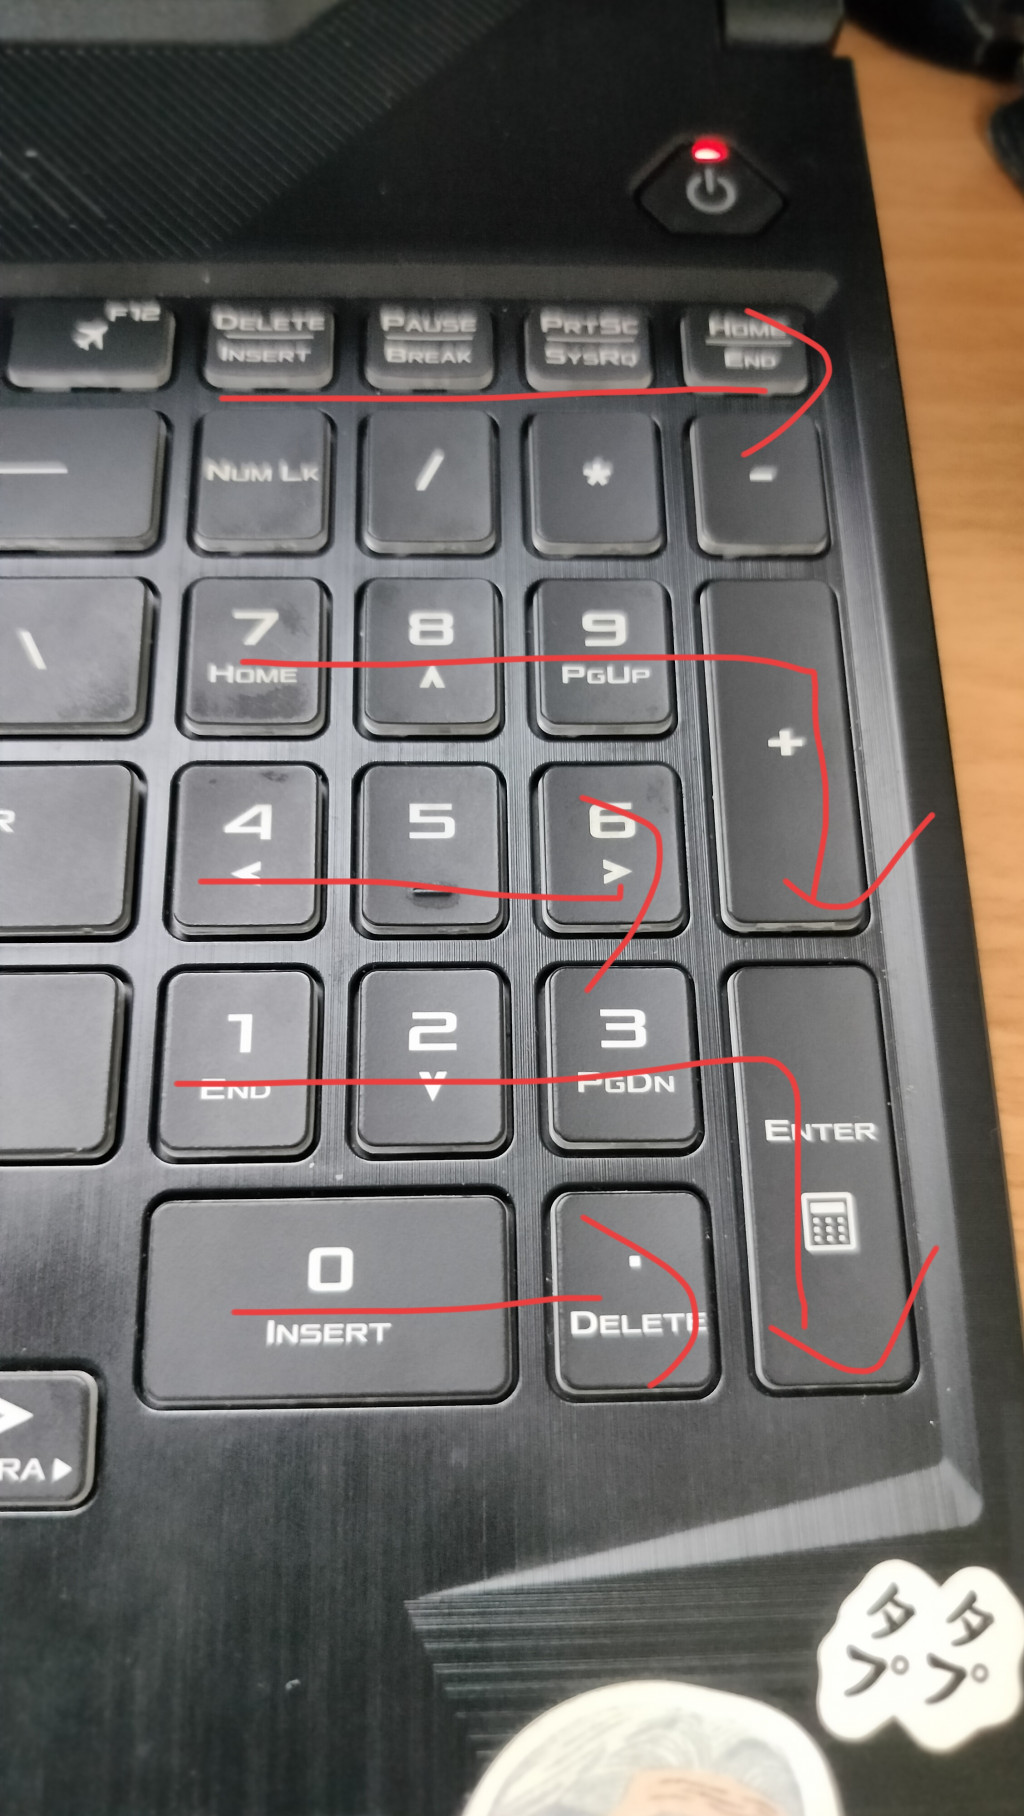
所以HTML的button元件們排序如下: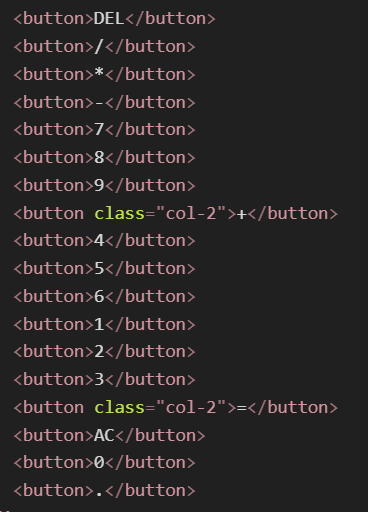
設計前,我們要先進行初始化,那我們一樣引入 Jack Sharkey 所撰寫的CSS初始化包:
<link rel="stylesheet" href="init.css">
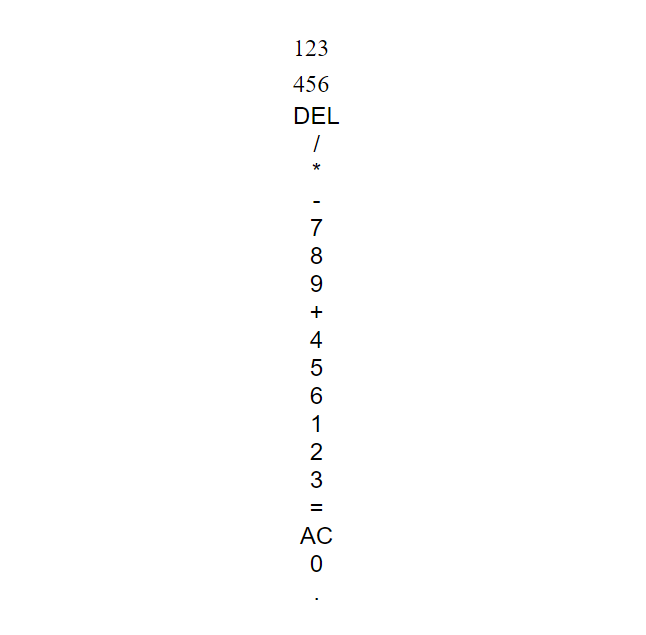
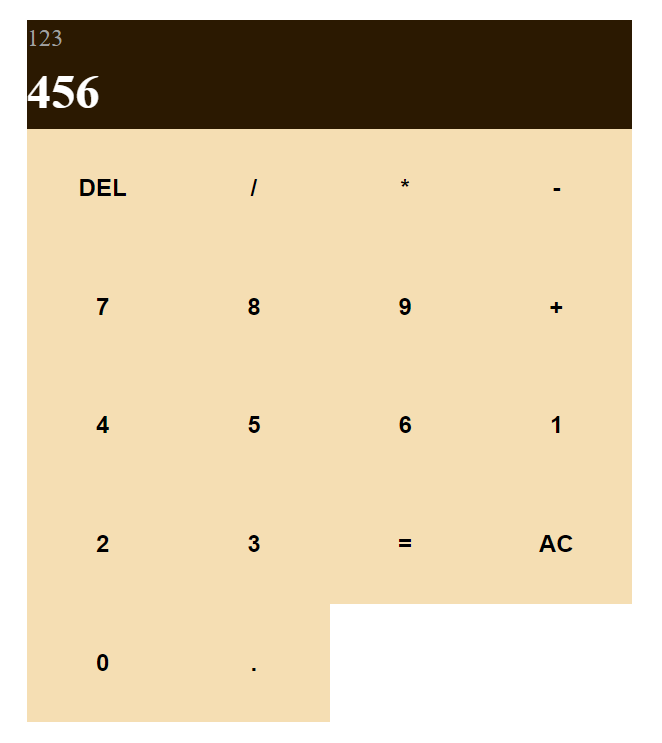
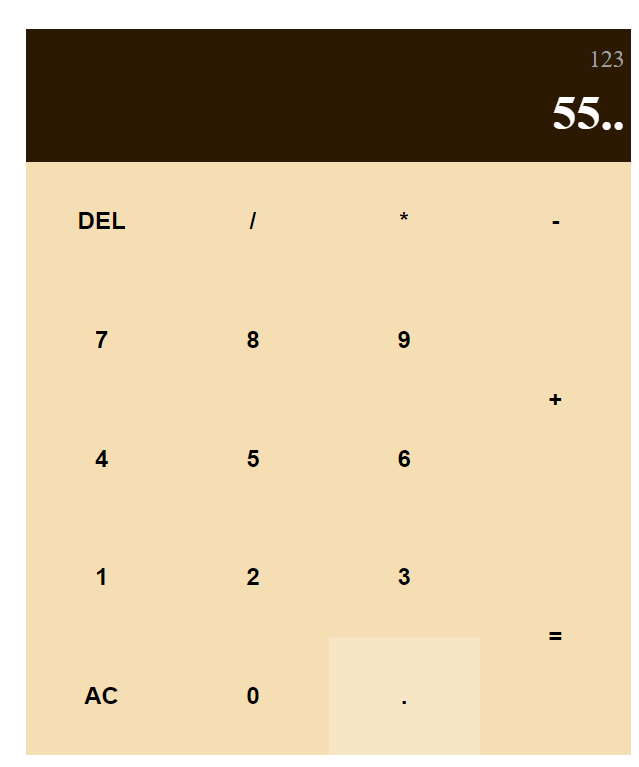
初始化完畢後,目前我們的計算機長這樣: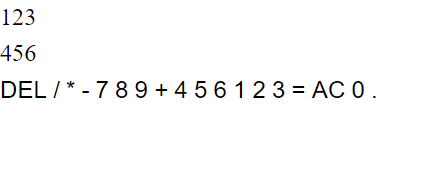
接著,我們要使用 display:grid 做排版:
.app {
		/* 設定初始化高度 */
    min-height: 100vh;
		/* grid排版 */
    display: grid;
		/* grid排版置中*/
    justify-content: center;
    align-content: center;
}
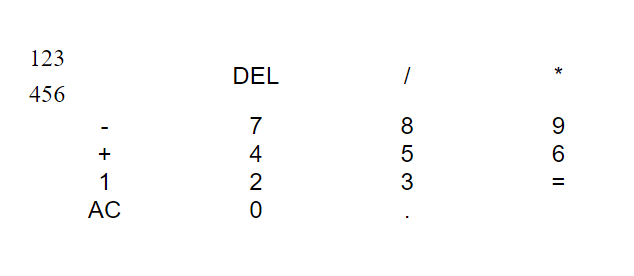
使用完grid後,要設定他的行數跟排數:
.app {
    min-height: 100vh;
    display: grid;
    justify-content: center;
    align-content: center;
		/* 設定行數跟排數 */
    grid-template-columns: repeat(4,100px);
    grid-template-rows:  minmax(100px auto) repeat(5,100px);
}
當數字 & 運算鍵排版完畢後,我接著要編輯panel介面。
要使panel那列滿版:
.panel {
    grid-column: 1/-1;
}
grid-column: 1/-1; 表示元素橫跨自第一列到最後一列。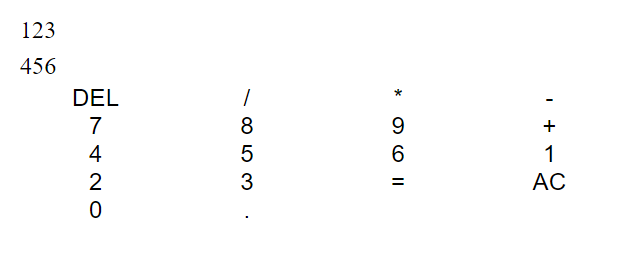
對panel上加一點設計樣式,使其變得更美觀:
.panel {
    background-color: rgb(43, 25, 1);
}
.output {
    color: white;
    font-weight: bold;
    font-size: xx-large;
}

.history {
		min-height: 30px;
    color: rgb(161, 161, 161);
}
.app>button {
    padding: 30%;
    background-color: wheat;
    font-weight: bold;
}
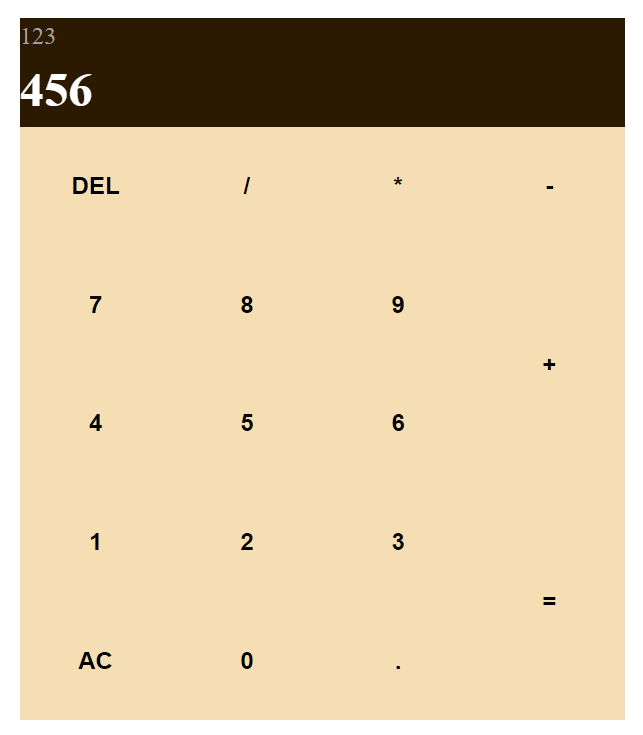
再來我們要讓 +號按鈕 跟 =按鈕 佔滿兩格可以這樣寫 ── 先對要佔滿兩格的元素下一個class: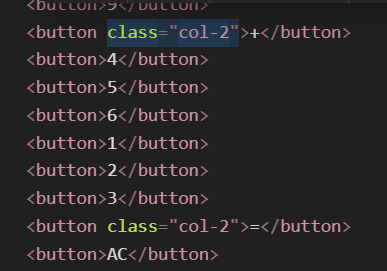
.col-2 {
    grid-row: span 2;
}
計算機的樣式快完成了,接著我們讓panel介面的數字靠右對齊,並且使app介面內的按鍵在鼠標觸碰到按鍵時出現顏色變淺的樣式:
.panel {
    background-color: rgb(43, 25, 1);
    padding: 2% 1%;
    text-align: right;
}

.app>button:hover {
    background-color:rgba(245, 222, 179, 0.746);
}
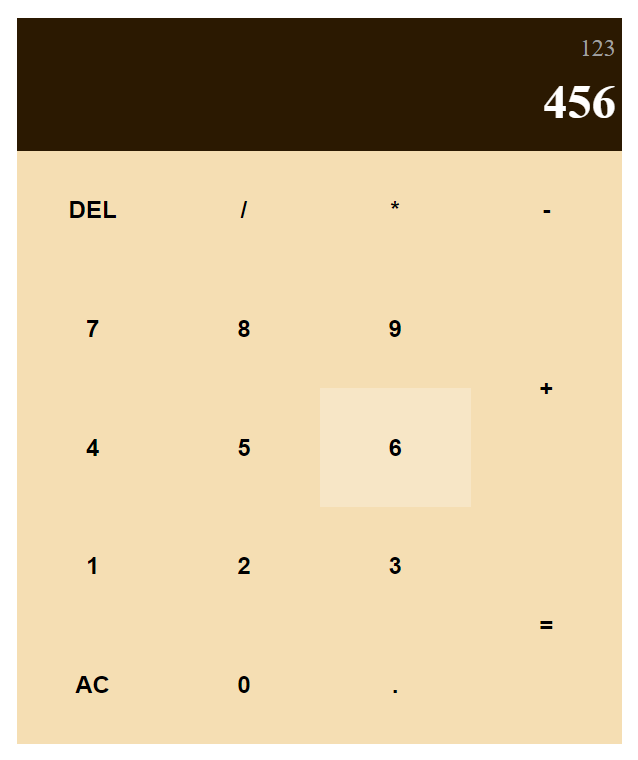
這樣計算機的整體設計就完成了!
前面兩個文本終於撰寫完畢後,我們要撰寫JS的部分:
先創建一個 script.js 檔案並引入,或著使用 <script>標籤將其腳本直接寫在HTML的元件裡。
我們接著來宣告一個calculator的物件:
class Calculator {
    panel = $(".panel");
    history = $(".history");
    output = $(".output");

    constructor () {

    }
    numberClick () { }
    add() {}
    minus () { }
    times () { }
    division () { }
    equal () { }
    delete() { }
    clear() { }
}

calculator = new Calculator()
接著要先建立用來存放數值的變數:
data = "";
prev_data = "";
當我們點擊數字鍵時,我們會把number加到data上,並顯示出來。
所以我們要做一個 update() ,目的是把data顯示出來。
update() {
    this.output.html(this.data);
}
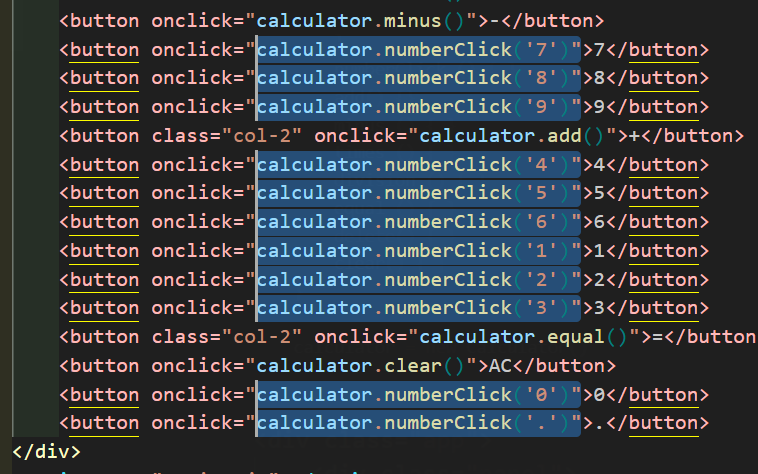
numberClick() :把資料傳進去data裡,並顯示出來。
numberClick (number) {
    this.data += number;
    this.update();
}
咦?為甚麼可以點兩次小數點?
為了不要出現兩個小數點或第一位為小數點的狀況出現,所以我們必須做防呆:
0 時直接替代數字。當條件成立時,這裡使用return直接跳出function。
numberClick(number) {
  if (this.data === "" && number === "." ) { return }
  if (this.data.includes(".") && number === ".") { return }
  if (this.data[0] === "0") {
      this.data = number;
      this.update();
      return
  }
  this.data += number;
  this.update();
}
clear() :套在AC按鍵上,目的是為了把把現有的data跟prevData清空。clear() {
this.data = "0";
this.prev_data = "";
this.update();
}
delete() :套用在delete按鍵上,能使 data 倒退一格。delete() {
if (this.data.length > 1) {
this.data = this.data.slice(0, -1);
} else {
this.data = "0";
}
this.update();
}
update函式update() {
this.output.html(this.data);
this.history.html(this.prev_data + " " + this.operator);
}
setOperator() 的作用是把 data 資料打進去 prev_data 哩,並把資料清空。
這裡的防呆是,當上面有資料時,就不用推資料上去,直接更改運算子就可以了。
setOperator(operator) {
if (this.prev_data.length === 0) {
this.prev_data = this.data;
this.data = "0";
}
this.operator = operator;
this.update();
}
add() {
this.setOperator("+");
}
minus() {
this.setOperator("-");
}
times() {
this.setOperator("*");
}
division() {
this.setOperator("/");
}
equal() 函式根據現在的operator去做對應的運算:
運算的部分是把 this.data 跟 this.prev_data 的字串分別轉成數字,運算後推回字串,再更新於panel上。
equal() {
switch (this.operator) {
case "+":
console.log("+");
this.data = parseFloat(this.prev_data) + parseFloat(this.data);
break;
case "-":
console.log("-");
this.data = parseFloat(this.prev_data) - parseFloat(this.data);
break;
case "*":
console.log("*");
this.data = parseFloat(this.prev_data) * parseFloat(this.data);
break;
case "/":
console.log("/");
this.data = parseFloat(this.prev_data) / parseFloat(this.data);
break;
}
this.data = this.data.toString();
this.prev_data = "";
this.operator = "";
this.update();
}
clear() 函式clear() {
this.data = "0";
this.prev_data = "";
this.update();
}
完整的JS代碼如下:
class Calculator {
panel = $(".panel");
history = $(".history");
output = $(".output");
data = "0";
prev_data = "";
operator = "";
constructor() {
this.update()
}
numberClick(number) {
if (this.data === "" && number === "." ) { return }
if (this.data.includes(".") && number === ".") { return }
if (this.data[0] === "0") {
this.data = number;
this.update();
return
}
this.data += number;
this.update();
}
setOperator(operator) {
if (this.prev_data.length === 0) {
this.prev_data = this.data;
this.data = "0";
}
this.operator = operator;
this.update();
}
add() {
this.setOperator("+");
}
minus() {
this.setOperator("-");
}
times() {
this.setOperator("*");
}
division() {
this.setOperator("/");
}
equal() {
switch (this.operator) {
case "+":
console.log("+");
this.data = parseFloat(this.prev_data) + parseFloat(this.data);
break;
case "-":
console.log("-");
this.data = parseFloat(this.prev_data) - parseFloat(this.data);
break;
case "*":
console.log("*");
this.data = parseFloat(this.prev_data) * parseFloat(this.data);
break;
case "/":
console.log("/");
this.data = parseFloat(this.prev_data) / parseFloat(this.data);
break;
}
this.data = this.data.toString();
this.prev_data = "";
this.operator = "";
this.update();
}
delete() {
    if (this.data.length > 1) {
        this.data = this.data.slice(0, -1);
    } else {
        this.data = "0";
    }
    this.update();
}
clear() {
this.data = "0";
this.operator = "";
this.prev_data = "";
this.update();
}
update() {
    this.output.html(this.data);
    this.history.html(this.prev_data + " " + this.operator);
}
}
calculator = new Calculator()
這樣,我們的計算機就大功告成啦!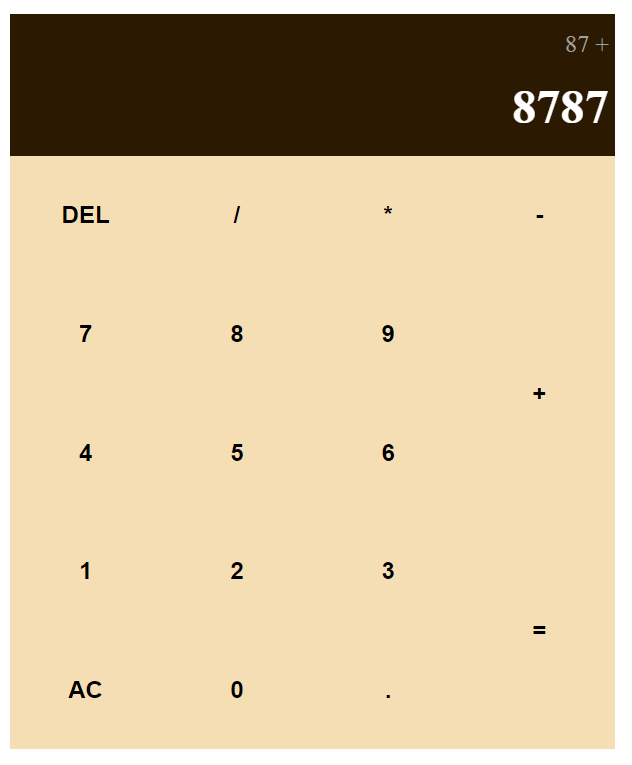
本篇完成的網站在這裡!
https://ttdragon0722.github.io/A-Calculator/
Source Code:
https://github.com/ttdragon0722/A-Calculator
希望本日有關計算機製作的篇章,不會令您覺得太燒腦,靜下心來、慢慢研究 ── 期待有一日您也能靈活運用程式語言,創作出樣式更不同,或更複雜的計算機!明日的篇章我們將講解GitHub等相關內容,明天見!