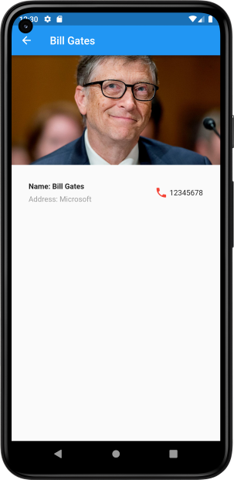
接著要來建最後的聯絡人資料頁面了!!
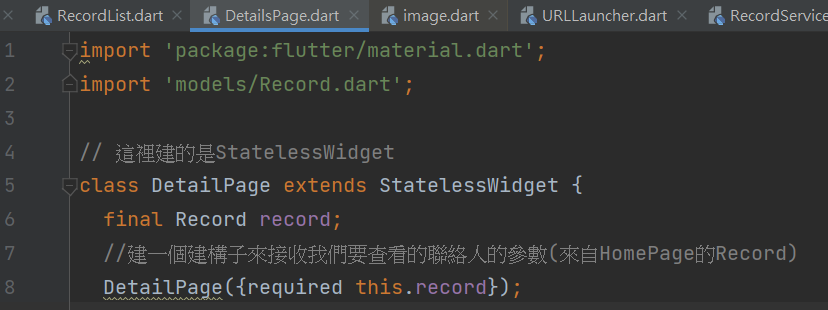
1.在lib下建立DetailsPage.dart

2.接著來建立介面


                  child: new Container(
                    //邊距
                    padding: const EdgeInsets.all(32.0),
                    //水平排列
                    child: new Row(
                      children: [
                        //Expanded()用來填滿剩餘的空間
                        new Expanded(
                          //垂直排列
                          child: new Column(
                            //在水平方向上靠左對齊
                            crossAxisAlignment: CrossAxisAlignment.start,
                            children: [
                              //顯示聯絡人姓名、文字風格
                              new Container(
                                padding: const EdgeInsets.only(bottom: 8.0),
                                child: new Text(
                                  "Name: " + record.name,
                                  style: new TextStyle(
                                    fontWeight: FontWeight.bold,
                                  ),
                                ),
                              ),
                              //在名字的下一行顯示聯絡人地址.
                              new Text(
                                "Address: " + record.address,
                                style: new TextStyle(
                                  color: Colors.grey[500],
                                ),
                              ),
                            ],
                          ),
                        ),
                        // 在名字和地址的右邊顯示電話圖案.
                        new Icon(
                          Icons.phone,
                          color: Colors.red[500],
                        ),
                        // 在電話圖案的右邊顯示電話號碼
                        new Text(' ${record.contact}'),
                      ],
                    ),
                  )

今天到這裡結束!明天接著把URLLauncher類別做完,這個通訊錄就大致完成了!!
參考資料:
https://www.appcoda.com.tw/flutter-basics/
