今天是開發的Day7,開發重點為:
import { sendEmailVerification } from "firebase/auth";

// 假設 auth 是通過 getAuth() 取得的 Authentication 實例,user 是成功註冊或登入的用戶對象
sendEmailVerification(auth.currentUser)
  .then(() => {
    // 驗證電子郵件已成功發送
    console.log("Verification email sent!");
  })
  .catch((error) => {
    // 發送驗證電子郵件時出錯
    console.error("Error sending verification email: ", error);
  });
向 Web 控制台输出一条错误消息。
來源:Mdn—Console.error()
console.error顯示錯誤訊息,讓其與console.log顯示的訊息分別。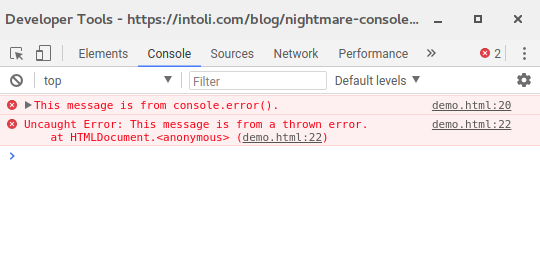
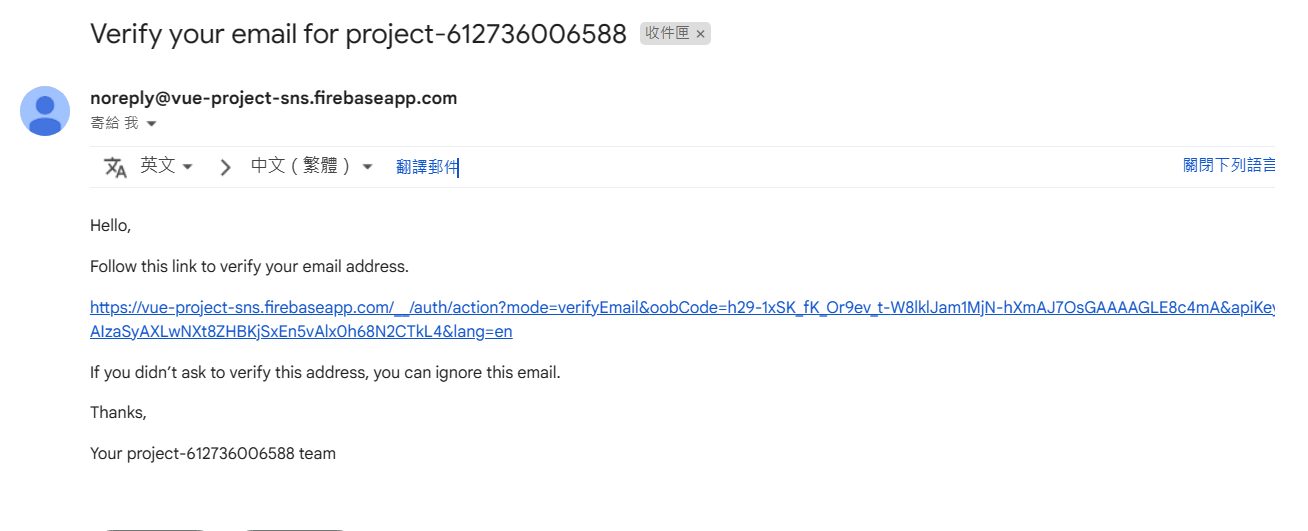
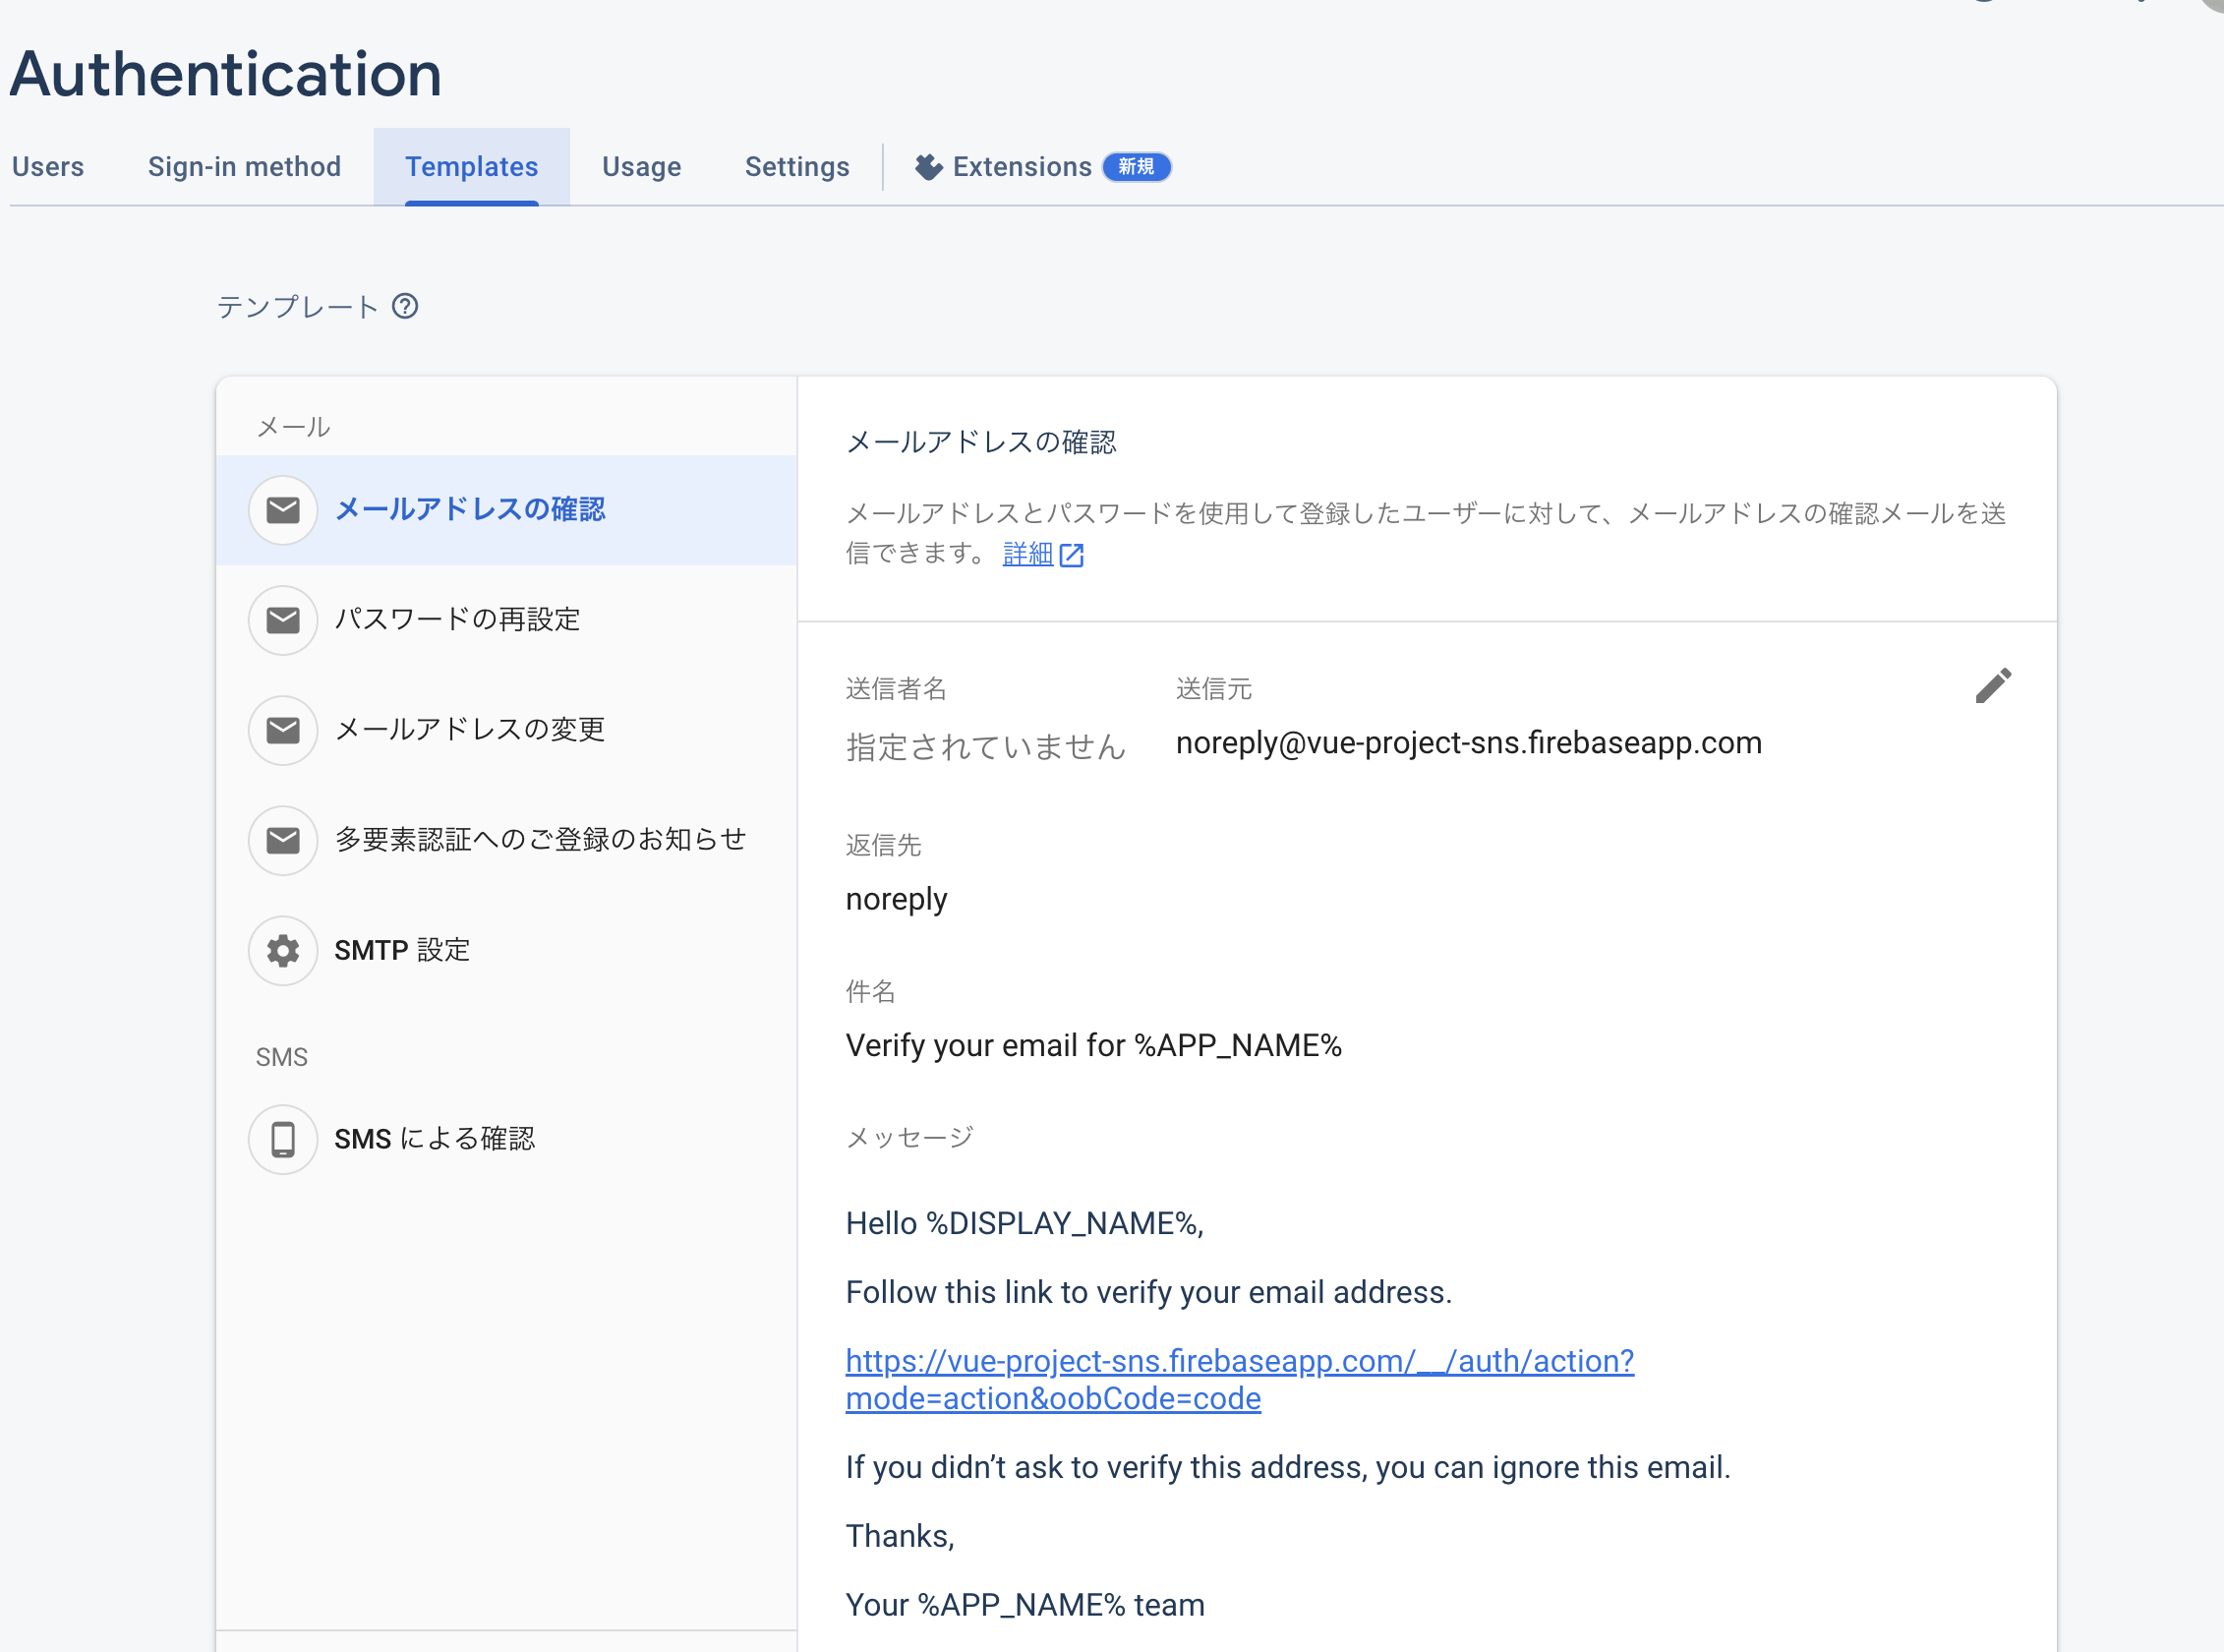
註冊完,使用者信箱即會收到firebase內建的模板信件。
註:信件內容都可以在authentication中的Templates內修改。(如下圖)
v-if<template>
<button v-bind:class="[customizeStyle(buttonCustomizaStyleAttribute)]" v-if="!isEmailVerified">
未完成信箱認證
</button>
</template>
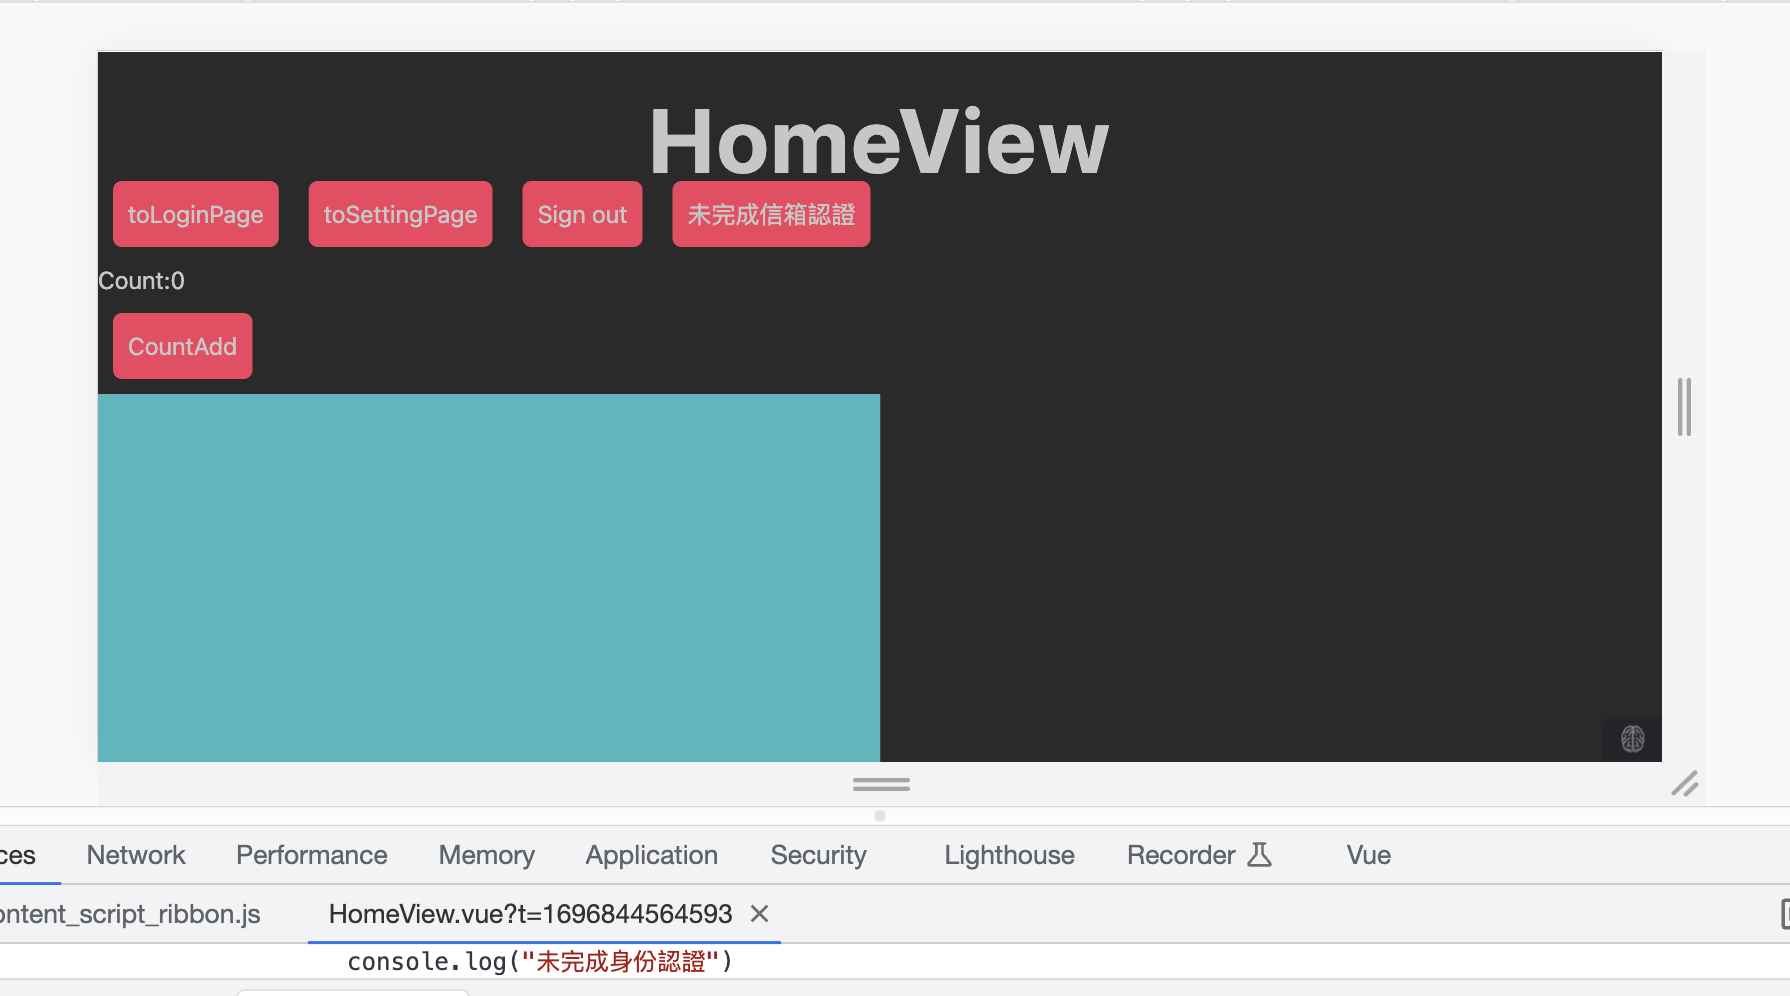
再創建一個按鈕,提醒用戶尚未完成認證,並使用v-if讓按鈕在未完成信箱認證時(!isEmailVerified = true)的時候是顯示的。
新增一個變數,提供初始值為false,確保isEmailVerified是一個ref物件,且isEmailVerified.value初始值為false。
const isEmailVerified = ref(false)
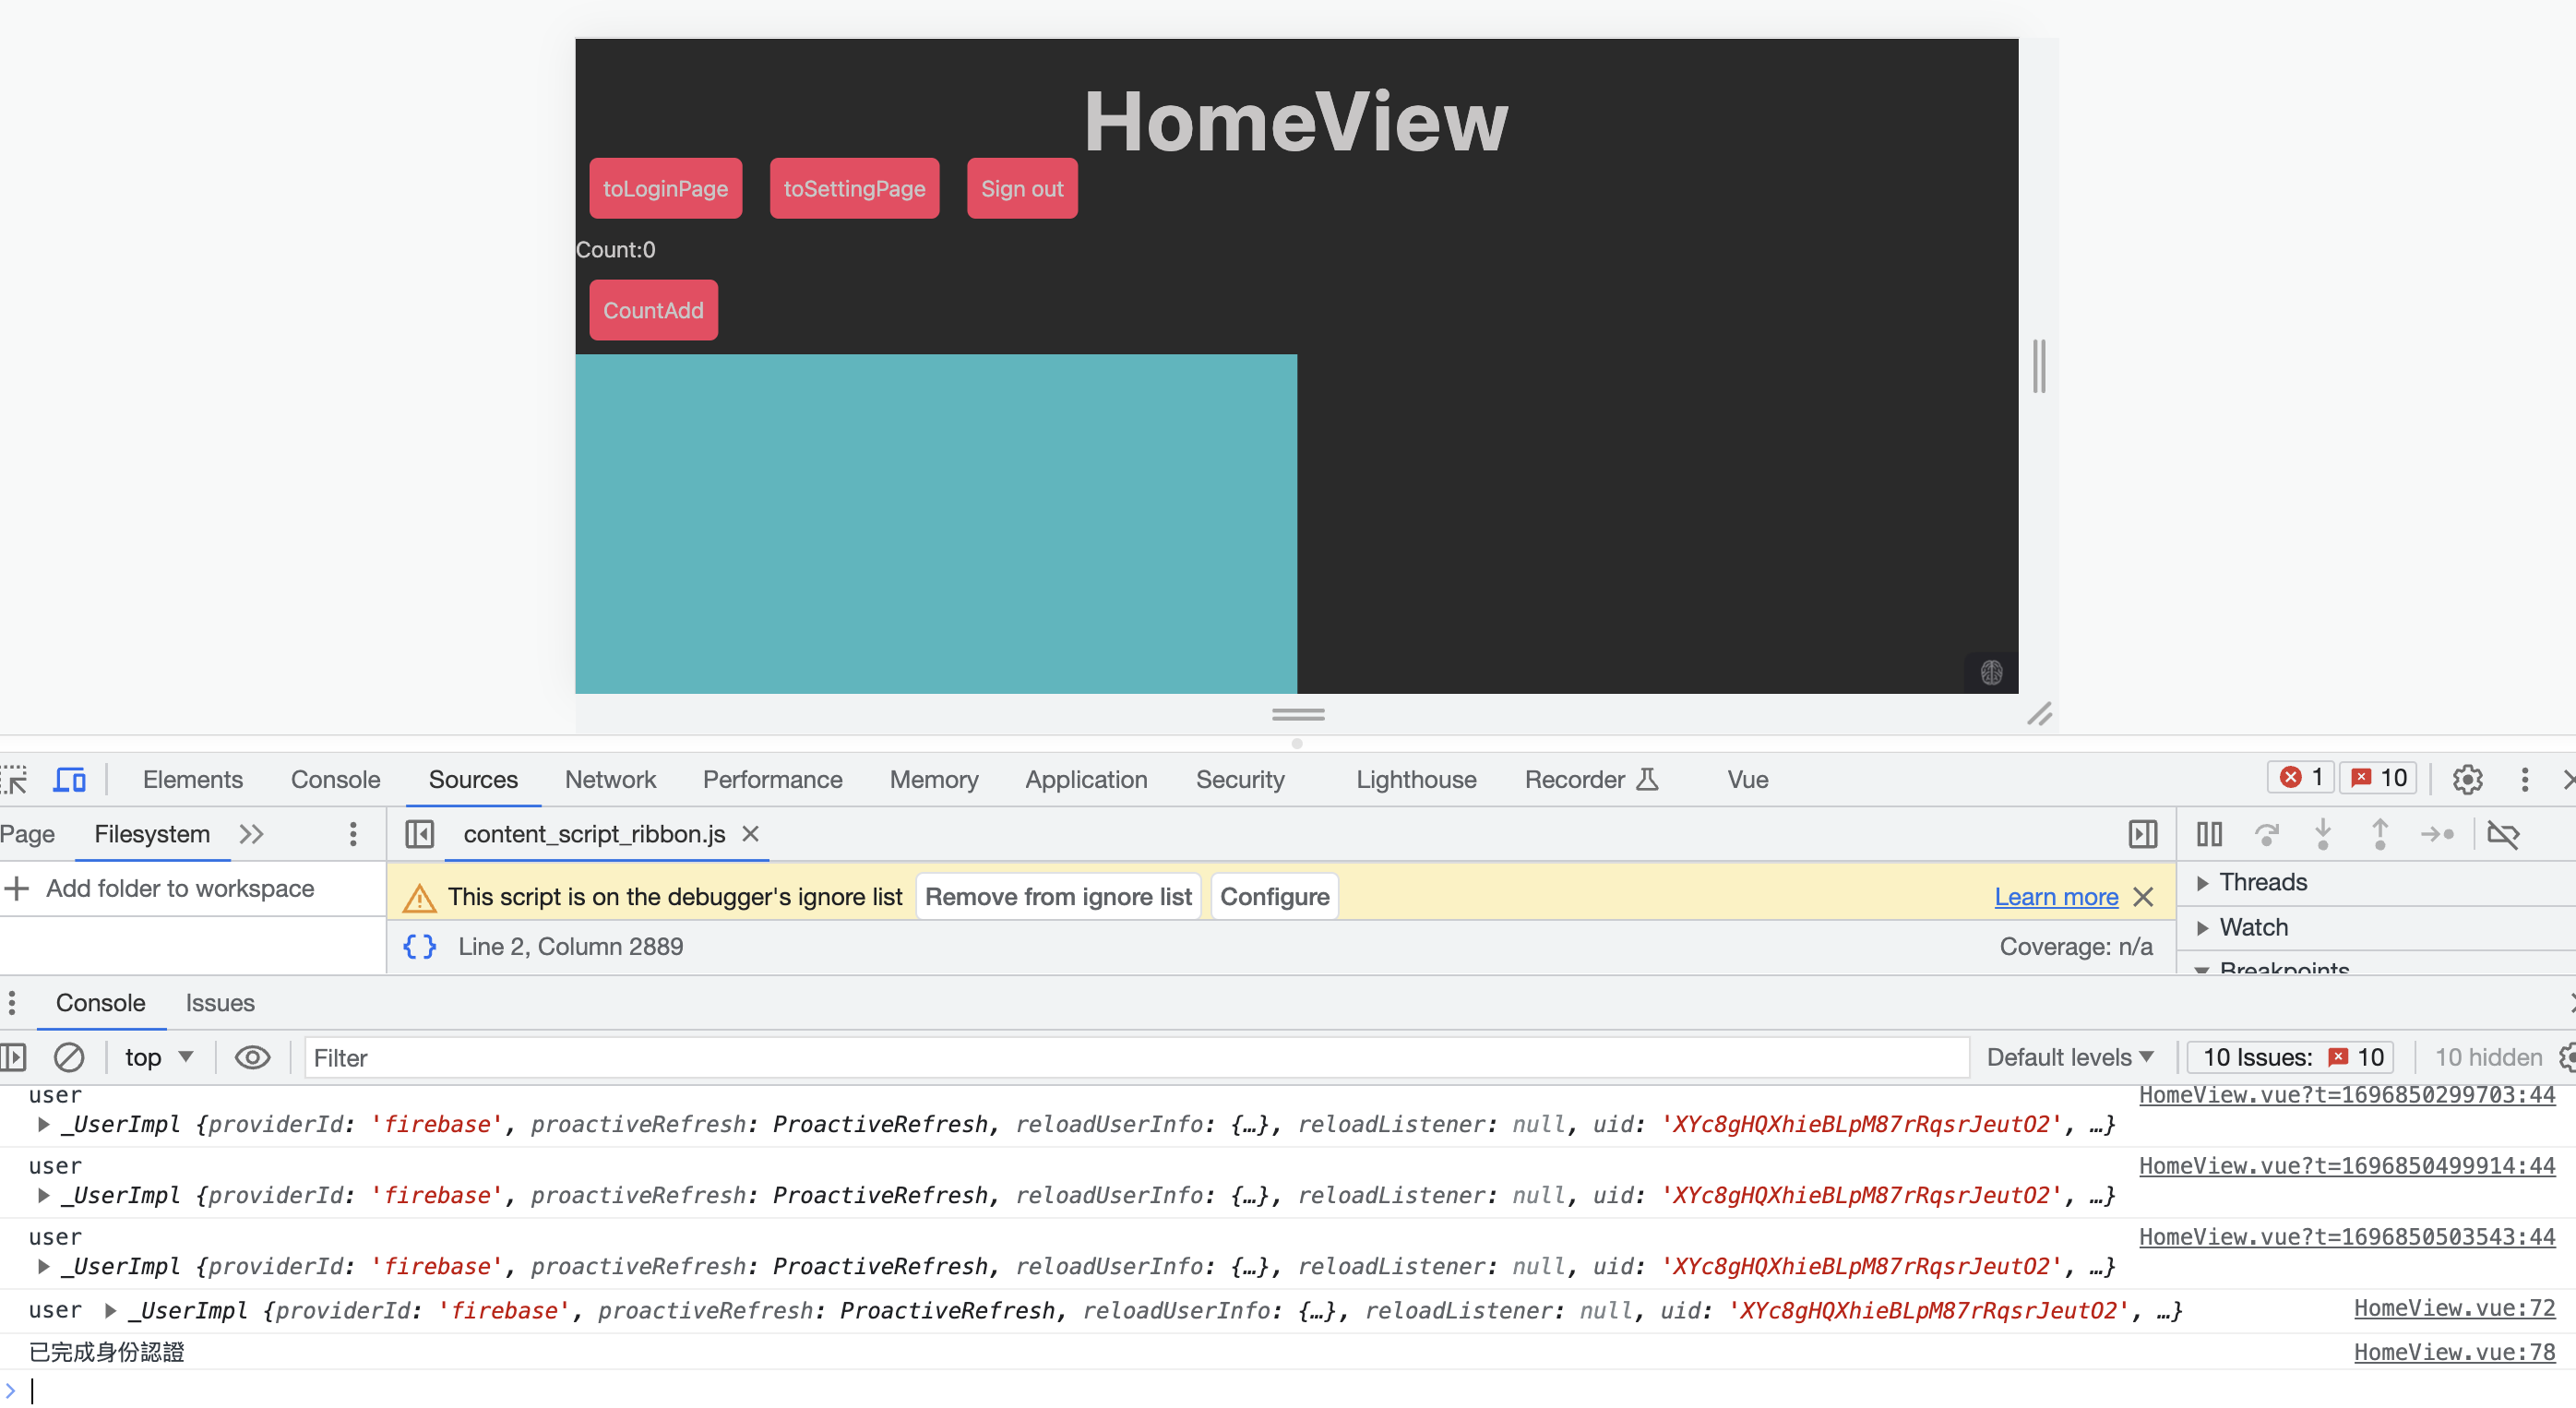
onAuthStateChanged(auth, (user) => {
console.log("user", user)
if (user) {
isLoggedIn.value = true
// 檢查用戶是否已經通過身份驗證
if (user.emailVerified) {
// 用if/else檢查用戶是否已通過身份認證
console.log("已完成身份認證")
isEmailVerified.value = true
} else {
// 用戶未通過身份驗證
console.log("未完成身份認證")
isEmailVerified.value = false
}
} else {
isLoggedIn.value = false
}
})
未完成身份認證的情況下,提醒使用者的按鈕會出現
接著完成信箱認證程序後,使用者即能正常瀏覽網站
在使用者註冊並將資料傳入firestore的代碼中,我們使用了async、await、promise去處理非同步操作的問題。
export class FbService {
  /**
   * ユーザー登録
   * @param userInfo 対象UID,名前,メール,パスワード
   * @returns 登録結果:true,false
   */
  registerAccount = async (userInfo) => {
    let isRegisterSucessfull = false
    await createUserWithEmailAndPassword(auth, userInfo.value.email, userInfo.value.pwd)
       //使用 await 關鍵字
       //等待 createUserWithEmailAndPassword 的非同步操作完成。
        //如果該操作成功,它將返回一個包含有關用戶的信息的對象,
        //並賦值給 data 變數。
      .then(async (data) => {
        console.log("successfully registered", data)
        //增加userID進去firestore
        const userRef = collection(db, "users")
        const userDoc = {
          UID: data.user.uid,
          name: userInfo.value.name,
          email: userInfo.value.email
        }
        await addDoc(userRef, userDoc)

//使用 addDoc 函數將用戶信息添加到 Firestore 中的 "users" 集合。
//同樣,這也是一個非同步操作,await 用於等待該操作完成。
          .then(() => {
            isRegisterSucessfull = true
            console.log("User added to Firestore")
          })
//如果 addDoc 操作成功,將 isRegisterSucessfull 設置為 true,表示註冊成功。
          .catch((error) => {
            console.error("Error adding user to Firestore:", error)
          })
      })
      .catch((error) => {
        console.error("Register Fail: ", error.code)
      })
    return new Promise((resolve) => {
      resolve(isRegisterSucessfull)
    })
      //函數最終返回一個 Promise 對象,
      //該對象的解析值是 isRegisterSucessfull 的值(true 或 false)。

  }
非同步操作: 函數 registerAccount 包含非同步操作,其中 createUserWithEmailAndPassword 和 addDoc 函數是非同步的,它們需要等待非同步操作完成。
等待非同步操作完成: 使用 await 來等待非同步操作的完成等待 createUserWithEmailAndPassword 的操作完成後,再等待 addDoc 的操作完成。
Promise 封裝非同步操作結果: 當我們調用 createUserWithEmailAndPassword 和 addDoc 時,它們返回的是 Promise 對象。這表示這些操作是非同步的,而且它們最終會解析為一個值(成功時)或拒絕(失敗時)。使用 await 來等待 Promise 的解析,這樣我們可以得到操作的結果或錯誤信息。
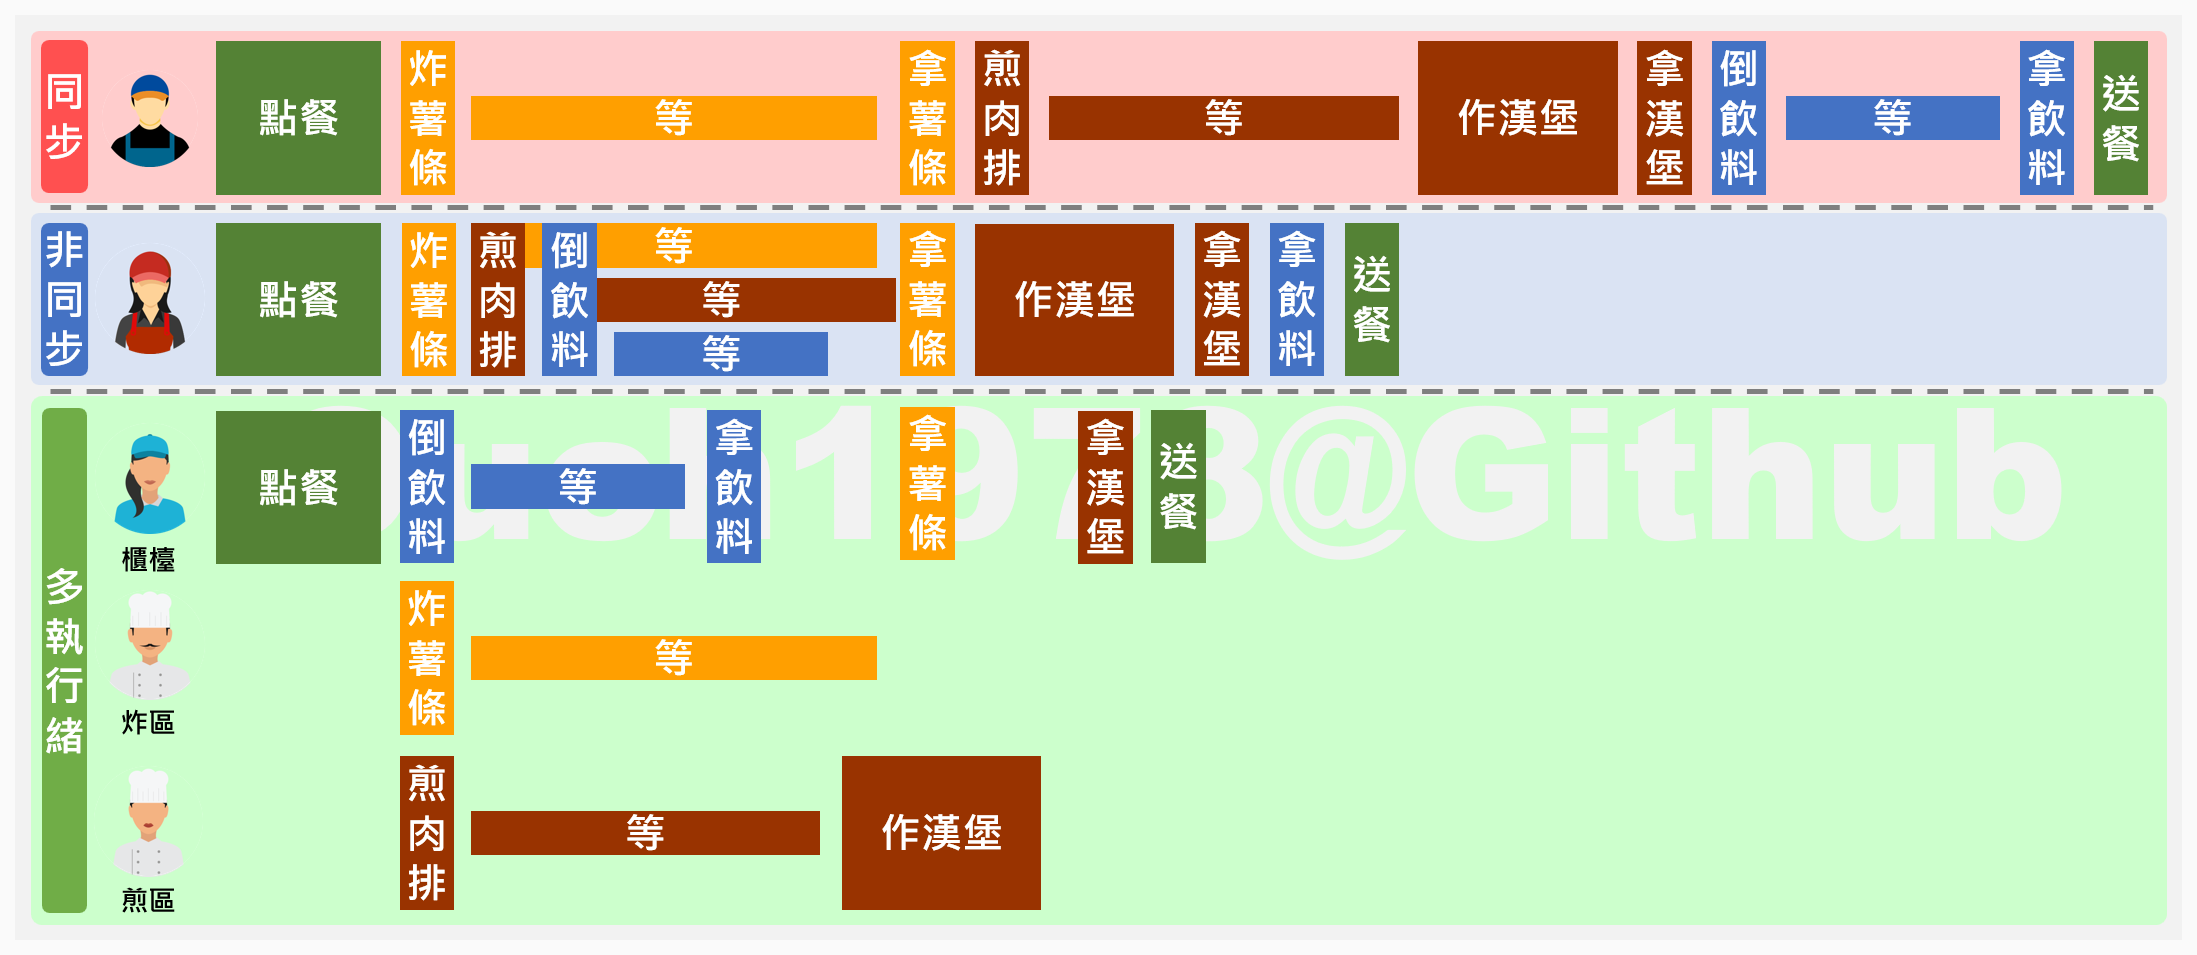
非同步和同步最大的差別,就是店員不用傻傻的等待上一個動作完成,就可以開始去處理下一個動作。
等到前面的工作完成,他再繼續往後處理就好。
資料來源:

async和promise都是异步方法,区别是async生成的结果是promise对象,async是promise的终结版。await只能在async中使用,await是阻塞的意思,就是暂停,你一起调用2个接口,第一个执行完,不输出结果,要等第二个接口执行完,才返回这两个的结果。
參考資料:async await和promise的区别
大概寫完了基本構造,接下來應該檢查還有哪部分功能沒做到/有BUG的部分,然後就完成驗證這一塊的撰寫。