本次要跟姊姊一起學習Vue 3 + Firebase Cloud Messaging 測試一筆訊息通知吧!
▶ 如果您尚未建立專案/安裝 Firebase JS SDK 並初始化 Firebase,請先到
開箱23:Vue 3 + 建立web應用程式+Firebase JS SDK 初始化
▶ 若需要跳出的通知視窗,可參考
開箱15:輕鬆套用訊息通知UI~Vue 3 Toastify範例應用
今日步驟
官方文件:
開箱23:Vue 3 + 建立web應用程式+Firebase JS SDK 初始化
開始實作本次功能吧!
版本 "firebase": "^10.4.0"
☆★☆★ 詳細程式碼 前往 >> 本次程式 commit 紀錄
詳細請看:官方文件Add and initialize the FCM SDK
修改src/services/firebase.js
import { initializeApp } from 'firebase/app';
import { getMessaging } from 'firebase/messaging'; //新增

const firebaseConfig = {
  apiKey: '...',
  authDomain: '...',
  projectId: '...',
  storageBucket: '...',
  messagingSenderId: '...',
  appId: '...'
};

// 初始化 Firebase
export const setupFirebase = initializeApp(firebaseConfig);

// 取得 getMessaging實例
export const messaging = getMessaging(setupFirebase); // 新增
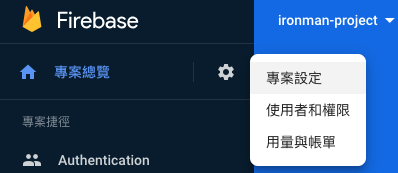
開啟 Firebase 控制台「專案設定」窗格的「雲端通訊」選項,然後捲動至下方「Web 設定」
在「Web 推送憑證」標籤中,按一下「產生金鑰」。
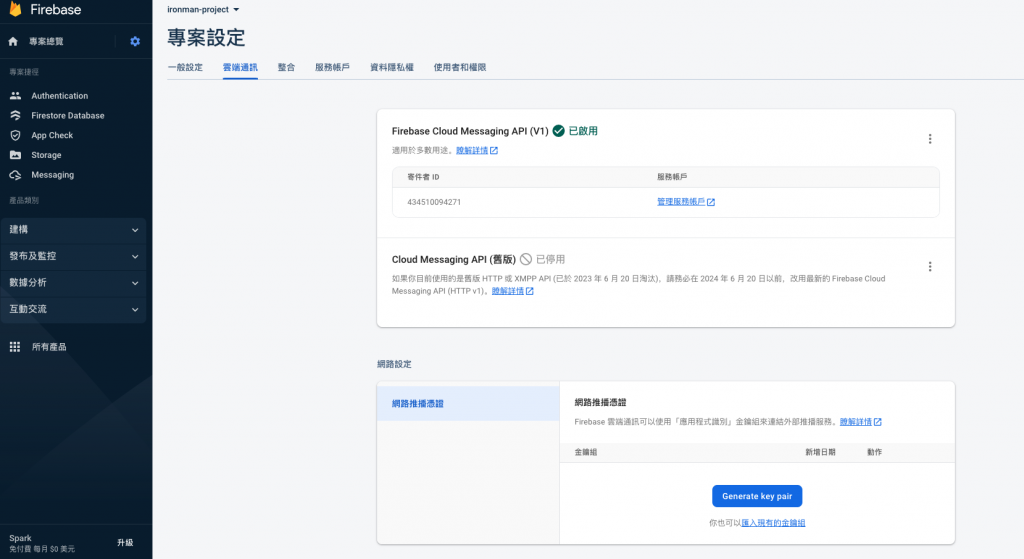
複製所產出的金鑰
新增getToken
< YOUR_PUBLIC_VAPID_KEY_HERE > 貼上你剛剛申請的憑證
修改src/services/firebase.js
import { initializeApp } from 'firebase/app';
import { getMessaging,getToken } from 'firebase/messaging'; //新增

const firebaseConfig = {
  apiKey: '...',
  authDomain: '...',
  projectId: '...',
  storageBucket: '...',
  messagingSenderId: '...',
  appId: '...'
};

// 初始化 Firebase
export const setupFirebase = initializeApp(firebaseConfig);

// 取得 getMessaging實例
export const messaging = getMessaging(setupFirebase);

getToken(messaging, { vapidKey: '<YOUR_PUBLIC_VAPID_KEY_HERE>' })
  .then(currentToken => {
    if (currentToken) {
      // Send the token to your server and update the UI if necessary
      // ...
      console.log('currentToken', currentToken);
    } else {
      // Show permission request UI
      console.log(
        'No registration token available. Request permission to generate one.'
      );
      // ...
    }
  })
  .catch(err => {
    console.log('An error occurred while retrieving token. ', err);
    // ...
  });
Firebase 有自己的 service worker,檔名叫做firebase-messaging-sw.js,位置需放在根目錄下,以vue 來說,就放在 public 目錄下
onMessage...
//修改src/services/firebase.js
import { initializeApp } from 'firebase/app';
import { getMessaging,getToken, onMessage } from 'firebase/messaging'; //新增

const firebaseConfig = {
  apiKey: '...',
  authDomain: '...',
  projectId: '...',
  storageBucket: '...',
  messagingSenderId: '...',
  appId: '...'
};

// 初始化 Firebase
export const setupFirebase = initializeApp(firebaseConfig);

// 取得 getMessaging實例
export const messaging = getMessaging(setupFirebase);

onMessage(messaging, payload => {
  console.log('Message received. ', payload);
  // ...
});

getToken(messaging, { vapidKey: '<YOUR_PUBLIC_VAPID_KEY_HERE>' })
    ...
});
這個的目的是串接service-worker產生離線推播
將public/firebase-messaging-sw.js內容新增以下 (兩張圖的內容)
▼ 記得修改你的config (如同firebase.js檔案的資料)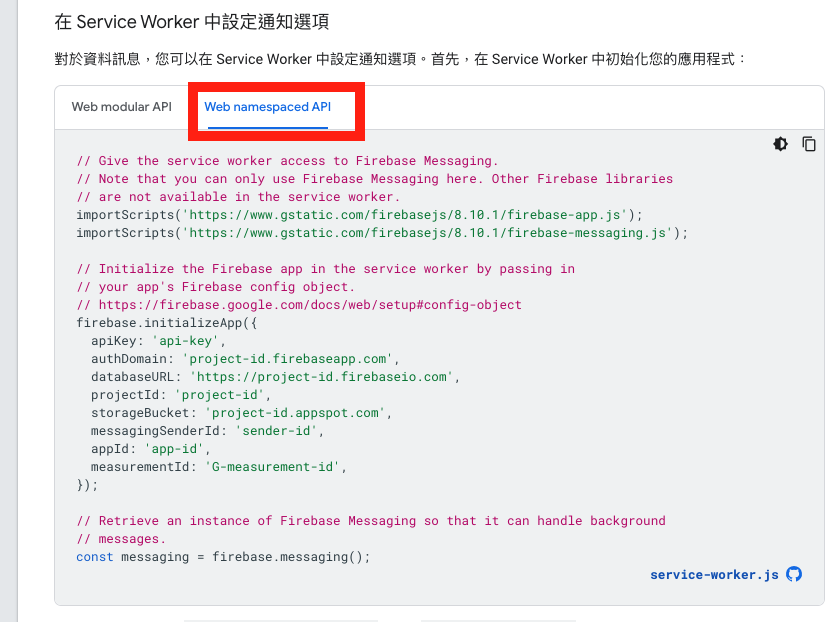
▼ 記得修改通知的title&option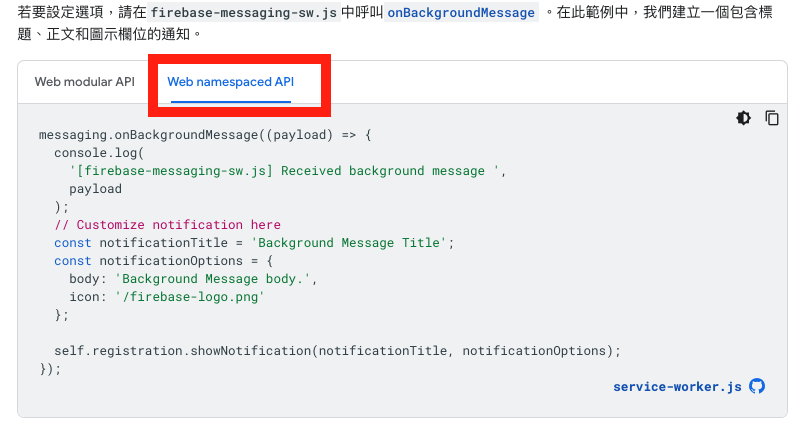
▼ 修改結果如下
importScripts('https://www.gstatic.com/firebasejs/8.10.1/firebase-app.js');
importScripts(
  'https://www.gstatic.com/firebasejs/8.10.1/firebase-messaging.js'
);

firebase.initializeApp({
  apiKey: '...',
  authDomain: '...',
  projectId: '...',
  storageBucket: '...',
  messagingSenderId: '...',
  appId: '...'
});

const messaging = firebase.messaging();

messaging.onBackgroundMessage(function (payload) {
  console.log(
    '[firebase-messaging-sw.js] Received background message ',
    payload
  );
  // Customize notification here
  const notificationTitle = payload.notification.title;//記得修改為參數標題
  const notificationOptions = {
    body: payload.notification.body, //記得修改為參數內文
    icon: '/vite.svg' // 記得修改為參數圖示(自行決定要放什麼圖)
  };

  self.registration.showNotification(notificationTitle, notificationOptions);
});
完成之後
接著回到你的專案,會出現
按下允許就會取得currentToken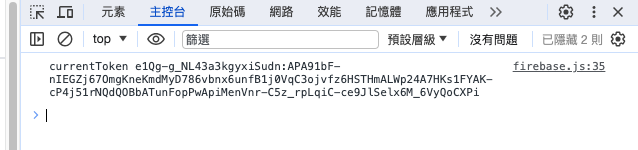
將這個Token複製起來
回到Firebase console 控制台,開啟Messaging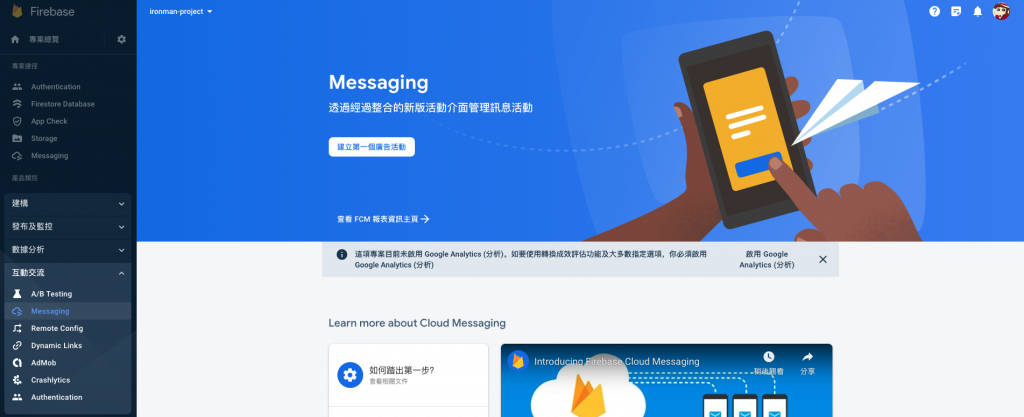
點選「建立第一個廣告活動」,跳出以下畫面,選擇第一項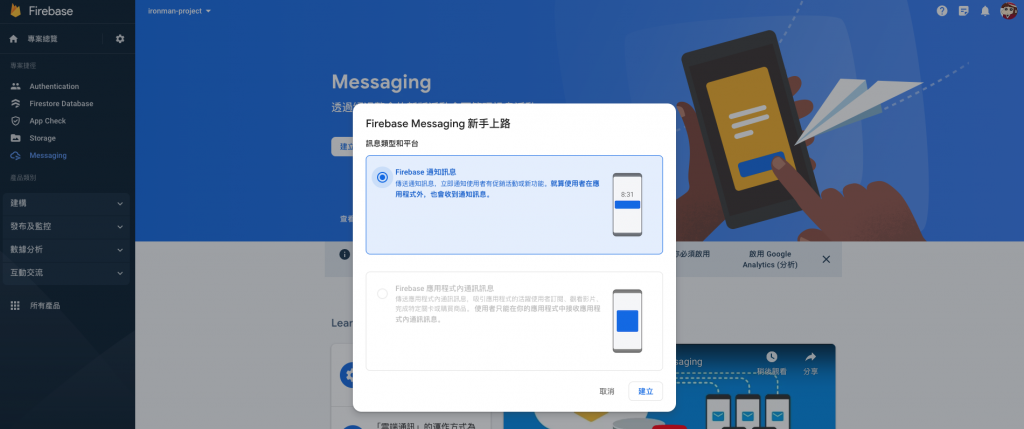
跳出以下畫面,寫一則測試的標題及內容吧!
▼將剛剛複製的token貼到這邊,然後按「測試」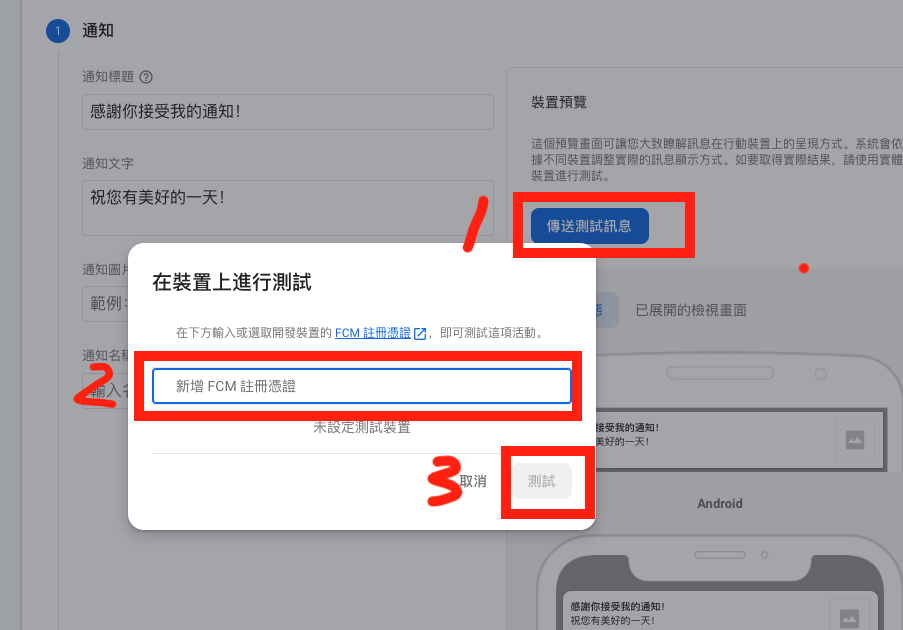
接著按下「測試」,回到專案看console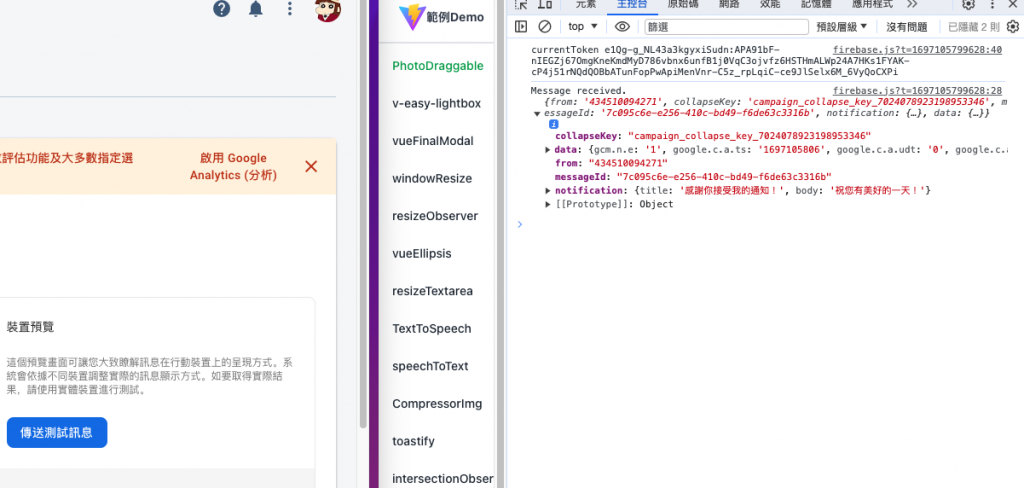
這樣在開啟網頁下就成功接收到了!
別忘了在剛剛的監聽收到訊息的函式裡面,新增通知元件
//回到 src/services/firebase.js
...
onMessage(messaging, payload => {
  console.log('Message received. ', payload);
  toast(`${payload.notification.title}<br>${payload.notification.body}`); //通知UI
});
...
結果如下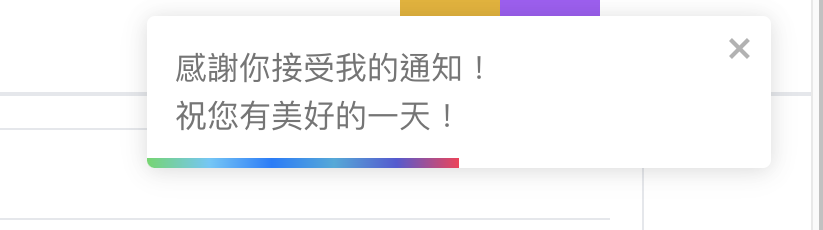
那接著試著將網頁關閉,再發送一次通知,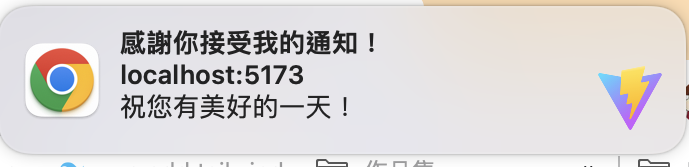
這樣在離線之下也可以成功接收到了!
延伸閱讀: