昨天,我們完成排序演算法的動畫架構,接下來,讓我們將各種排序方法逐步實現並植入動畫,製作逐格動畫效果!這樣的視覺化能讓我們清楚看到數據排序的過程,並進一步探討每個排序演算法的核心邏輯。
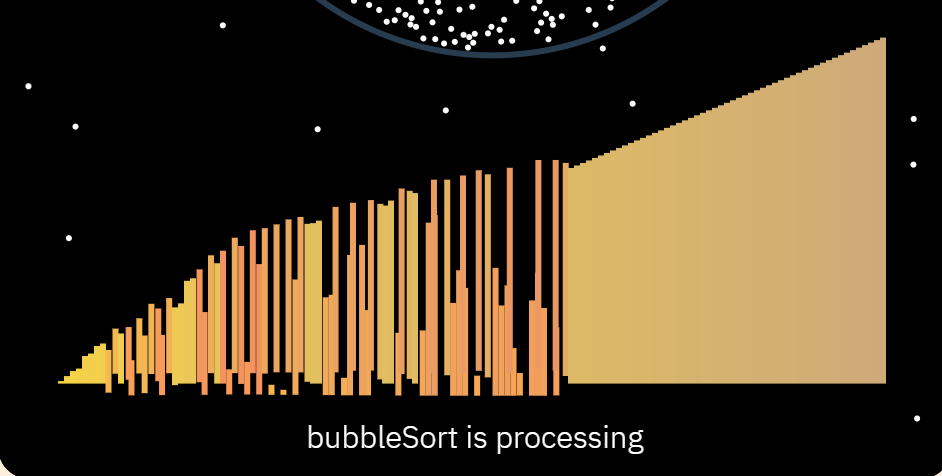
泡沫排序(Bubble Sort)是一種簡單的排序演算法。其基本原理是通過多次遍歷陣列,每次比較相鄰元素,將較大的元素「冒泡」到陣列末端,直到完全排序。
function bubbleSort(arr) {
    const n = arr.length;
    for (let i = 0; i < n - 1; i++) {
        for (let j = 0; j < n - 1 - i; j++) {
            if (arr[j] > arr[j + 1]) {
                [arr[j], arr[j + 1]] = [arr[j + 1], arr[j]]; // 交換
            }
        }
    }
    return arr;
}
該範例便是用雙層迴圈來遍歷數列,每次將較大的數值「冒泡」到數列的後面。這樣不斷重複,直到整個數列有序。也因此時間複雜度為 O(n²),性能也較差。
讓我們深入了解 for 迴圈中最關鍵的三個要素:初始值、條件判斷 和 累加更新,我們先將內層的迴圈拿出來看:
for (let j = 0; j < n - 1 - i; j++) {
    if (arr[j] > arr[j + 1]) {
        [arr[j], arr[j + 1]] = [arr[j + 1], arr[j]]; // 交換
    }
}
它可以改寫成:
let j = 0;
for (; ; ) {
    if(j < n - 1 - i) break;
    if (arr[j] > arr[j + 1]) {
        [arr[j], arr[j + 1]] = [arr[j + 1], arr[j]]; // 交換
    }
    j++;
}
透過這種方式,我們能手動控制每次迴圈的變量變化,並清楚呈現每一輪的交換步驟。
接著,我們可以不依賴傳統的 for 迴圈,而是將索引 i 和 j 存儲在類別屬性中。在這裡,我們每次將索引值賦值給 (i, j),用以區別更新後和更新前的索引值。
class SortAlgorithm{
    bubbleSortSetting(columns){
        this.i = 0;
        this.j = 0;
    }
    bubbleSort(columns){
        const len = columns.length;
        const i = this.i;
        const j = this.j;
        if (i == len - 1) return true;
        if (j == len - 1 - i) {
            this.j = 0;
            this.i++;
            return false;
        }
        const a = columns[j];
        const b = columns[j + 1];
        if (a.height > b.height) SortAlgorithm.swapColumn(a, b, 30);
        this.j++;
        return false;
    }
}
回顧昨天的動畫架構,我們用 return 來控制是否結束當前迭代。透過返回布林值,判斷排序是否已完成,從而停止動畫更新。
class SortAlgorithm{
    update(columns){
        if(!this.isSorting) return;

        this.times = this.timesEveryFrame;
        while(this.times--){
            const isStoping = this.sortFunction(columns);
            //......
        }
        //......
    }
}
這樣的設計讓我們能夠輕鬆控制動畫的進行與暫停,還能動態調整排序進度,確保每一步的狀態都能即時反映在動畫中。
然而,以上方法雖然可行,可讀性卻很差呀!為了解決這個問題,我們可以使用 JavaScript 的原生功能 —— 生成器(Generator),這是一個強大的工具,能夠幫助我們實現更加簡潔和易於理解的代碼結構。
生成器函數通過 yield 關鍵字來逐步返回值,並且可以在每次迭代時保持狀態。因此,我們可以使用生成器來重構泡沫排序,讓它更具可讀性。
class SortAlgorithmIterable{
    * bubbleSortMaker(columns) {
        const len = columns.length;
        for (let i = 0; i < len - 1; i++) {
            for (let j = 0; j < len - 1 - i; j++) {
                const a = columns[j];
                const b = columns[j + 1];
                if (a.height > b.height) SortAlgorithm.swapColumn(a, b, 30);
                yield false;
            }
        }
        yield true;
    }
}
透過這個方法,我們可以完整包裝演算法,初始值的設定也可以在裡面完成。並且簡化了狀態管理。因為生成器會在每次 yield 後自動記住函數的執行狀態,我們不再需要手動管理迴圈變量的更新,如 i 和 j。
在架構上,每次排序的時候都會透過生成器函數來製作迭代器,儲存至 sortFunction。然後,透過 next() 方法呼叫下次迭代、value 取得返回值。
class SortAlgorithmIterable{
    start(name, columns){
        this.sortFunction = this[name + "Maker"](columns);
        this.isSorting = true;
    }
    update(){
        if(!this.isSorting) return;

        this.times = this.timesEveryFrame;
        while(this.times--){
            const isStoping = this.sortFunction.next().value;
            //......
        }
        //......
    }
}
選擇排序是一種簡單直觀的排序演算法。它每次從未排序的部分找到最小(或最大)的元素,並將其與該部分的第一個元素交換。這個過程會重複,直到整個陣列都排好序。
function selectionSort(arr) {
    const n = arr.length;
    for (let i = 0; i < n - 1; i++) {
        let minIndex = i;
        for (let j = i + 1; j < n; j++) {
            if (arr[j] < arr[minIndex]) {
                minIndex = j;
            }
        }
        if (minIndex !== i) {
            [arr[i], arr[minIndex]] = [arr[minIndex], arr[i]]; // 交換
        }
    }
    return arr;
}
這個範例展示了選擇排序的基本操作邏輯,時間複雜度為 O(n²),對於小規模數據集,它的效率尚可,但對於大型數據集,則表現不佳。
對於動態排序動畫,我們可以手動管理排序的狀態,如下:
class SortAlgorithm{
    selectionSortSetting(){
        this.i = 0;
        this.j = 1;
        this.minIndex = 0;
    }
    selectionSort(columns){
        const len = columns.length;
        const i = this.i;
        const j = this.j;
        const minIndex = this.minIndex;
        if (i == len - 1) return true;
        if (j == len) {
            this.i++;
            this.minIndex = this.i;
            this.j = this.i + 1;
            if(i == minIndex) return false;
            const a = columns[i];
            const b = columns[minIndex];
            const frame = 60;
            SortAlgorithm.swapColumn(a, b, frame);
            return false;
        }
        const min = columns[minIndex].height;
        const next = columns[j].height;
        if (next < min) this.minIndex = j;
        this.j++;
    }
}
這裡我們手動管理了 i 和 j 的狀態,並且在每次迭代時更新最小值 minIndex,最後在找到最小值後執行交換。
當我們考慮使用生成器時,可以讓選擇排序的流程更簡潔,並將狀態保存在生成器內部:
class SortAlgorithmIterable{
    * selectionSortMaker(columns) {
        const len = columns.length;
        for (let i = 0; i < len; i++) {
            let minIndex = i;
            for (let j = i + 1; j < len; j++) {
                const min = columns[minIndex].height;
                const next = columns[j].height;
                if (next < min) minIndex = j;
                yield false;
            }
            if(minIndex == i) continue;
            const a = columns[i];
            const b = columns[minIndex];
            SortAlgorithm.swapColumn(a, b, 30);
        }
        yield true;
    }
}
這段代碼透過生成器優雅地管理選擇排序的步驟,每次 yield 都會暫停當前的操作,等待下一次的迭代。相信看到這,大家也能明白迭代生成器的強大了!
使用生成器不僅讓排序的邏輯更加清晰,還提高了代碼的可讀性和維護性。對於動畫系統來說,生成器的逐步執行特性也使得我們可以精確控制每一幀的渲染,進而創造出更流暢和直觀的排序動畫。
坦白說,我原先把八種排序演算法逐一拆解,使用手動狀態管理的方式來實現動畫,後來才想到可以利用生成器來簡化這個過程。所以,作為經驗分享,接下來文章就順便一併提供大家,相信能帶來不一樣的想法!