在前一篇文章中,我們完成了泡沫排序和選擇排序,並詳細說明了如何自製迭代方程式,並將其與依賴迭代生成器的方法進行比較。今天,藉著這股勢頭,我們將繼續探索插入排序和希爾排序,這兩種排序演算法同樣在實際應用中非常重要。
插入排序以其簡單和直觀的特性受到青睞,而希爾排序則是一種改進的插入排序,能有效提高排序效率。接下來,我們將分別探討這兩種排序演算法的實作及其視覺化的實作。
延續自系列文C2 讓排序演算法起舞吧!最小單位:華爾滋中使用的架構

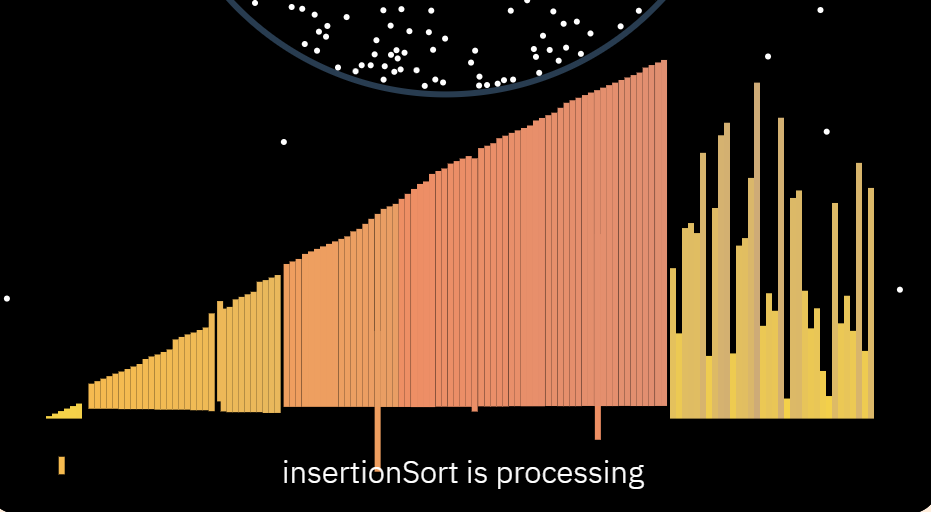
插入排序是一種簡單的排序演算法,它的工作原理是將數組分為已排序和未排序兩部分,然後逐步將未排序部分的元素插入到已排序部分的適當位置。這種方法的時間複雜度為 O(n²),但對於小數據集或近乎排序的數據集,它的性能相對較好。
function insertionSort(arr) {
    const n = arr.length;
    for (let i = 1; i < n; i++) {
        let key = arr[i];
        let j = i - 1;
        while (j >= 0 && arr[j] > key) {
            arr[j + 1] = arr[j];
            j--;
        }
        arr[j + 1] = key;
    }
    return arr;
}
同樣地,提供設定和執行的功能,來靈活地控制排序的過程和每個動畫禎執行的次數。
class SortAlgorithm{
    insertionSortSetting(columns){
        this.i = 1;
        this.j = 0;
    }
    insertionSort(columns){
        const len = columns.length;
        const i = this.i;
        const j = this.j;
        if (i < len) {
            if (j >= 0 && columns[j].height > columns[j + 1].height) {
                const a = columns[j + 1];
                const b = columns[j];
                SortAlgorithm.swapColumn(a, b, 30);
                this.j--;
            } else{
                this.i++;
                this.j = this.i - 1;
            }
        } else return true;
    }
}
相比昨天,這次我有保留排序的巢狀架構,相信較能看出是如何把 for 和 while 修改成 if else 判斷式。
利用生成器來實作插入排序,能在修改幅度最小的前提下,更直觀地表示排序過程。我們可以在排序的每一步進行狀態的暫停與恢復,從而在動畫中更好地展示每次元素的移動。
class SortAlgorithmIterable{
    * insertionSortMaker(columns) {
        const len = columns.length;
        for (let i = 1; i < len; i++) {
            let key = columns[i].height;
            let j = i - 1;
            while (j >= 0 && columns[j].height > key) {
                const a = columns[j + 1];
                const b = columns[j];
                SortAlgorithm.swapColumn(a, b, 30);
                yield false;
                j--;
            }
        }
        yield true;
    }
}

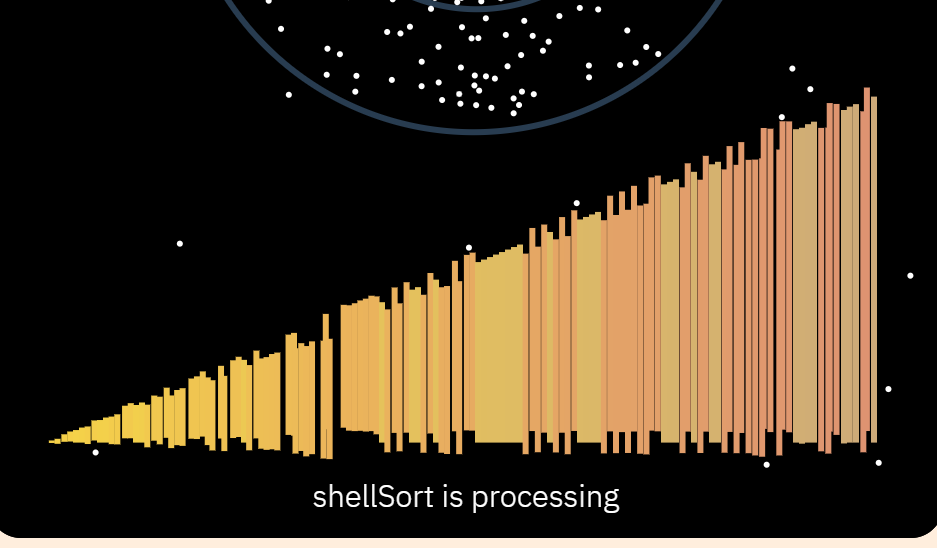
希爾排序是一種改進的插入排序,通過先對元素進行分組來提高排序效率。它使用間隔(gap)來對元素進行分組排序,隨著排序的進行,間隔逐漸縮小,最終實現全數組的排序。希爾排序的時間複雜度取決於間隔的選擇,最佳情況下可達 O(n log n)。
function shellSort(arr) {
    const n = arr.length;
    let gap = Math.floor(n / 2);
    while (gap > 0) {
        for (let i = gap; i < n; i++) {
            let temp = arr[i];
            let j = i;
            while (j >= gap && arr[j - gap] > temp) {
                arr[j] = arr[j - gap];
                j -= gap;
            }
            arr[j] = temp;
        }
        gap = Math.floor(gap / 2);
    }
    return arr;
}
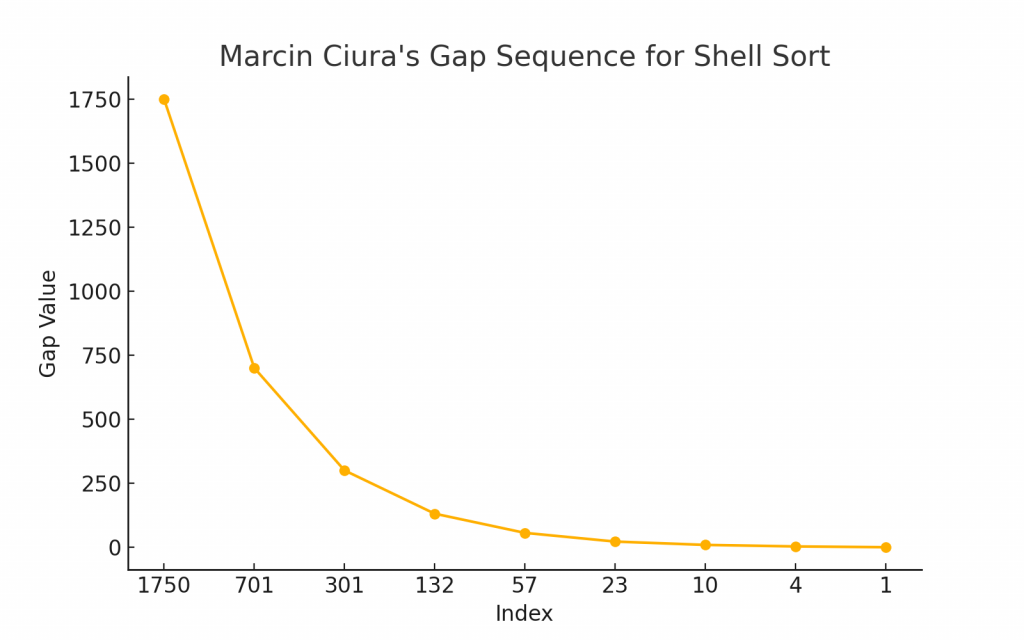
關於間隔,雖然最簡單的方式就是設置為陣列長度的一半,Ciura 提出,可以設置一系列的數字來優化算法:

根據實驗和測試結果,這些 gap 值可以更有效地縮短元素之間的距離,從而提高整體的排序速度。詳細可以參考:
在希爾排序的實作中,我們也封裝了排序的過程,雖然使用了 gap 因此多了一層迴圈,不過前面三個排序演算法都已實現,相信這個也不成問題。先據透,真正的挑戰會是明天的快速排序,要把遞迴改成迭代的方式會相當麻煩!
class SortAlgorithm{
    shellSortSetting(columns){
        this.gap = Math.floor(columns.length / 2);
        this.i = this.gap;
        this.j = this.i;
    }
    shellSort(columns){
        const len = columns.length;
        const gap = this.gap;
        const i = this.i;
        const j = this.j;
        if(gap > 0){
            if(i < len){
                const a = columns[j];
                const b = columns[j - gap];
                if (j >= gap && b.height > a.height) {
                    const a = columns[j];
                    const b = columns[j - gap];
                    SortAlgorithm.swapColumn(a, b, 60);
                    this.j-= gap;
                } else{
                    this.i++;
                    this.j = this.i;
                }
            } else{
                this.gap = Math.floor(gap / 2);
                this.i = this.gap;
                this.j = this.i;
            }
        } else return;
    }
}
有個小細節是範例代碼中用 temp 來暫存被覆蓋的數據,是很常見的優化寫法。相比之下,我們為了讓動畫清楚展示,並不會直接覆蓋,而是用交換的方式,視覺上看起來更加直觀!
生成器就沒什麼好說的了,透過 yield 就能輕鬆實現。當然,對於普通的迭代是這樣,那如果是遞迴呢?這個問題留給大家思考,明天,讓我們見真章!
class SortAlgorithmIterable{
    * shellSortMaker(columns) {
        const len = columns.length;
        let gap = Math.floor(len / 2);
        while (gap > 0) {
            for (let i = gap; i < len; i++) {
                let j = i;
                while (j >= gap && columns[j - gap].height > columns[j].height) {
                    const a = columns[j];
                    const b = columns[j - gap];
                    SortAlgorithm.swapColumn(a, b, 60);
                    yield false;
                    j -= gap;
                }
            }
            gap = Math.floor(gap / 2);
        }
        yield true;
    }
}
在本篇文章中,我們深入探討了插入排序和希爾排序的實作。透過不同的實作方法,包括傳統的函式、迭代方程式和生成器,我們不僅學會了如何實現這些排序演算法,還能在動畫中直觀地展現每一步的排序過程。這不僅增強了我們對排序演算法的理解,也為未來更複雜的演算法鋪平了道路。
說到明天的快速排序嘛...我想到就頭痛><
