
 # 一、前言
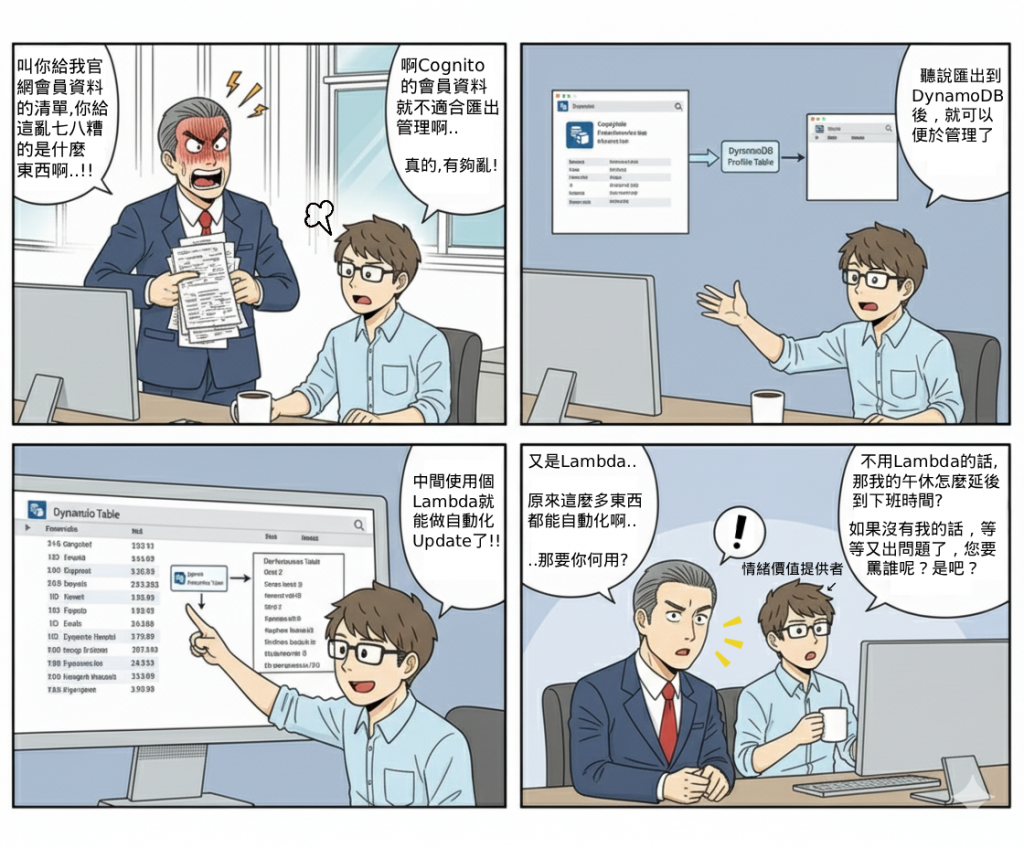
Cognito User Pool 本質上是身份與驗證服務,而非完整會員資料庫。如果僅依靠 Cognito,無法方便地做會員資料的彙整、查詢與後續分析。因此需要將 Cognito 的使用者資料同步到 DynamoDB,建立專屬的 會員 Profile Table,讓 DynamoDB 成為「唯一來源(source of truth)」,以利後續系統整合與擴充。
痛點:
(1) Cognito 僅適合作為驗證,無法直接提供完整會員管理功能。
(2) 當會員資料更新到DynamoDB時,若沒有同步機制,容易造成 Cognito 與資料庫資訊不一致。
(3) 需要一個能支援擴充、低延遲且具備事件驅動能力的架構來解決同步問題。
定位:
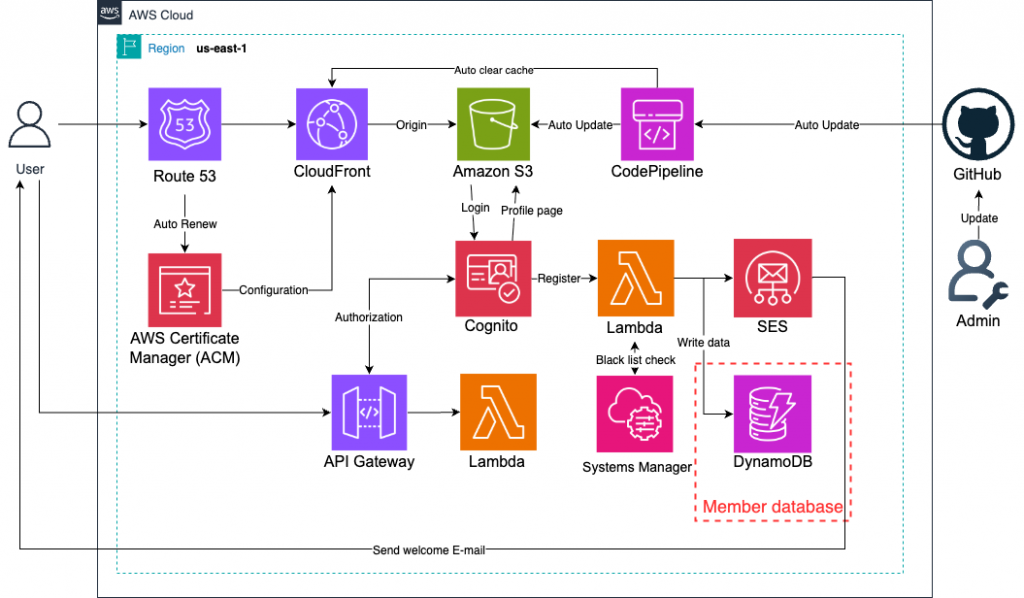
DynamoDB 作為會員 Profile 的主要資料來源,Cognito 僅保存必要的身份資訊。藉由 Lambda Triggers(PostConfirmation、PreTokenGeneration 等)及 EventBridge/Kinesis Data Stream,可以將 Cognito 的事件同步到 DynamoDB,確保一致性。
(1) DynamoDB 作為唯一會員資料來源,Cognito 僅存必要資訊(sub、email)。
(2) 使用 Triggers 即時同步,PostConfirmation 適合註冊時同步,PreTokenGeneration 可處理登入時屬性更新。
(3) 啟用 Data Stream(EventBridge/Kinesis),作為補充,確保管理者手動修改 Cognito 資料時,仍能與 DynamoDB 同步。
(4) 週期性比對,可定期用 Lambda + ListUsers API 做一致性檢查。
💡由於我們在「Day10」已經有使用Cognito的「註冊後 Lambda 觸發條件」的串接功能,本次的Lab將使用一樣的觸發條件(一樣是在註冊後),且由於一個Cognito user pool一次只能配置一個Lambda在特定觸發條件,所以僅需要添加新功能在原本的Lambda內、並新增權限即可。
進到「DynamoDB」頁面。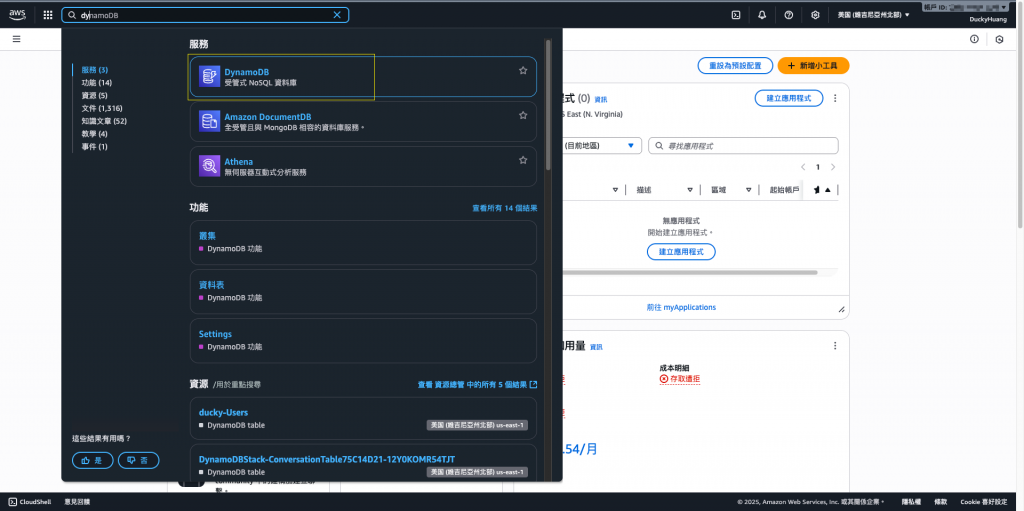
創建一個新的資料表。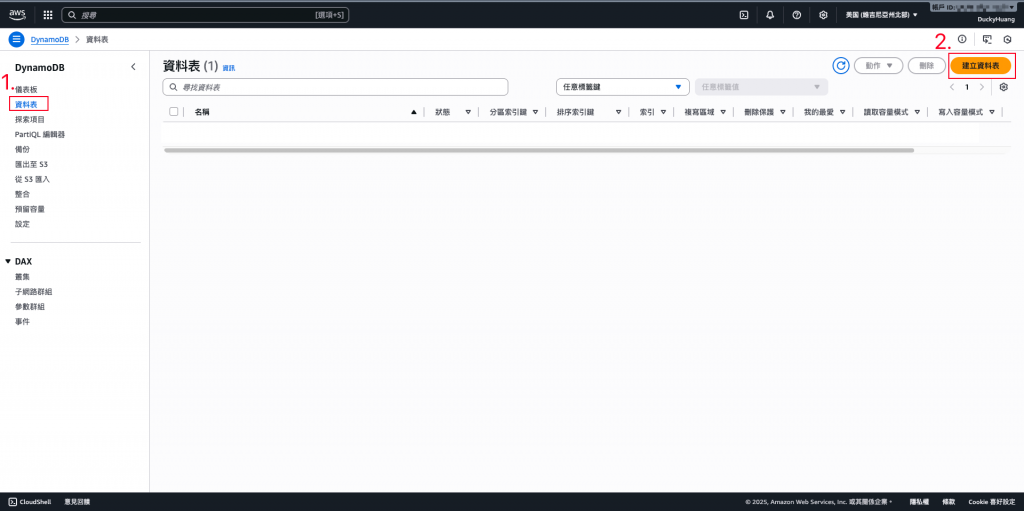
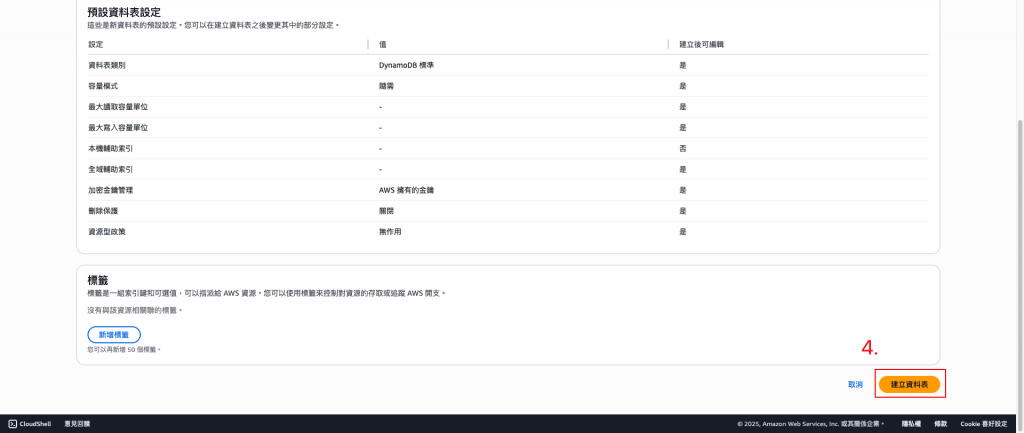
命名並設定分割索引。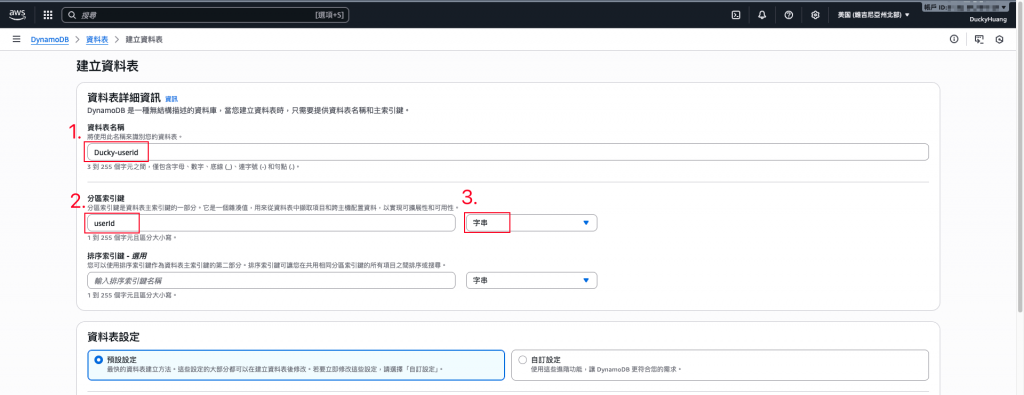
完成畫面。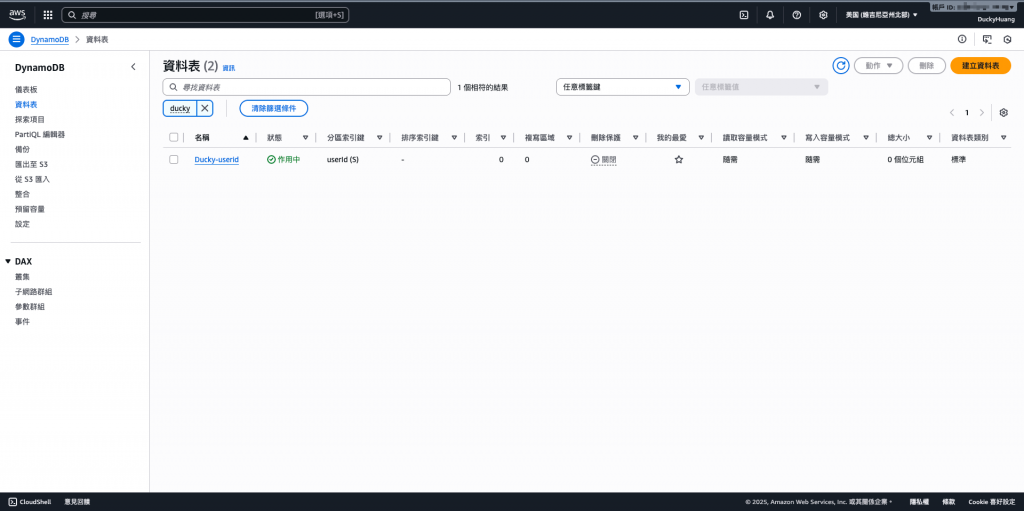
進入「Lambda」頁面。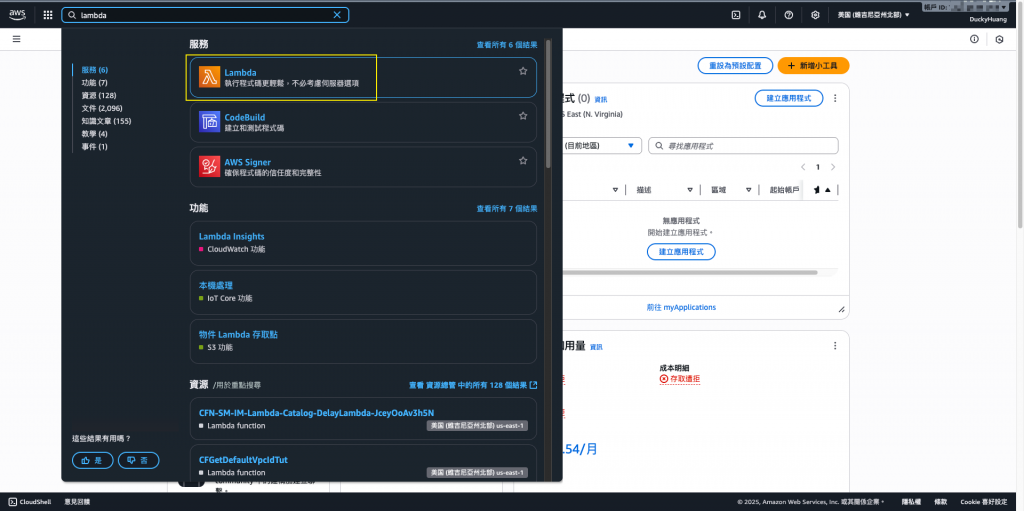
進入之前「寄送會員歡迎信(Day10)」的Lambda中。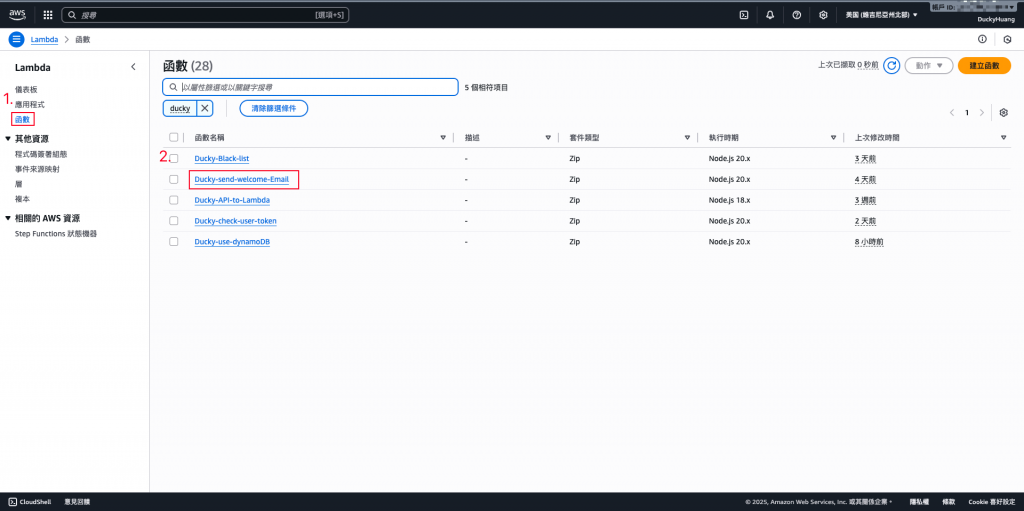
跳過建議畫面。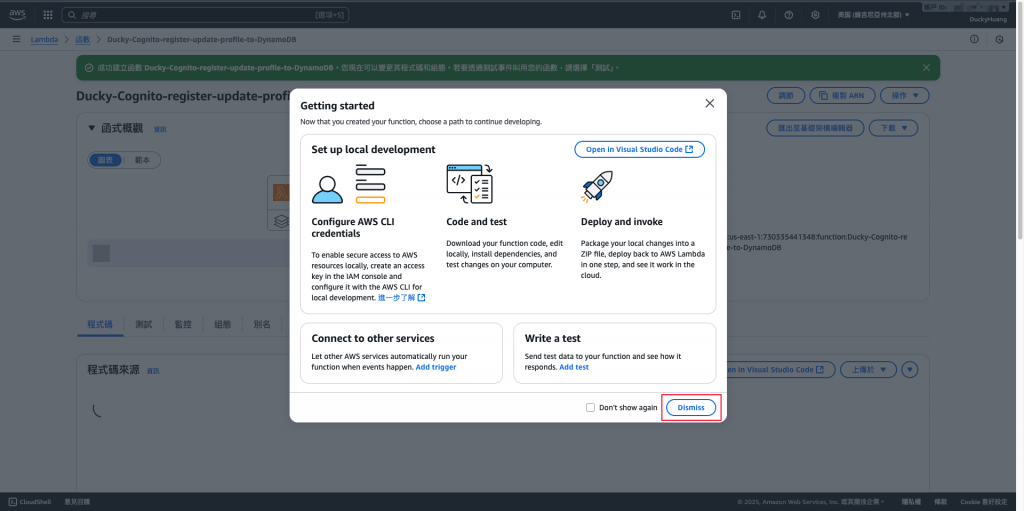
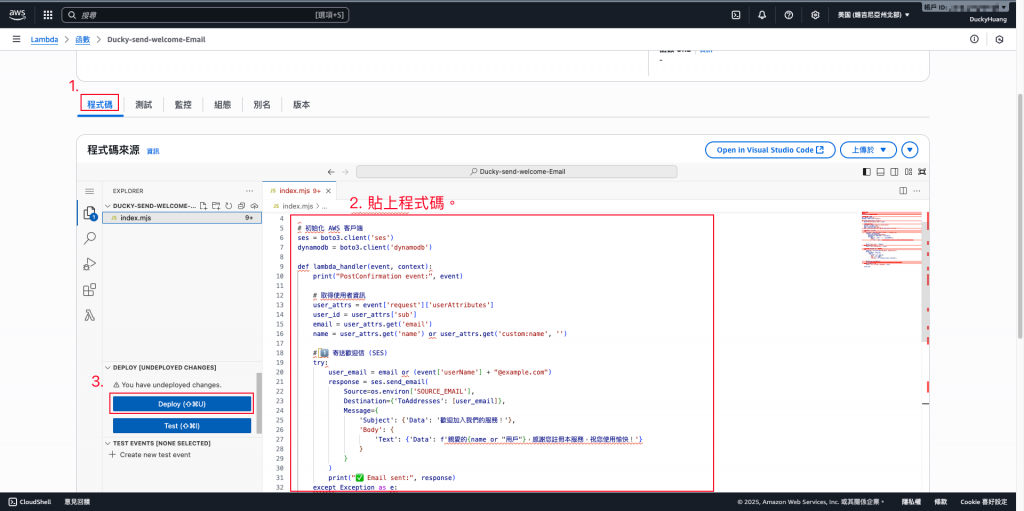
寫入程式碼,並部署。
程式碼範本
// 使用 AWS SDK V3 (ES 模組格式)
import { SESClient, SendEmailCommand } from "@aws-sdk/client-ses";
import { DynamoDBClient } from "@aws-sdk/client-dynamodb";
import { DynamoDBDocumentClient, PutCommand } from "@aws-sdk/lib-dynamodb";

const sesClient = new SESClient({ region: process.env.AWS_REGION });
const ddbClient = new DynamoDBClient({});
const ddbDocClient = DynamoDBDocumentClient.from(ddbClient);

// 從環境變數讀取必要的資訊
const SOURCE_EMAIL = process.env.SOURCE_EMAIL;
const DDB_TABLE = process.env.DDB_TABLE;

// 檢查環境變數是否設定
if (!SOURCE_EMAIL || !DDB_TABLE) {
    throw new Error('Environment variables SOURCE_EMAIL and DDB_TABLE must be set.');
}

export const handler = async (event, context) => {
    console.log('PostConfirmation event:', JSON.stringify(event));

    // 取得使用者資訊
    const userAttributes = event.request.userAttributes;
    const userId = userAttributes.sub;
    const email = userAttributes.email;
    const name = userAttributes.name || '用戶';

    // 1️⃣ 寄送歡迎信 (SES)
    try {
        const sendEmailParams = {
            Source: SOURCE_EMAIL,
            Destination: { ToAddresses: [email] },
            Message: {
                Subject: { Data: '歡迎加入我們的服務!' },
                Body: { Text: { Data: `親愛的${name},感謝您註冊本服務,祝您使用愉快!` } }
            }
        };
        const command = new SendEmailCommand(sendEmailParams);
        const response = await sesClient.send(command);
        console.log("✅ Email sent:", response);
    } catch (e) {
        console.error("❌ Error sending email:", e);
    }

    // 2️⃣ 寫入 DynamoDB (會員 Profile)
    try {
        // 使用原生 JavaScript 物件,DynamoDBDocumentClient 會自動處理轉換
        const item = {
            userId: userId,
            email: email,
            name: name,
            createdAt: new Date().toISOString(),
        };

        const putItemParams = {
            TableName: DDB_TABLE,
            Item: item // 直接傳入 item 物件
        };
        const command = new PutCommand(putItemParams);
        await ddbDocClient.send(command);
        console.log(`✅ User ${userId} inserted into DynamoDB table ${DDB_TABLE}`);
    } catch (e) {
        console.error("❌ Error writing to DynamoDB:", e);
    }

    return event;
};
💡環境變數設定 DDB_TABLE 為「你的DynamoDB名稱」。
進入「組態」分頁,設定環境變數。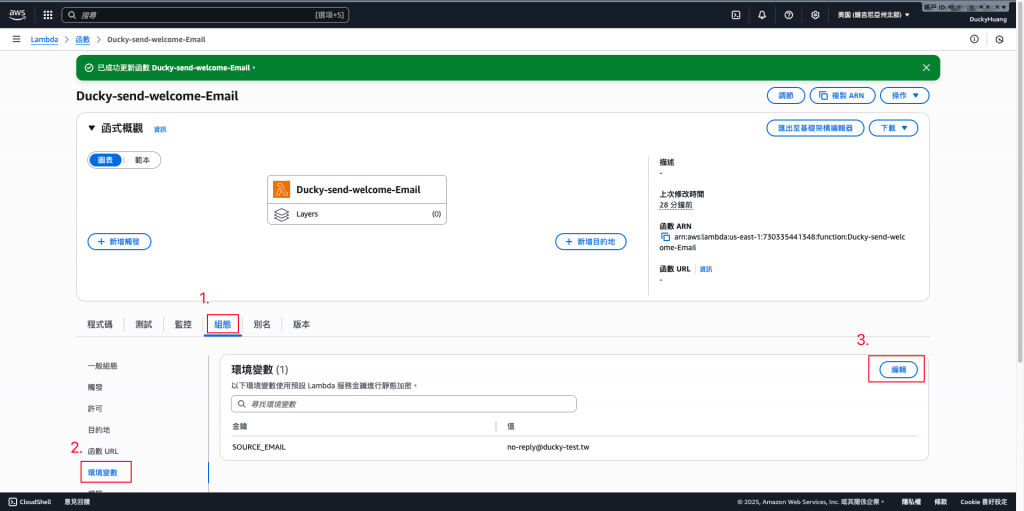
變數key「DDB_TABLE」,Value為你在 DynamoDB設定的名稱。
進入「IAM」頁面。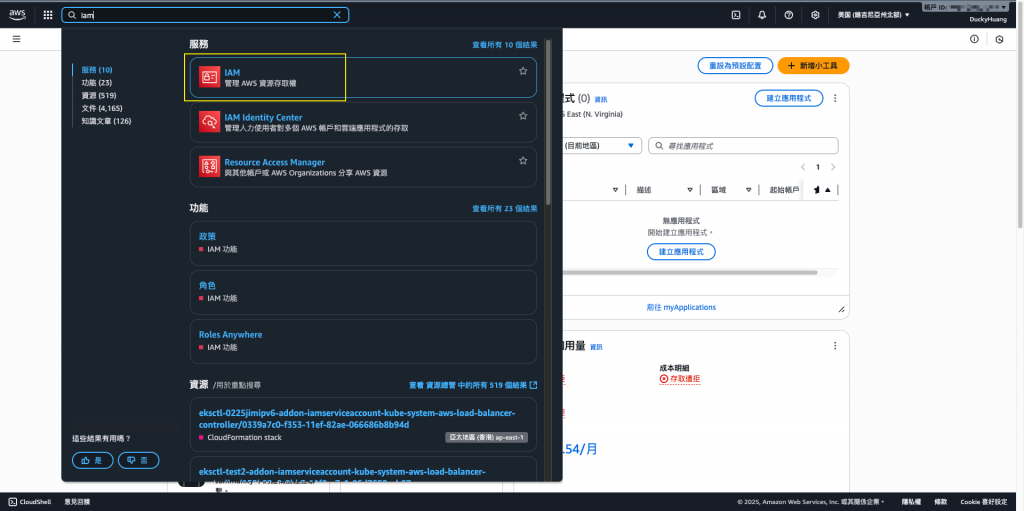
進入之前「寄送會員歡迎信(Day10)」的IAM role中。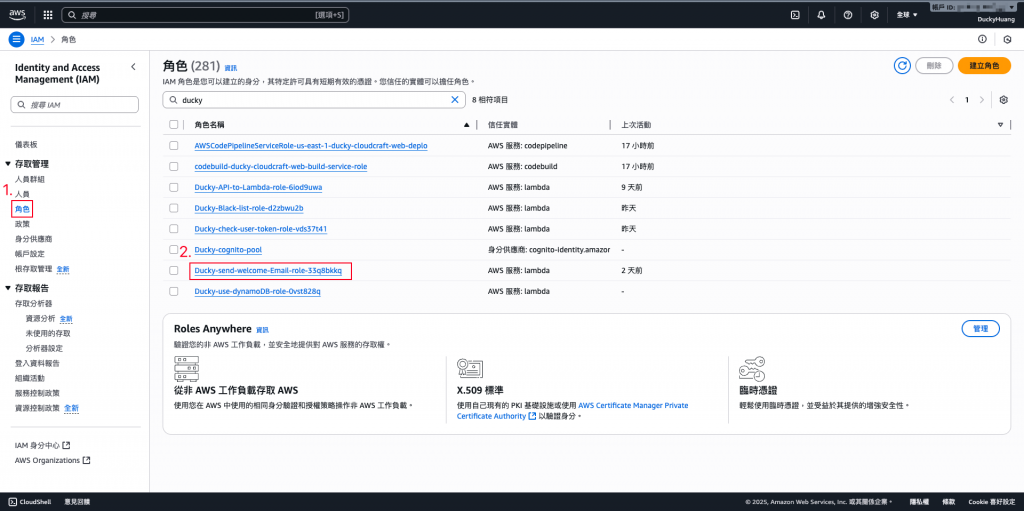
新增「許可政策」。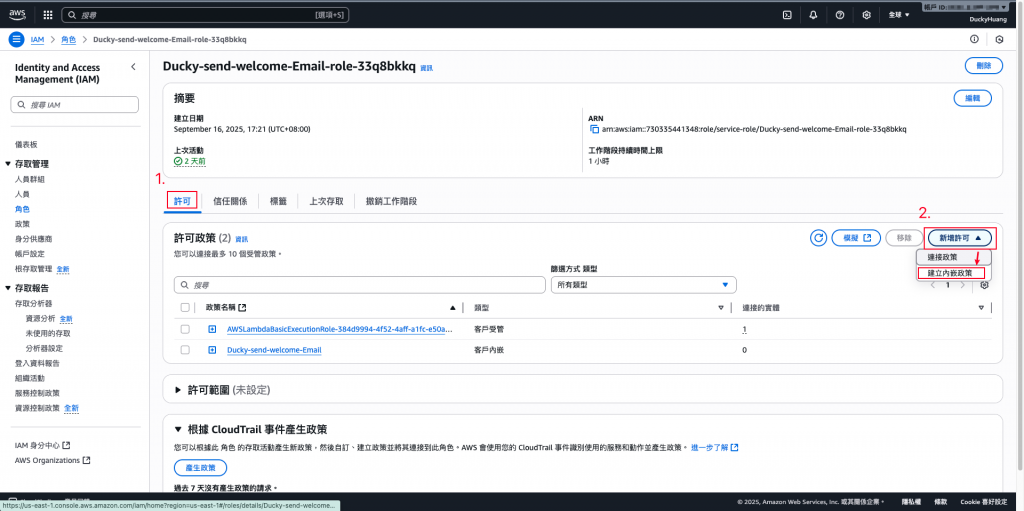
增加DynamoDB的「PutItem」權限。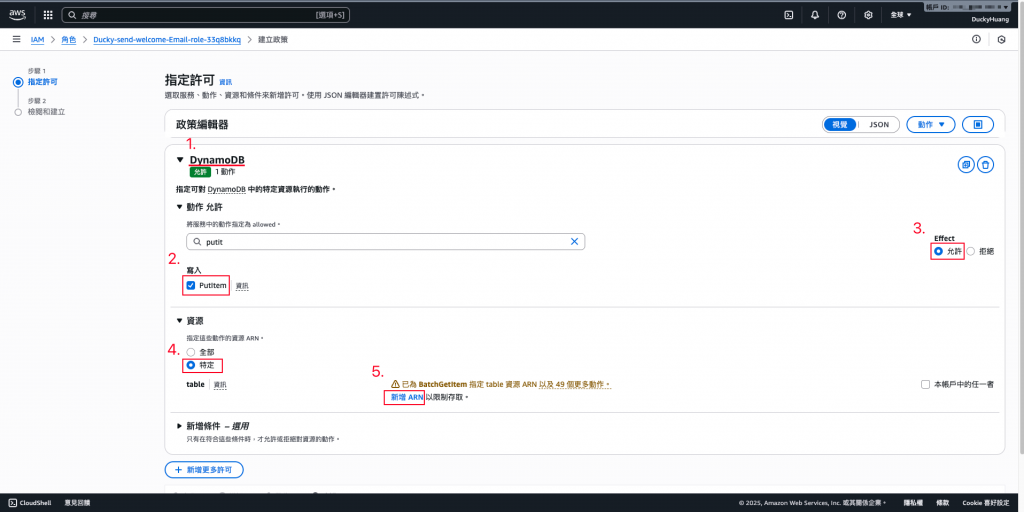
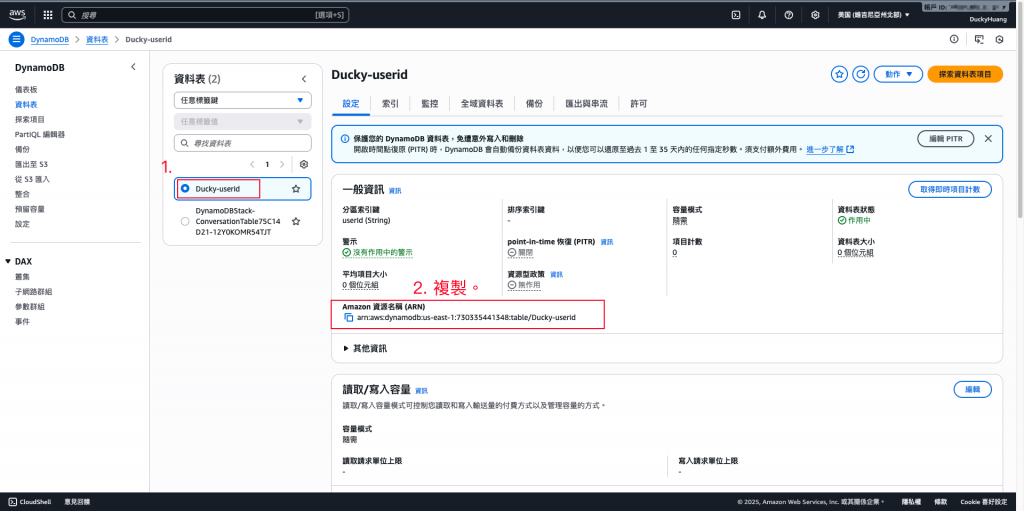
將授權調整為指定的DynamoDB。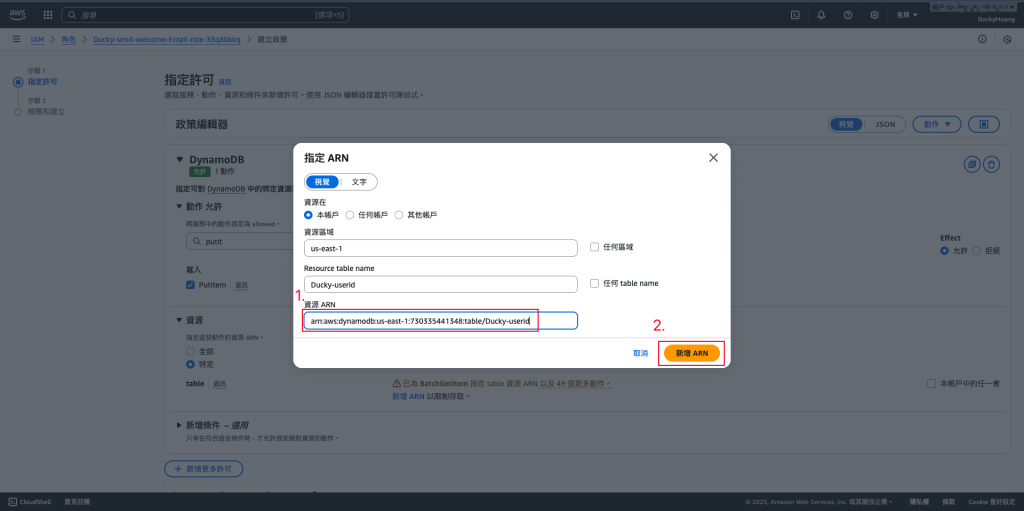
設定完成後,點選下一步。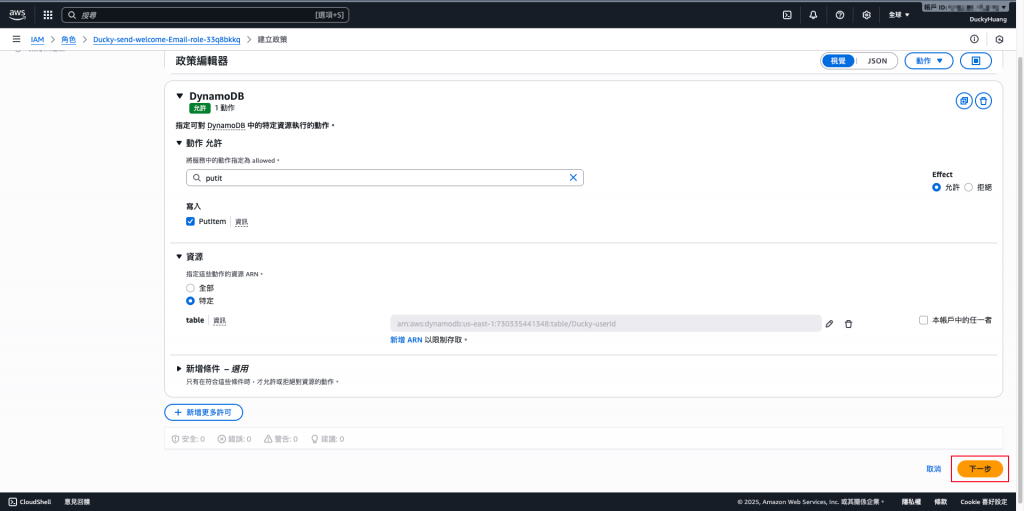
設定「許可政策」名稱。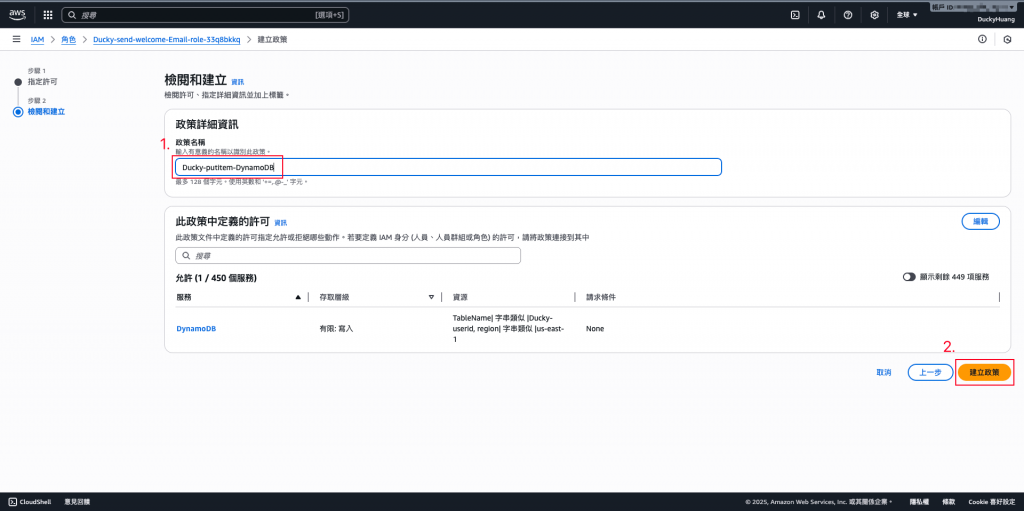
完成畫面。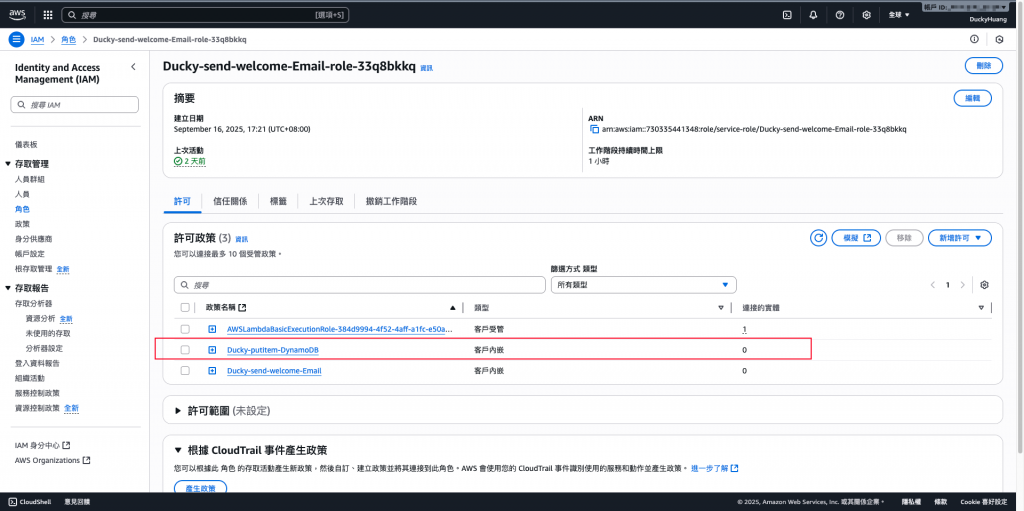
註冊一個新使用者並完成確認。
進入會員頁面。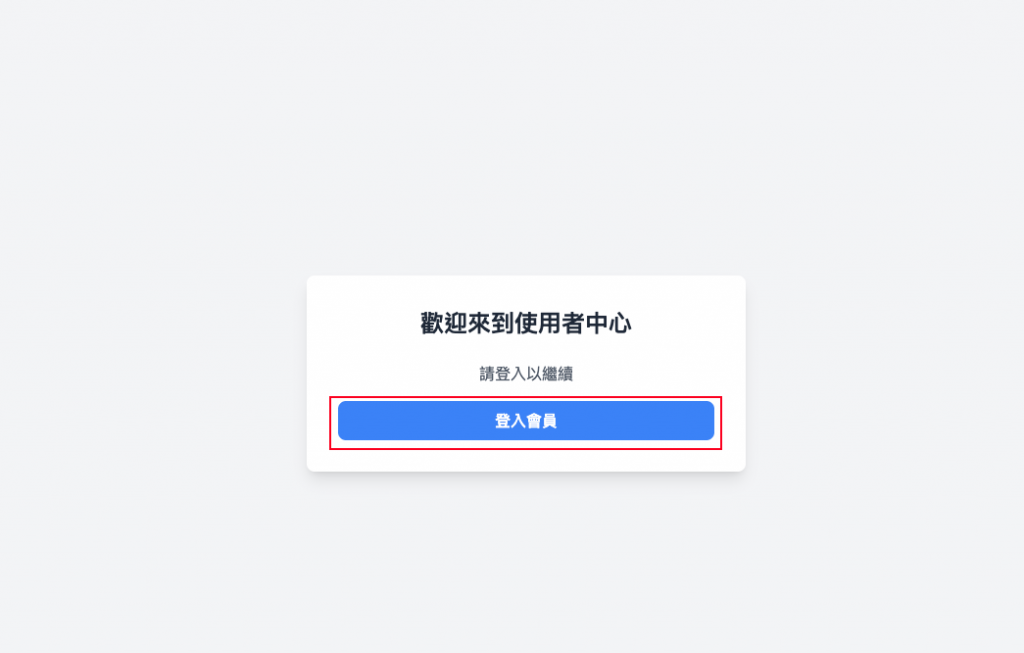
註冊新用戶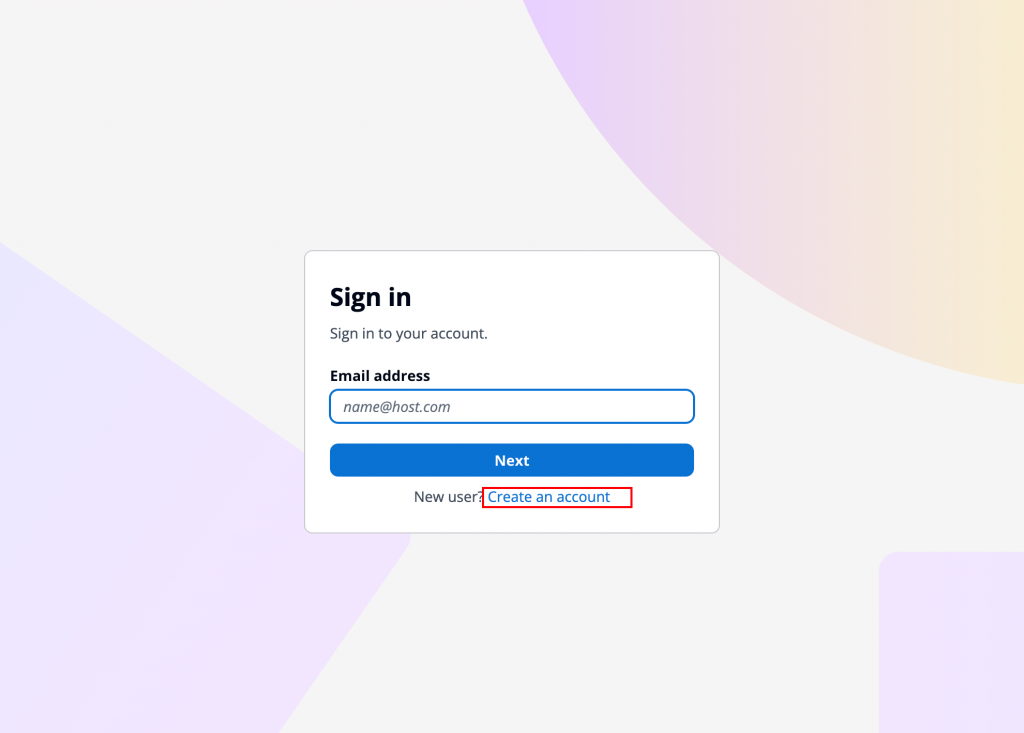
設定E-mail及密碼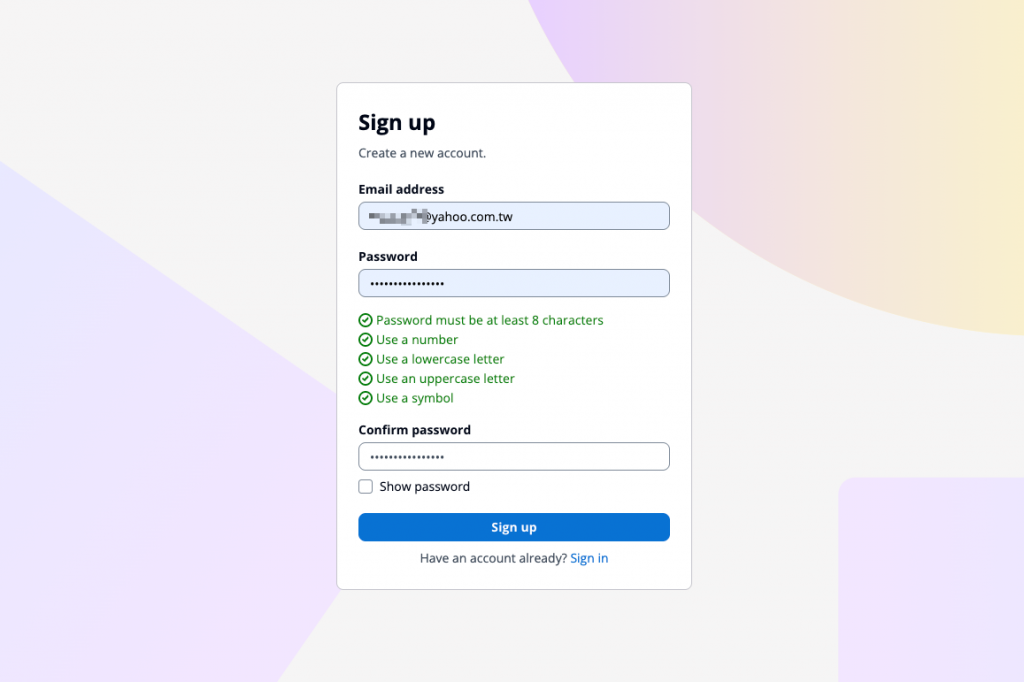
驗證信箱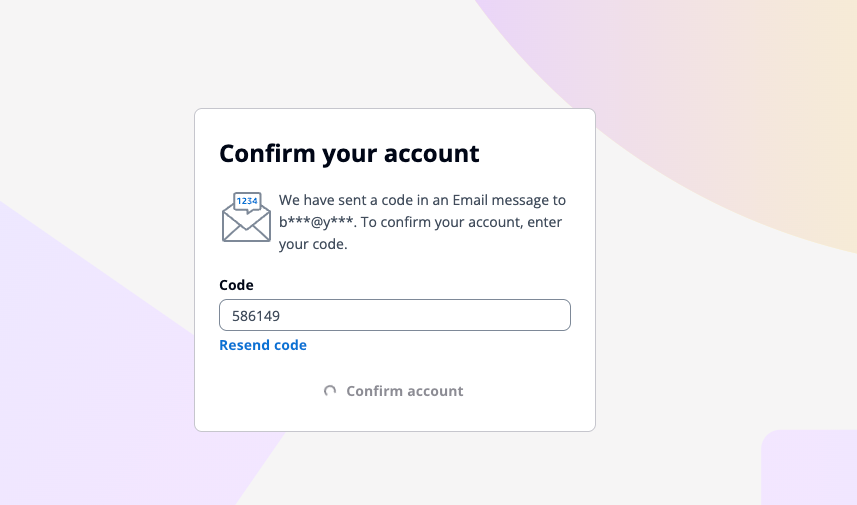
驗證MFA裝置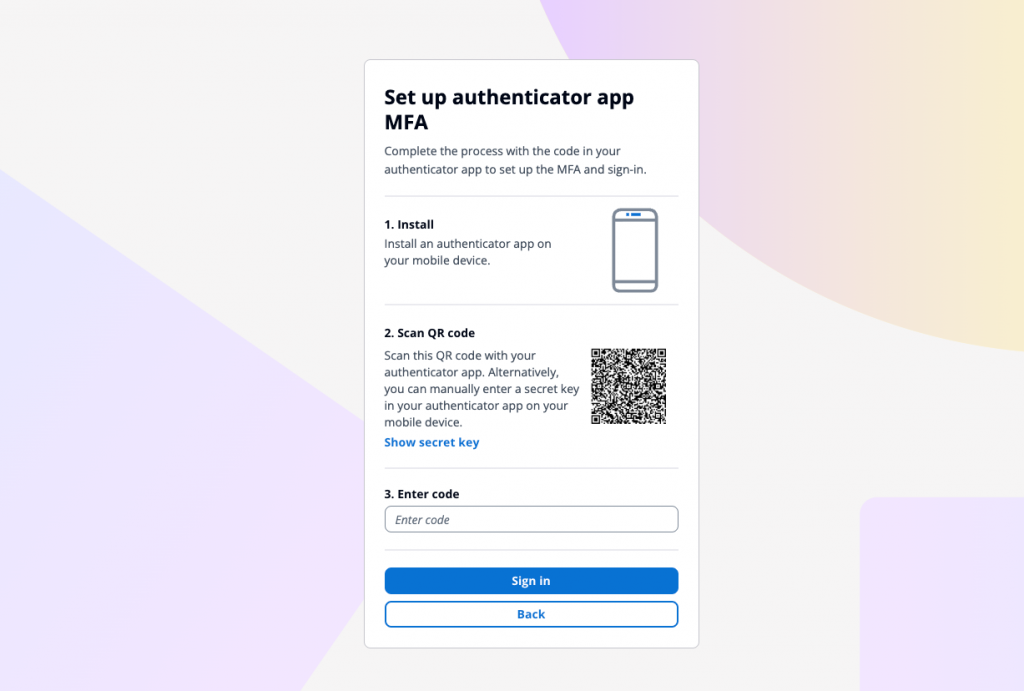
進入 DynamoDB Table 確認新紀錄。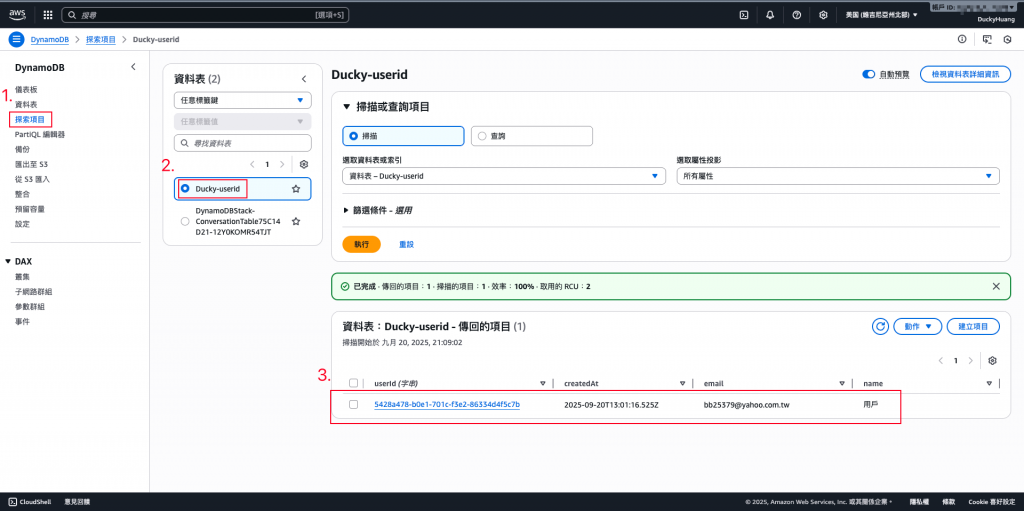
【補充】如果失敗,檢查:
(1) Lambda 是否被觸發(CloudWatch Logs),及其錯誤訊息。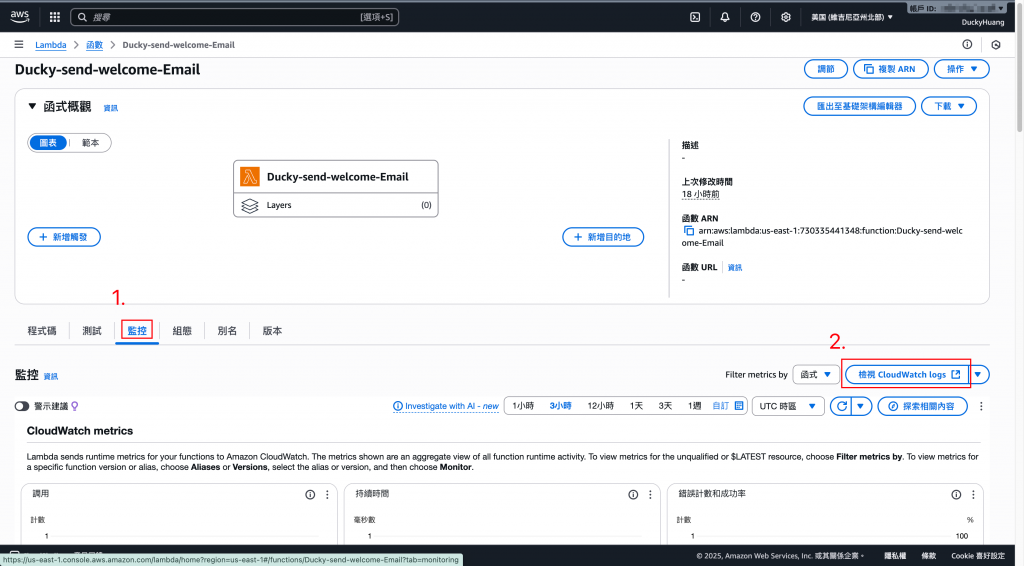
(2) Lambda IAM Role 權限是否正確。
本 Lab 示範了如何透過Cognito x Lambda x DynamoDB建立會員資料同步機制,解決 Cognito 僅能做身份驗證卻無法完整管理會員資料的痛點。Cognito 專注於身份驗證,DynamoDB 則作為會員 Profile 的核心資料庫。
此架構兼顧即時性(Lambda Trigger)、擴充性(EventBridge/Kinesis)、與一致性(定期比對),同時符合 AWS 官方的最佳實務:分離身份驗證與會員資料管理,確保系統安全、維運便利、並能因應後續擴充需求。
