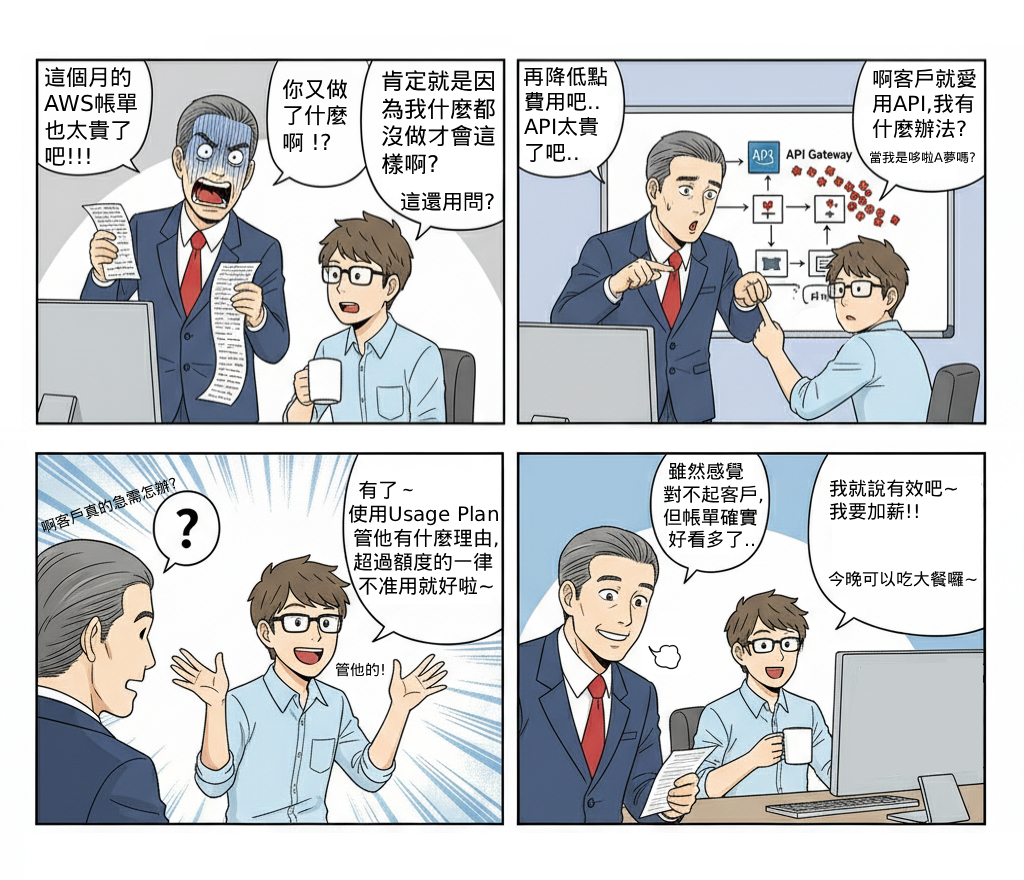
API Gateway 是 Serverless 架構的對外流量入口,若缺乏流量管控,可能導致單一使用者或惡意請求過度消耗資源,進而影響服務穩定性與成本。透過 Usage Plan 搭配 API Key,可以針對不同使用者或應用程式進行流量限制與配額管理,確保系統資源公平分配並提升安全性。
此 Lab 針對「多租戶 API 共用」與「防止濫用」兩大痛點:
(1) 不同使用者對 API 的流量需求不同,若無流量管控,容易造成單一用戶耗盡資源,影響其他用戶體驗。
(2) 雲端資源會依照請求次數計費,缺乏限制將導致成本失控。
在整體 Serverless 架構中,API Gateway Usage Plan 扮演「智慧流量閘門」角色,能針對不同等級的用戶(免費用戶、付費用戶、內部服務)進行差異化流量管理,確保服務穩定且具成本效益。
(1) Amazon API Gateway:作為 API 流量入口,負責請求路由、身份驗證與流量限制。
(2) **REST API:**以資源為中心的 API 設計風格,透過標準的 HTTP 方法(GET、POST、PUT、DELETE)對資源進行操作。適合需要穩定結構、明確資源導向、且與多種客戶端(Web、行動裝置、第三方服務)整合的場景。
(3) Usage Plan:設定 API Key 的速率限制與配額,對不同使用者群組提供差異化的使用權限。
(4) API Key:用於識別不同使用者,並套用對應的 Usage Plan。
(5) Amazon CloudWatch:監控 API 請求次數、錯誤比例與限制觸發狀況,協助後續調整流量規則。
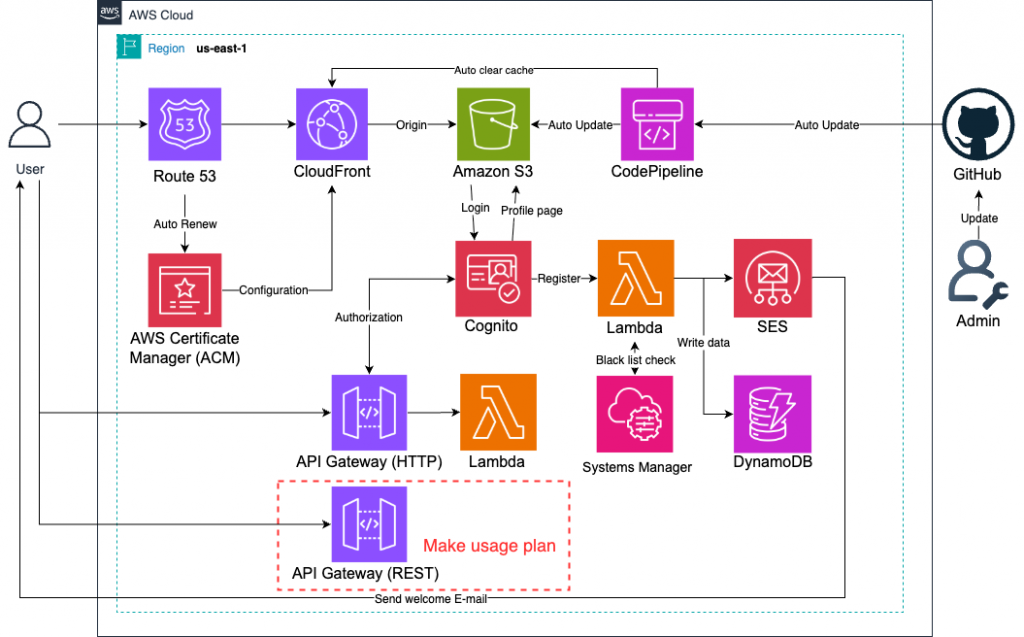
💡「Usage Plan」只能搭配「REST API」來使用,這是AWS本身服務的限制[1],由於HTTP API本身就是設計給公開API的應用,故無法使用「限制API key訪問」的功能。
(1) 根據不同用戶群組(免費/付費/內部服務)建立多個 Usage Plan,並動態調整配額。
(2) API Key 不等於安全憑證,仍需搭配 IAM、Cognito 或 JWT 進行身份驗證。
(3) 結合 CloudWatch Alarm,當流量接近上限時發送警示通知。
(4) 定期審視 Usage Plan 與實際流量,避免過度限制或資源浪費。
無
進去「API Gateway」頁面。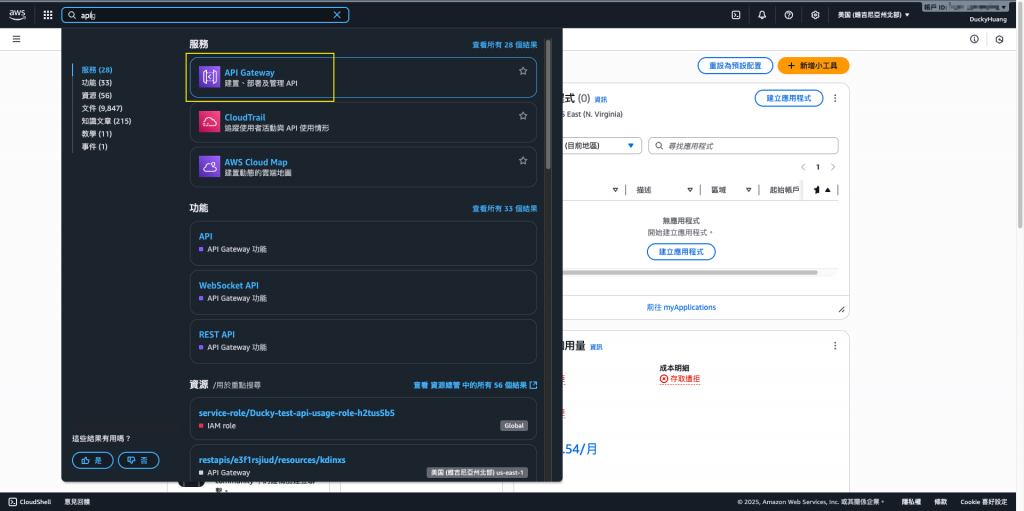
創建一個新的API Gateway。
創建類型選擇REST API。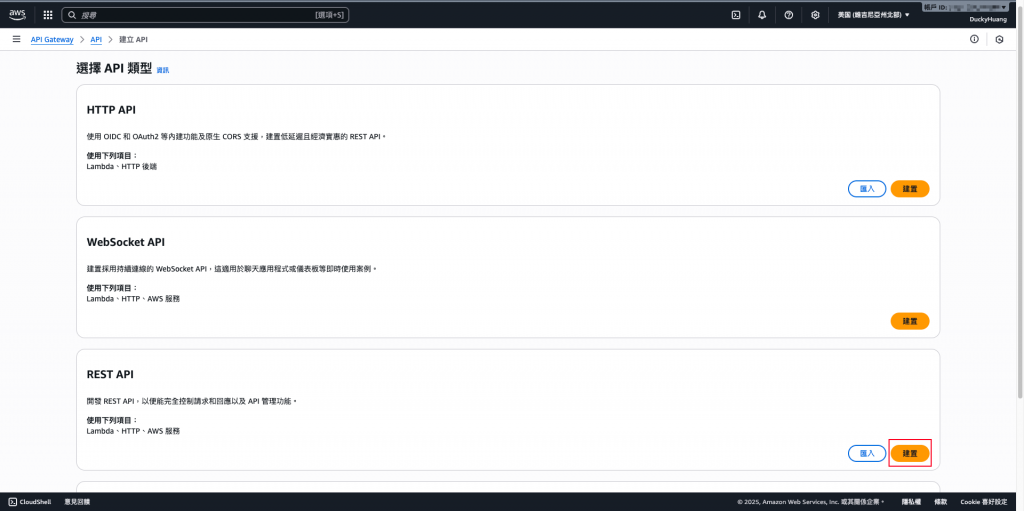
點選新創、輸入名稱後創建。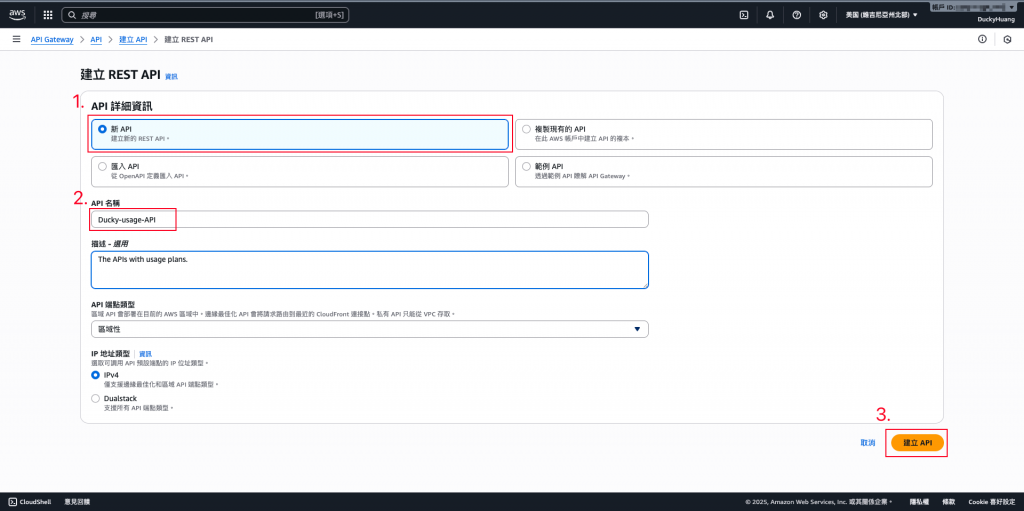
新增一個資源路徑。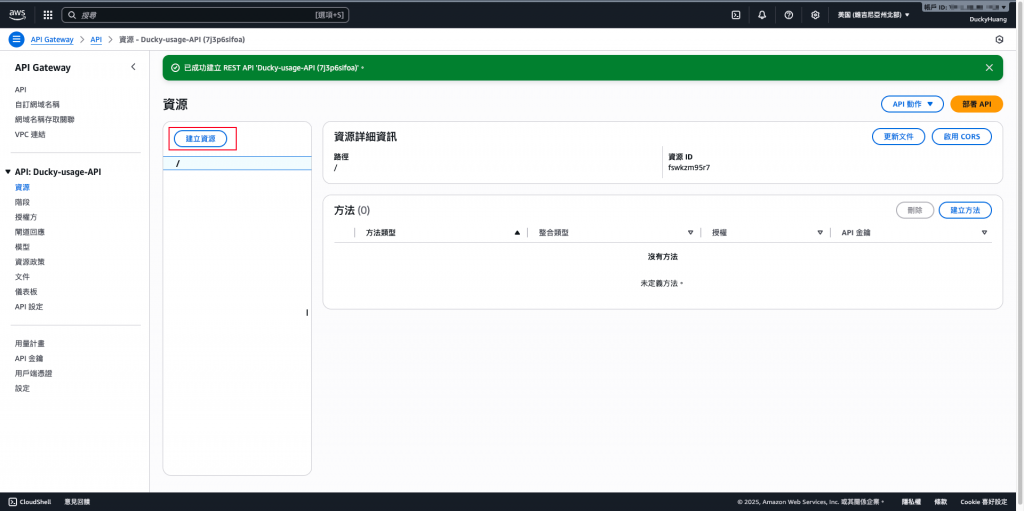
輸入路徑名稱並創建。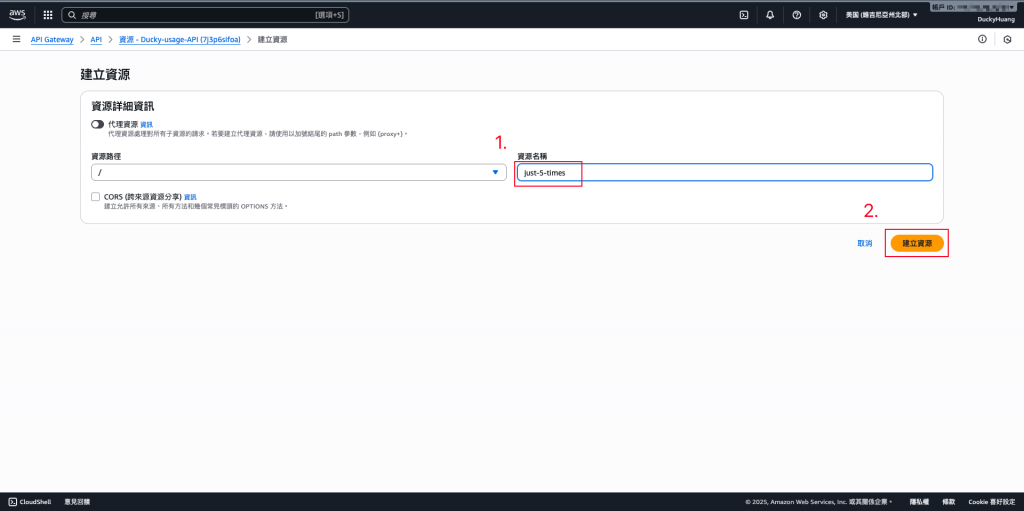
創建訪問方式。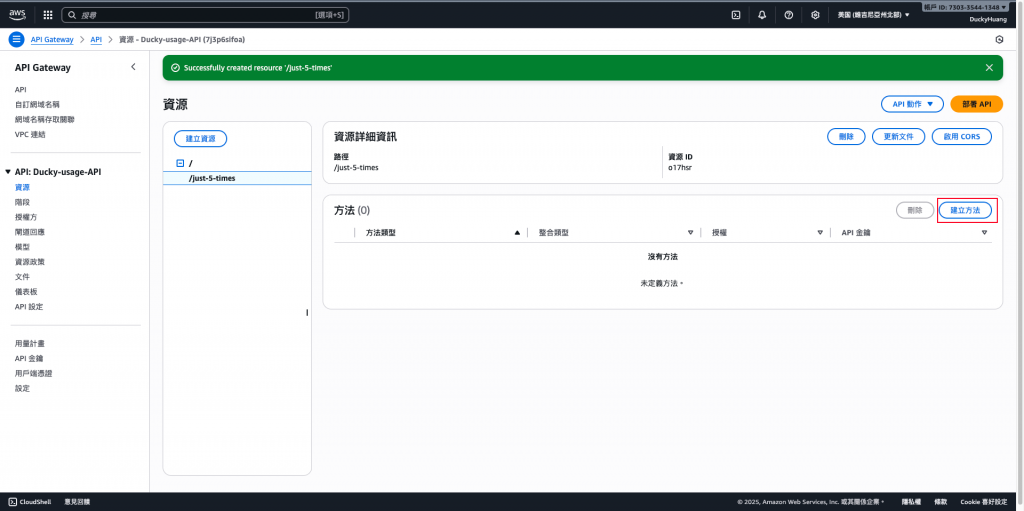
選擇HTTP方式為「GET」,並選擇「模擬」。(後續需要有自定義動作,可以整合Lambda)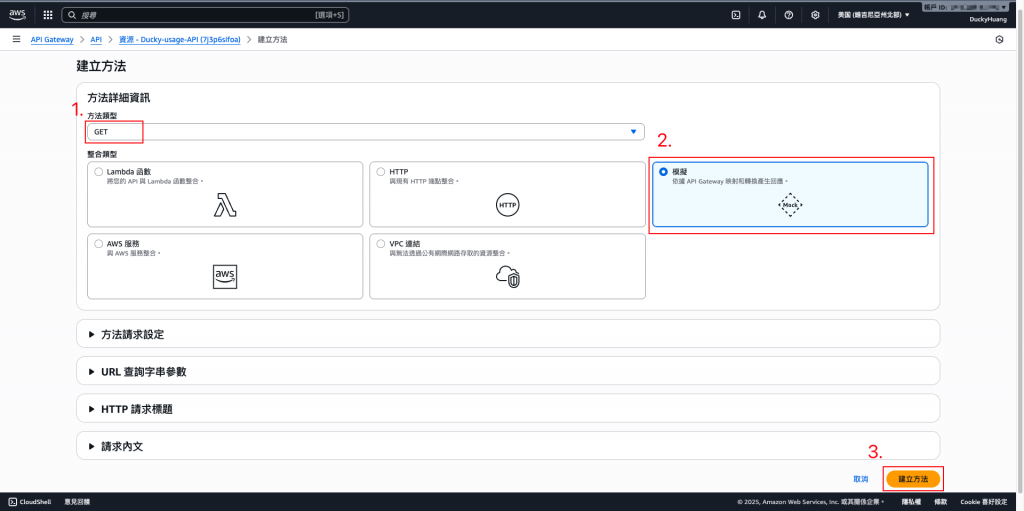
原路徑也要新增訪問方法。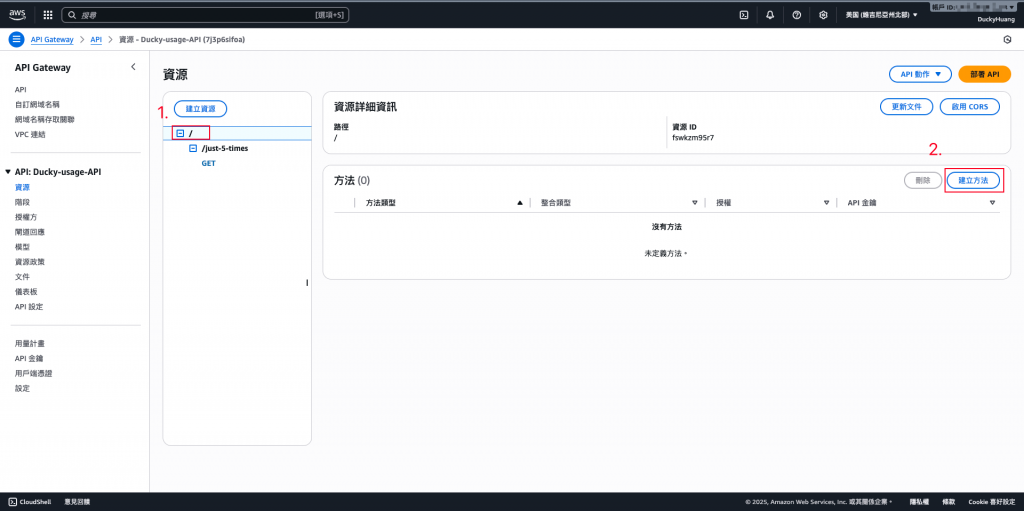
整合項目一樣選擇「模擬」即可。
最終完成畫面。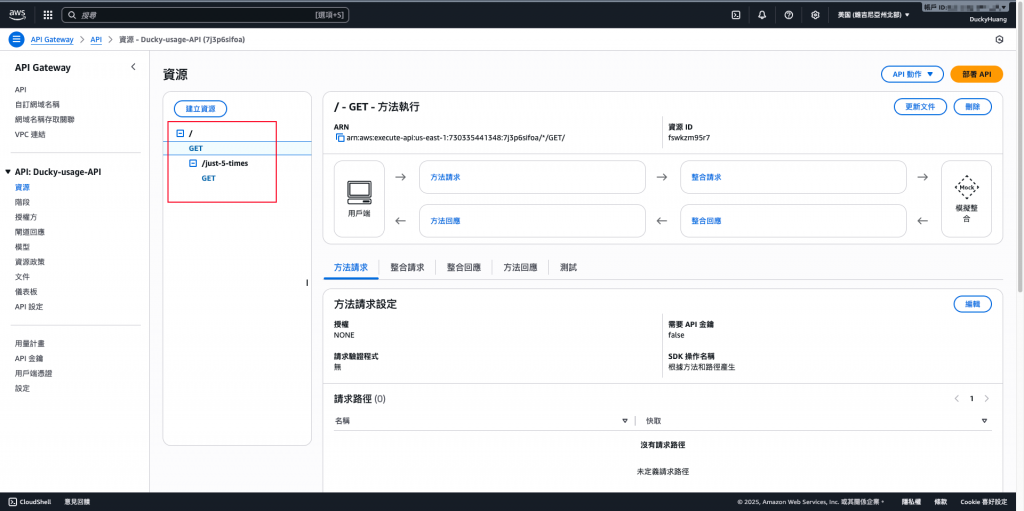
在指定的訪問路徑下編輯請求方式。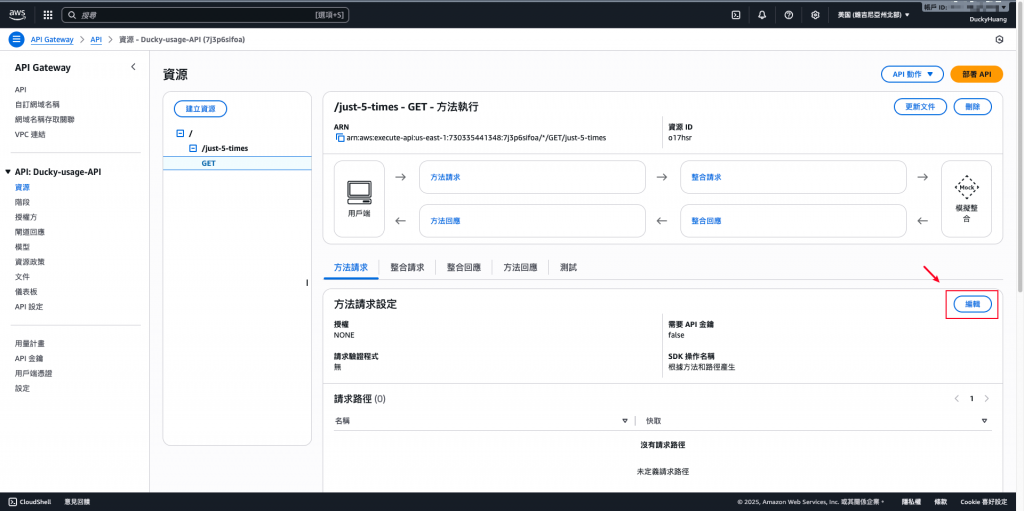
啟用「需要API金鑰」。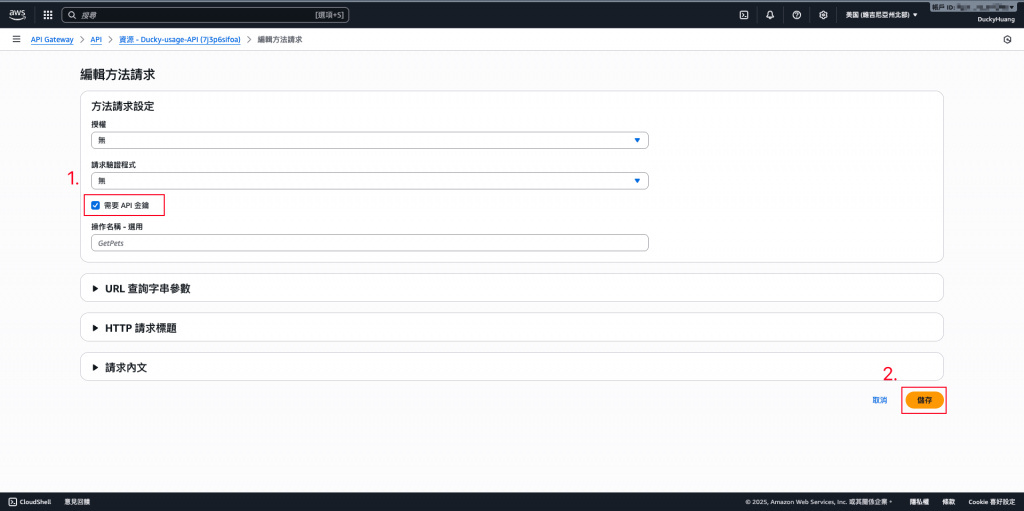
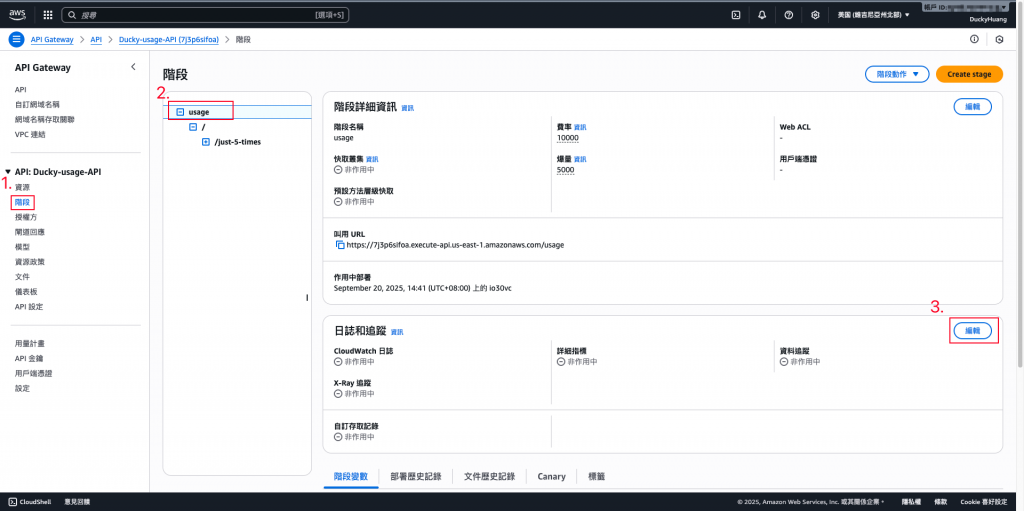
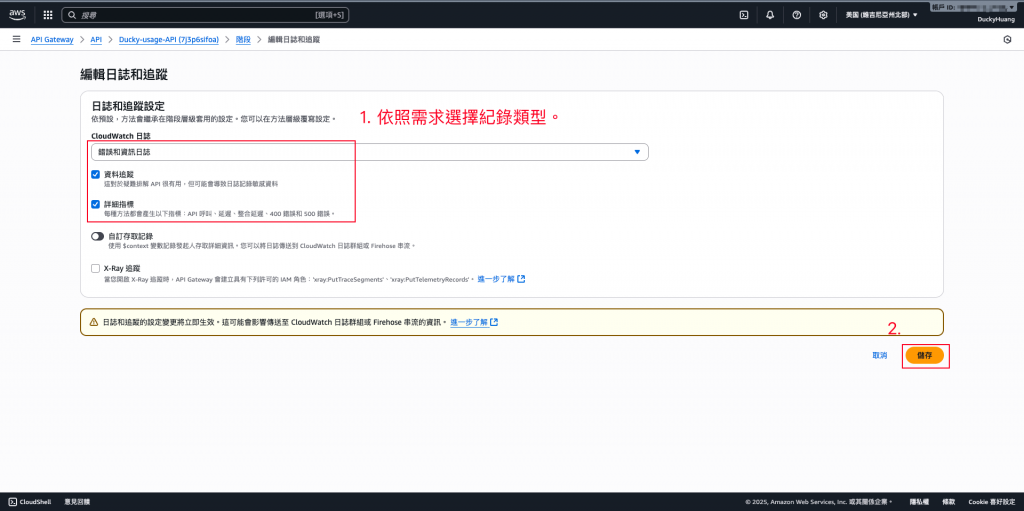
在「整合回應」分頁點選「編輯」。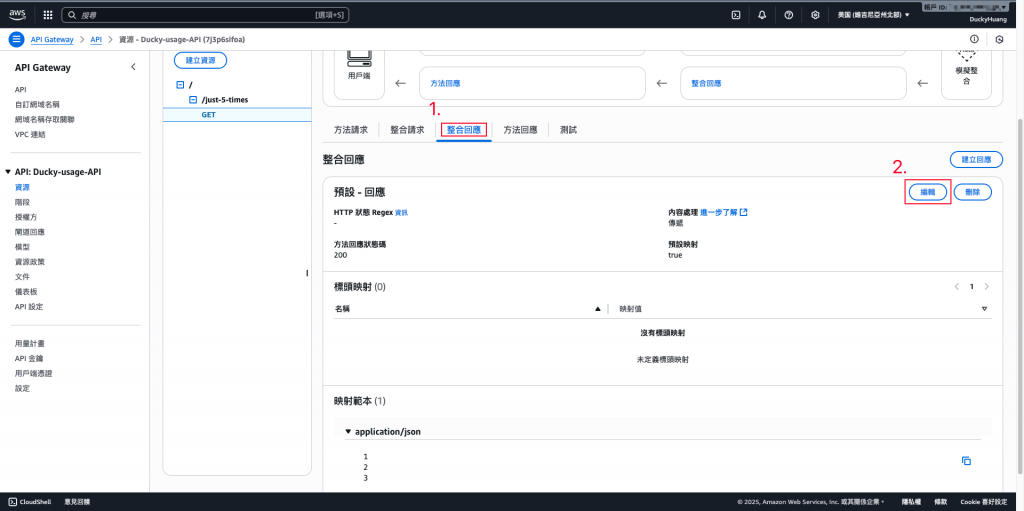
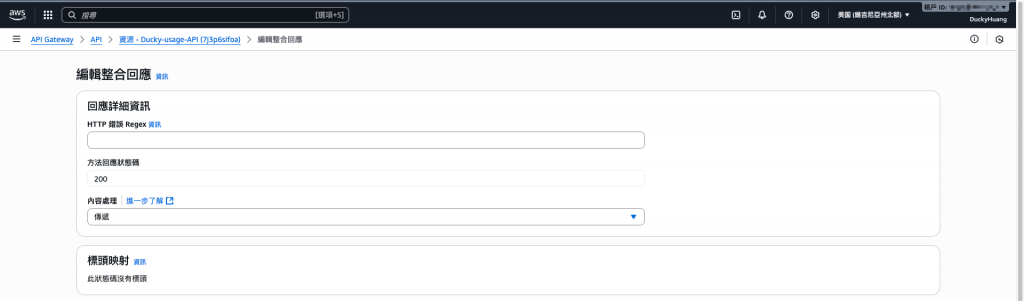
輸入回應腳本,並儲存。
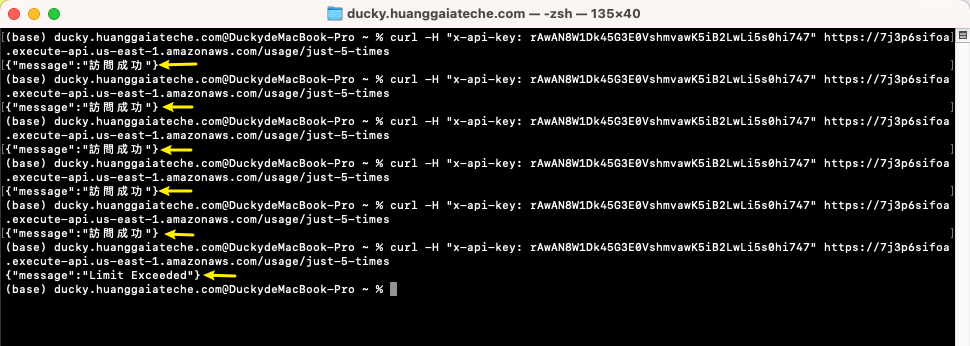
{"message": "訪問成功"}

部署REST API Gateway。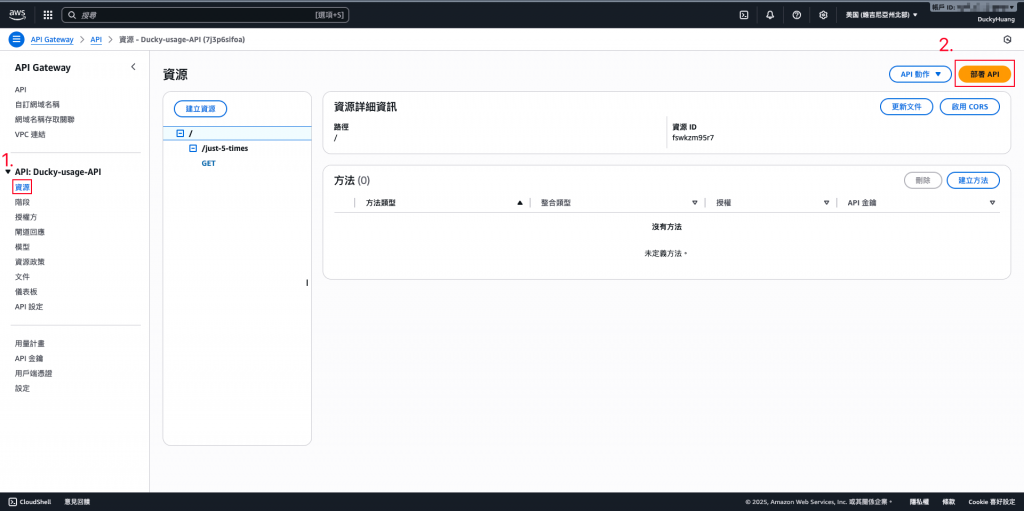
選擇要部署的階段,並部署。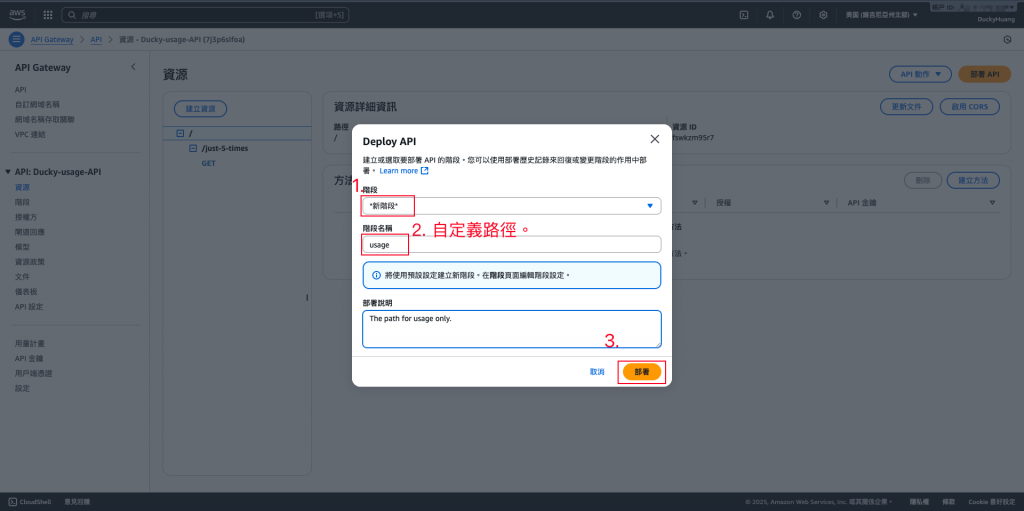
完成後,可以看到你的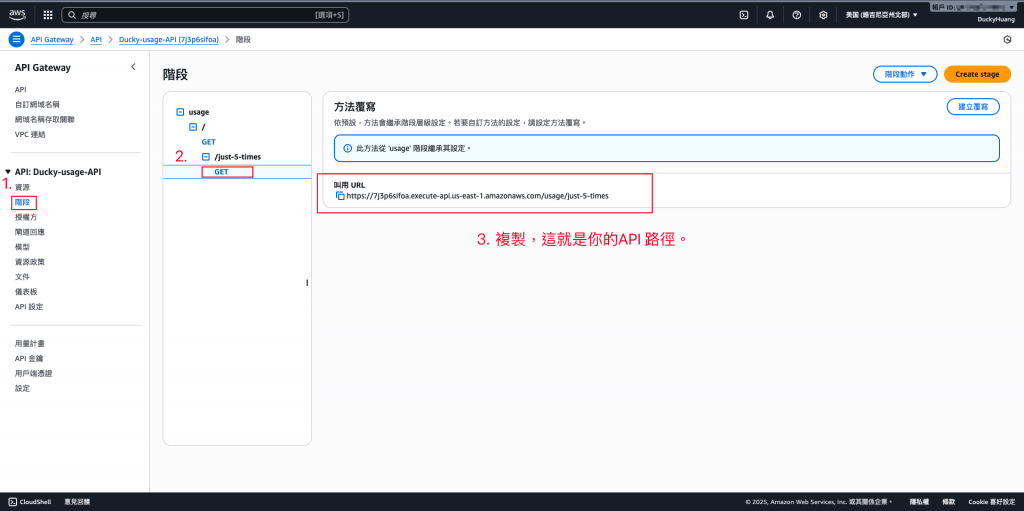
進入 「API Gateway」頁面。
創建API Key。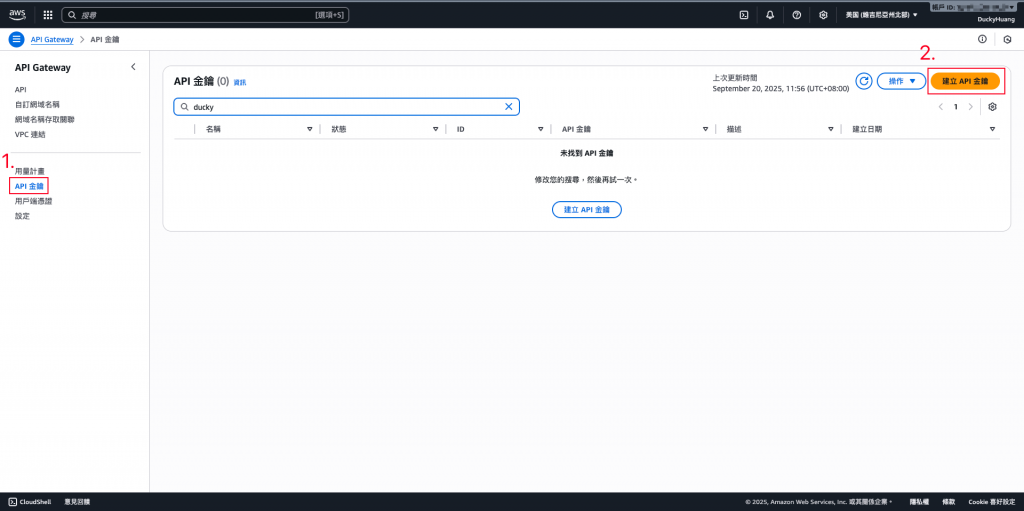
命名API Key。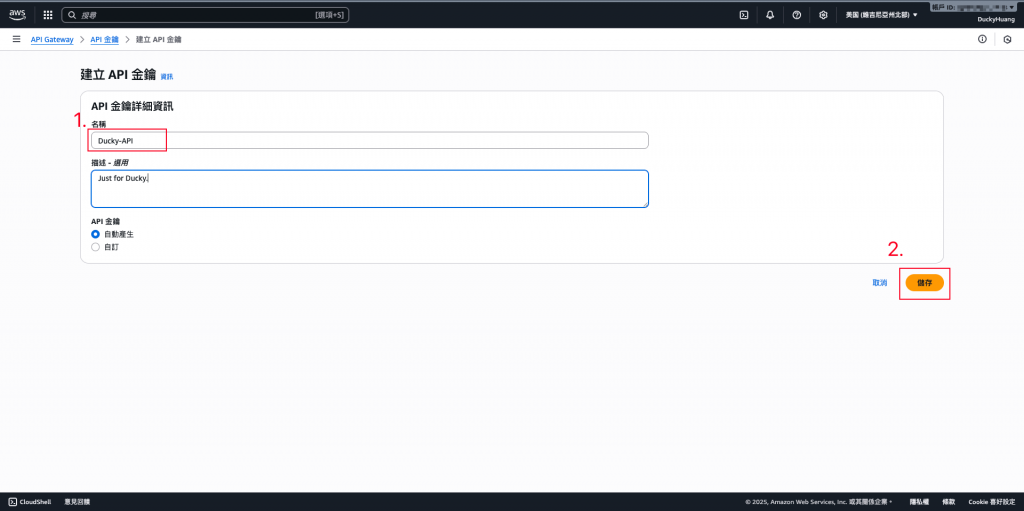
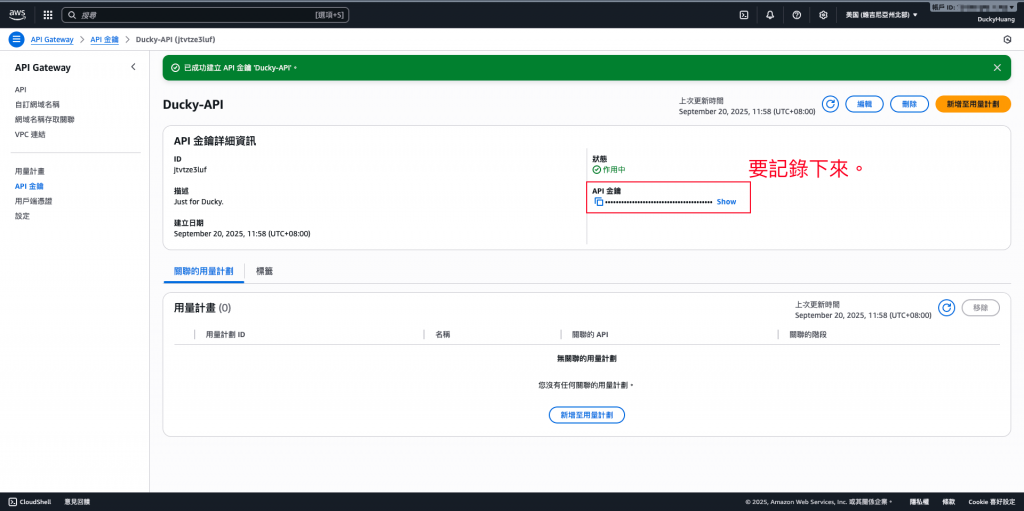
創建完後,將API Key記錄下來。
本次範例
rAwAN8W1Dk45G3E0VshmvawK5iB2LwLi5s0hi747
建立 Usage Plan: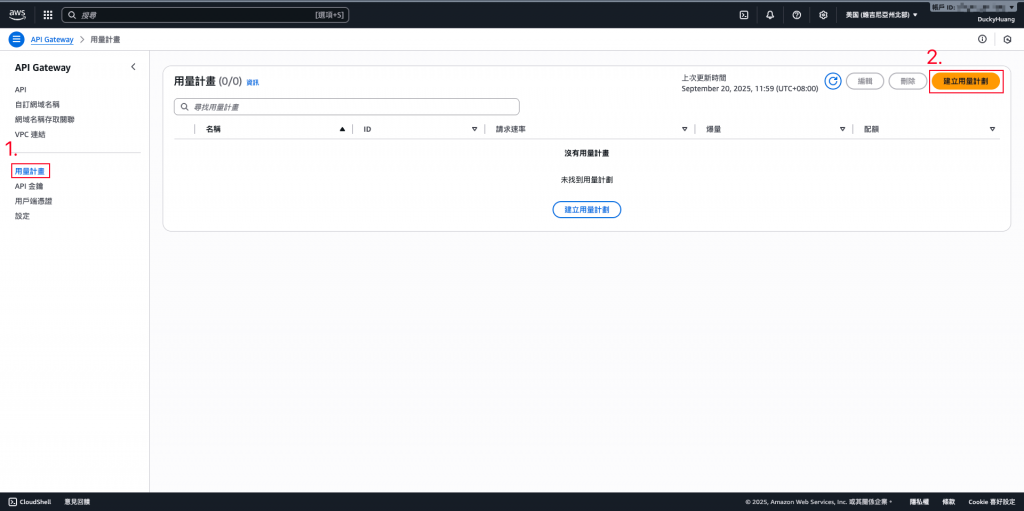
創建用量計劃,根據需求定義限速、限制用量等。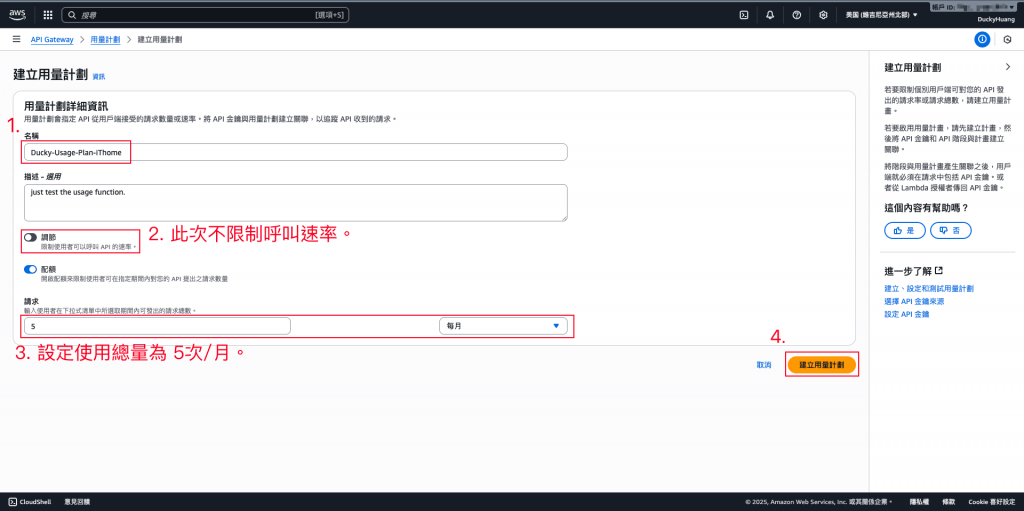
完成畫面。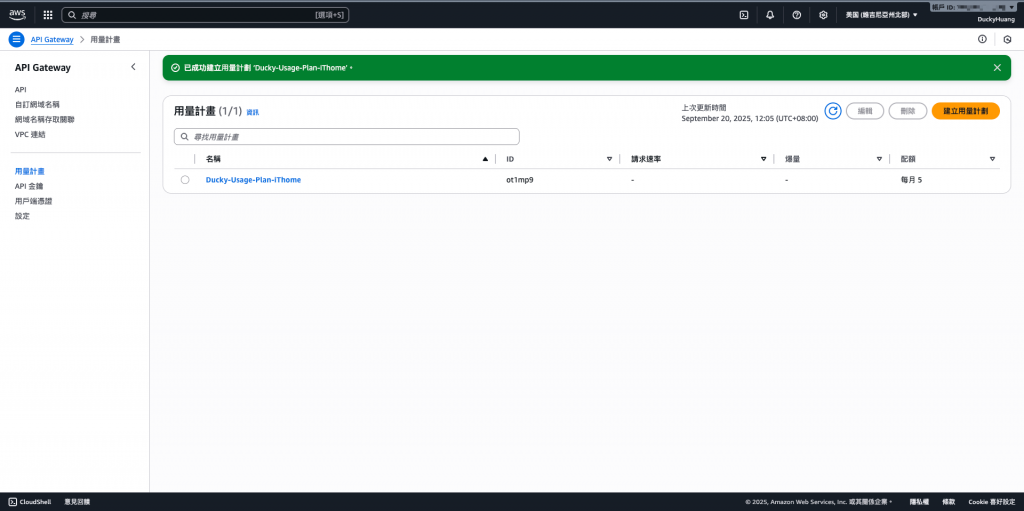
進到剛剛創建的「用量計畫(usage plan)」中。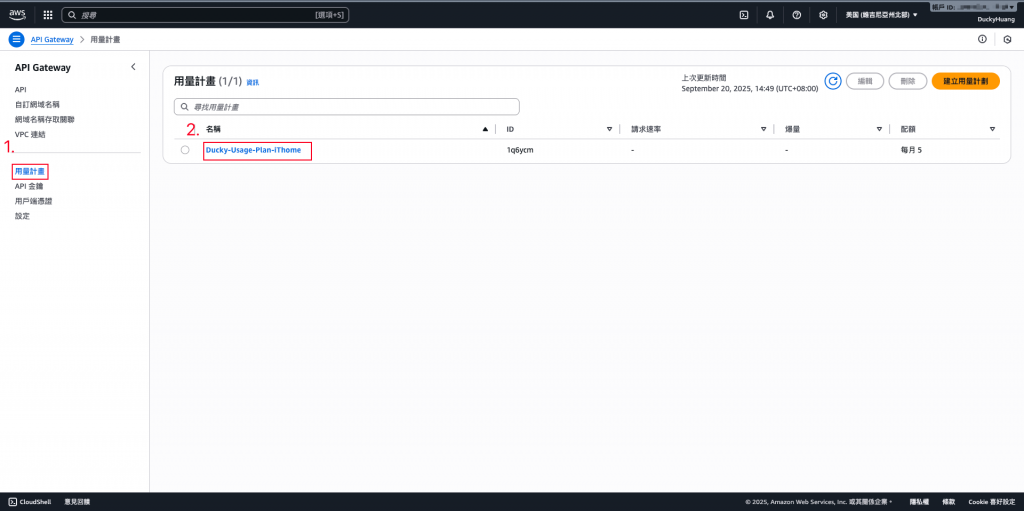
關聯REST API Gateway的階段。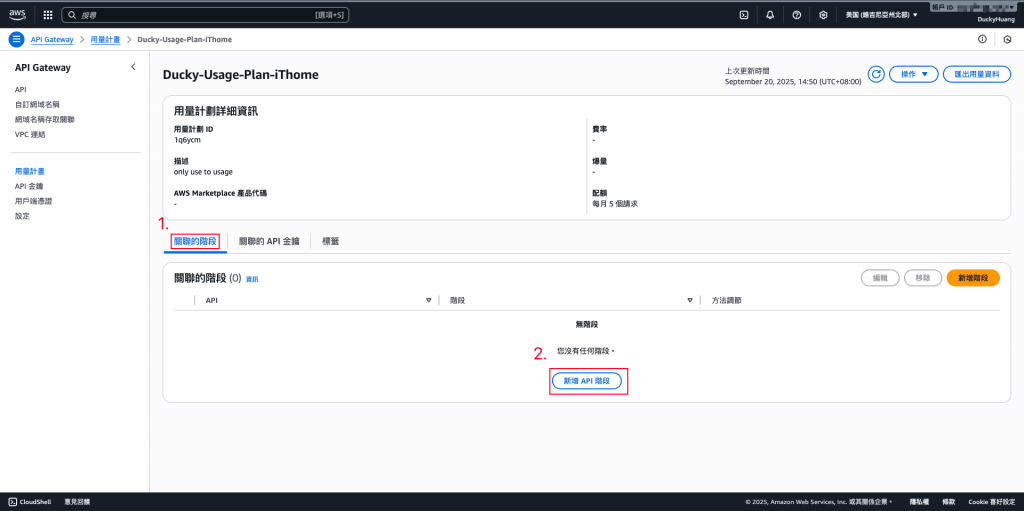
選擇關聯資訊,並確認。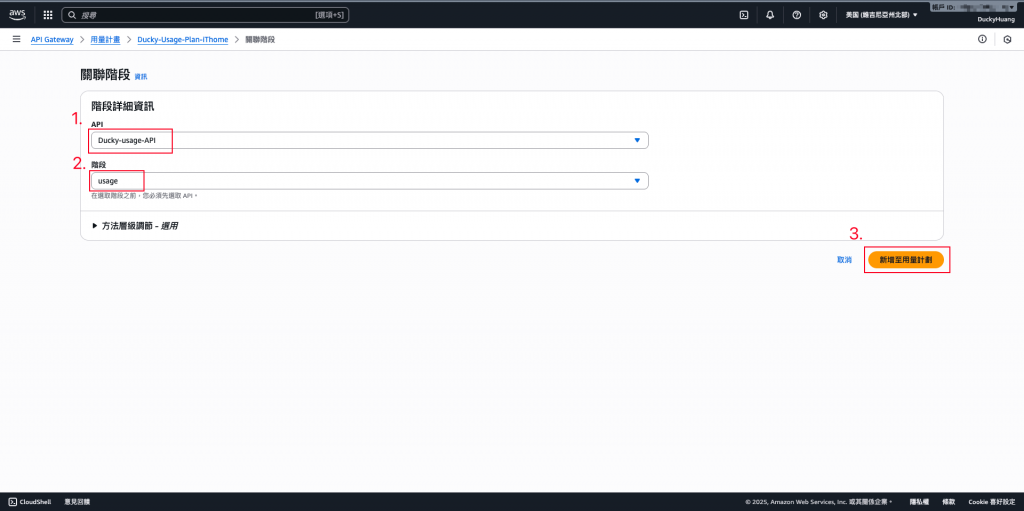
關聯完成畫面。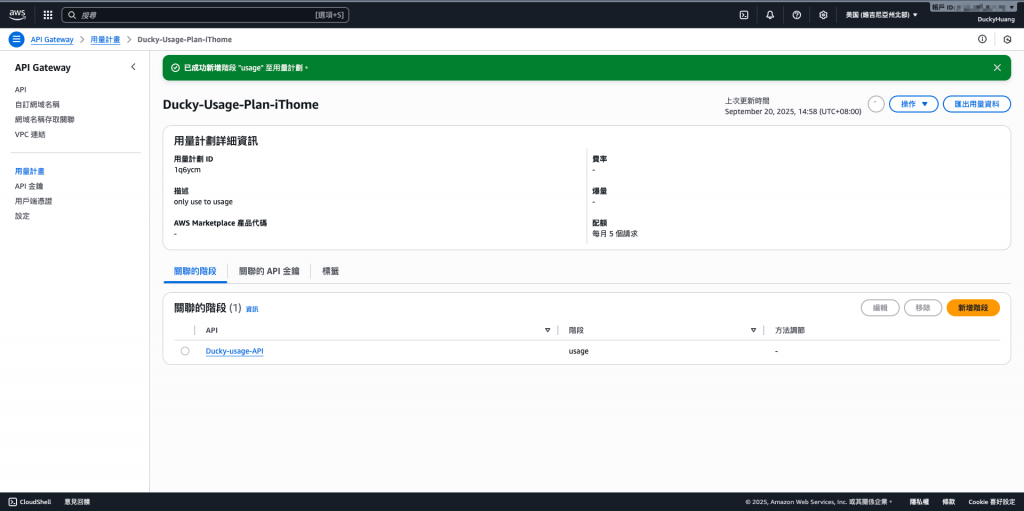
關聯API Key。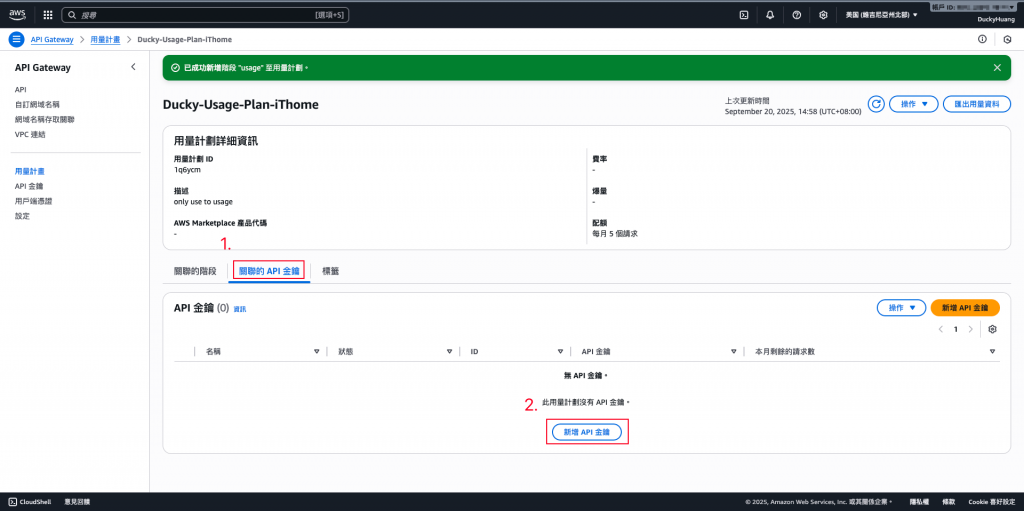
選擇稍早創建的API Key。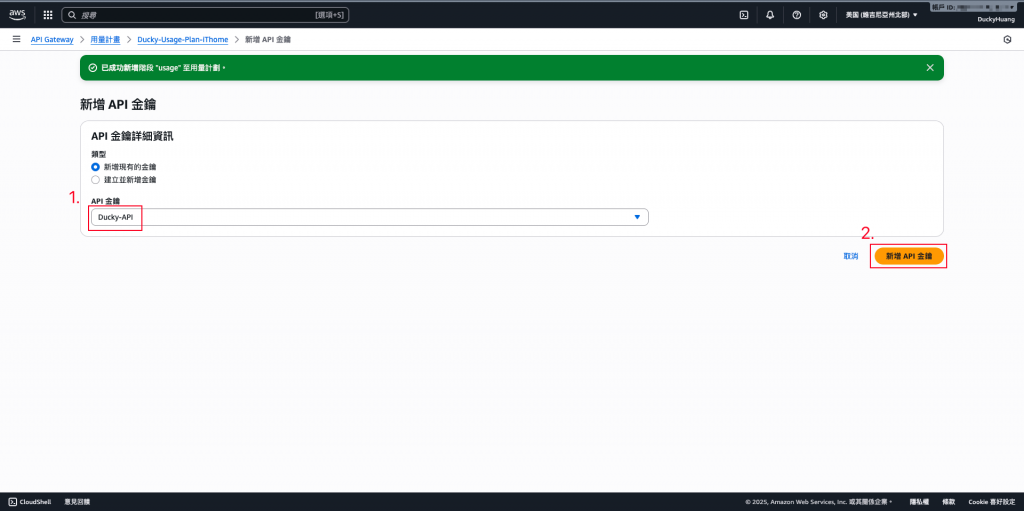
關聯完成畫面。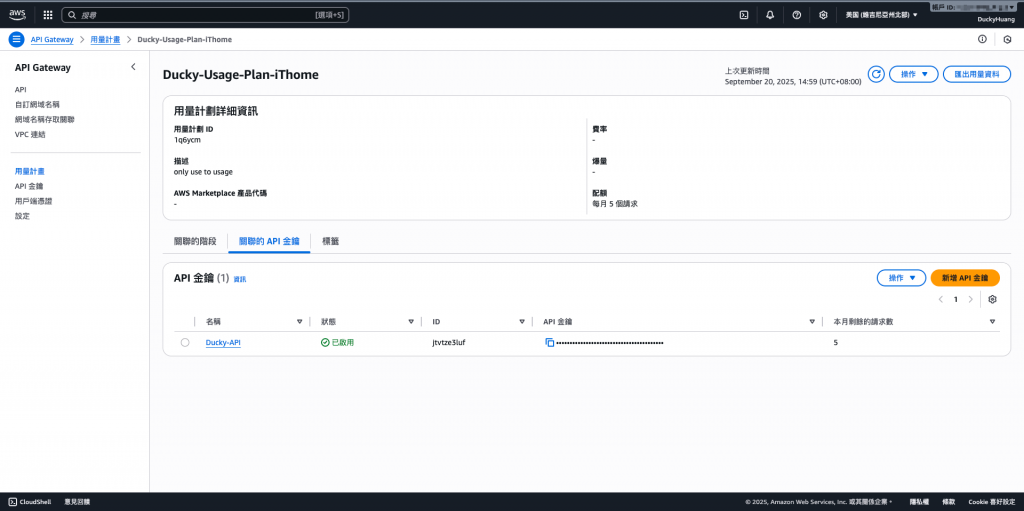
curl 或 Postman 測試,嘗試超過流量限制時,確認 API Gateway 回應錯誤curl -H "x-api-key: <ClientA-Key>" https://<api-id>.execute-api.<region>.amazonaws.com/<階段名稱>/<資源名稱>
到後台的「儀表板」頁面查看,並點擊進入CloudWatch監控頁面。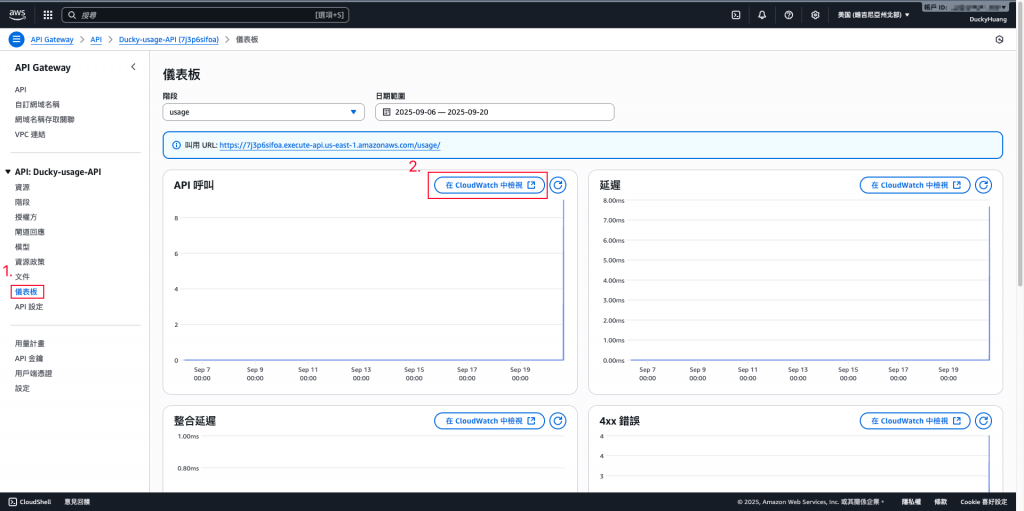
可以看到API觸發狀況。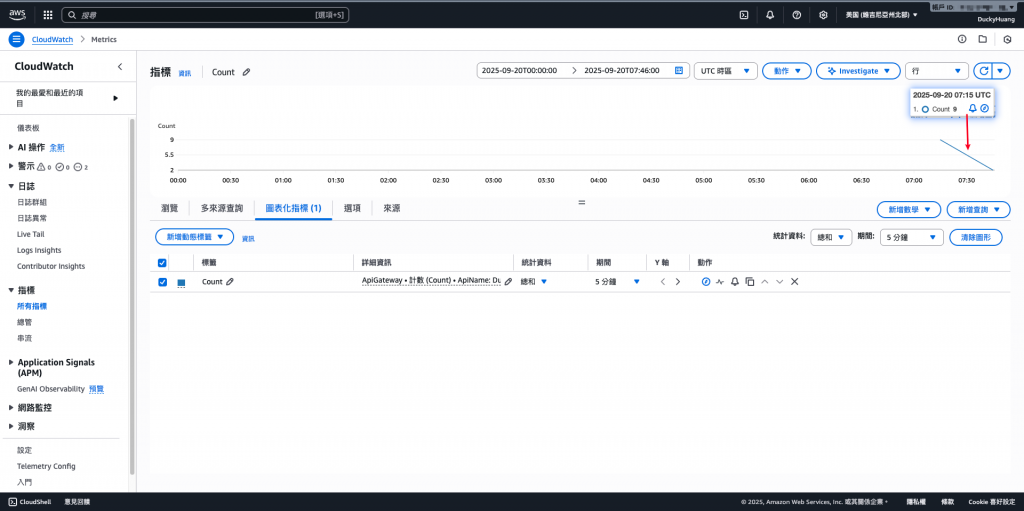
本 Lab 示範了如何透過 API Gateway 的 Usage Plan 與 API Key 進行流量管控,避免資源濫用並保障系統穩定。其核心價值在於 提升安全性、確保多租戶公平使用、降低成本風險。結合監控與告警機制,能讓 Serverless API 架構在高流量環境下依然穩健運行。

