Moon:上次聽完 AI Agent 讓我忍不住想要快點來使用~

黛西:沒問題!接下來我們就一起來安裝,建置 Ai Agent 需要用到的工具們。
🔥安裝 VS Code
Google:VS Code,進入他的官網。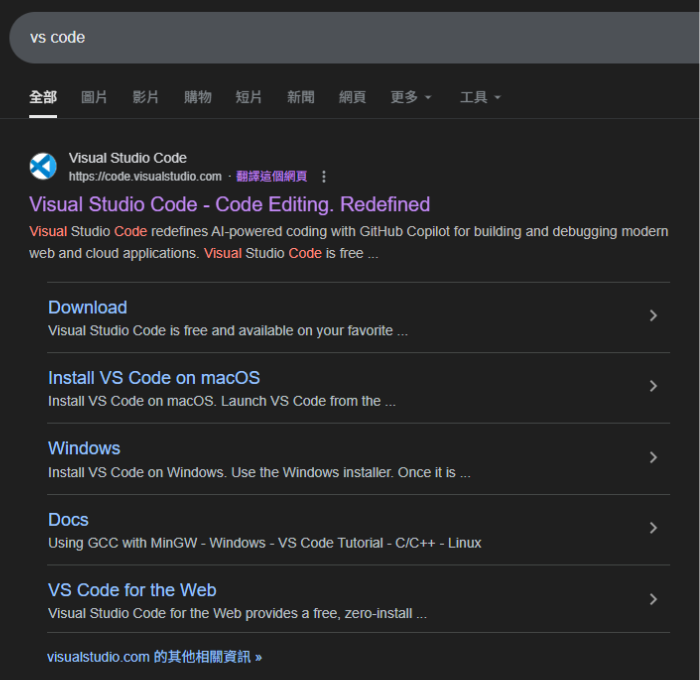
進入官網後,直接點擊 [下載] 即可。
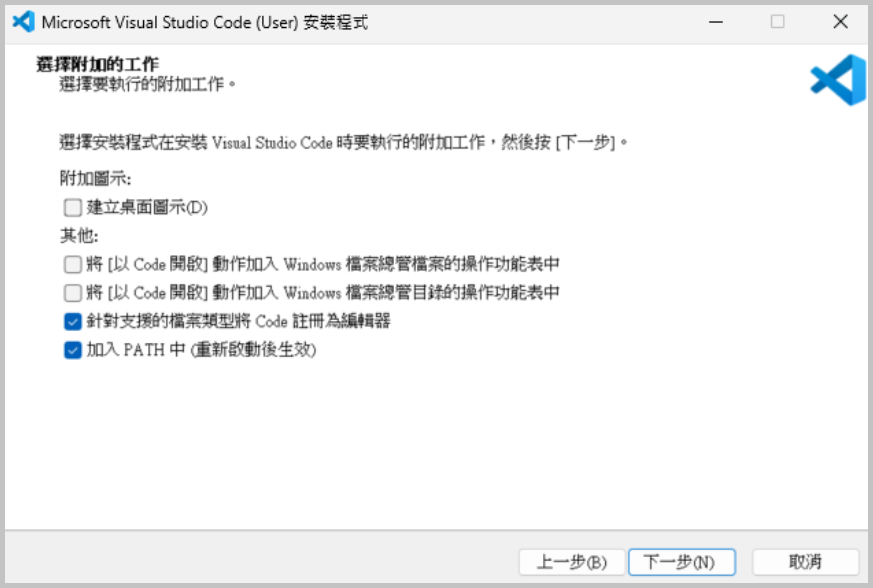
下載後,點擊 VS Code 安裝檔,同意後一路點擊 [下一步]。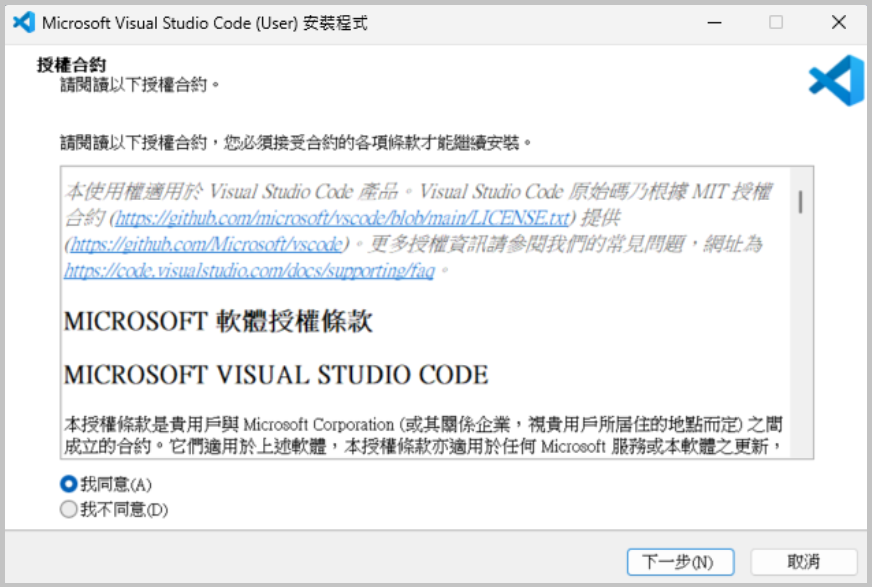
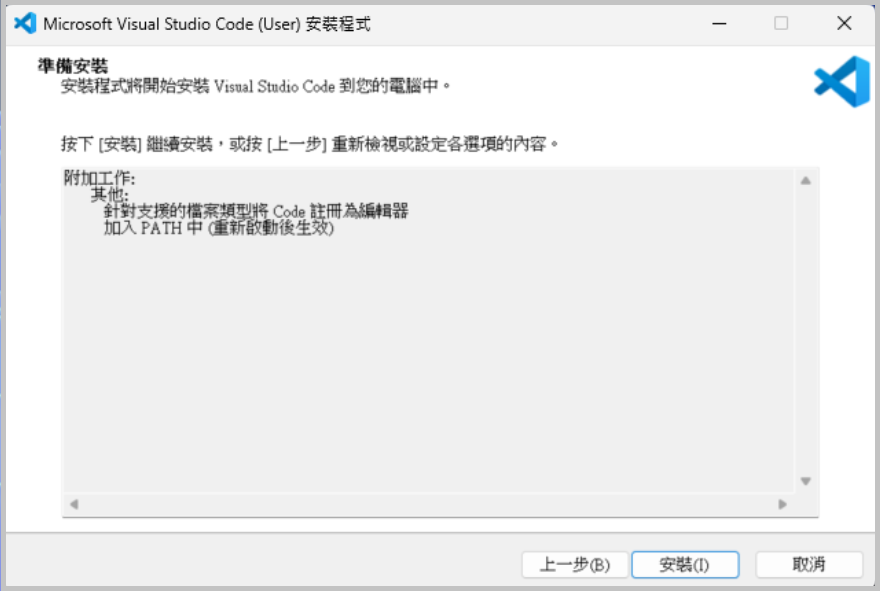

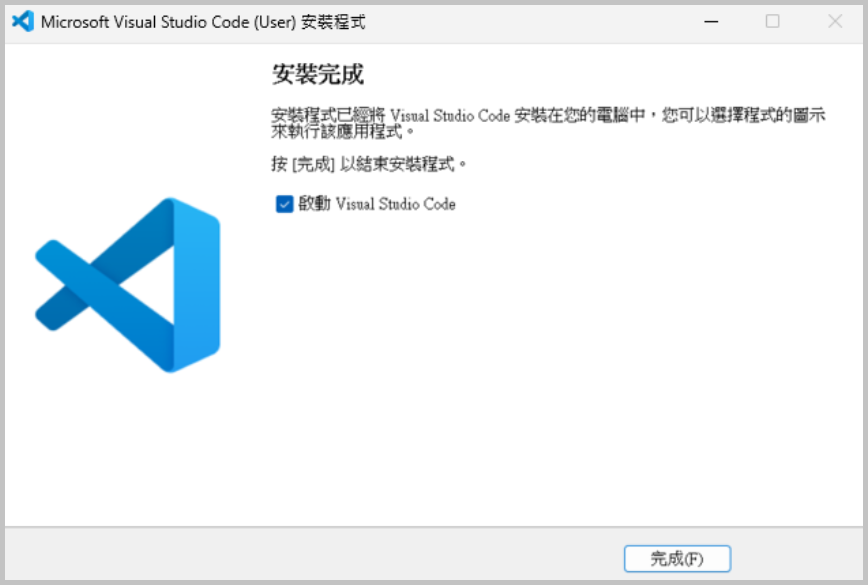
這樣就完成啦!
🔥安裝 Gemini Code Assist
Gemini Code Assist 在 VS Code 中安裝,點擊 [延伸模組] 縮圖按鈕後,直接搜尋:Gemini,這時候就會看到 Gemini Code Assist,點擊後出現右邊的畫面,直接點擊 [安裝]。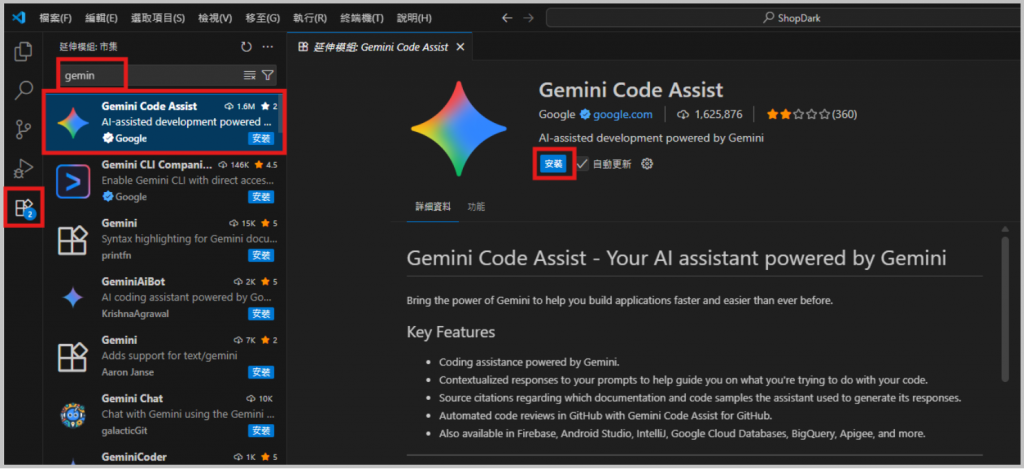
接著會出現這個彈窗,點擊:[信任發行者與安裝]。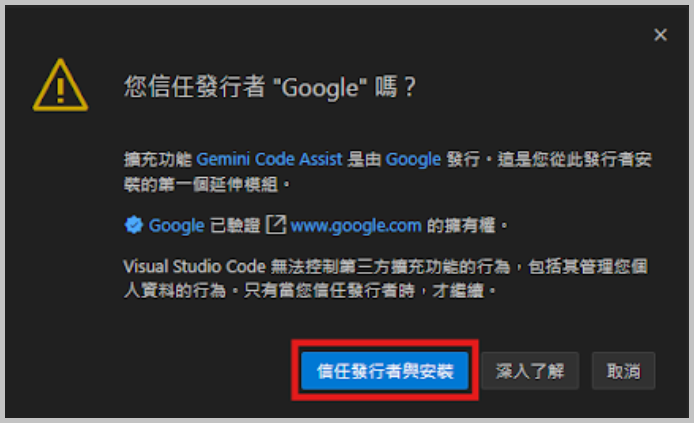
跑完後出現這個畫面就代表安裝成功。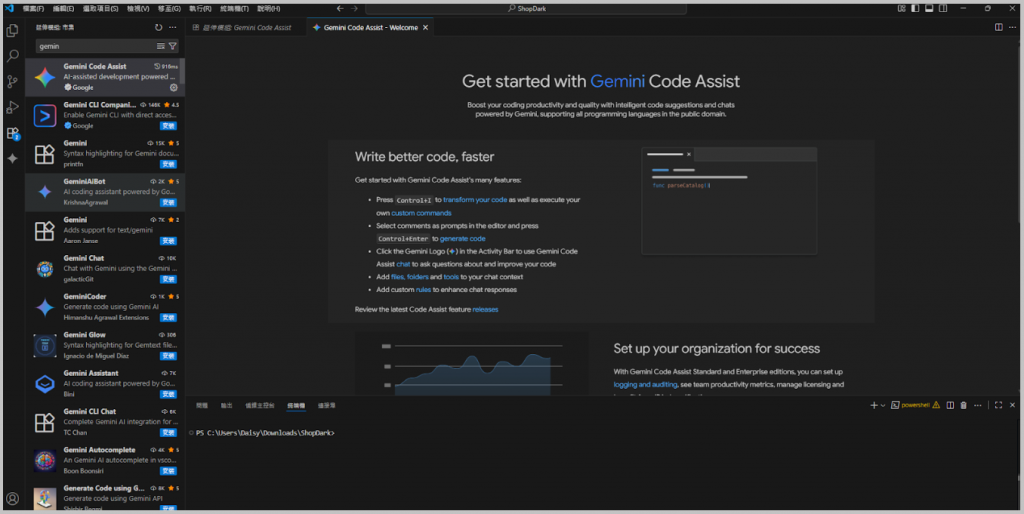
這時候再回到 Gemini Code Assist,就已經可以開始使用。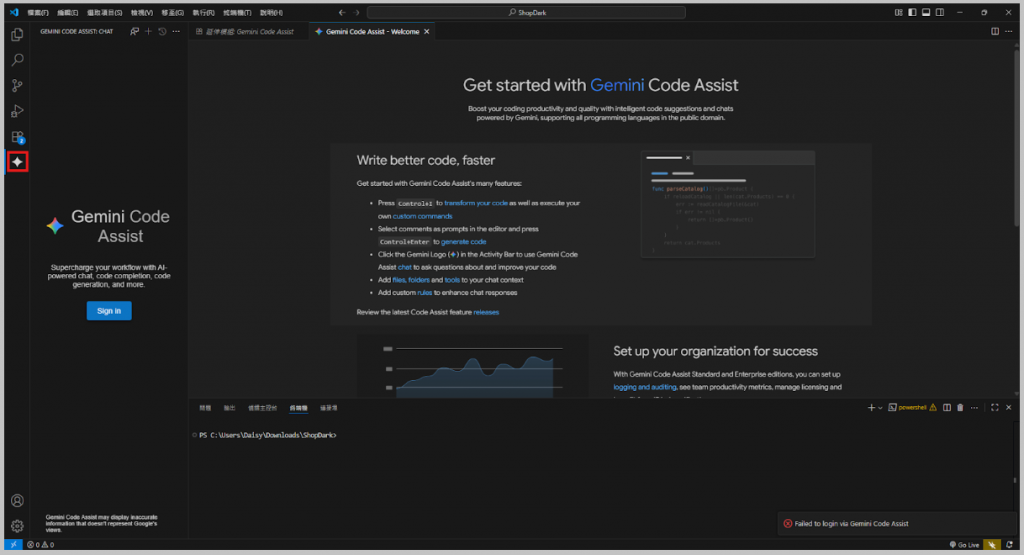
這時候要先依照他的指示,先串聯我們的 Google 帳號。
選擇你要登入的帳號後。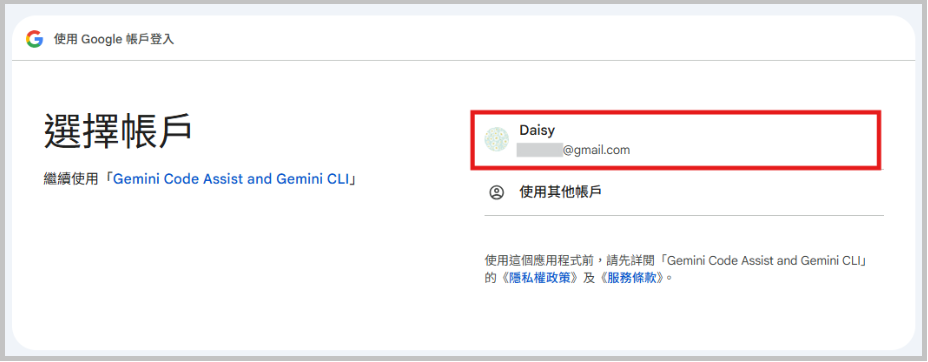
點擊 [登入]。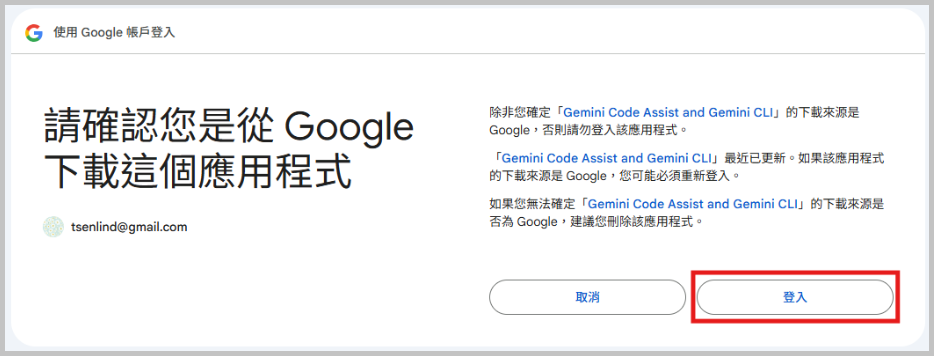
看到這畫面就代表授權成功。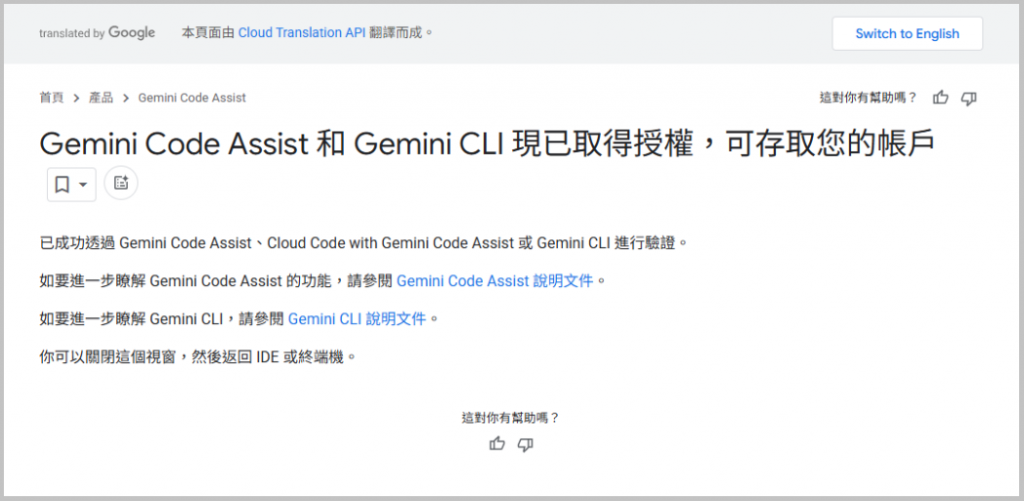
這時候回到 VS Code 畫面,算告一段落,但需要另外開啟 Agent mode 否則他無法協助我們去使用外部工具。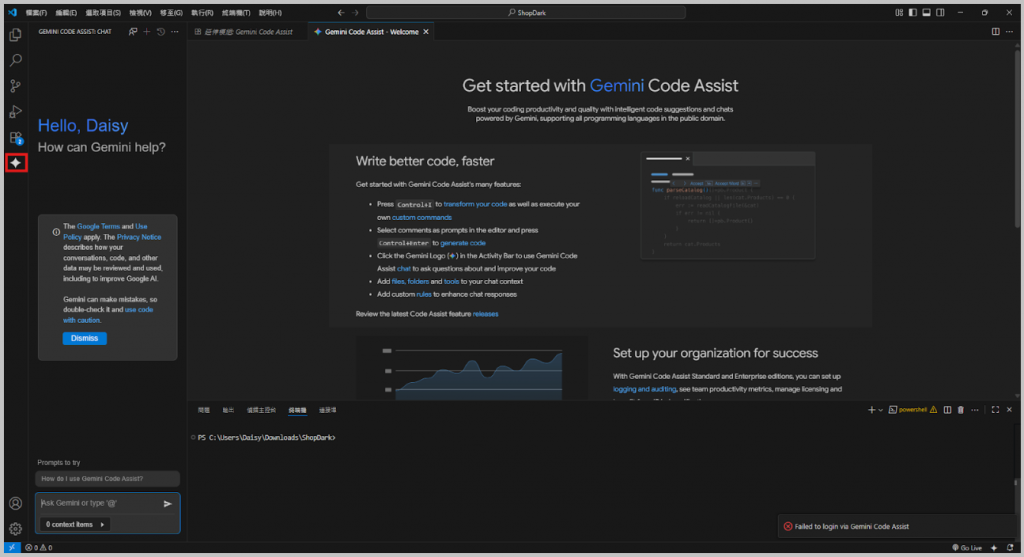
🔥Agent Mode 開啟設定
首先在畫面左下角找到 [設定]按鈕圖示,點擊後選擇 [設定]。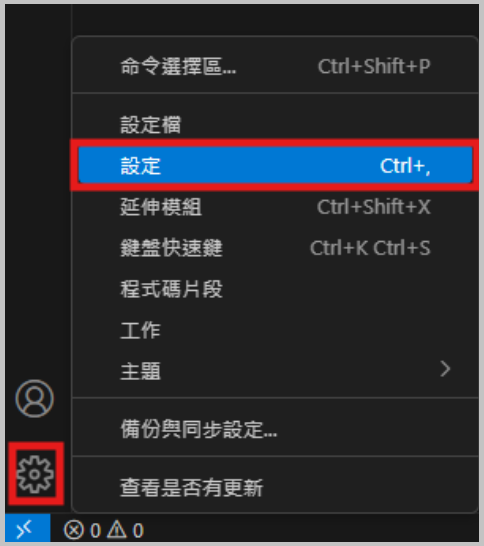
在輸入框中輸入:Gemini,下方左側點擊 [Gemini Code Assist],點擊後,在右方內容找到紅色色定區塊,選擇 [Default] 。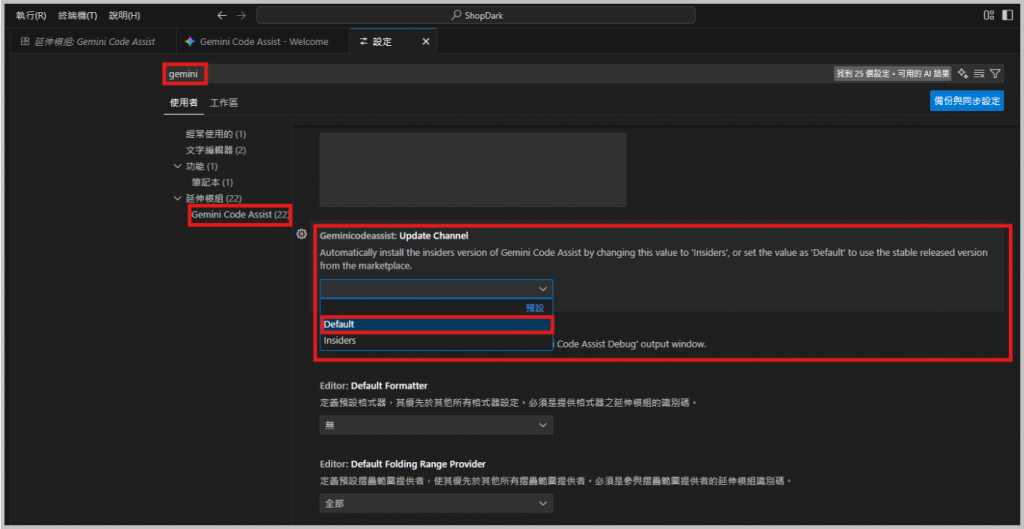
此時右下角會出現重新載入最新預設的彈窗,點擊 [Reload]。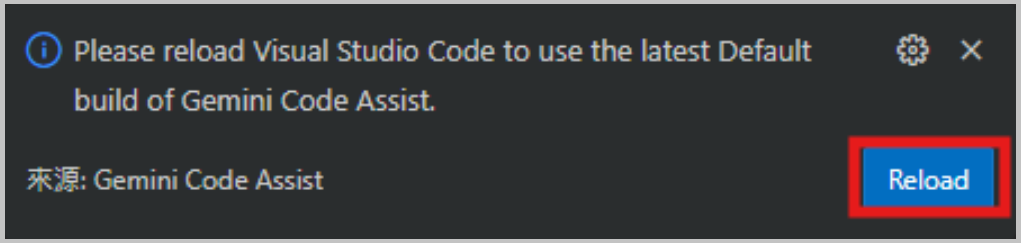
回到主畫面後,左下角會出現 [Agent] 按鈕,這時候點擊開啟 Agent Mode。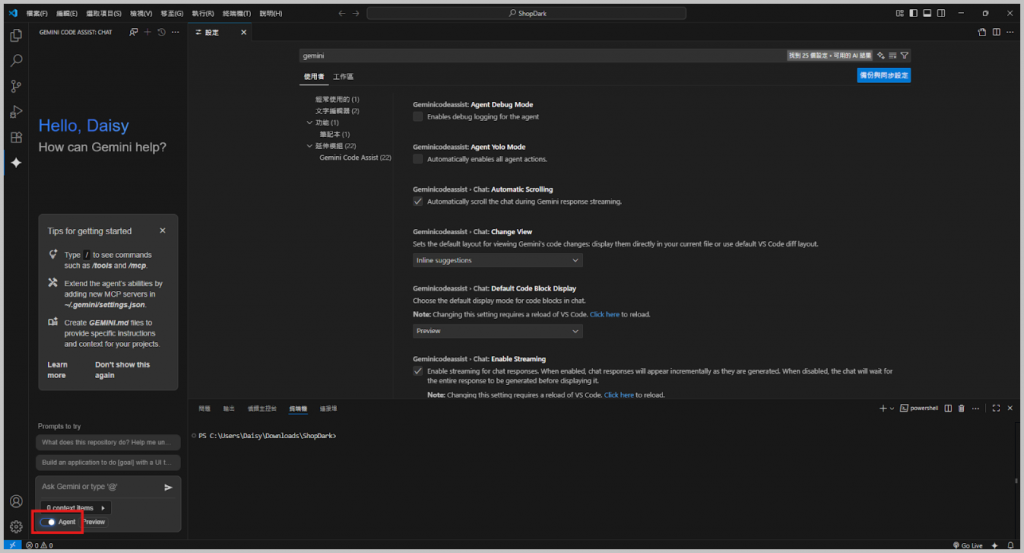
🔥安裝Github Copilot
在延伸模組中輸入: Copilot 搜尋,然後點擊 [安裝]。
同樣安裝完,登入 Github Copilot 帳號後,開啟 Agent Mode 就可以。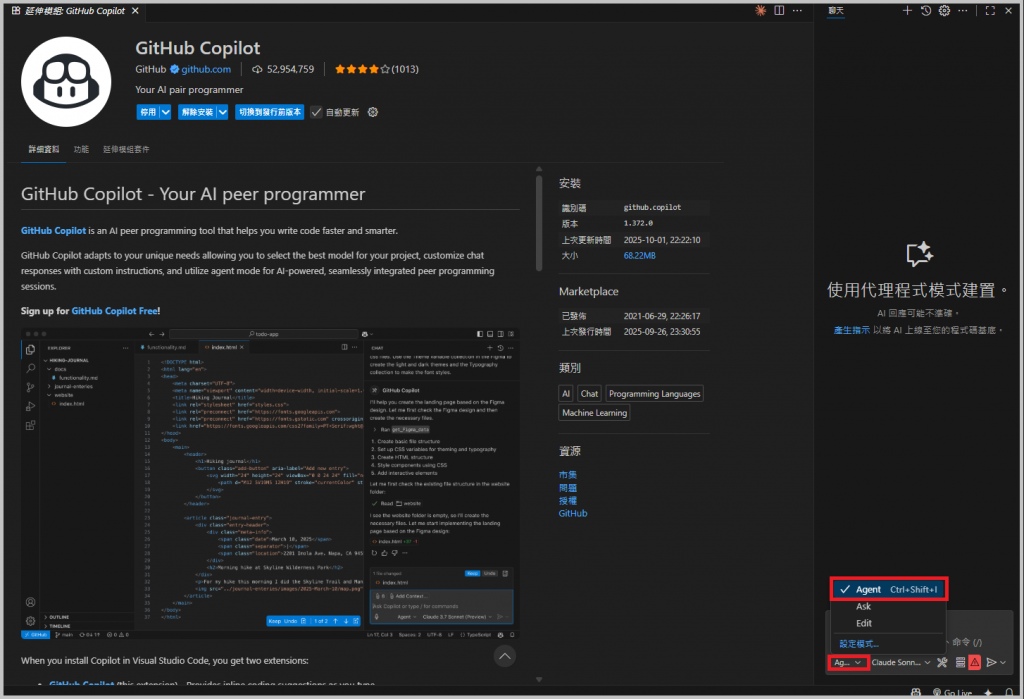
這樣就正式可以開始使用啦!
Moon:哇~跟著操作,感覺沒有我想像中的那麼困難啊!讓我繼續想要 Run 下去了!

