
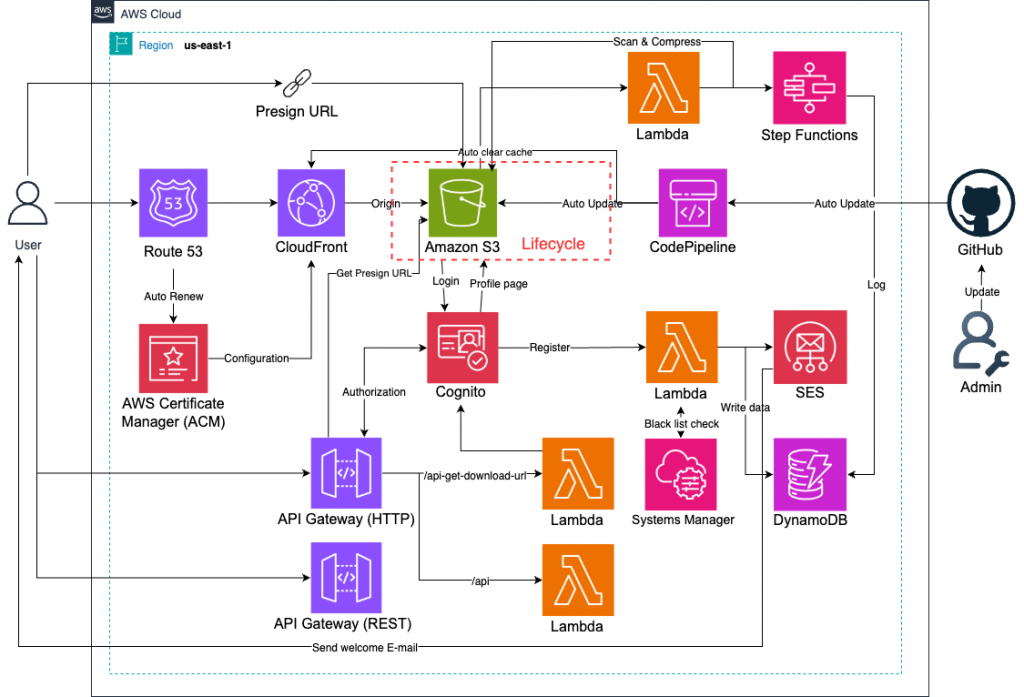
在長期運行的會員網站中,檔案不斷被上傳與更新,如果沒有規劃檔案清理與版本管理,S3 Bucket 的儲存空間將會快速膨脹,造成 儲存成本增加 與 管理困難。因此,我們需要結合 S3 Lifecycle 規則 與 Lambda 自動化清理流程,確保檔案能依照策略被管理,例如:舊版本自動移轉到 Glacier、過期檔案自動刪除。
這個 Lab 的定位在於 長期檔案治理,透過規則化與自動化,降低人工管理的負擔。
(1) Lifecycle 解決 大部分靜態規則(例如 30 天後刪除、90 天後轉冷存)。
(2) Lambda 則負責 客製化邏輯(例如刪除特定會員的檔案、清理黑名單使用者上傳的內容)。
在整體 Serverless 架構中,它是 檔案生命週期管理模組,讓系統具備智慧化的檔案治理能力。
userId, fileType),在 Lifecycle 規則中設定條件,更精準地控制檔案清理。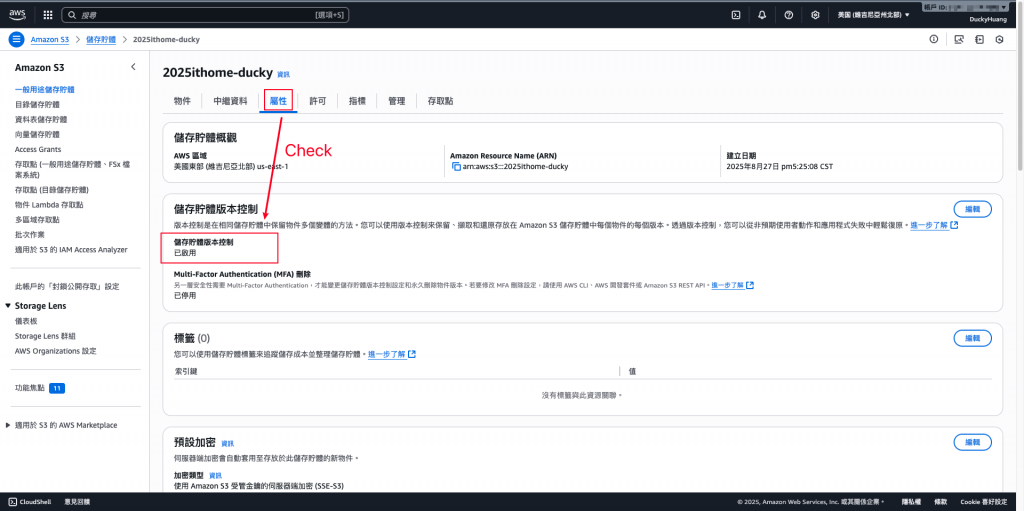
進入「S3」頁面。
進入儲存桶內。
新增一個「生命週期規則」。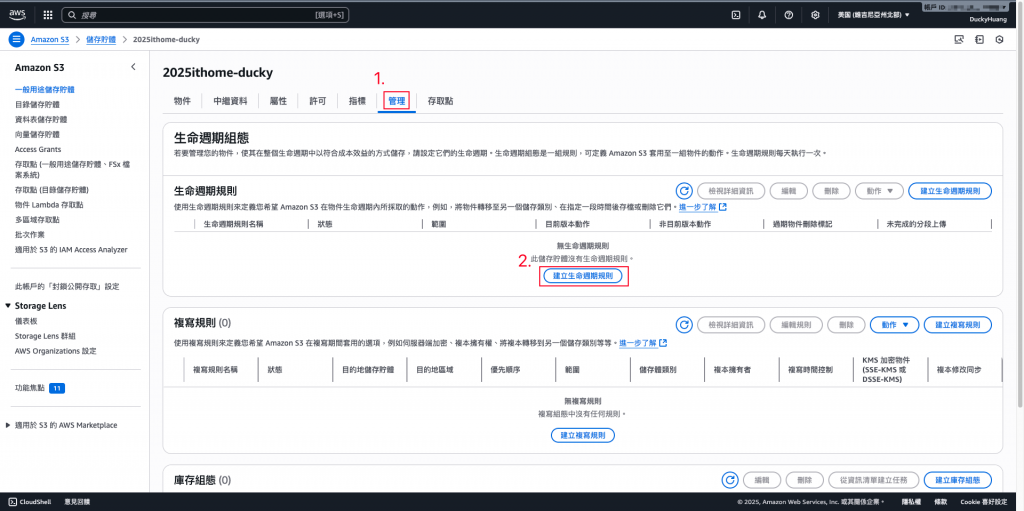
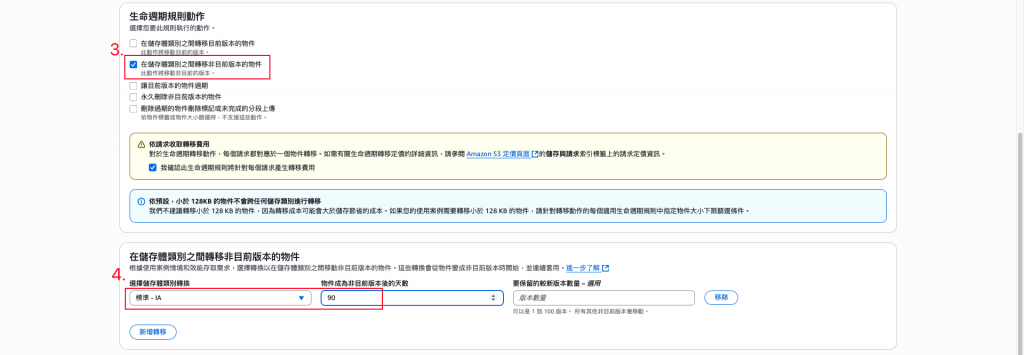
選擇篩選條件,並設定要執行的動作。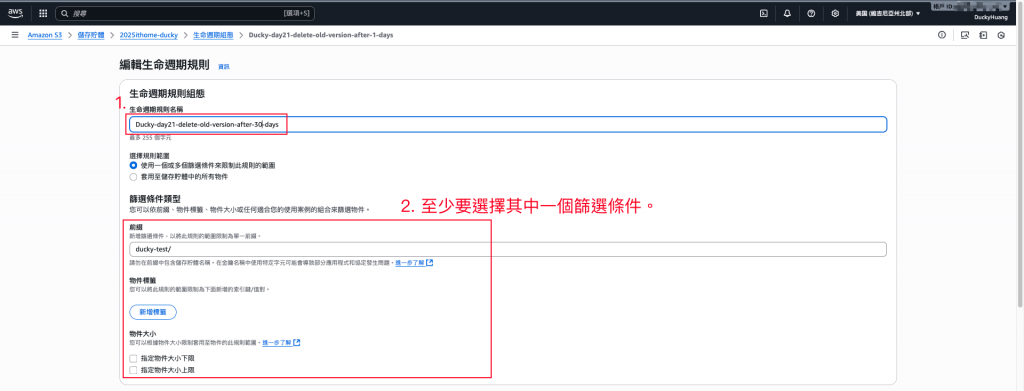

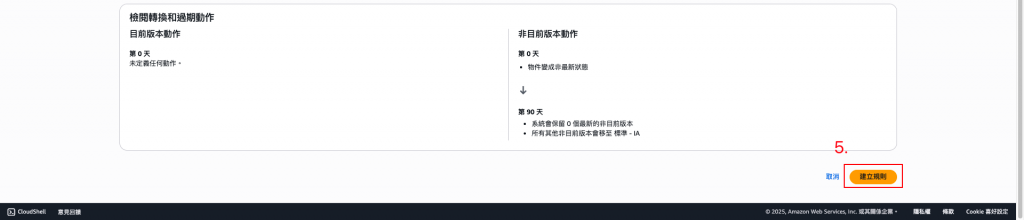
完成畫面。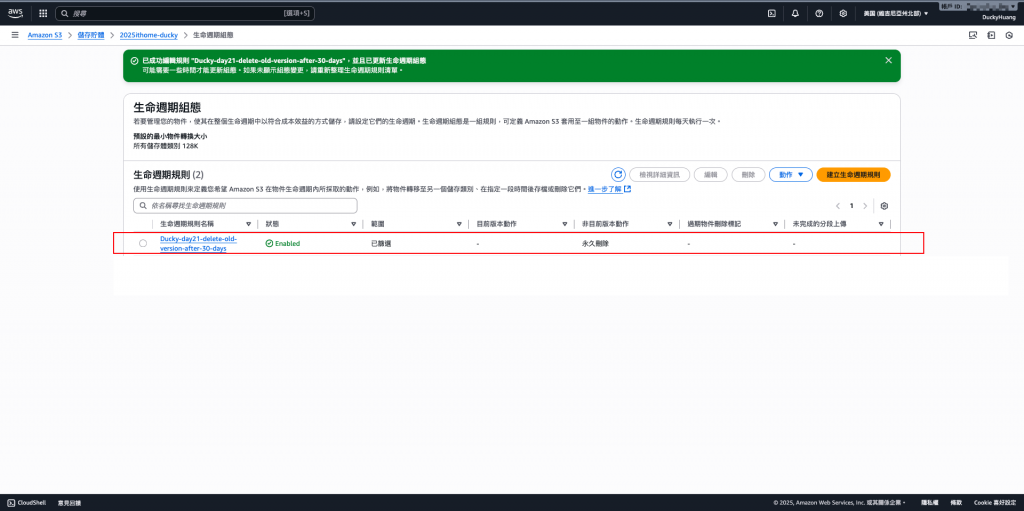
再新增一個「生命週期規則」。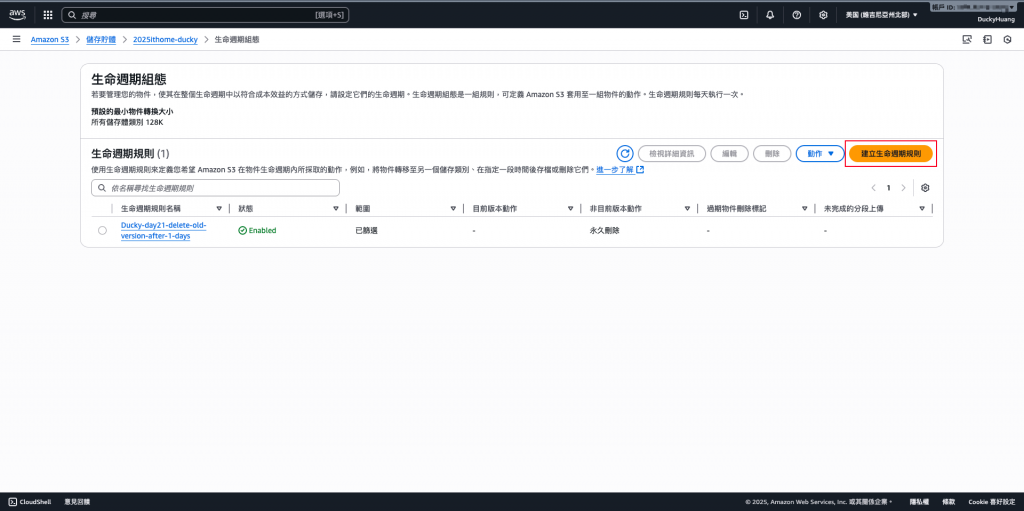
選擇篩選條件,並設定要執行的動作。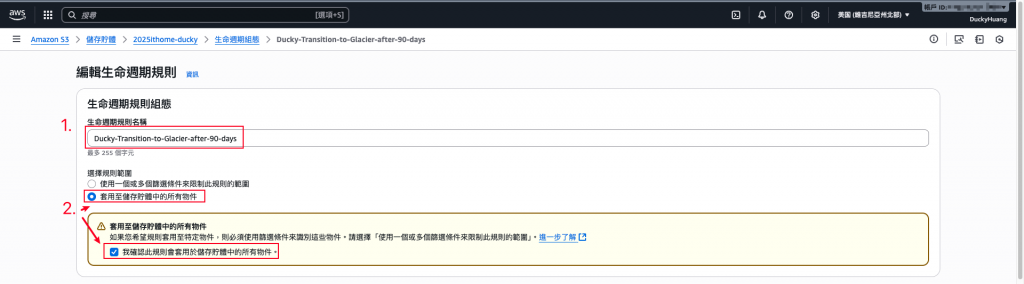
完成畫面。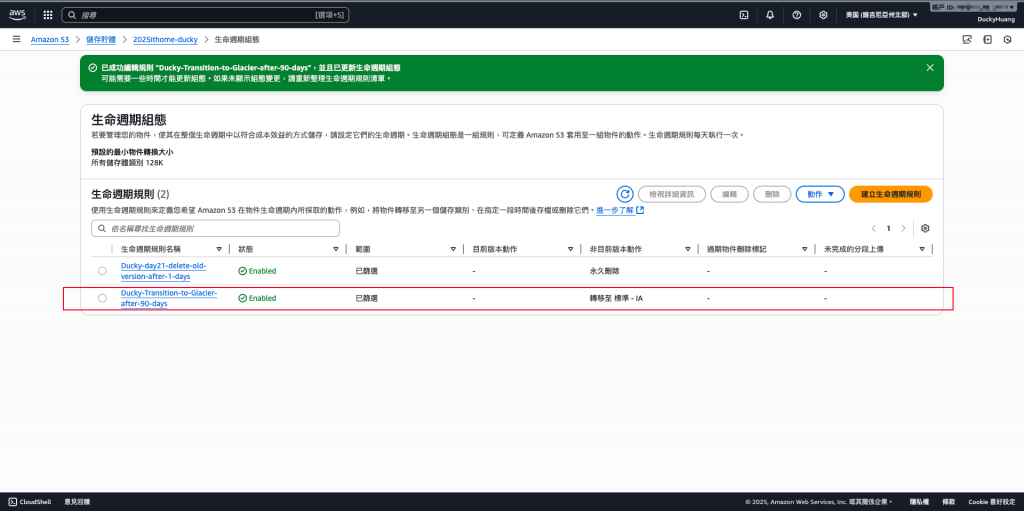
💡在180內未存取的檔案,會被自動刪除。
進入「Lambda」頁面。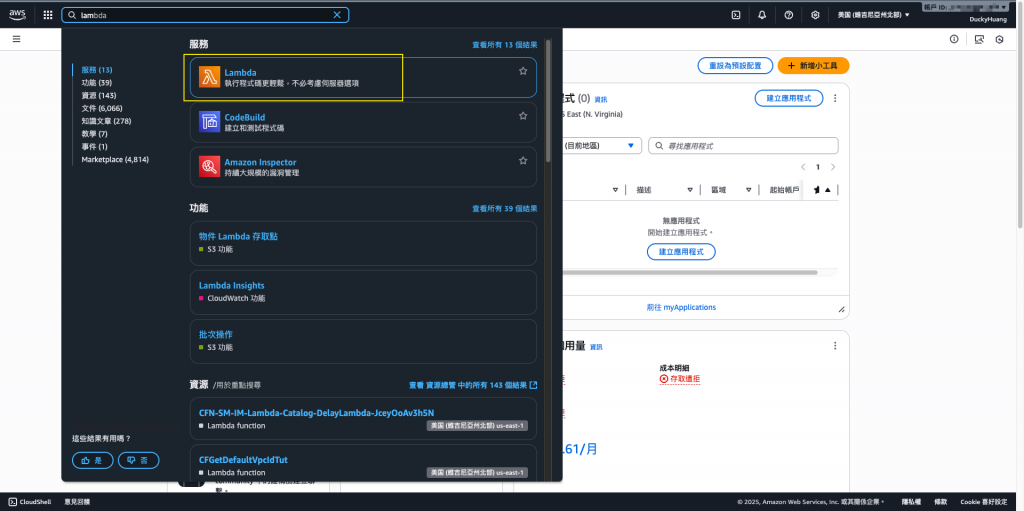
創建一個新的函數。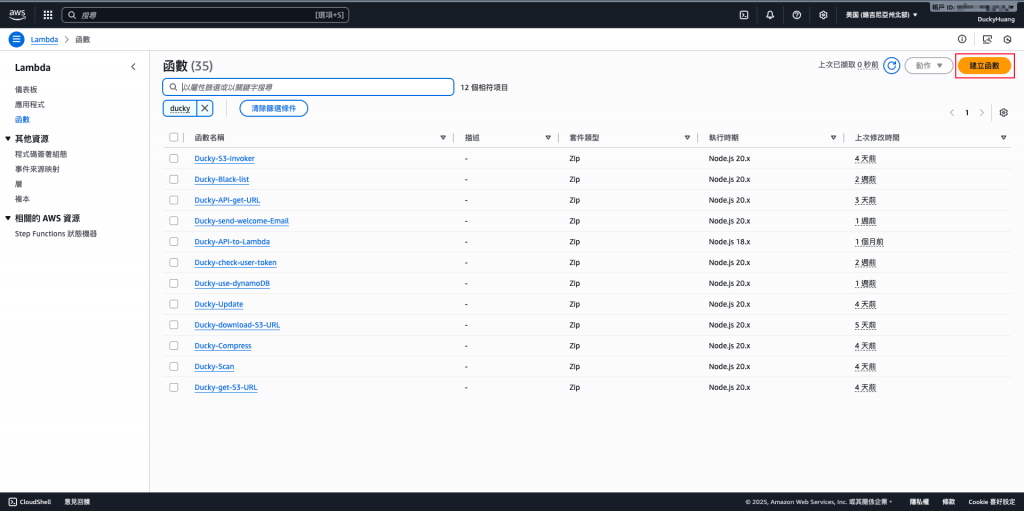
輸入函數名稱,並選擇編撰語言。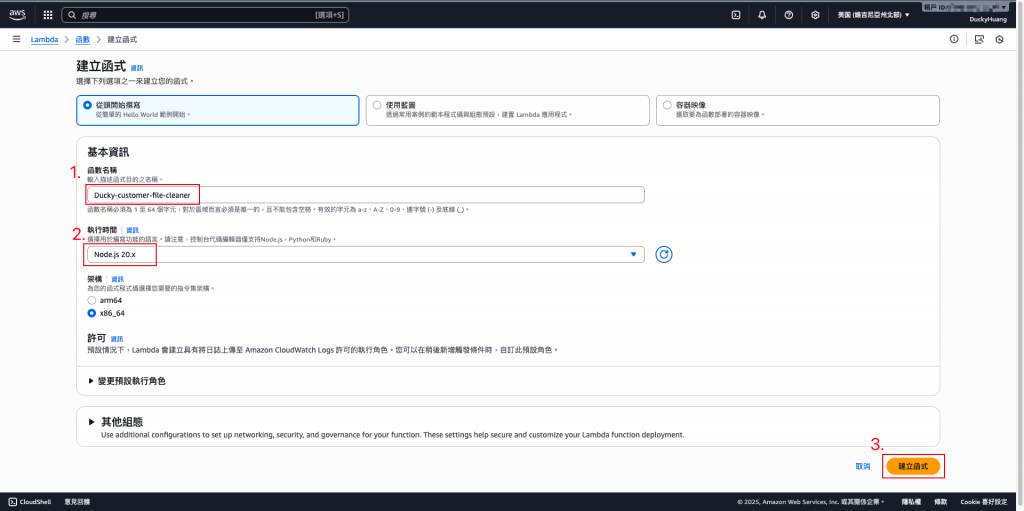
跳過建議畫面。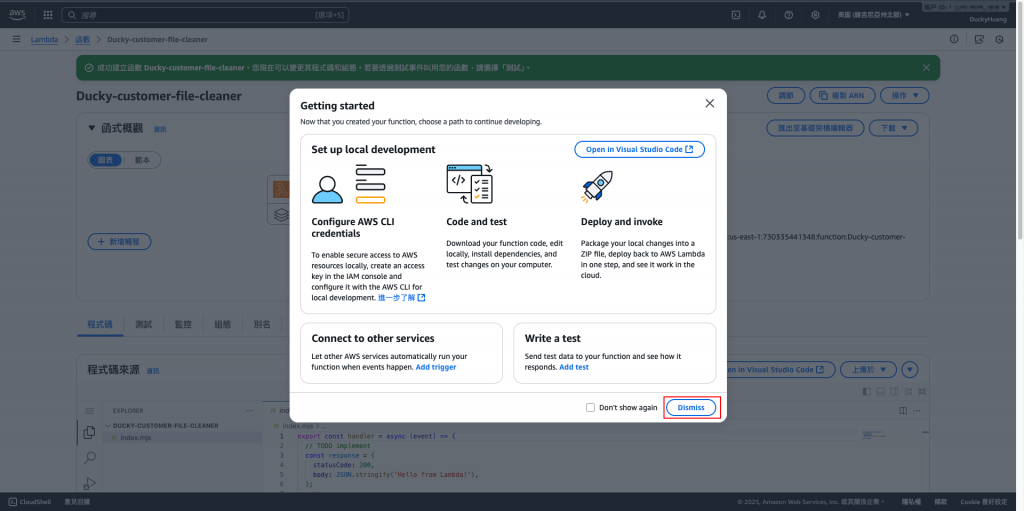
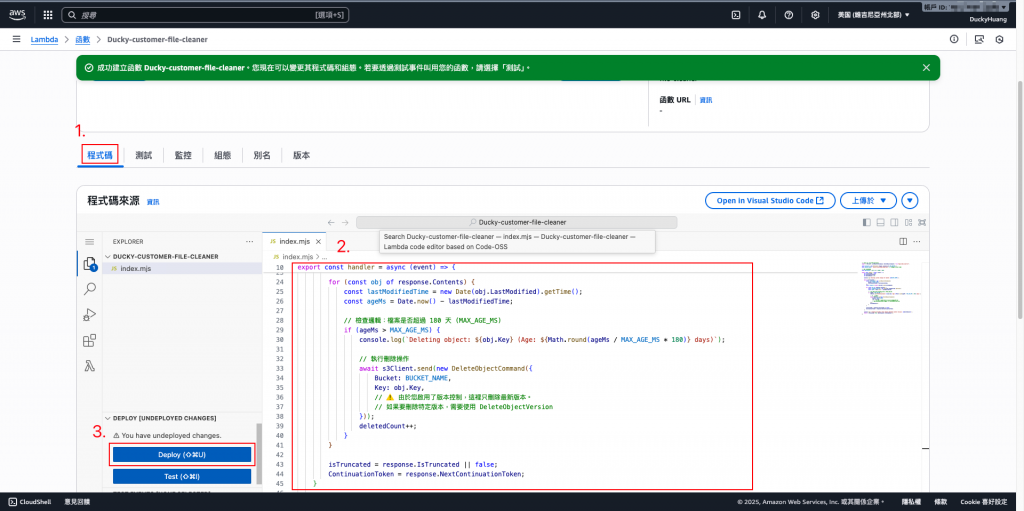
寫入程式碼,並部署。
程式碼範本:
// index.mjs
import { S3Client, HeadObjectCommand, DeleteObjectCommand } from "@aws-sdk/client-s3";

const s3 = new S3Client({ region: process.env.AWS_REGION });
const BUCKET_NAME = process.env.BUCKET_NAME || "secure-file-bucket-2025-lab";

// 180 天(毫秒)
const MAX_AGE_MS = 180 * 24 * 60 * 60 * 1000;

export const handler = async (event) => {
    console.log("Received Event:", JSON.stringify(event, null, 2));

    const records = event.detail?.object ? [event.detail.object] : [];
    let deletedCount = 0;

    for (const obj of records) {
        const key = obj.key;
        console.log(`🔍 Checking object: ${key}`);

        try {
            // 取得 metadata (最後修改時間)
            const head = await s3.send(new HeadObjectCommand({
                Bucket: BUCKET_NAME,
                Key: key
            }));

            const lastModified = new Date(head.LastModified).getTime();
            const ageMs = Date.now() - lastModified;

            if (ageMs > MAX_AGE_MS) {
                console.log(`🗑️ Deleting object: ${key} (Age: ${Math.round(ageMs / (24*3600*1000))} days)`);

                await s3.send(new DeleteObjectCommand({
                    Bucket: BUCKET_NAME,
                    Key: key
                }));

                deletedCount++;
            } else {
                console.log(`✅ Object is still valid (Age: ${Math.round(ageMs / (24*3600*1000))} days)`);
            }

        } catch (err) {
            console.error(`❌ Error processing object ${key}:`, err);
        }
    }

    return { statusCode: 200, deletedCount };
};
進入「組態」分頁,設定環境變數。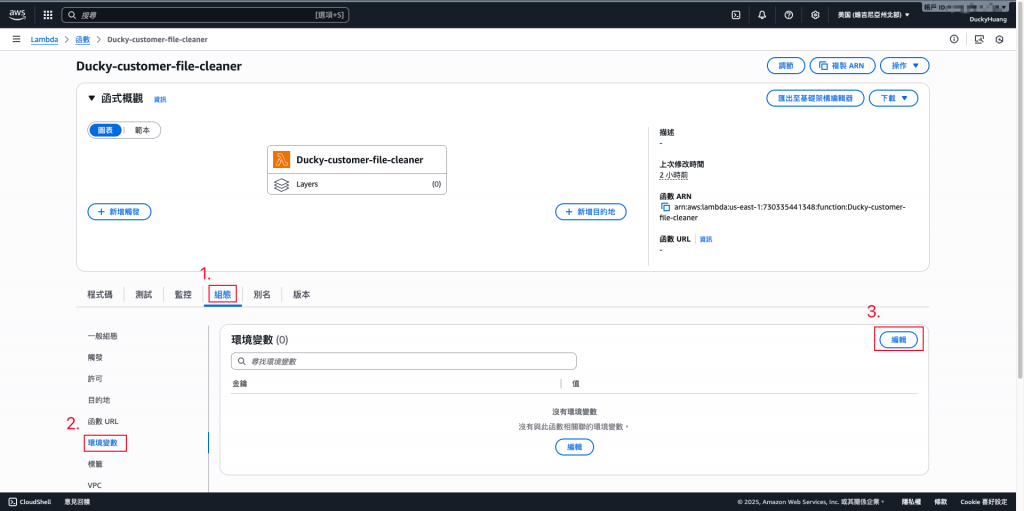
變數key「BUCKET_NAME」,Value為你在 S3 的Bucket name。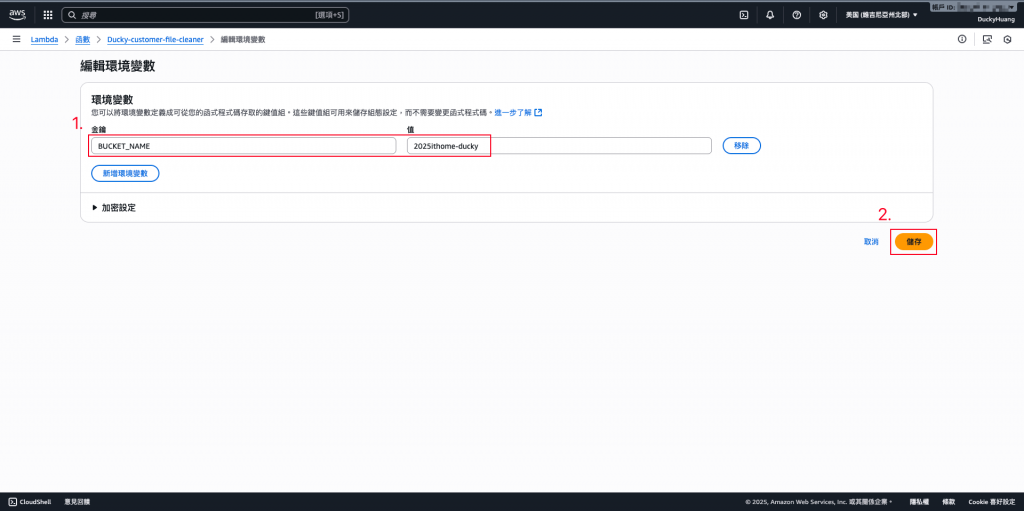
完成畫面。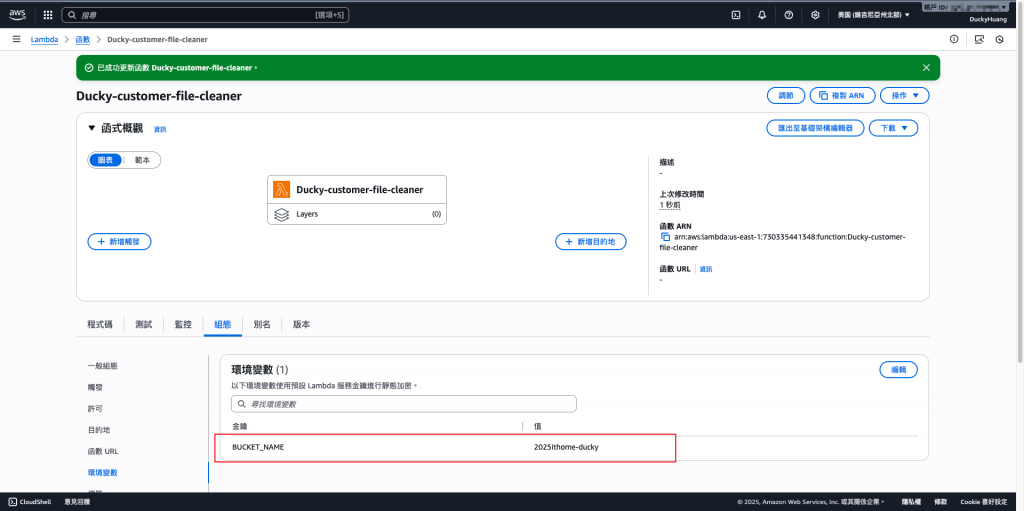
進入「IAM 」頁面。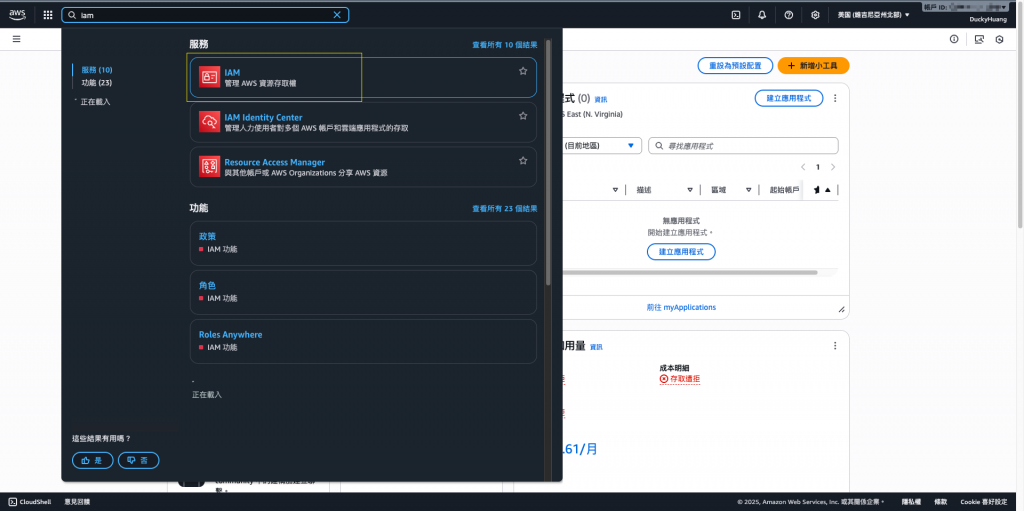
進入IAM role的頁面,點選該Lambda自動創建的IAM role。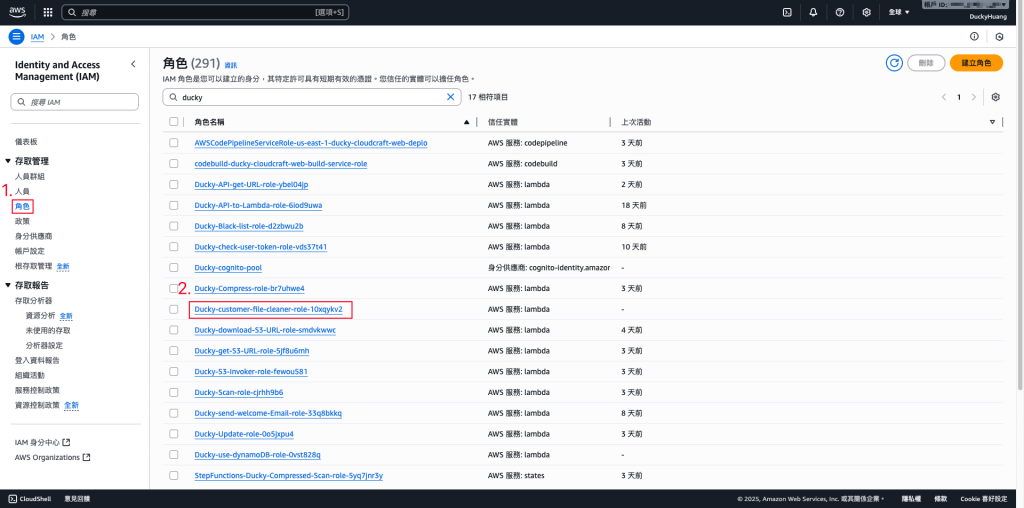
新增「許可政策」。
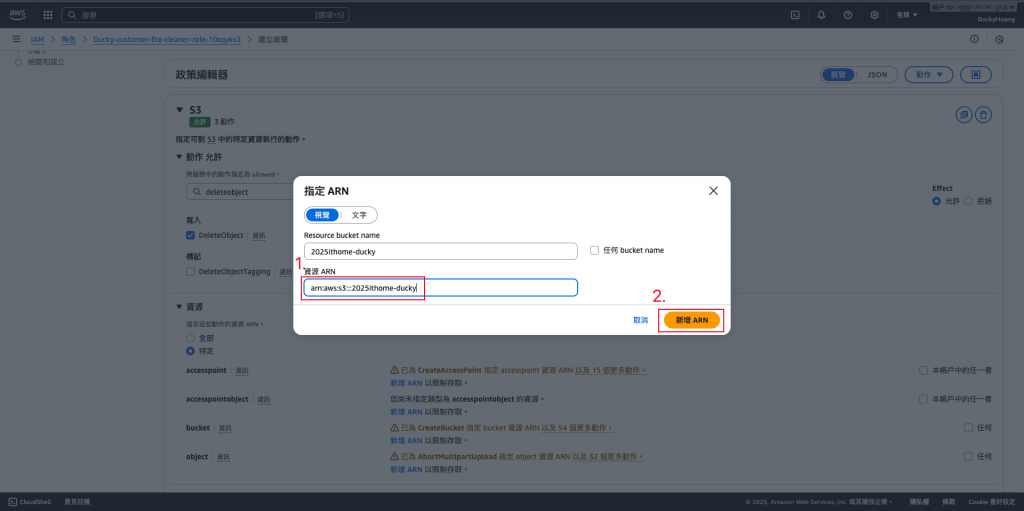
增加S3的「DeleteObject」、「DeleteObjectVersion」、「ListBucket」權限,授權範圍為指定的S3 bucket。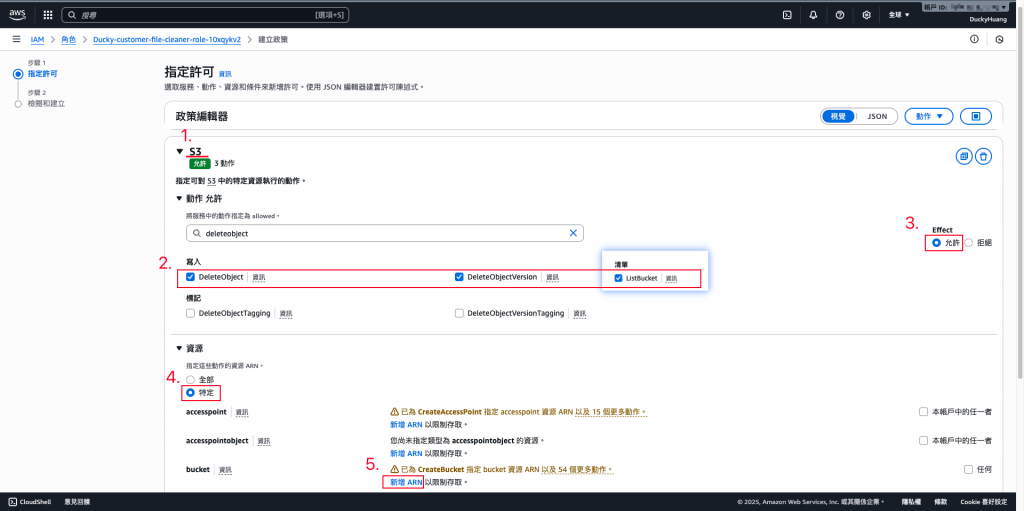
將授權調整為指定的S3。
再新增其他的權限。。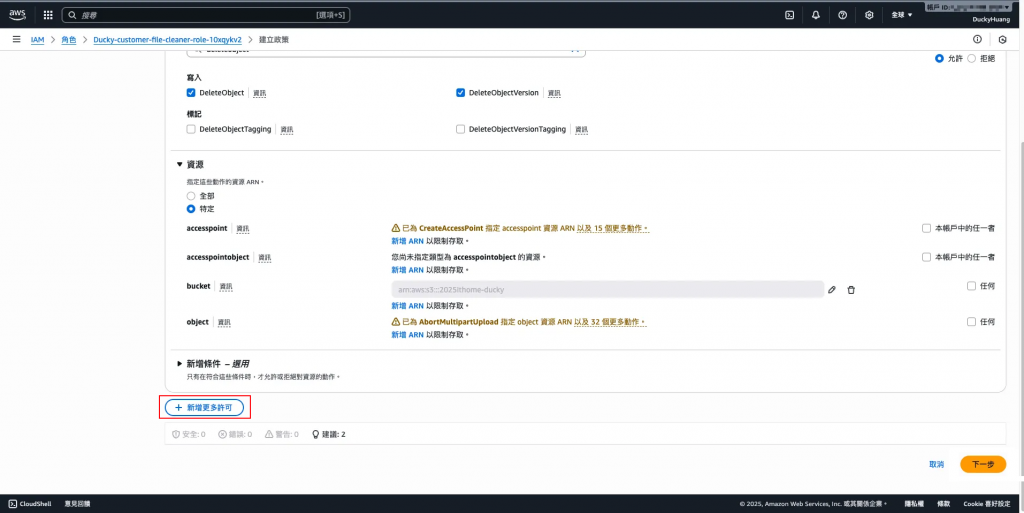
增加CloudWatch Logs的「CreateLogStream」權限,授權範圍為「全部」。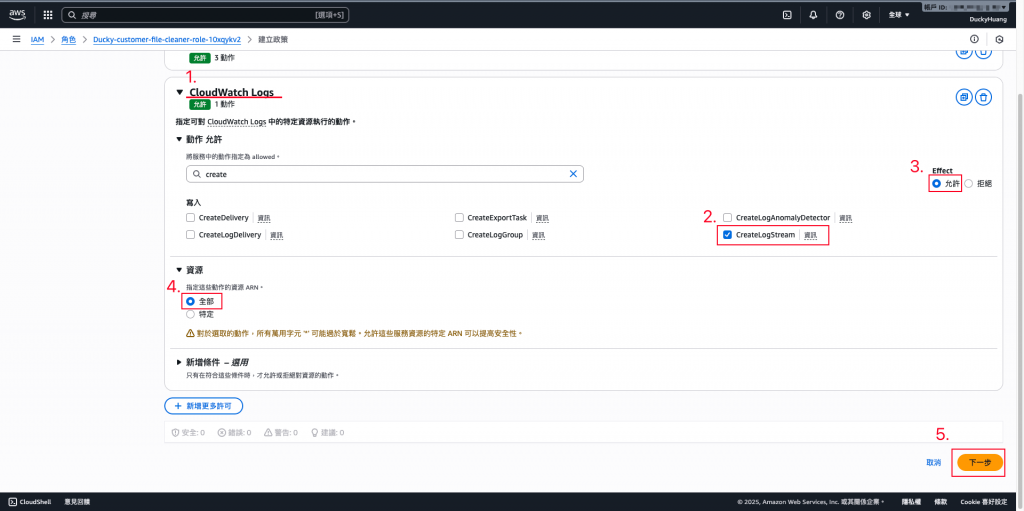
設定「許可政策」名稱。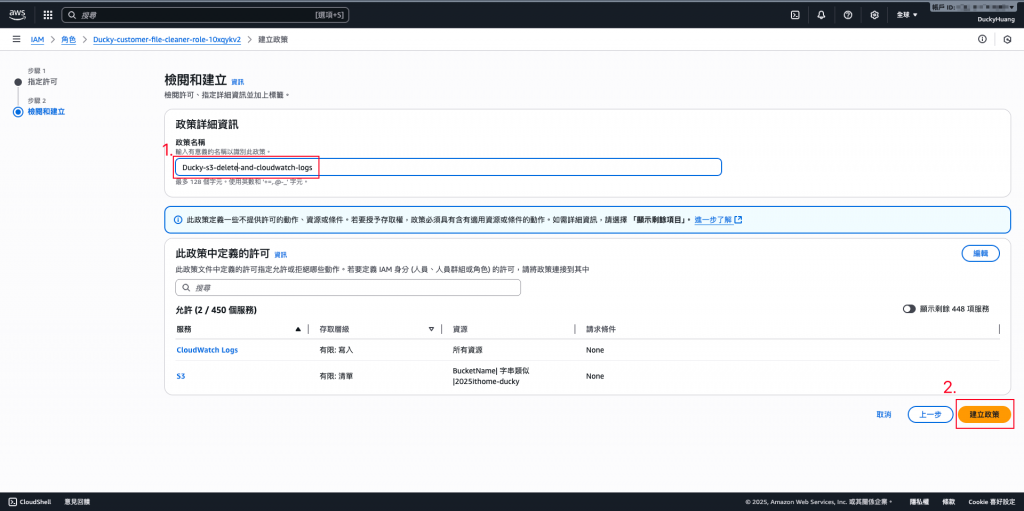
完成畫面。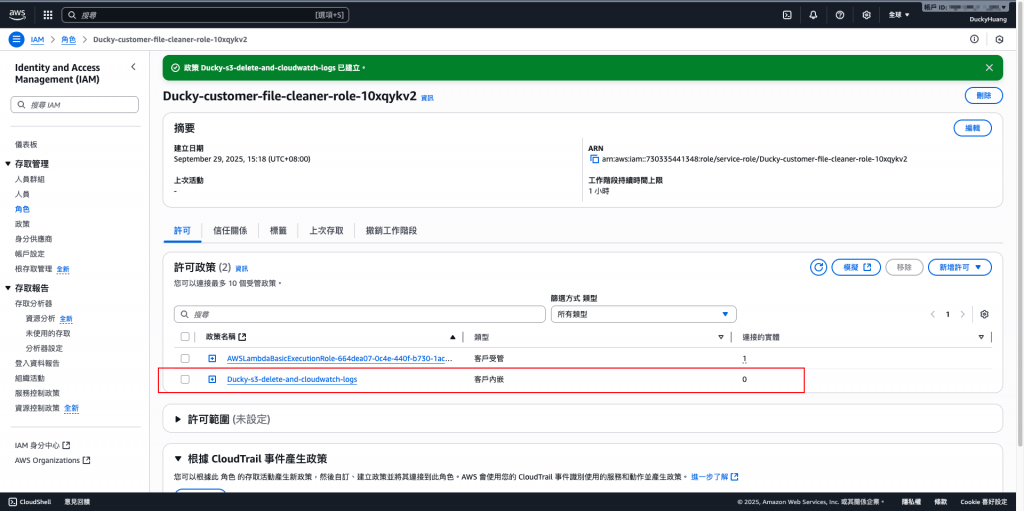
進入「Amazon EventBridge」頁面。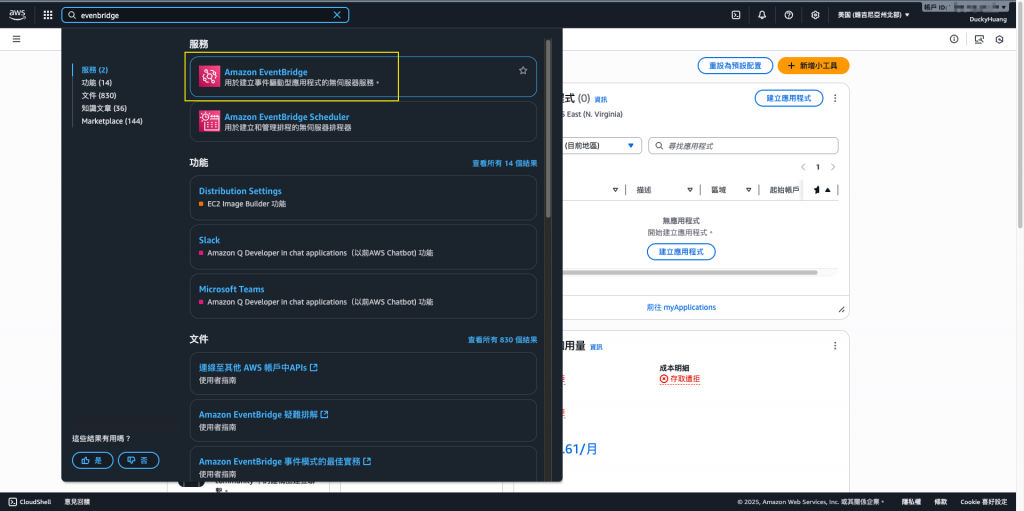
新增規則。
設定規則名稱及規則類型,繼續建立。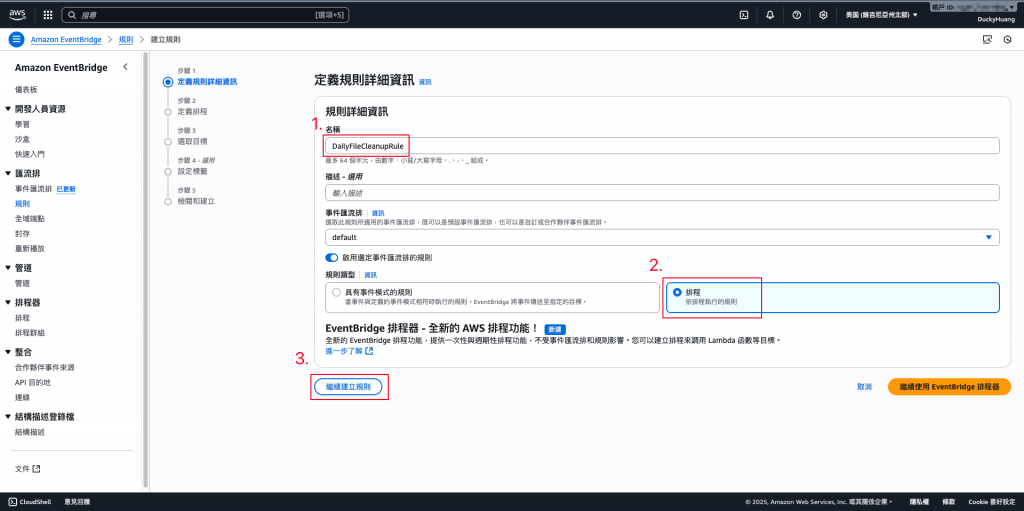
設定排程時間。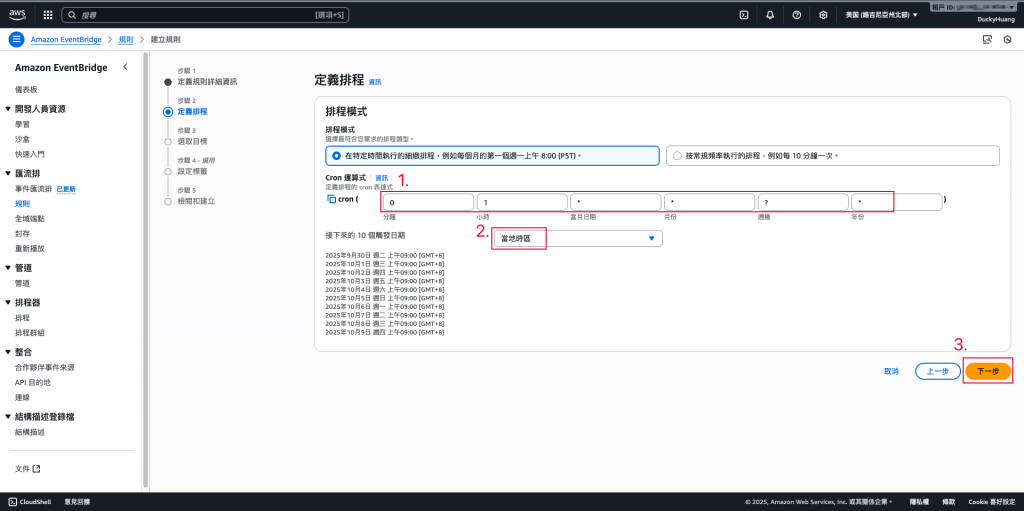
設定觸發程序。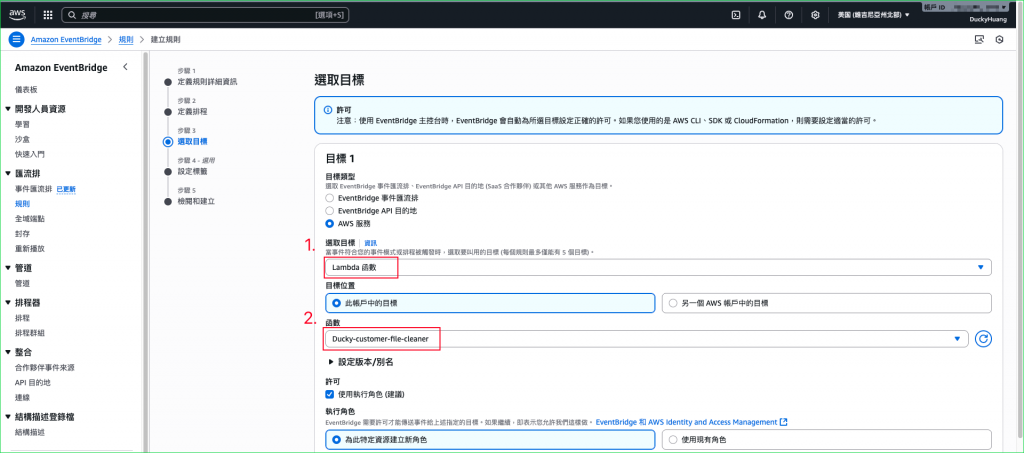

設定標籤,此處先跳過。(正式上線時,可以依照標籤「Label」來區隔費用)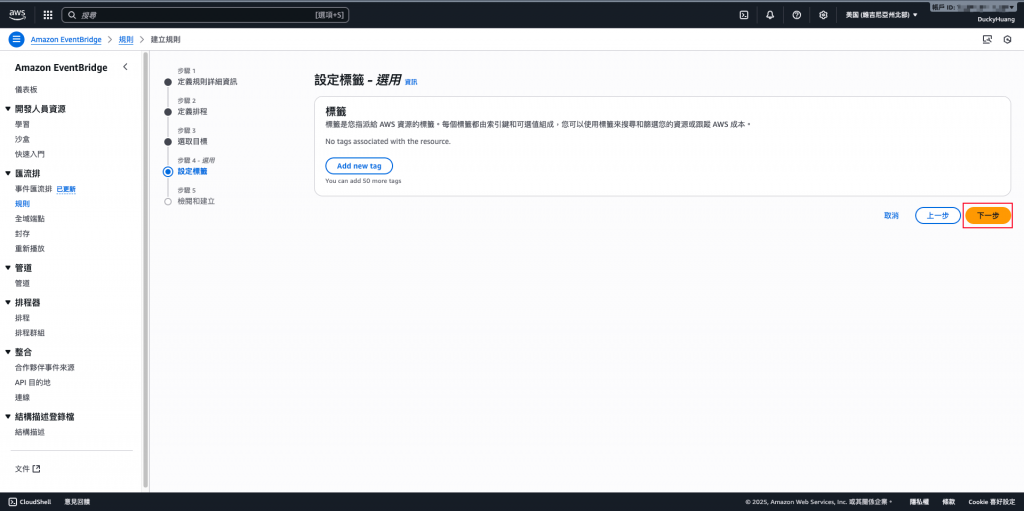
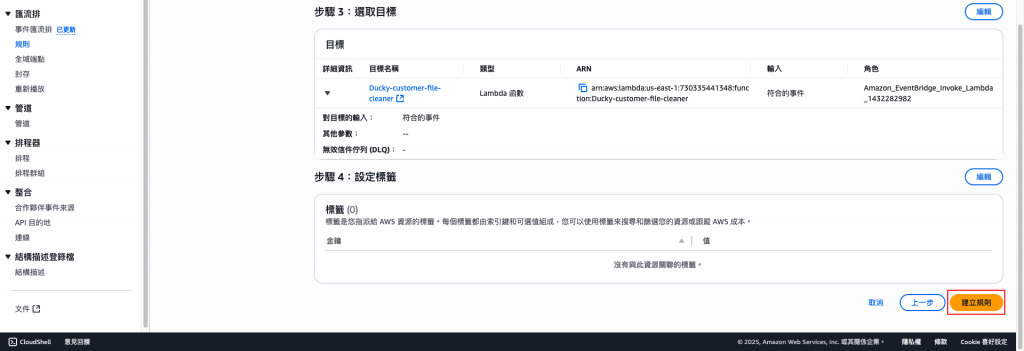
完成建立。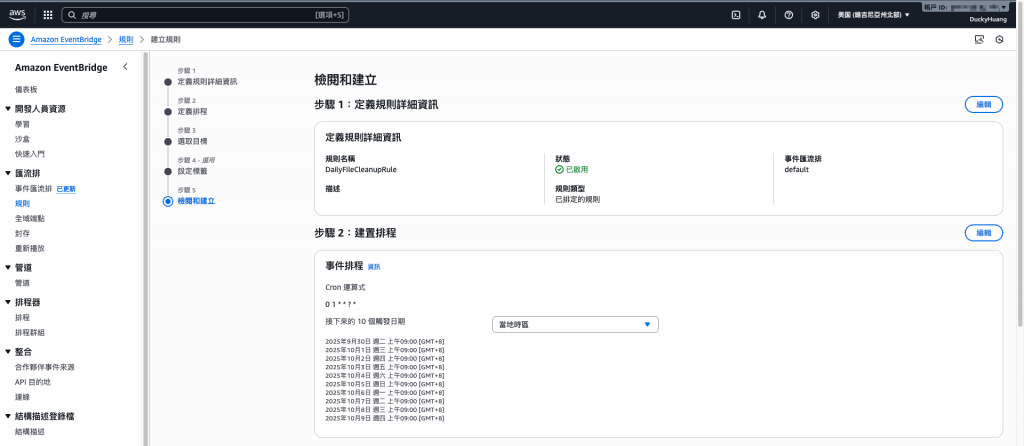
上傳一個檔案,確認 S3 是否正確記錄版本。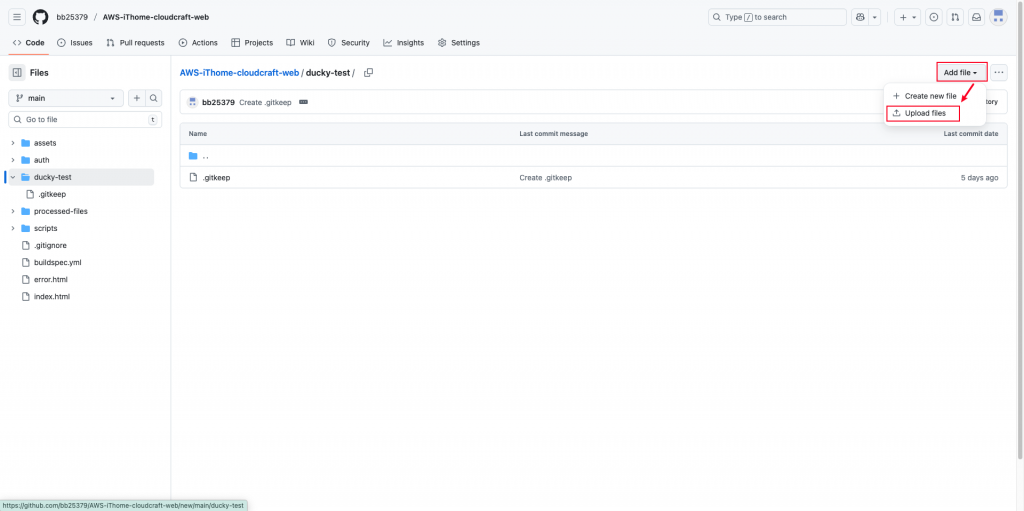
選擇檔案,並上傳。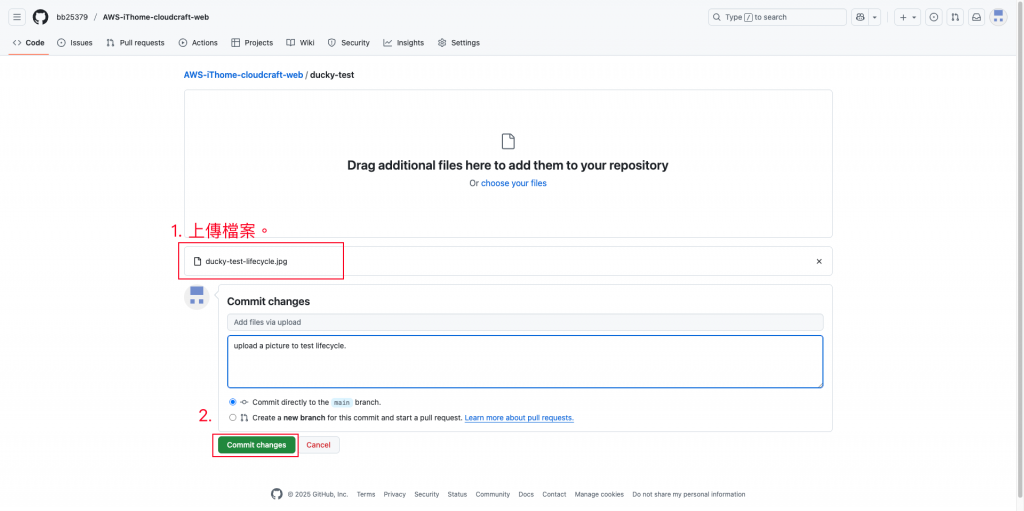
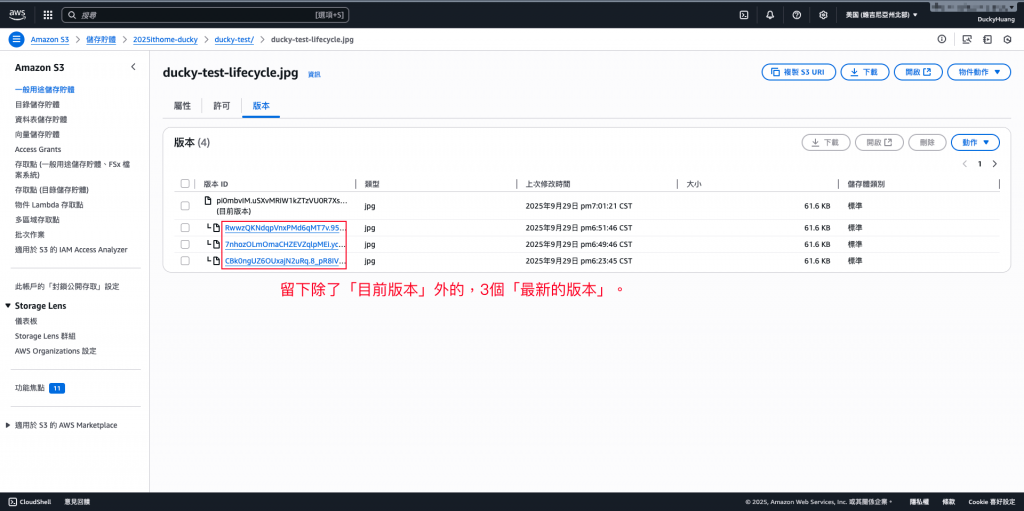
【補充】從S3上無法確認舊版本是否被 Lifecycle 規則標記為「待刪除」或是「已排入刪除佇列」。
進入Lambda中,用Lambda頁面,儲存測試指令。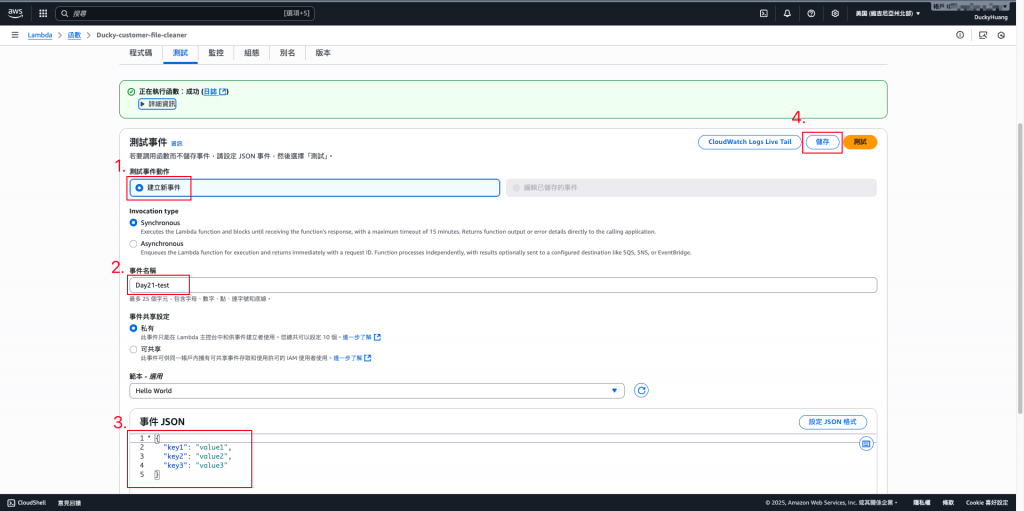
進行測試。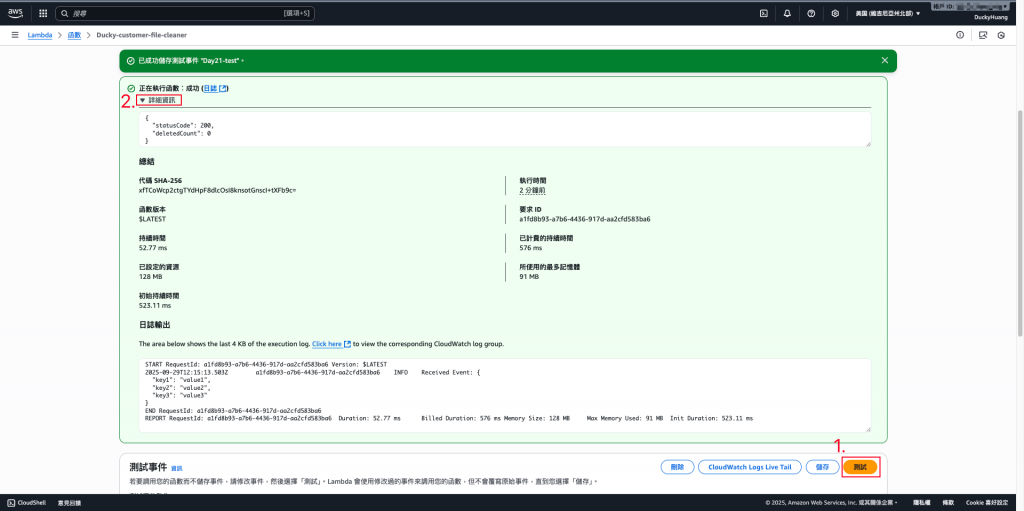
進入CloudWatch頁面查看。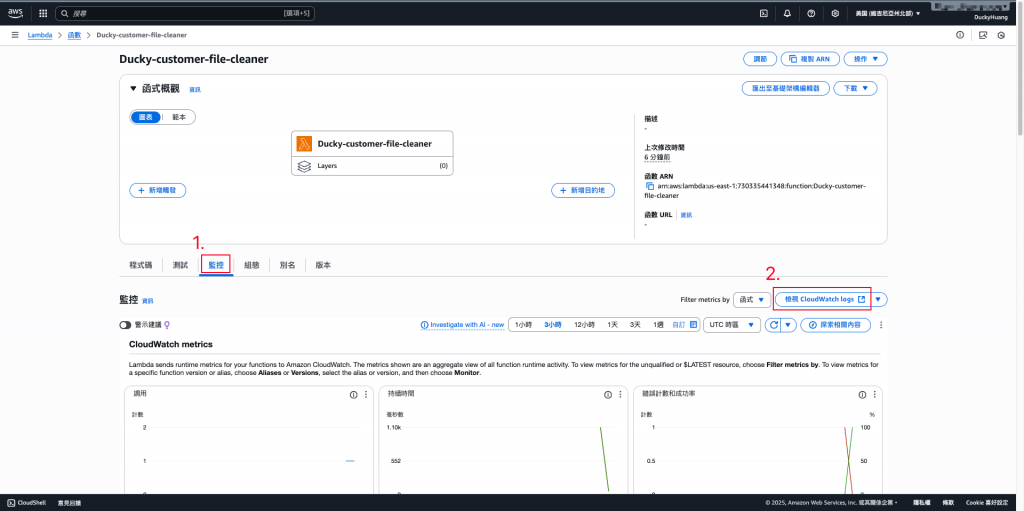
確認有成功執行的紀錄,並且可以點進去查看Log內容。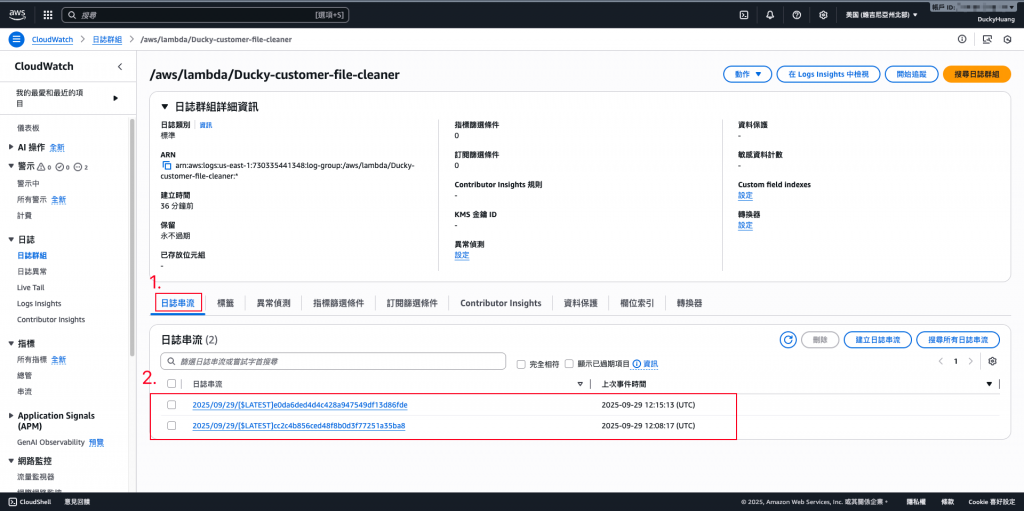
今天的 Lab 讓我們完成了 檔案生命週期管理,利用 S3 Lifecycle 處理自動化規則,再搭配 Lambda 強化靈活性。這樣的組合不僅能減少儲存成本,還能確保檔案治理符合企業級需求,讓整個會員檔案系統在長期營運中更穩定、更高效。

