在會員系統中,除了註冊與忘記密碼的郵件外,還會需要針對 促銷活動、系統公告、個人化提醒 發送通知。若用人工寄送,不僅效率低,也無法針對不同會員群組進行客製化。透過 Amazon SES (Simple Email Service),我們可以打造自動化的郵件通知系統,結合 Lambda 或 API Gateway,實現 即時 + 批次 + 個人化 的郵件寄送。
此 Lab 的定位是 行銷活動與系統事件通知模組,解決傳統 Email 發送的三大痛點:
(1) 大規模寄送困難:傳統 SMTP 伺服器可能被封鎖或限制。
(2) 缺乏個人化:無法針對使用者屬性(如名稱、活動偏好)調整內容。
(3) 寄送可靠性與監控不足:缺少投遞率與退信追蹤。
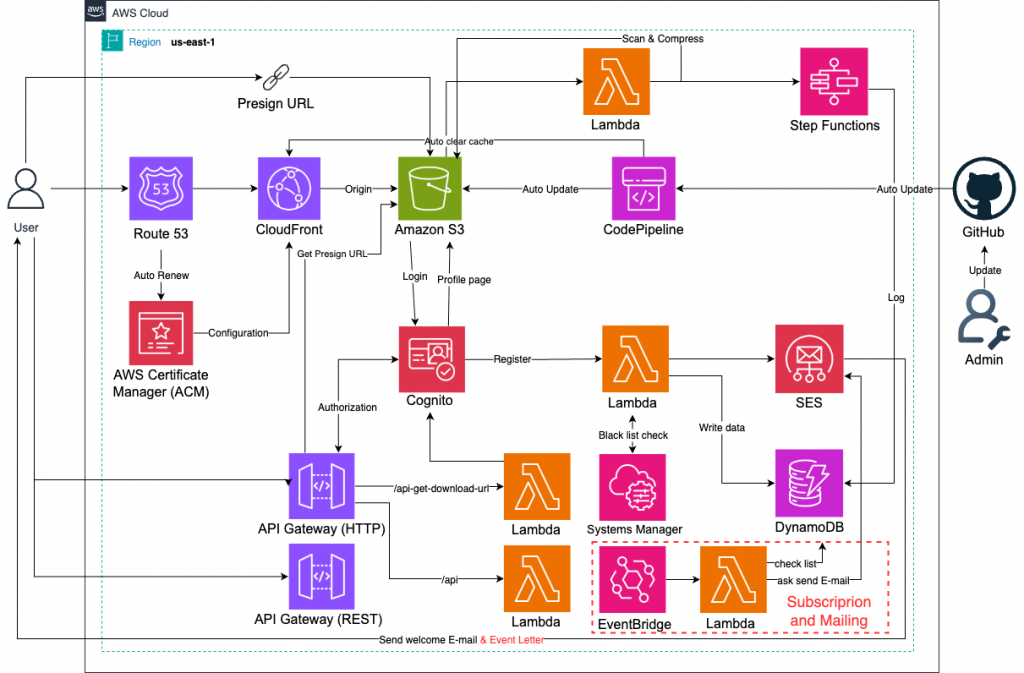
在 Serverless 架構中,它與 Cognito、API Gateway、DynamoDB 等服務結合,形成完整的會員通知管道。
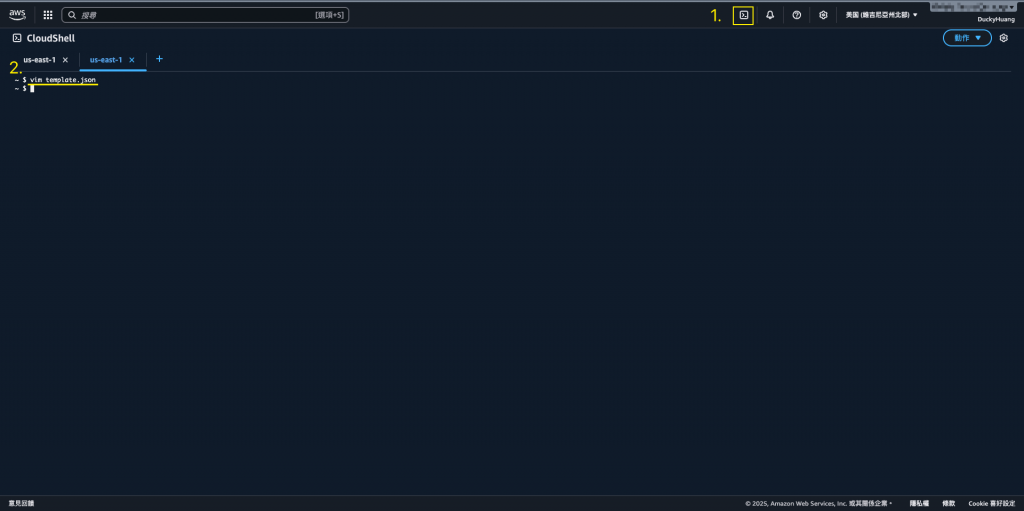
啟用AWS CLI,並創建一個JSON範本檔案。
vim template.json
編輯「template.json」檔案內容。
{
    "TemplateName": "Ducky_Campaign_Update_Template",
    "TemplateContent": {
        "Subject": "Hello {{name}}, 歡迎參加我們最新的 {{activity}} 活動!",
        "Text": "Dear {{name}},這是網頁活動測試信件.",
        "Html": "<h1>親愛的 {{name}},</h1><p>我們誠摯邀請您參加 {{activity}} 活動。這是一個透過 API 建立的範本!</p><p>活動詳情:<a href=\"{{link}}\">點此報名</a></p>"
    }
}

上傳本地端檔案「template.json」至SES範本內。
範例程式碼
aws sesv2 create-email-template --cli-input-json file://mytemplate.json

創建前: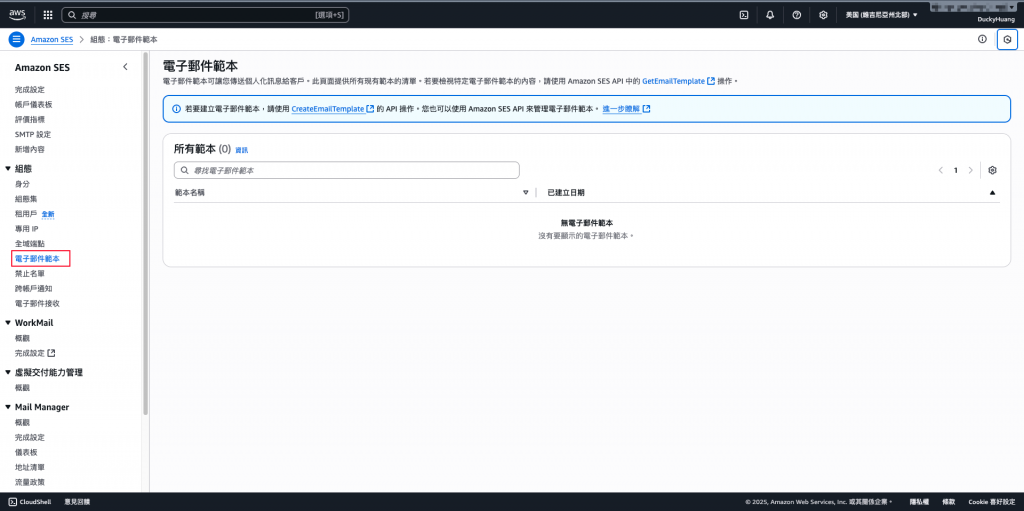
創建後: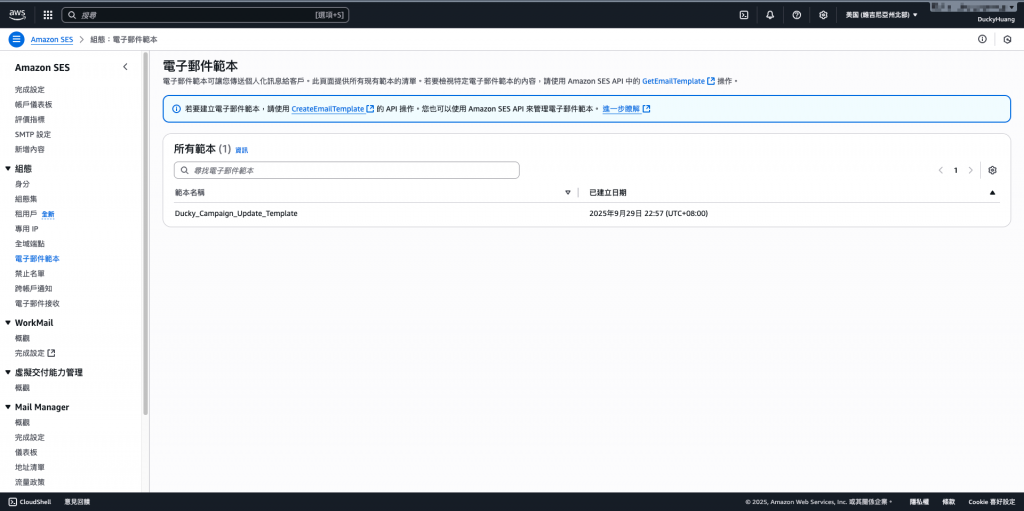
進入「Lambda」頁面。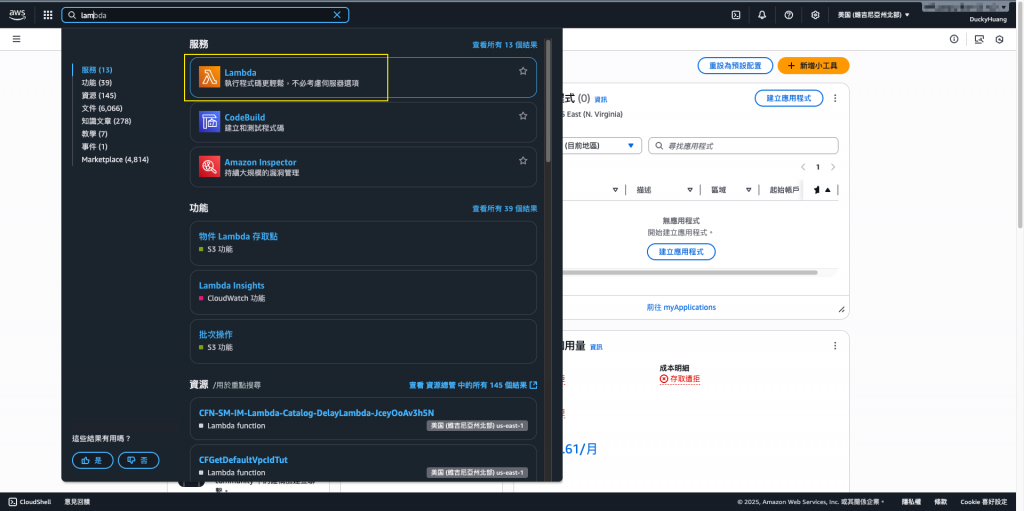
創建一個新的函數。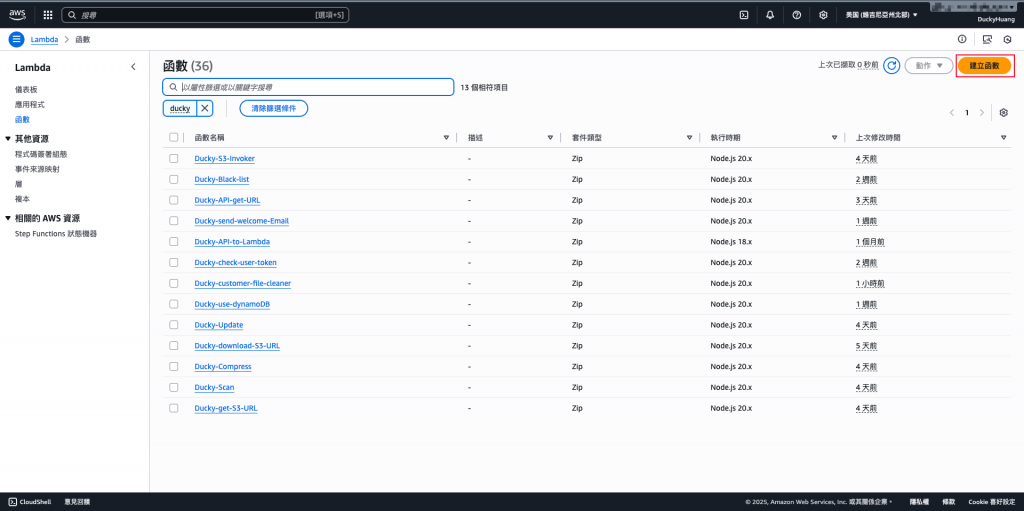
輸入函數名稱,並選擇編撰語言。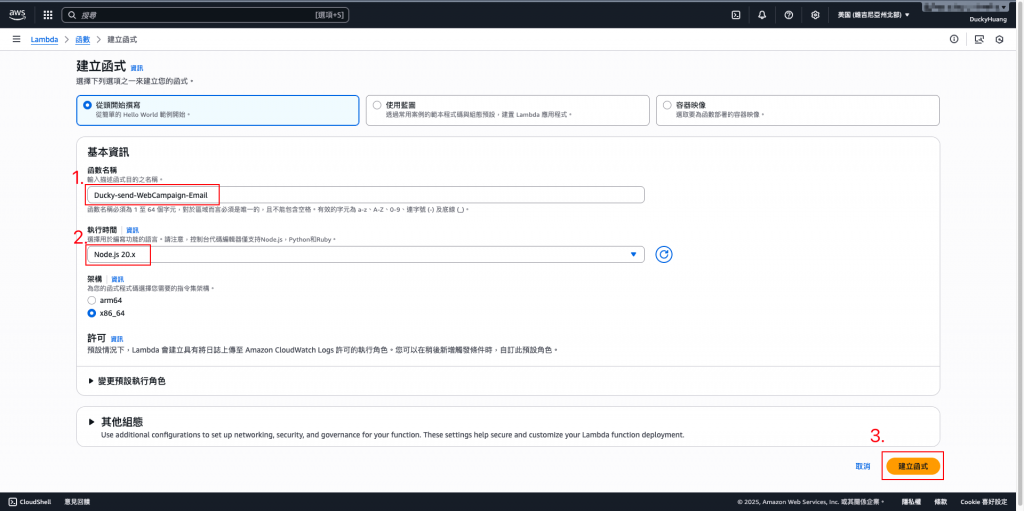
跳過建議畫面。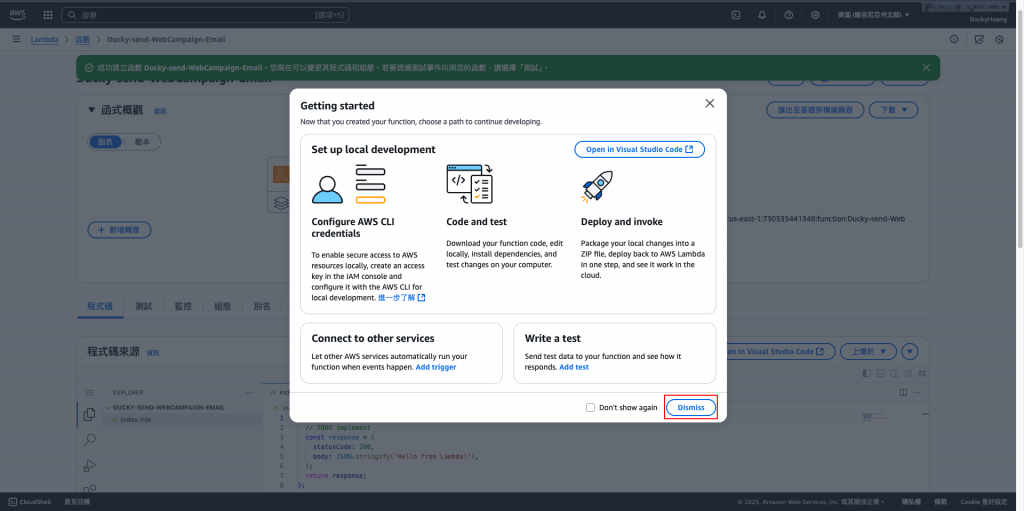
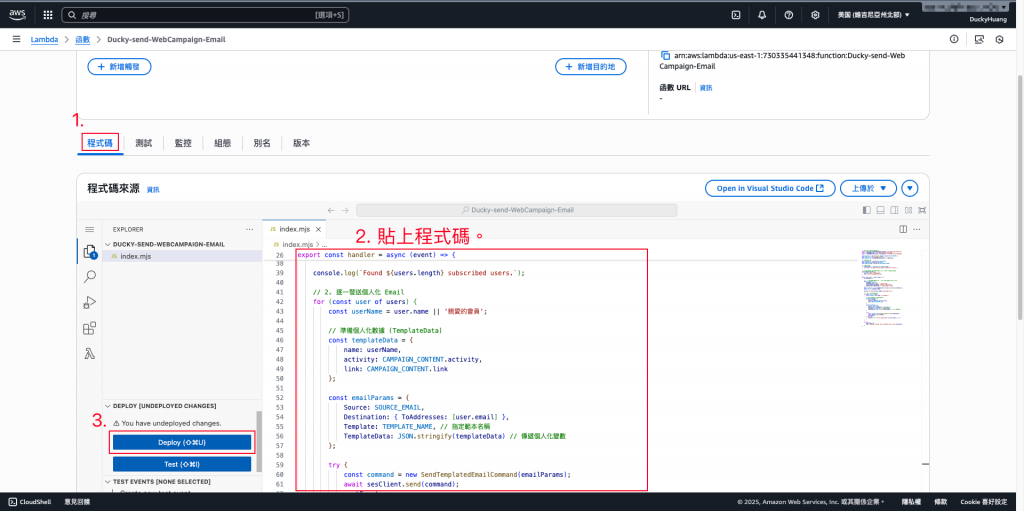
寫入程式碼,並部署。
程式碼範例
// index.mjs (SendCampaignEmail)
import { SESClient, SendTemplatedEmailCommand } from "@aws-sdk/client-ses";
import { DynamoDBClient } from "@aws-sdk/client-dynamodb";
import { DynamoDBDocumentClient, ScanCommand } from "@aws-sdk/lib-dynamodb";

// --- 服務初始化 ---
const sesClient = new SESClient({ region: process.env.AWS_REGION });
const ddbClient = new DynamoDBClient({});
const ddbDocClient = DynamoDBDocumentClient.from(ddbClient);

// --- 環境變數讀取 ---
const SOURCE_EMAIL = process.env.SOURCE_EMAIL;
const DDB_TABLE = process.env.DDB_TABLE;
const TEMPLATE_NAME = process.env.TEMPLATE_NAME;

// --- 活動內容定義 (可從 EventBridge 輸入中獲取,這裡固定寫死) ---
const CAMPAIGN_CONTENT = {
    activity: "秋季資料分析研討會",
    link: "https://yourapp.com/events"
};

// 檢查環境變數是否設定
if (!SOURCE_EMAIL || !DDB_TABLE || !TEMPLATE_NAME) {
    throw new Error('Required environment variables (SOURCE_EMAIL, DDB_TABLE, TEMPLATE_NAME) are missing.');
}

export const handler = async (event) => {
    let sentCount = 0;

    // 1. 從 DynamoDB 取得會員清單 (Scan)
    try {
        // 修正後的 Scan 邏輯 (無篩選,用於測試讀取所有資料)
const scanParams = {
    TableName: DDB_TABLE,
    // 移除篩選條件,測試是否能讀取所有項目
    // FilterExpression 和 ExpressionAttributeValues 留空或移除
};
const scanResult = await ddbDocClient.send(new ScanCommand(scanParams));
const users = scanResult.Items;

// --- 關鍵修正:在程式碼中篩選並使用篩選結果 ---
// 1. 篩選出 subscribed 屬性為布林值 true 的使用者清單
const subscribedUsers = users.filter(user => user.subscribed === true);

// 輸出 Log 確認篩選結果
console.log(`DEBUG: Total items scanned: ${users.length}`);
console.log(`DEBUG: Filtered subscribed users: ${subscribedUsers.length}`);

// 接著,您的 for 迴圈應該對 subscribedUsers 進行迭代

        // 2. 逐一發送個人化 Email
        for (const user of subscribedUsers) {
            const userName = user.name || '親愛的會員';

            // 準備個人化數據 (TemplateData)
            const templateData = {
                name: userName,
                activity: CAMPAIGN_CONTENT.activity,
                link: CAMPAIGN_CONTENT.link,
                // 確保 email 欄位存在,因為 SES 需要
                email: user.email
            };

            const emailParams = {
                Source: SOURCE_EMAIL,
                Destination: { ToAddresses: [user.email] },
                Template: TEMPLATE_NAME,
                // 將 JS 物件轉換為 JSON 字串,符合 SES API 要求
                TemplateData: JSON.stringify(templateData)
            };

            try {
                const command = new SendTemplatedEmailCommand(emailParams);
                await sesClient.send(command);
                sentCount++;
            } catch (e) {
                console.error(`❌ Error sending email to ${user.email}:`, e);
            }
        }

        console.log(`✅ Campaign finished. Total emails sent: ${sentCount}`);

        return {
            statusCode: 200,
            body: JSON.stringify({
                message: 'Campaign finished successfully.',
                sentCount: sentCount
            })
        };

    } catch (dbError) {
        // 如果 DynamoDB 掃描失敗,直接回傳 500 錯誤
        console.error("❌ Fatal Error during DynamoDB scan:", dbError);
        return {
            statusCode: 500,
            body: JSON.stringify({ message: 'Failed to retrieve user list from database.' }),
        };
    }
};
進入「組態」分頁,設定環境變數。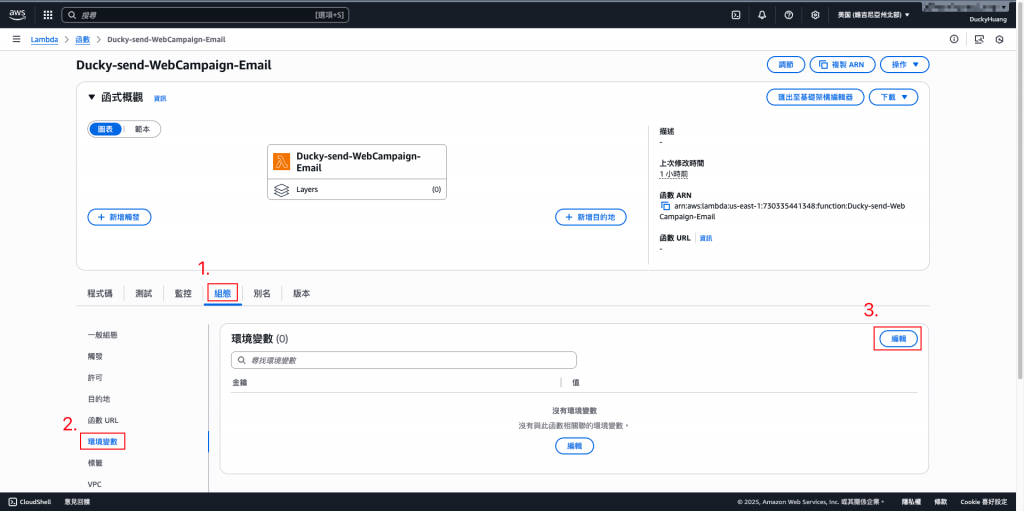
設定以下環境變數
SOURCE_EMAIL: no-reply@ducky-test.tw(寄件者信箱)
DDB_TABLE: Ducky-userid(DynamoDB的表格名稱)
TEMPLATE_NAME: Ducky_Campaign_Update_Template(SES範本名稱)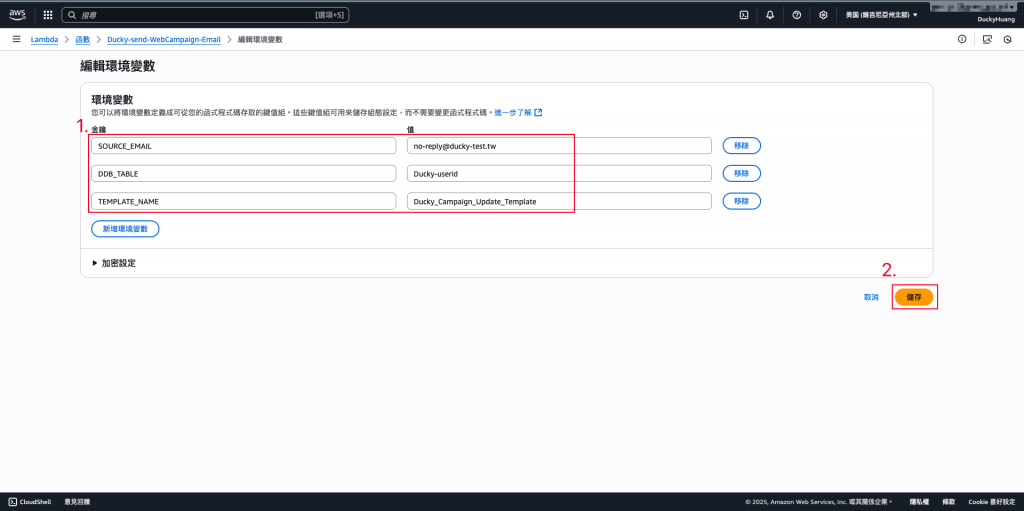
DynamoDB的名稱哪裡找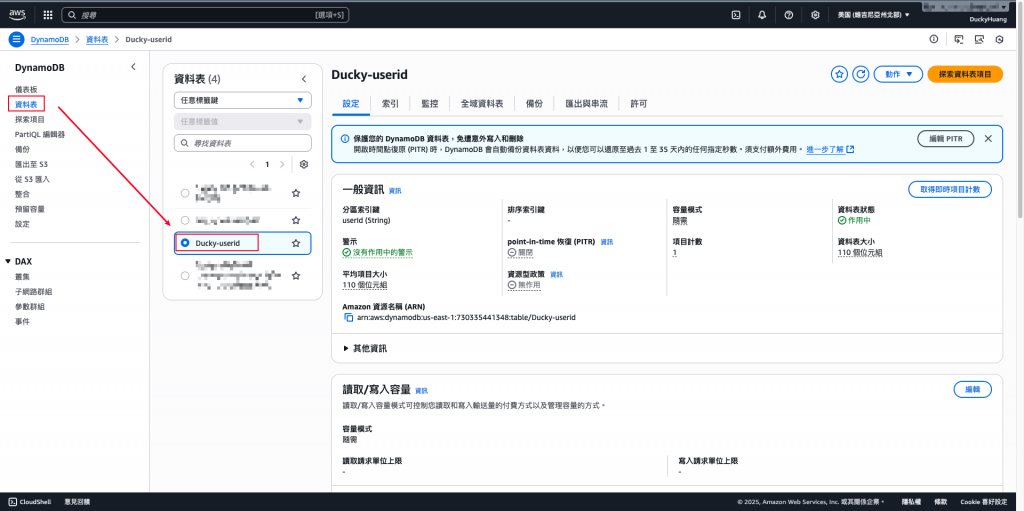
TEMPLATE_NAME,SES範本名稱哪裡找?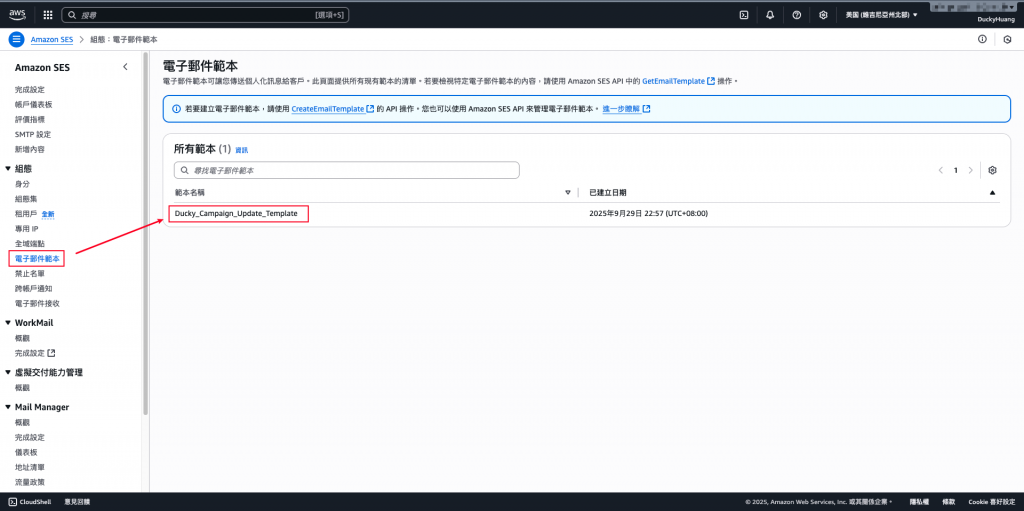
完成畫面。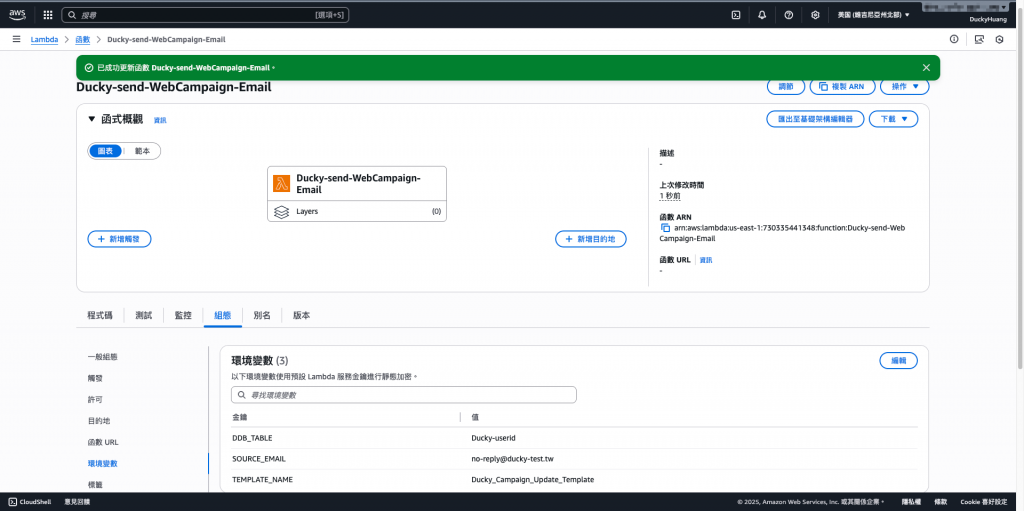
進入「IAM 」頁面。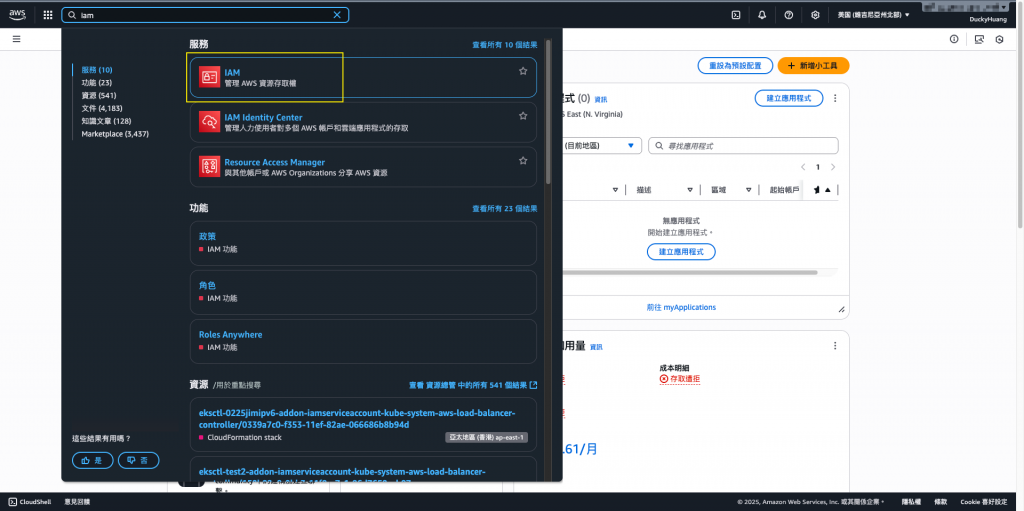
進入IAM role的頁面,點選該Lambda自動創建的IAM role。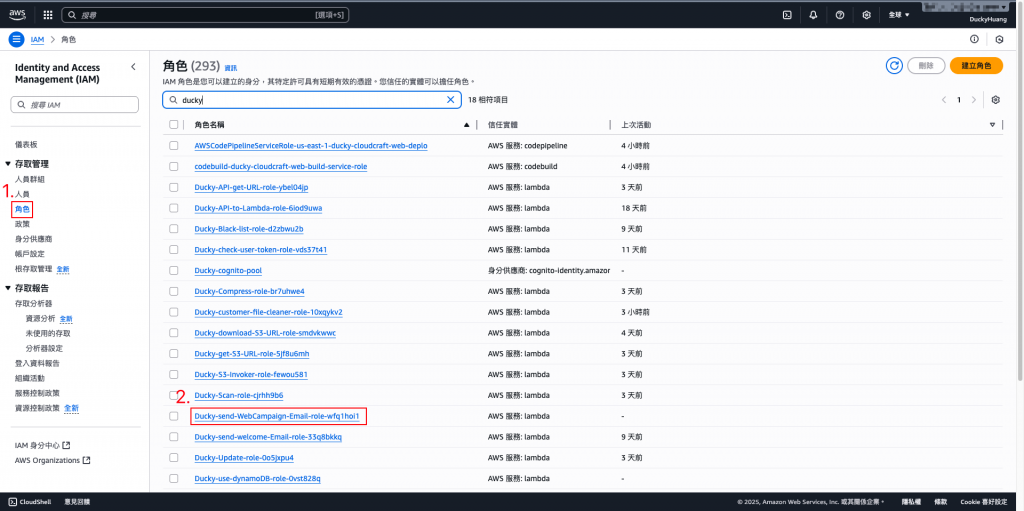
新增「許可政策」。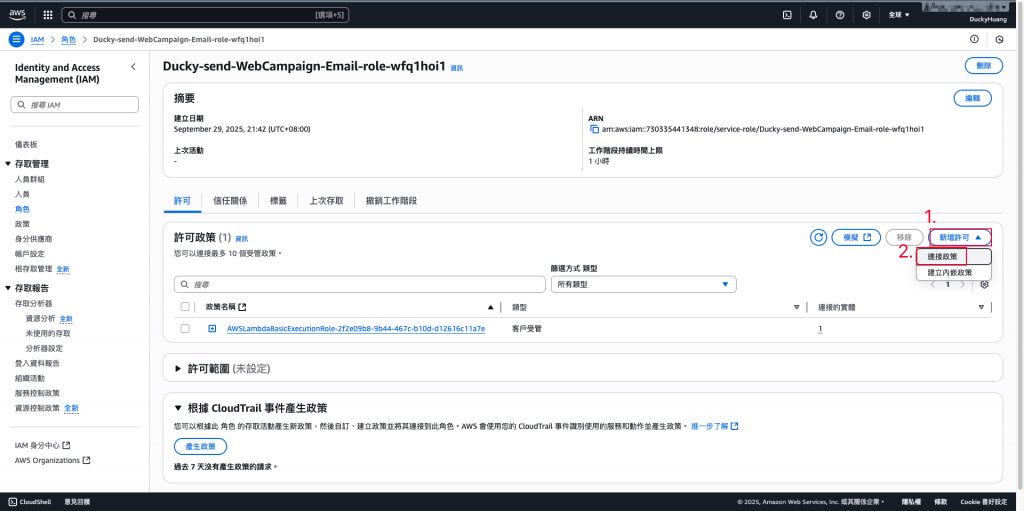
授予AWS原本的基礎政策:AmazonSESFullAccess、AmazonDynamoDBReadOnlyAccess。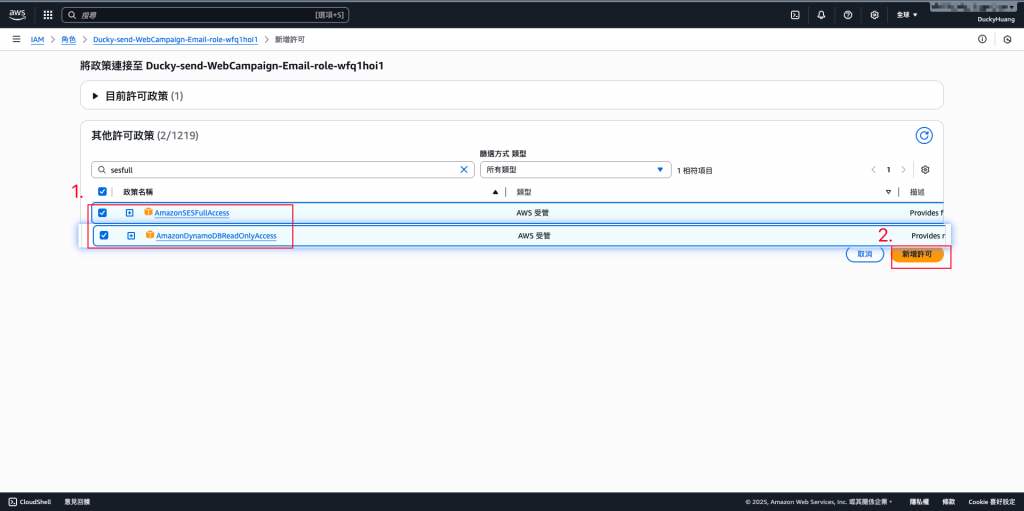
完成IAM role授權。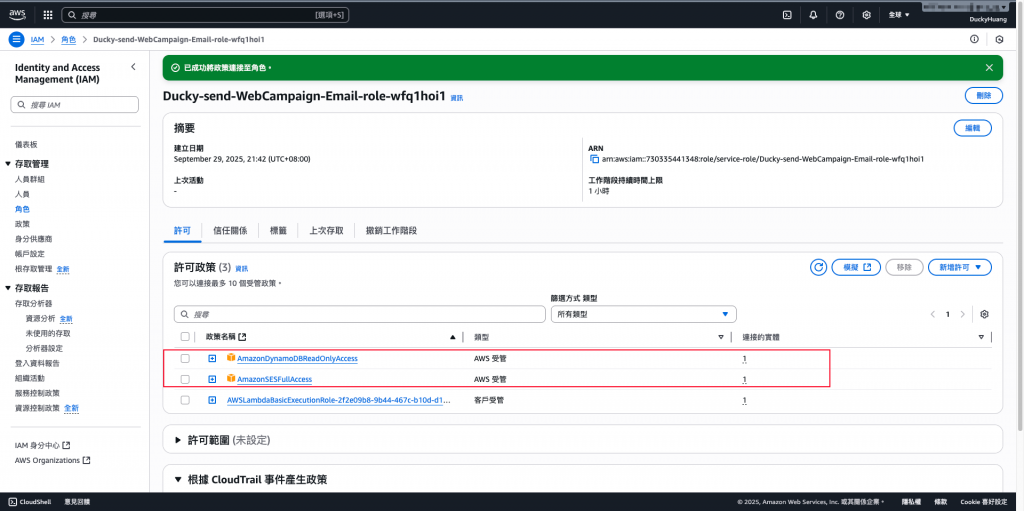
進入「EventBridge」頁面。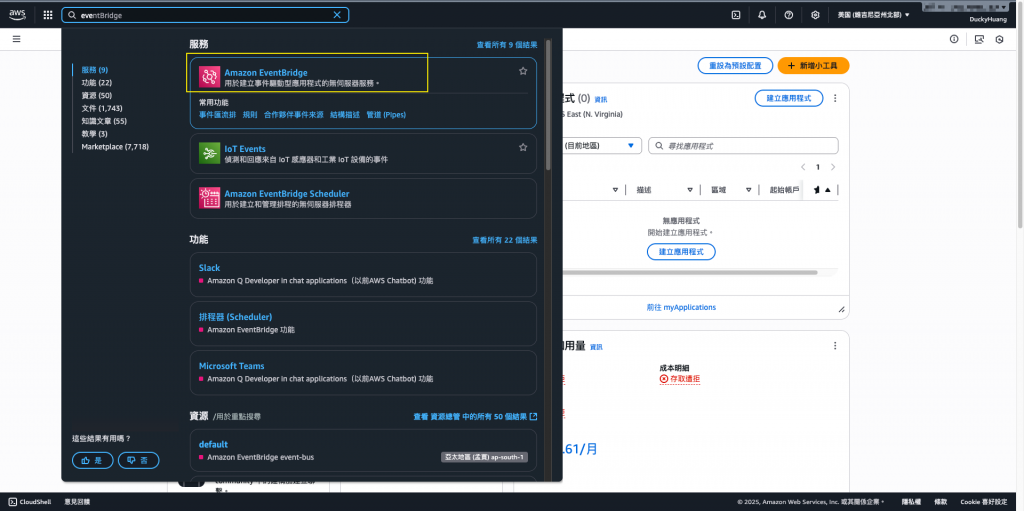
創建規則。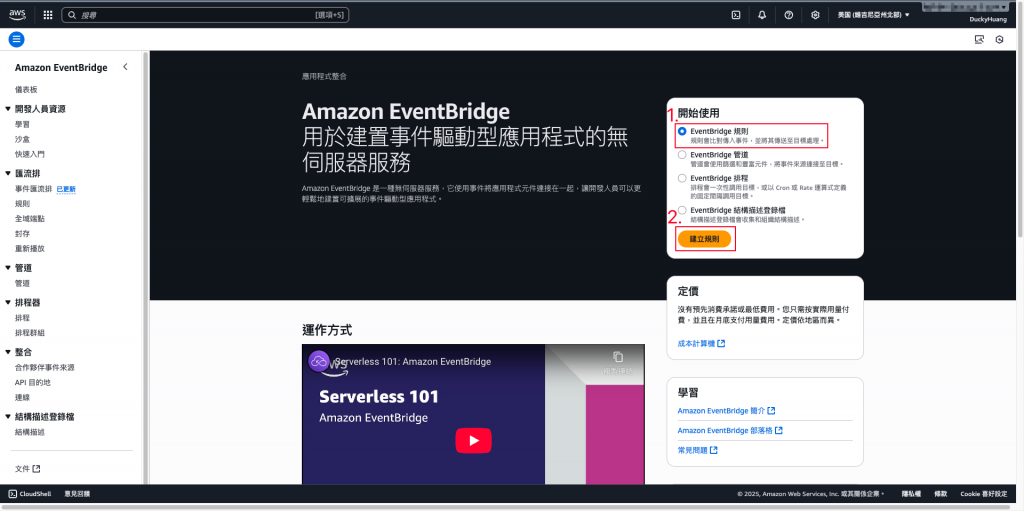
命名,並設定「排程」。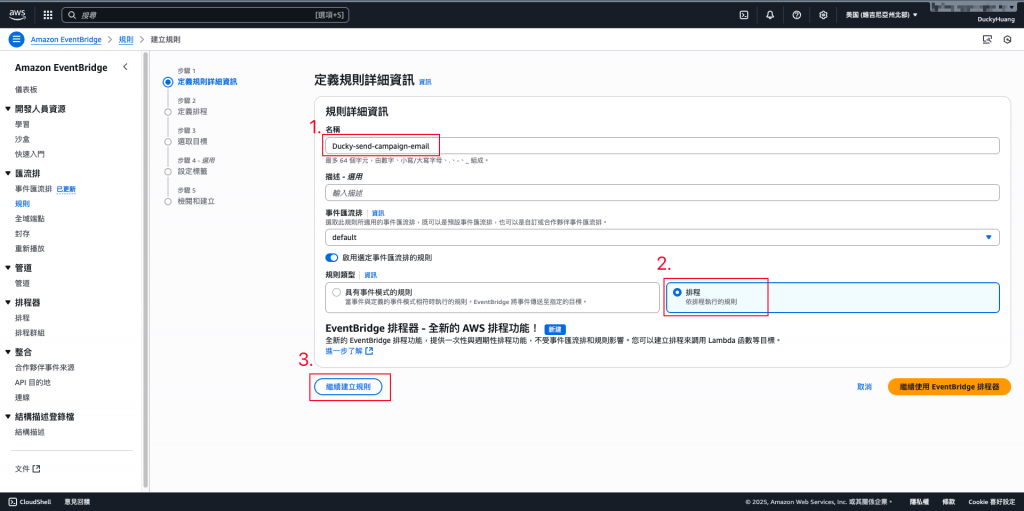
此處可自定義時段。(這邊設定成每天晚上固定發信)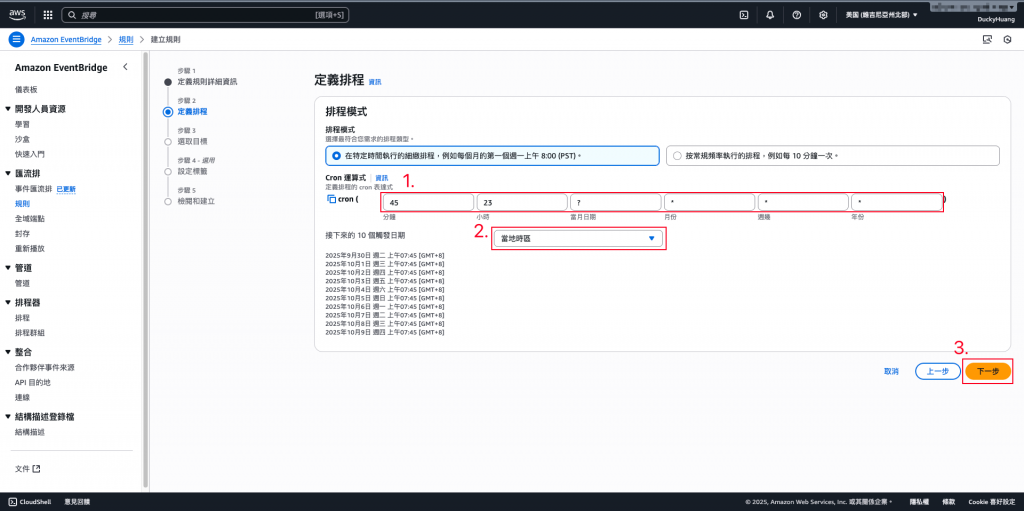
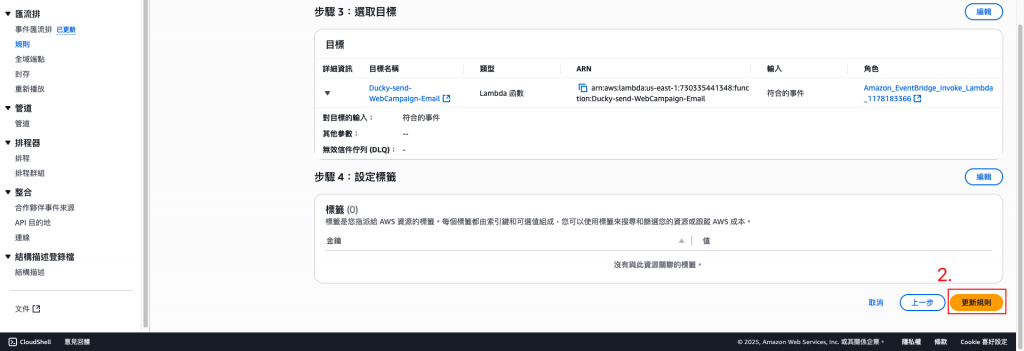
設定觸發動作(Lambda)。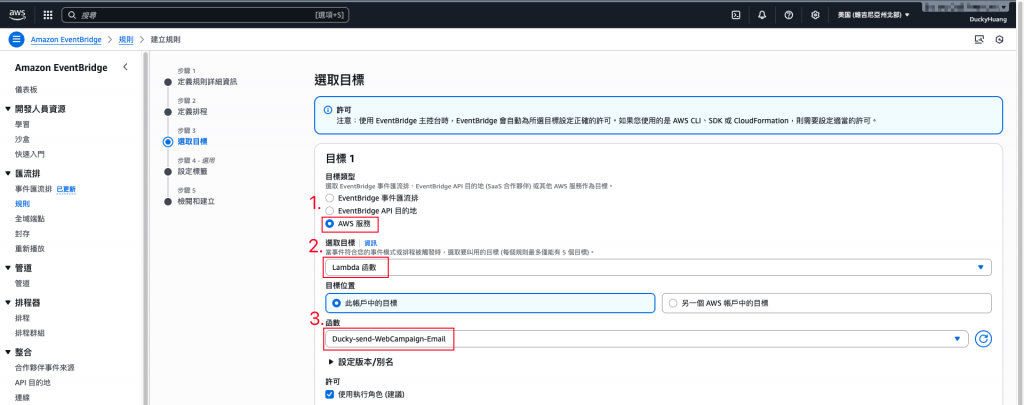

設定標籤,此處先跳過。(正式上線時,可以依照標籤「Label」來區隔費用)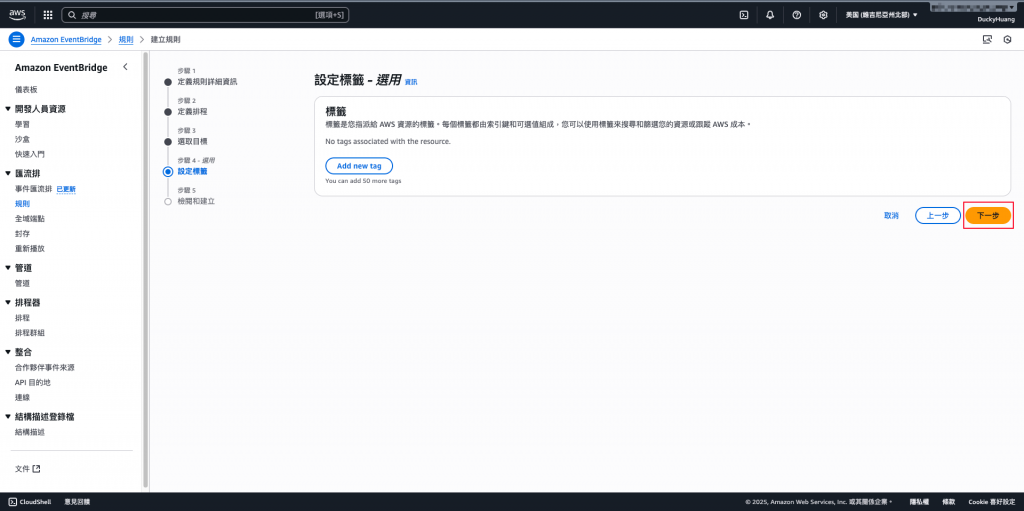
完成建立。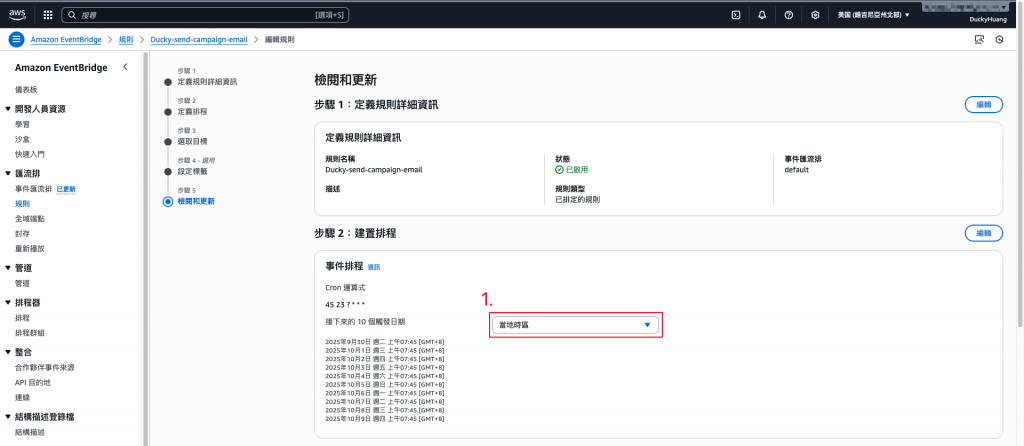
進入DynamoDB內,編輯原有資料。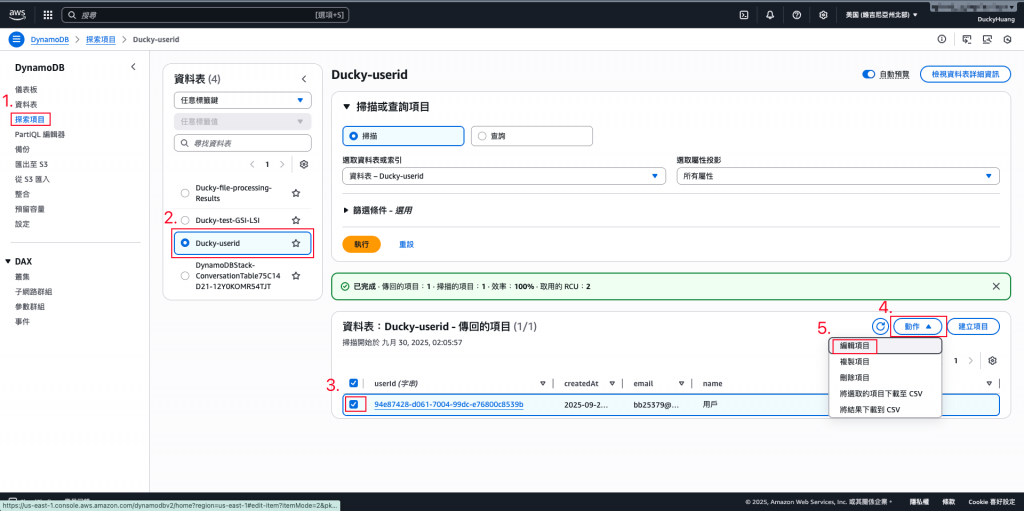
增加欄位(布林值)「subscribed」。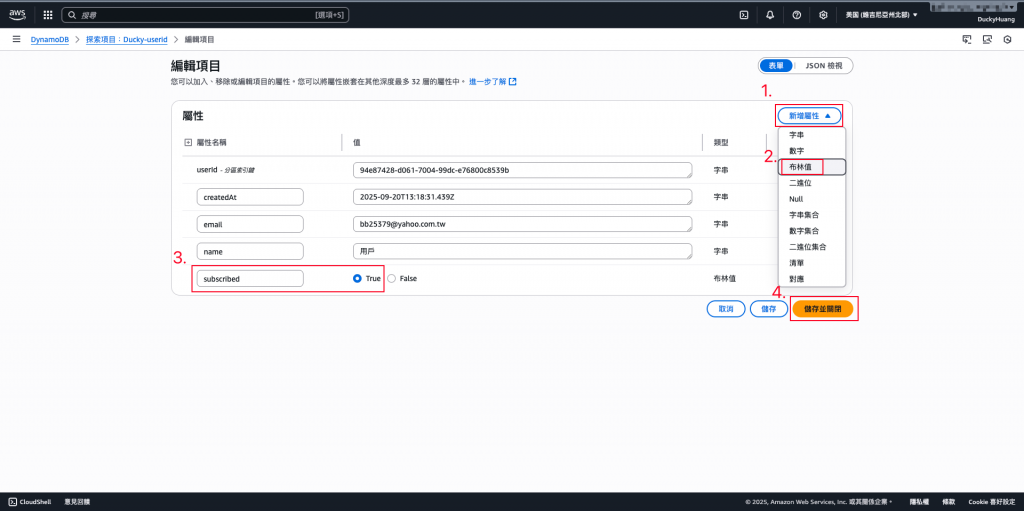
完成畫面。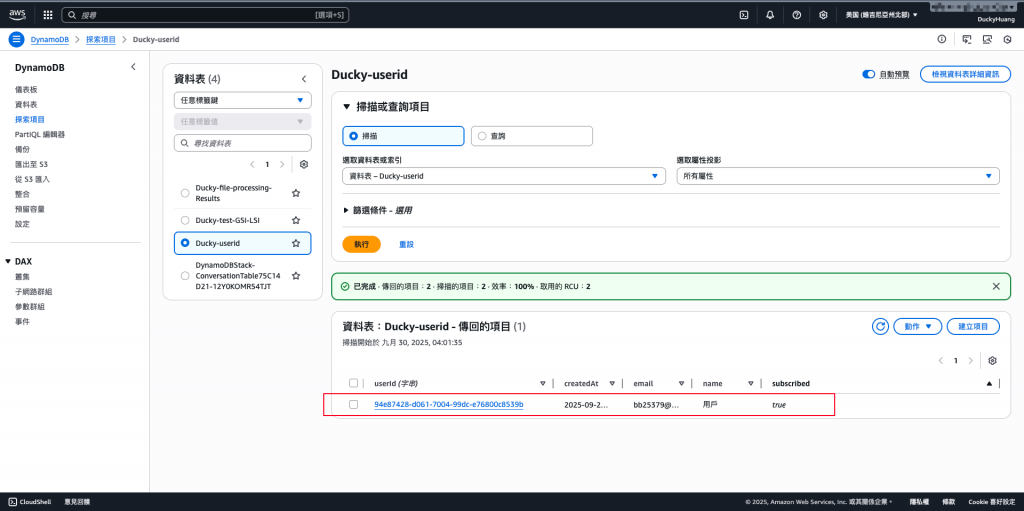
💡記得先將該所有的收信E-mail,添加到SES,並完成驗證。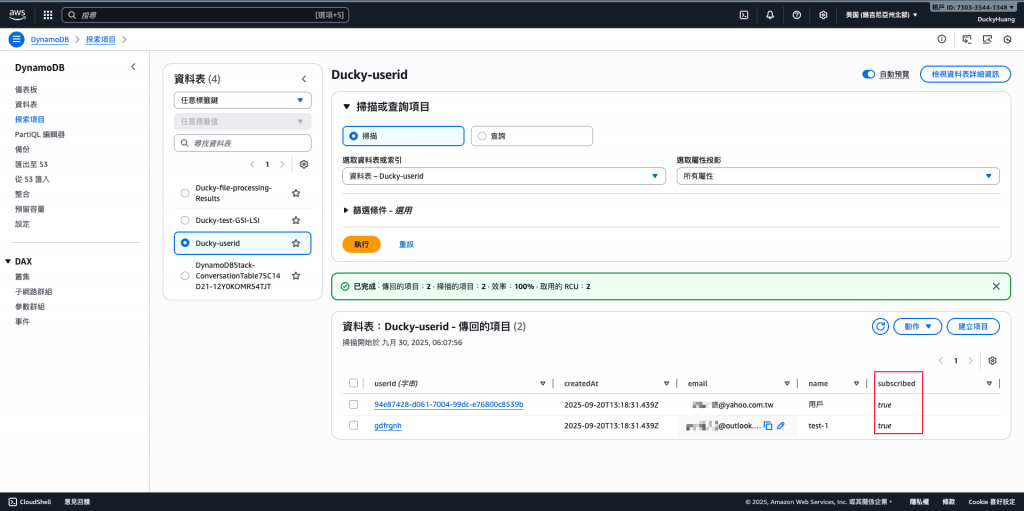
直接用範本做Lambda的發信測試。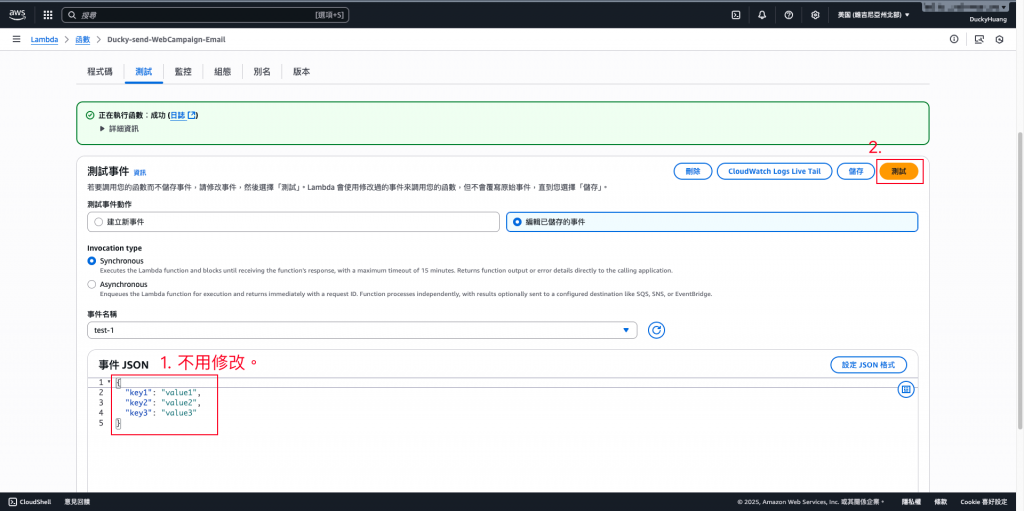
測試結果。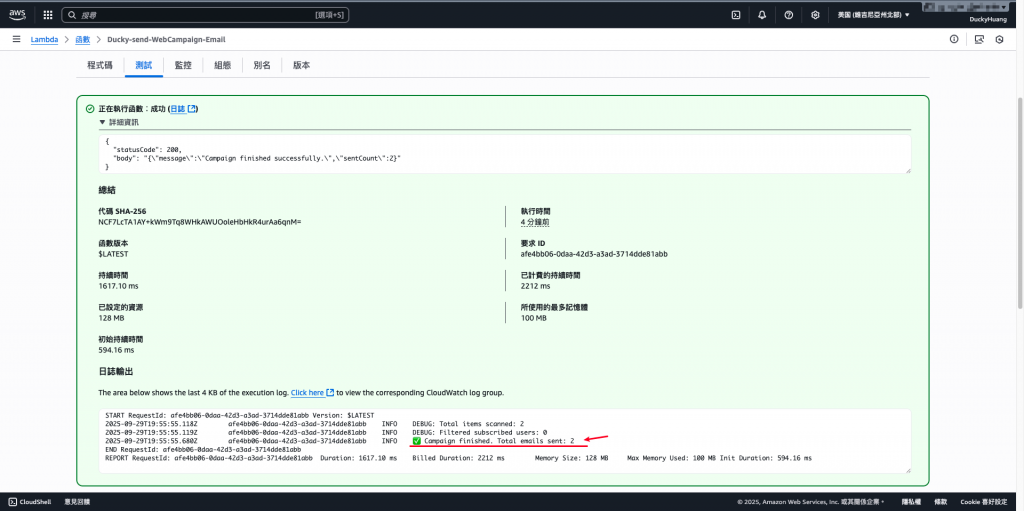
進入SES頁面,確認是否有發信成功。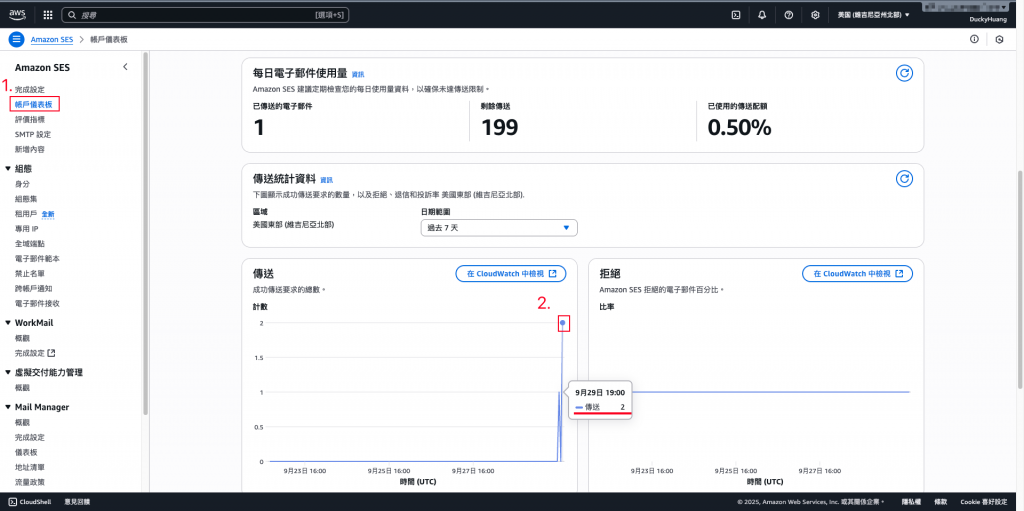
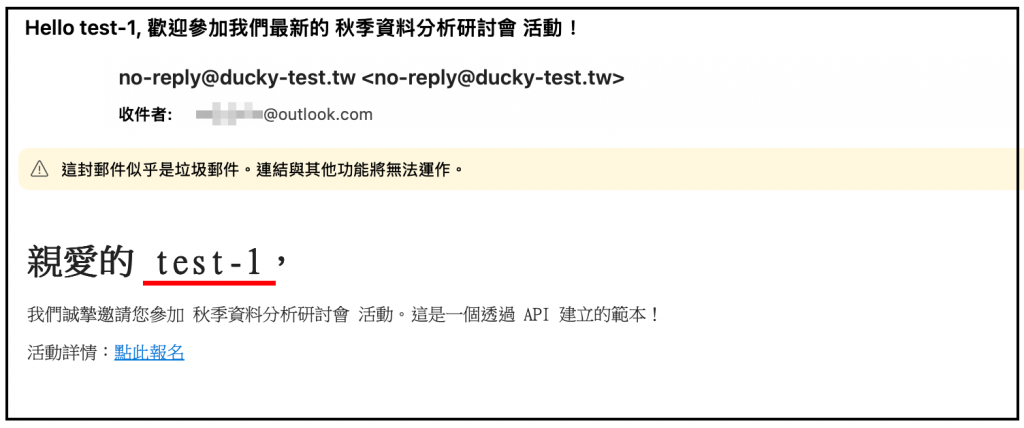
至信箱內確認是否有成功收到信件。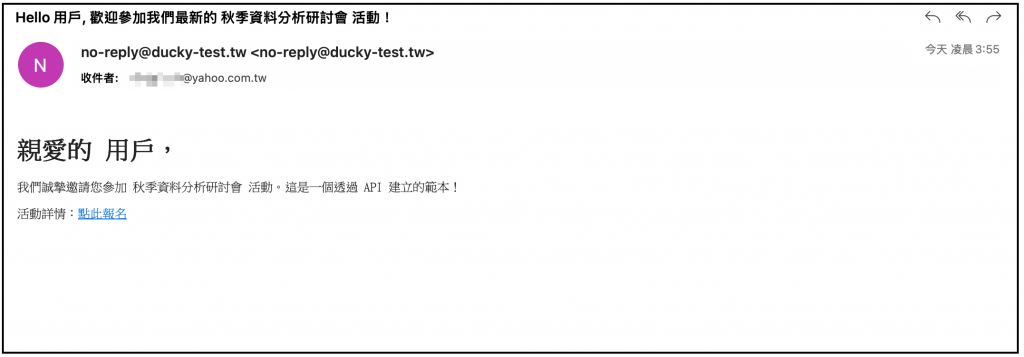
subscribed=false,再次執行 Lambda,確認該會員不再收到郵件。在DynamoDB中,編輯其中一個會員的資料。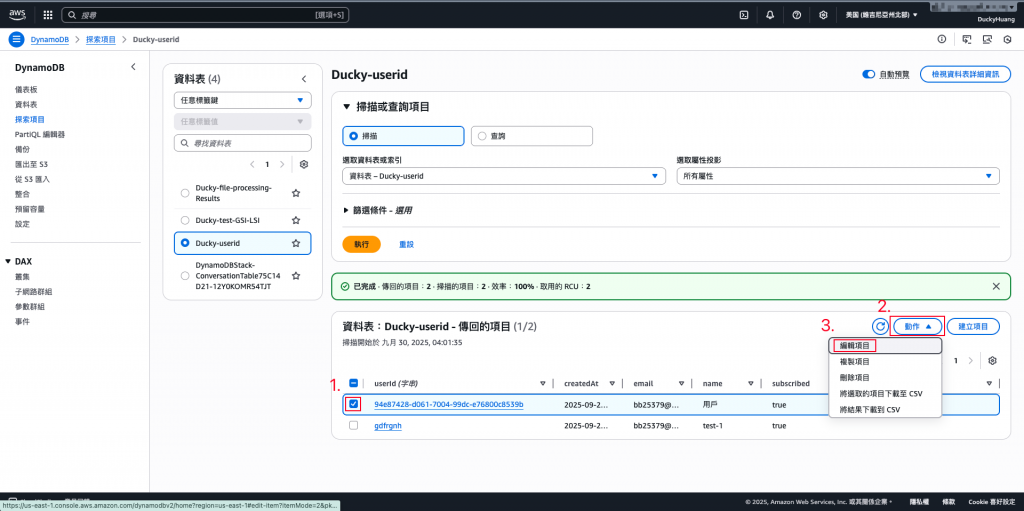
取消其中一個user的訂閱,將「subscribed」改為False。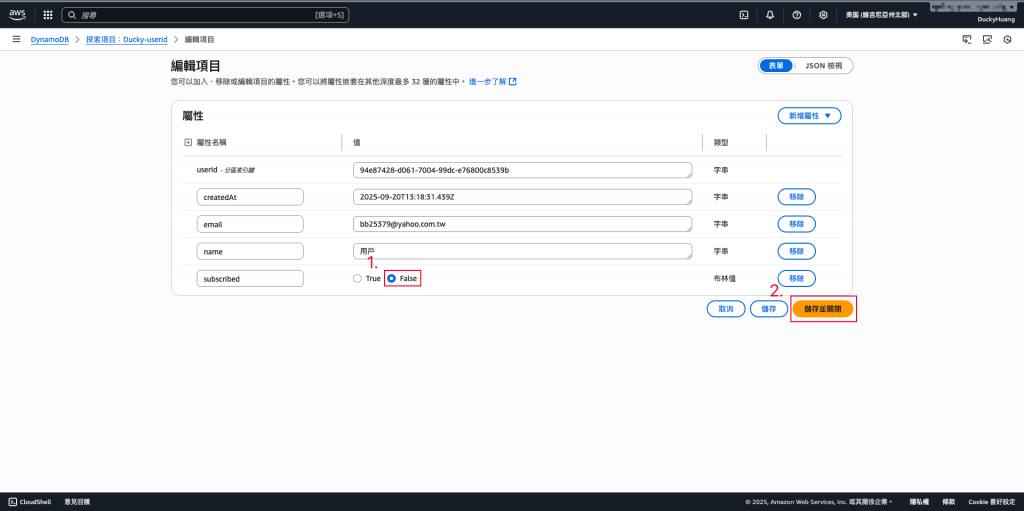
完成調整。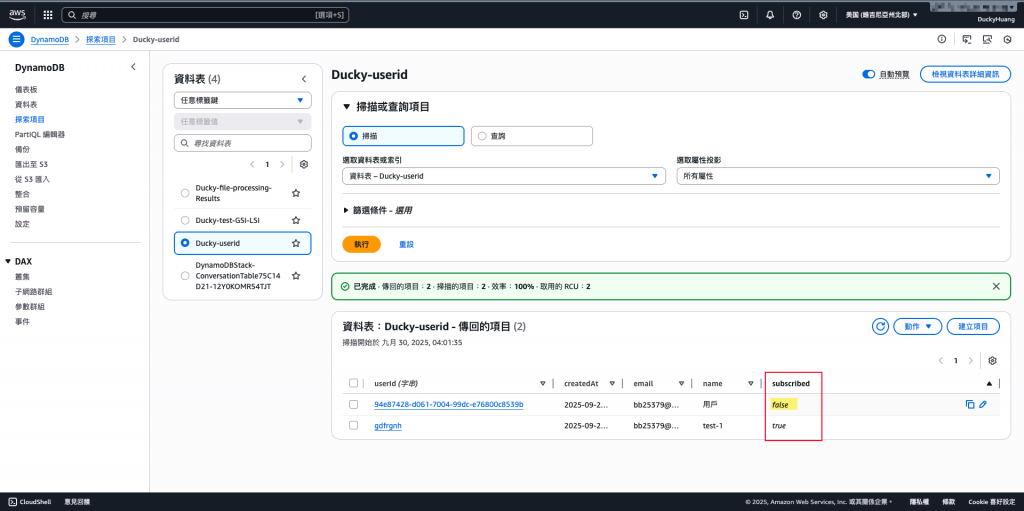
進入Lambda頁面,重新做測試。
測試結果頁面。(只剩下寄出一封信)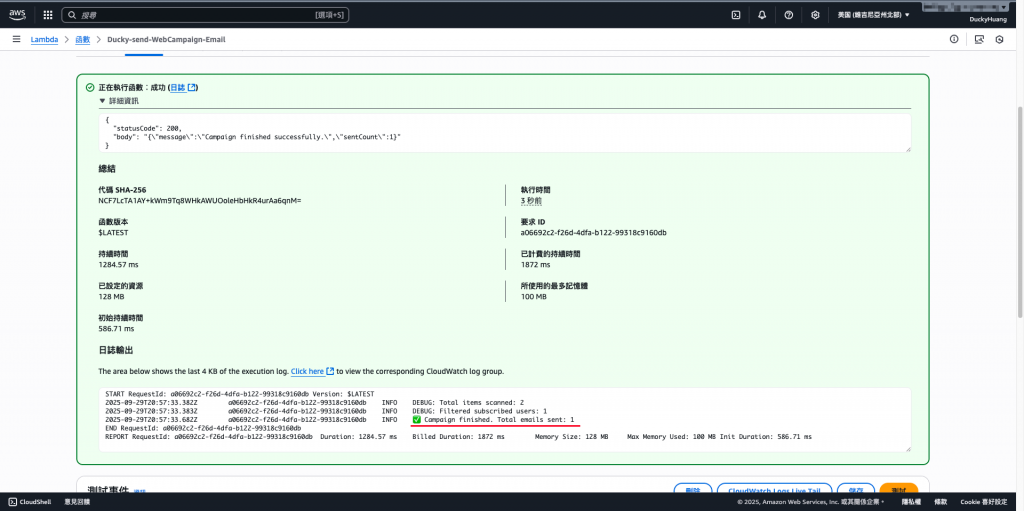
只會收到一封信。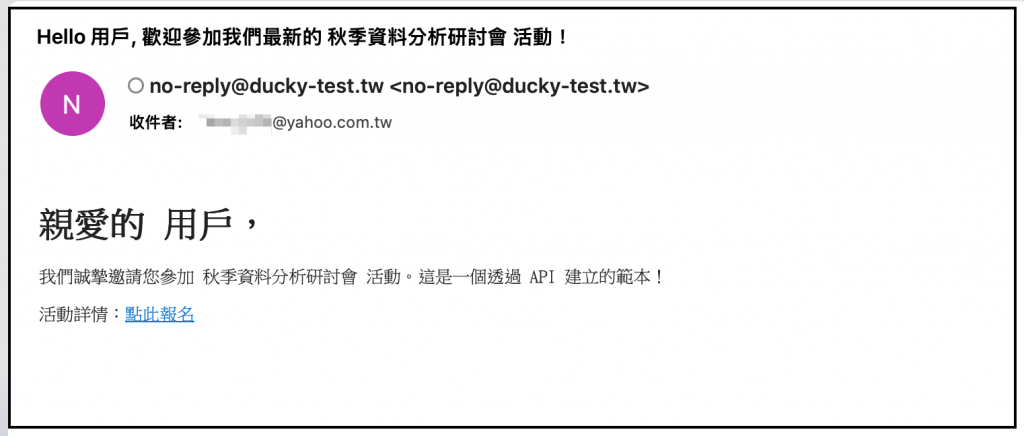
今天的 Lab 讓我們完成了 會員活動通知自動化,透過 SES 與 Lambda 的組合,我們能根據會員屬性生成個人化郵件,並支援事件觸發與定時寄送。這樣的架構既能確保高可靠性(避免被封鎖),又能支援大規模行銷活動,真正做到 自動化 + 客製化 + 合規化 的郵件管理。

