
目前App.jsx為Hard-coded Data:
const events = [
  {
    id: 1,
    src_ip: "192.168.3.100",
    dest_ip: "192.168.3.141",
    type: "Network Scan",
    severity: "Medium",
  }
];
先啟動 Backend
開兩個 Terminal:
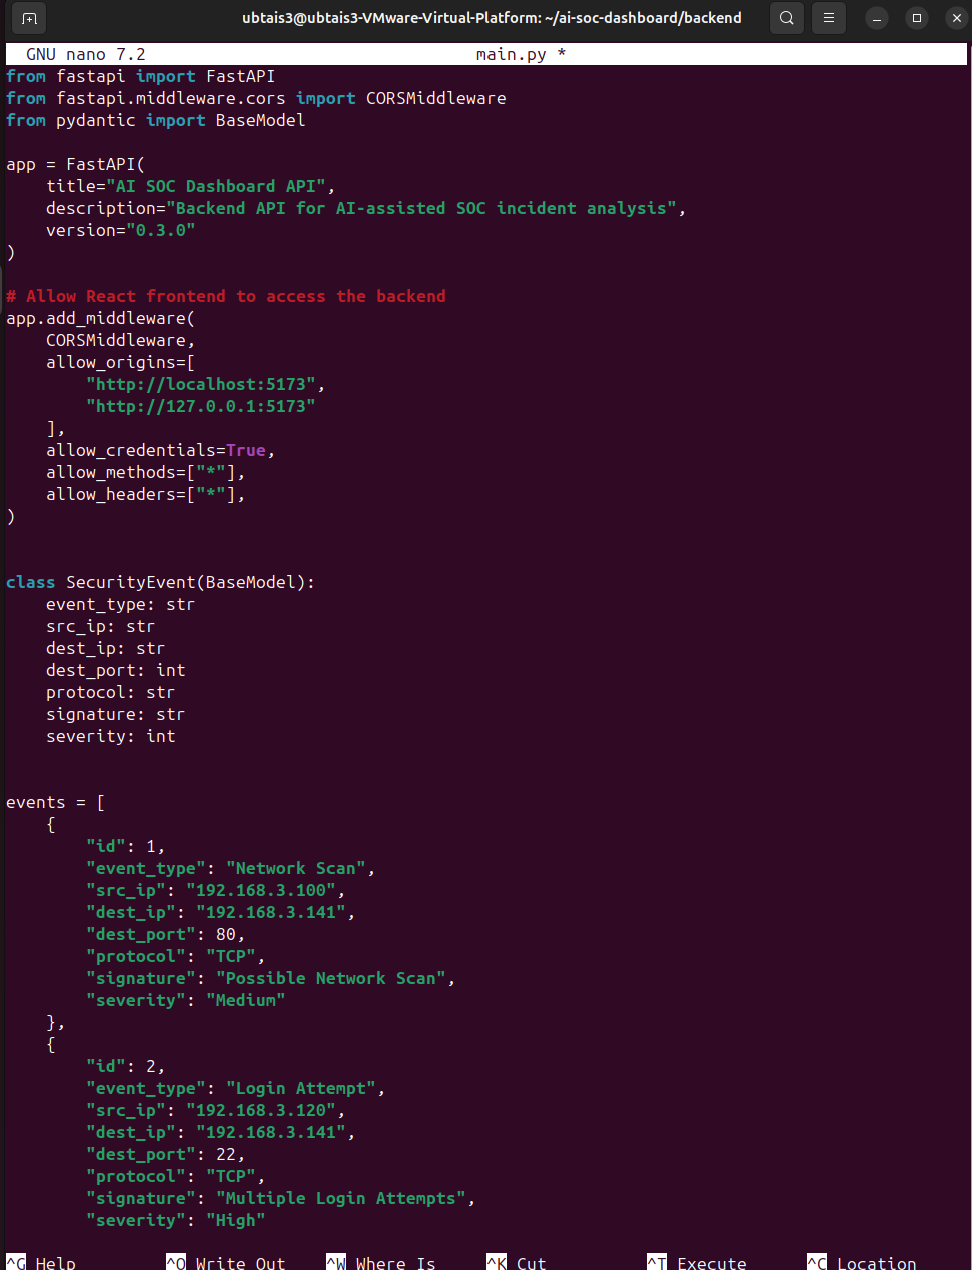
from fastapi import FastAPI
from fastapi.middleware.cors import CORSMiddleware
from pydantic import BaseModel

app = FastAPI(
    title="AI SOC Dashboard API",
    description="Backend API for AI-assisted SOC incident analysis",
    version="0.3.0"
)

# Allow React frontend to access FastAPI
app.add_middleware(
    CORSMiddleware,
    allow_origins=["http://localhost:5173", "http://127.0.0.1:5173"],
    allow_credentials=True,
    allow_methods=["*"],
    allow_headers=["*"],
)


class SecurityEvent(BaseModel):
    event_type: str
    src_ip: str
    dest_ip: str
    dest_port: int
    protocol: str
    signature: str
    severity: int


events = [
    {
        "id": 1,
        "event_type": "Network Scan",
        "src_ip": "192.168.3.100",
        "dest_ip": "192.168.3.141",
        "dest_port": 80,
        "protocol": "TCP",
        "signature": "Possible Network Scan",
        "severity": 2
    },
    {
        "id": 2,
        "event_type": "Login Attempt",
        "src_ip": "192.168.3.120",
        "dest_ip": "192.168.3.141",
        "dest_port": 22,
        "protocol": "TCP",
        "signature": "Multiple Login Attempts",
        "severity": 1
    }
]


@app.get("/")
def root():
    return {
        "message": "AI SOC Dashboard API is running"
    }


@app.get("/health")
def health_check():
    return {
        "status": "ok"
    }


@app.get("/events")
def get_events():
    return events


@app.post("/events")
def create_event(event: SecurityEvent):
    new_event = {
        "id": len(events) + 1,
        **event.model_dump()
    }

    events.append(new_event)

    return {
        "message": "Security event received",
        "event": new_event
    }
在開發過程中引入以下設定:
from fastapi.middleware.cors import CORSMiddleware

app.add_middleware(...)
Cross-Origin Resource Sharing(跨來源資源共用)是瀏覽器的一種安全機制,用來允許或限制網頁向不同網域(來源)的伺服器發出請求。
由於前後端服務運行於不同的連接埠(Port):
React Frontend:http://localhost:5173
FastAPI Backend:http://localhost:8000
對瀏覽器的安全機制而言,不同的 Port 視為不同的來源。若未正確設定 CORS,瀏覽器將會阻擋前端跨來源讀取後端資料的行為。
因此透過在後端明確允許特定來源進行存取:允許來自 http://localhost:5173 的請求。
啟動 Backend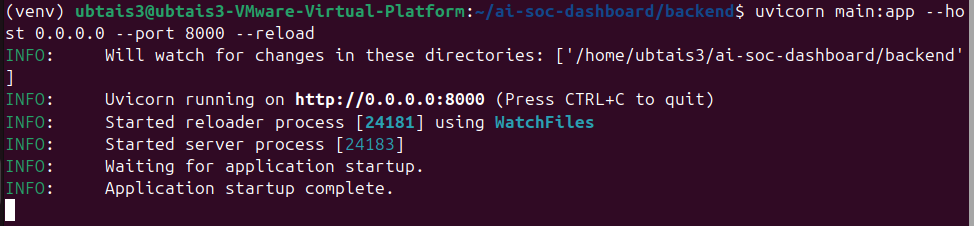
新增GET /events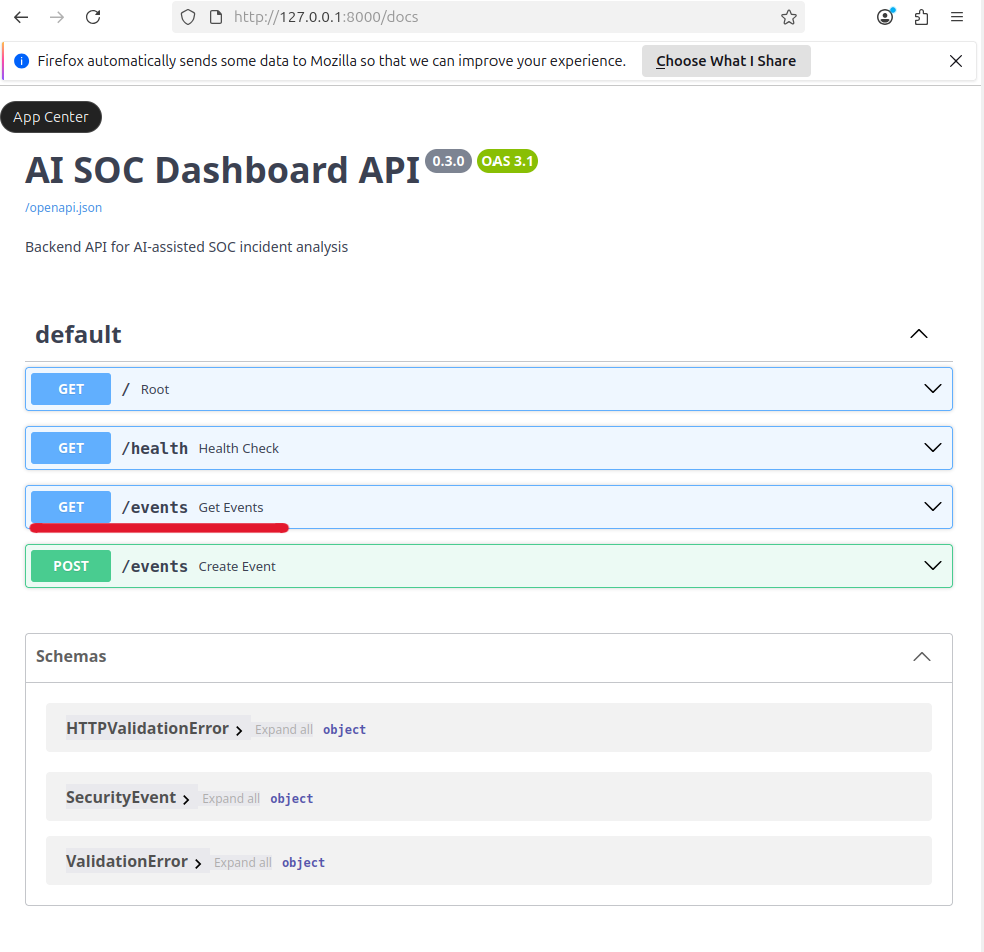
GET /events → Try it out → Execute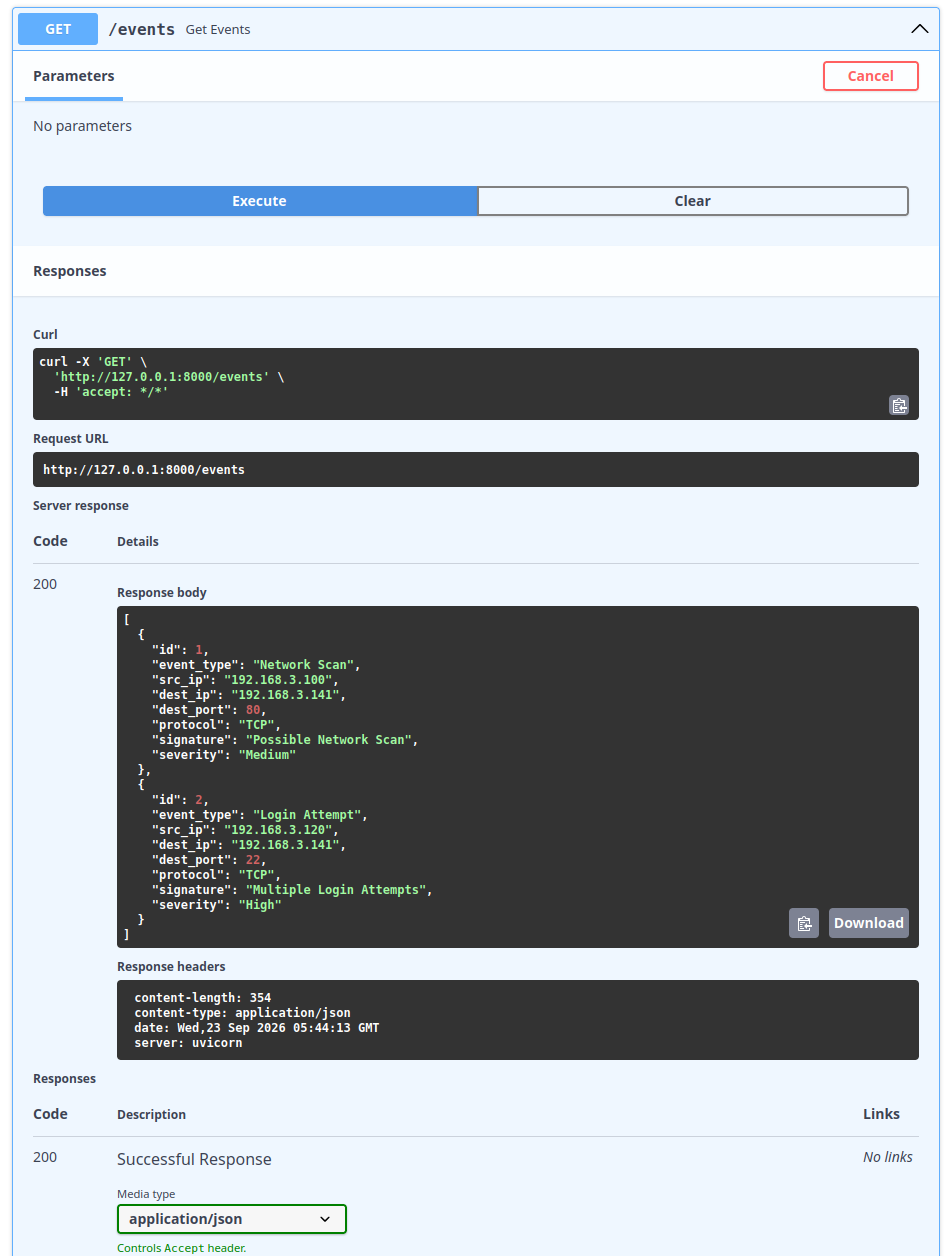
# Terminal 2 修改 React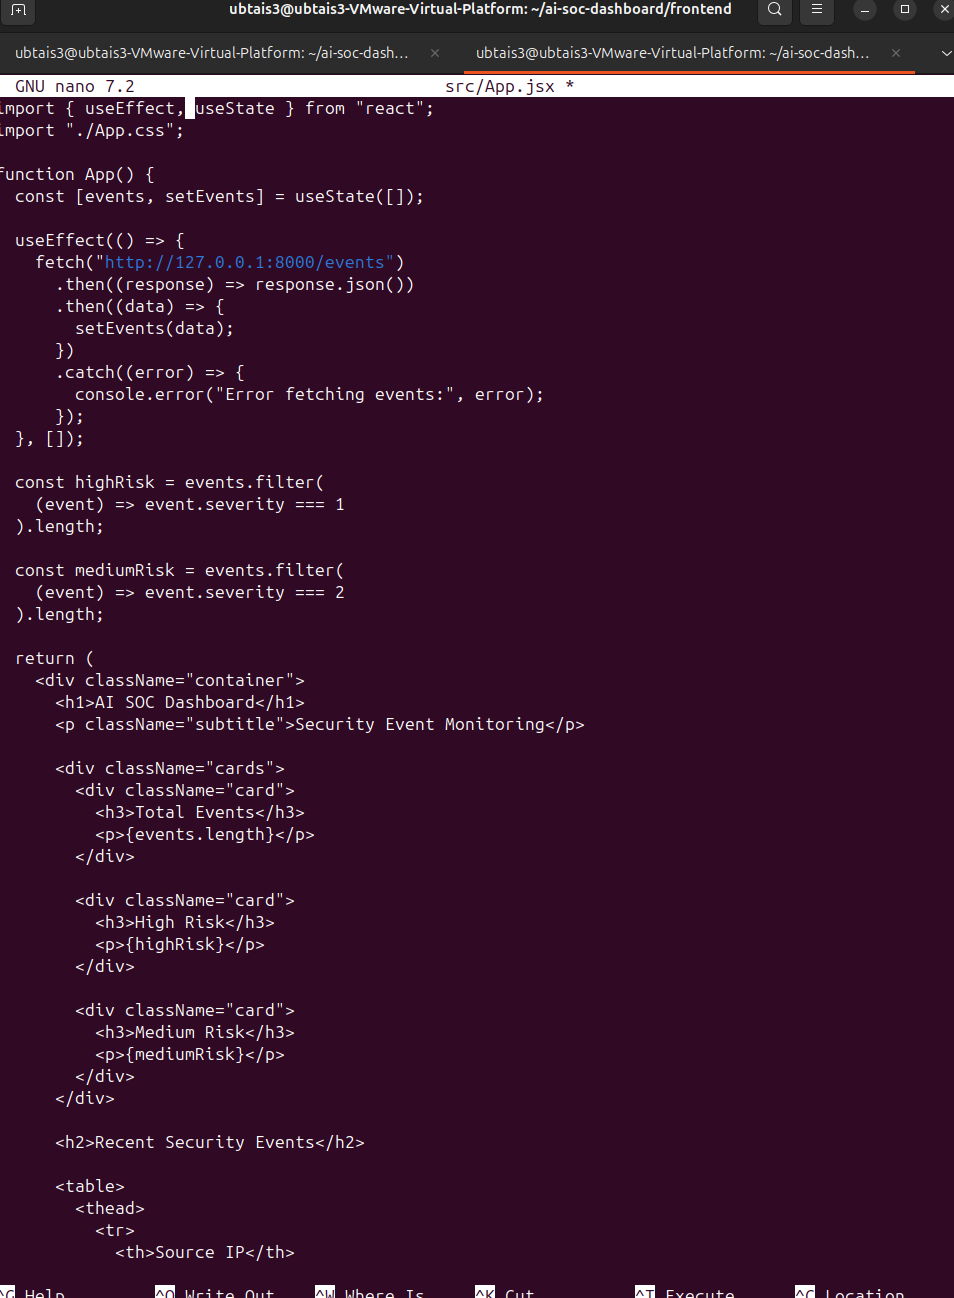
import { useEffect, useState } from "react";
import "./App.css";

function App() {
  const [events, setEvents] = useState([]);

  useEffect(() => {
    fetch("http://127.0.0.1:8000/events")
    // 註:React 問 FastAPI:/events 的資料
      .then((response) => response.json())
      .then((data) => {
        setEvents(data);
        // 註:React 把 Backend 回傳的資料放進 events
      })
      .catch((error) => {
        console.error("Error fetching events:", error);
      });
  }, []);

  const highRisk = events.filter(
    (event) => event.severity === 1
  ).length;

  const mediumRisk = events.filter(
    (event) => event.severity === 2
  ).length;

  return (
    <div className="container">
      <h1>AI SOC Dashboard</h1>
      <p className="subtitle">Security Event Monitoring</p>

      <div className="cards">
        <div className="card">
          <h3>Total Events</h3>
          <p>{events.length}</p>
        </div>

        <div className="card">
          <h3>High Risk</h3>
          <p>{highRisk}</p>
        </div>

        <div className="card">
          <h3>Medium Risk</h3>
          <p>{mediumRisk}</p>
        </div>
      </div>

      <h2>Recent Security Events</h2>

      <table>
        <thead>
          <tr>
            <th>Source IP</th>
            <th>Destination IP</th>
            <th>Event Type</th>
            <th>Severity</th>
          </tr>
        </thead>

        <tbody>
          {events.map((event) => (
          // 註:把每一筆事件顯示成 Table
            <tr key={event.id}>
              <td>{event.src_ip}</td>
              <td>{event.dest_ip}</td>
              <td>{event.event_type}</td>
              <td>
                {event.severity === 1
                  ? "High"
                  : event.severity === 2
                  ? "Medium"
                  : "Low"}
              </td>
            </tr>
          ))}
        </tbody>
      </table>
    </div>
  );
}

export default App;
整體成為
React
 │
 │ fetch()
 ↓
GET /events
 │
 ↓
FastAPI
 │
 │ JSON
 ↓
React
 │
 ↓
setEvents()
 │
 ↓
Dashboard
啟動 React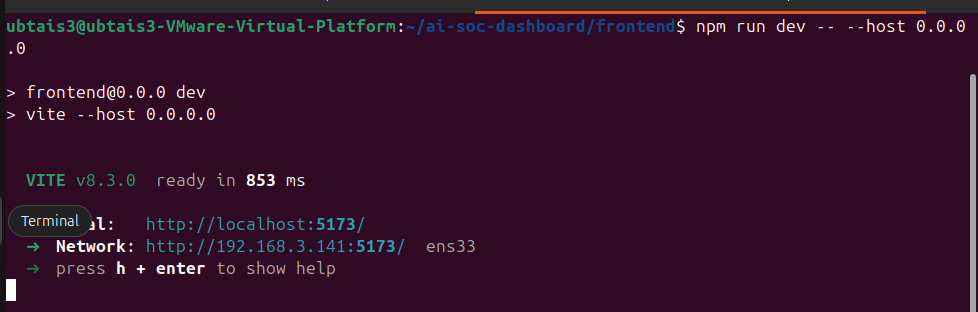
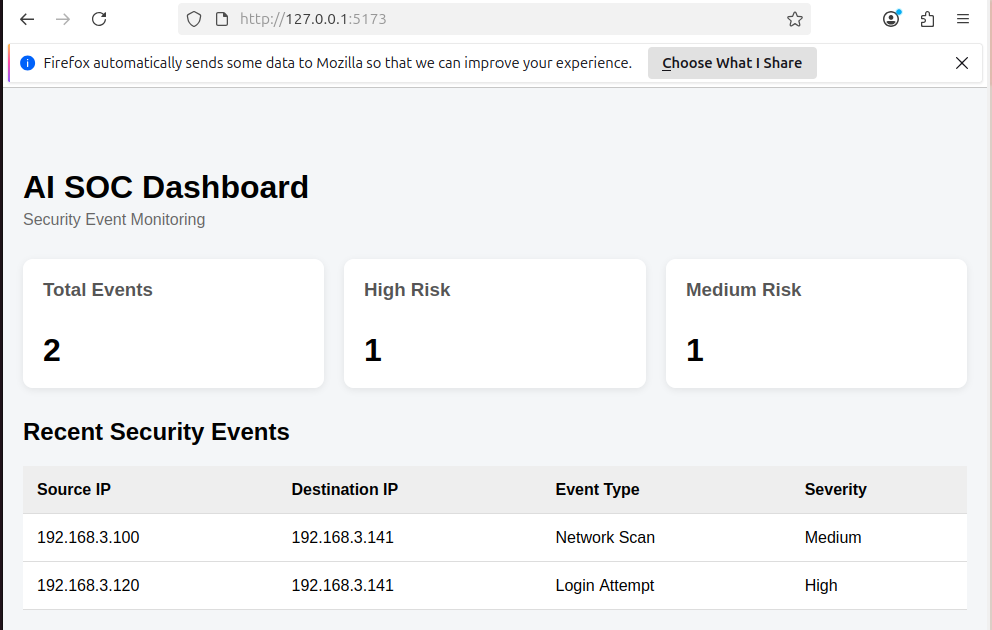
回到 http://127.0.0.1:8000/docs
使用POST /events
Try it out輸入第三筆: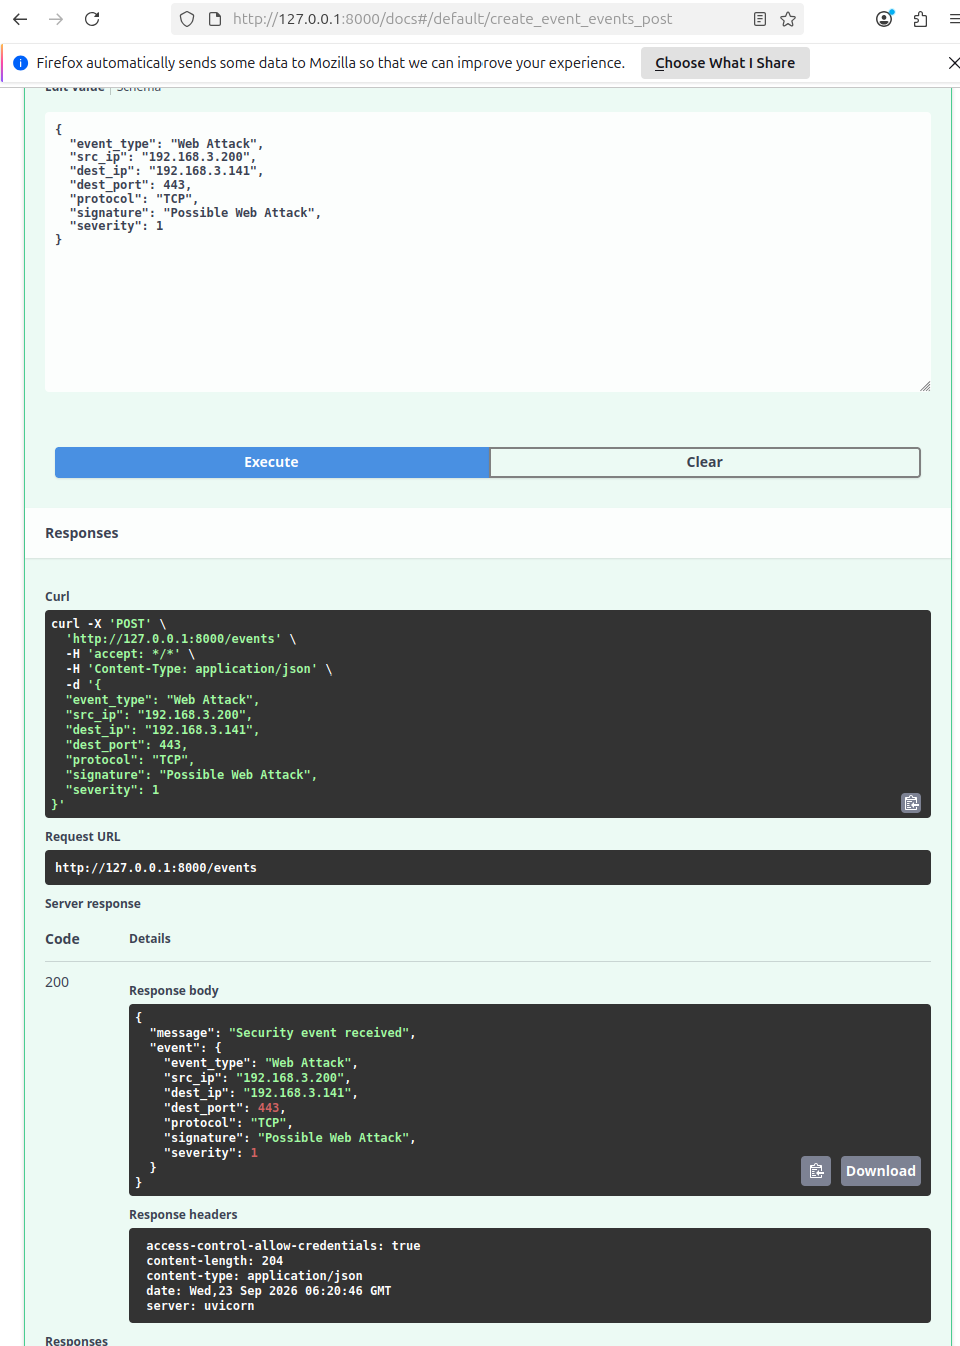
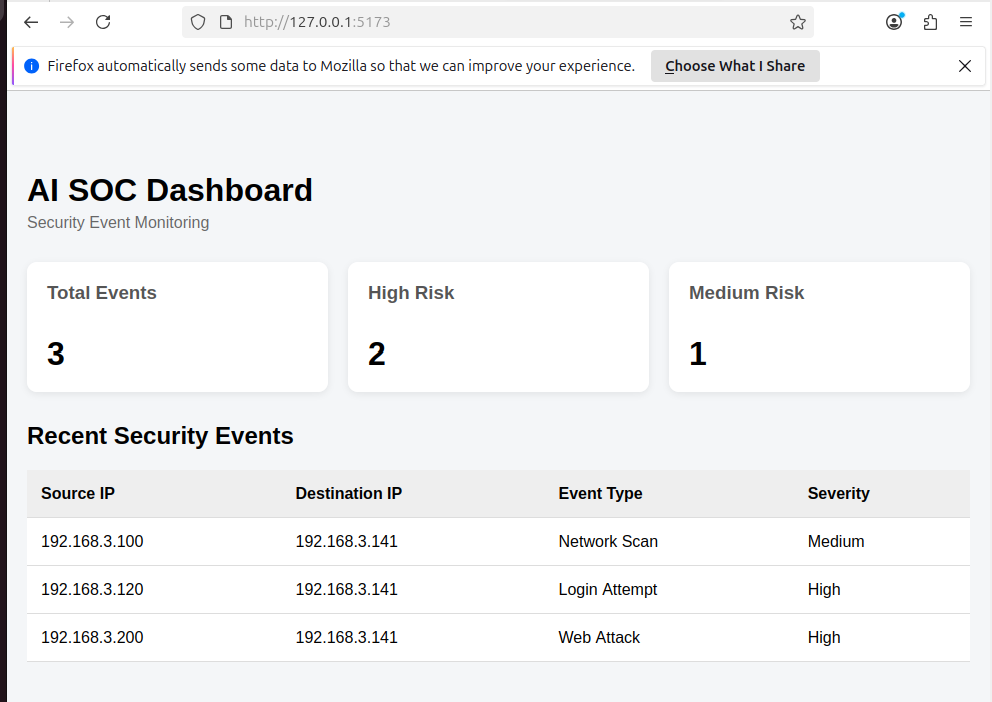
在沒有修改 React 程式下,在 Backend 加了一筆資料,React 重新向 API 取得資料後,Dashboard 跟著改變,證明前後端串接成功。
今天為測試 React 與 FastAPI 的前後端串接,因此先在 Backend 建立兩筆模擬 Security Event,分別為 Network Scan 與 Login Attempt。這些資料並非 Suricata 實際偵測到的攻擊事件,而是用來確認 REST API 能否成功將資料傳送至 React Dashboard。實際的 Suricata EVE JSON 將於後續再進行解析與串接。



 iThome鐵人賽
 看影片追技術