
<link rel="icon" sizes="192x192" href="src/images/icons/demo-icon192.png">
    <link rel="apple-touch-icon" href="src/images/icons/demo-icon48.png" sizes="48x48">
    <link rel="apple-touch-icon" href="src/images/icons/demo-icon72.png" sizes="72x72">
    <link rel="apple-touch-icon" href="src/images/icons/demo-icon96.png" sizes="96x96">
    <link rel="apple-touch-icon" href="src/images/icons/demo-icon144.png" sizes="144x144">
    <link rel="apple-touch-icon" href="src/images/icons/demo-icon168.png" sizes="168x168">
    <link rel="apple-touch-icon" href="src/images/icons/demo-icon192.png" sizes="192x192">
<meta name="msapplication-TileImage144x144" content="src/images/icons/demo-icon144.png">
<meta name="theme-color" content="色碼">
<meta name="apple-mobile-web-app-status-bar-style" content="色碼">
<meta name="apple-mobile-web-app-capable" content="yes">
<meta name="apple-mobile-web-app-title" content="MyGram">

圖片來源: https://developers.google.com/web/fundamentals/app-install-banners/
必要條件
short_name
name
192x192尺寸的png icon檔start_url
service worker
https
<script>
      window.addEventListener('beforeinstallprompt', function(e) {
      // beforeinstallprompt Event fired
      // e.userChoice will return a Promise.
      e.userChoice.then(function(choiceResult) {
        console.log(choiceResult.outcome);
        if(choiceResult.outcome == 'dismissed') {
          console.log('User cancelled home screen install');
        }
        else {
          console.log('User added to home screen');
        }
      });
    });
</script>
這支script新增了一個簡單的監聽事件beforeinstallprompt測試使用者點選新增還是取消。
如果使用者取消,則顯示User cancelled home screen install
使用者加入,則顯示User added to home screen
var deferredPrompt;

window.addEventListener('beforeinstallprompt', function(e) {
  console.log('beforeinstallprompt Event fired');
  e.preventDefault();

  // Stash the event so it can be triggered later.
  deferredPrompt = e;

  return false;
});
這支用於延遲載入提示視窗。
btnSave.addEventListener('click', function() {
  if(deferredPrompt !== undefined) {
    deferredPrompt.prompt();

    deferredPrompt.userChoice.then(function(choiceResult) {
      console.log(choiceResult.outcome);
      if(choiceResult.outcome == 'dismissed') {
        console.log('User cancelled home screen install');
      }
      else {
        console.log('User added to home screen');
      }
      deferredPrompt = null;
    });
  }
});
如果使用者點擊按鈕時,才觸發加入Home Screen視窗。

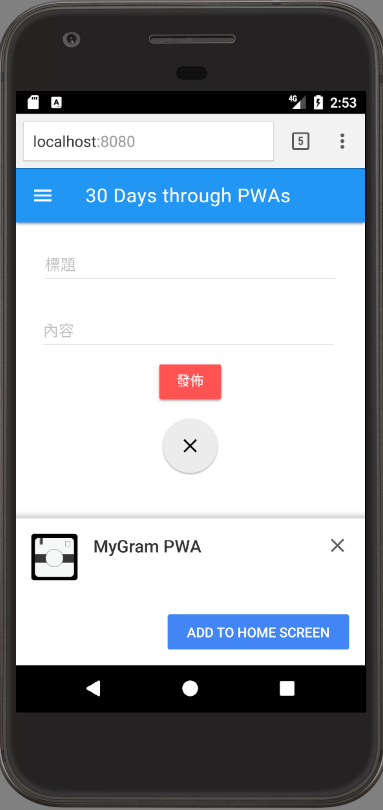
今天我們要來做的事情,不要一開啟網頁的時候,就詢問使用者要不要安裝,因為不一定每個近來網站的人都一定是對網站有興趣的,所以我們假設點選「+」來新增訊息的人,會是我們潛在
要抓住的客群。
因此,當使用者點選「+」的時候,我們再載入「Install to Home Screen」的功能。
var deferredPrompt;
window.addEventListener('beforeinstallprompt', function(event){
    console.log('安裝視窗跳出來前 阻止它!!');
    event.preventDefault();
    deferredPrompt = event;
    return false;
});
首先,我們用deferredPrompt暫存安裝狀態,並透過event.preventDefault(),取消預設會執行的程式。
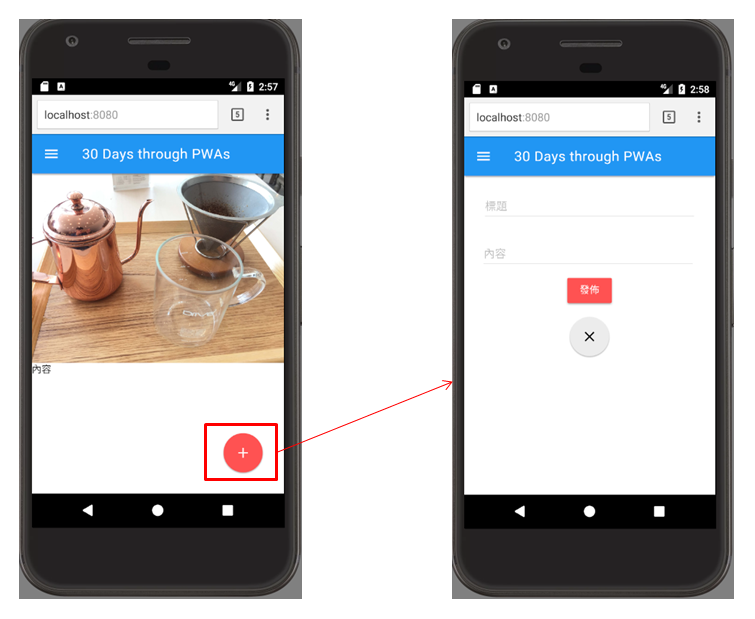
function openCreatePostModal() {
  createPostArea.style.display = 'block';
  if(deferredPrompt){
      deferredPrompt.prompt();
      deferredPrompt.userChoice.then(function(choiceResult){
        console.log(choiceResult.outcome);
        if(choiceResult.outcome == 'dismissed')
            console.log('使用者取消安裝');
        else
            console.log('使用者安裝');
      });
      deferredPrompt = null;
  }
}
當點選「+」,會觸發openCreatePostModal()這支function,如果deferredPrompt存在,deferredPrompt.prompt(),來執行提示安裝視窗,接著透過userChoice,等待使用者回應,會回傳一個promise,所以為了測試使用者行為,接著寫then的function,使用者選擇結果會顯是在choiceResult.outcome。
如果選擇安裝:回傳accepted
選擇關閉: 回傳dismissed
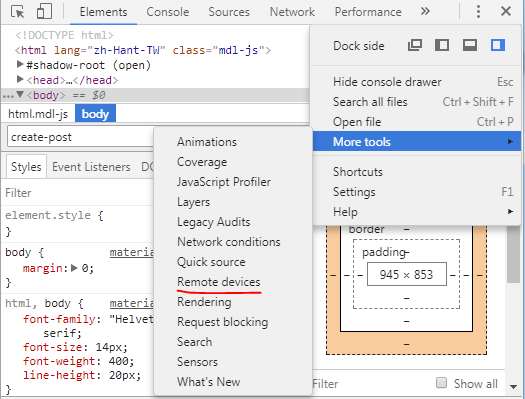
透過chrome瀏覽器提供的遠端連線做測試。
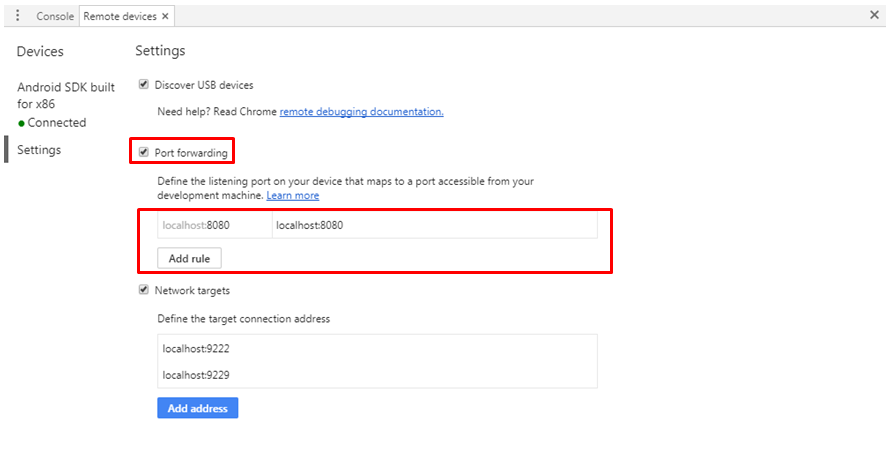
這一步我們要建立在手機或虛擬機上可以存取的連結,左邊是填寫裝置要輸入的port,右邊是網站local的網址。
當你左邊出現裝置名稱,代表連線成功。
手機:要插USB。
虛擬機: 可以使用Android Studio的虛擬機。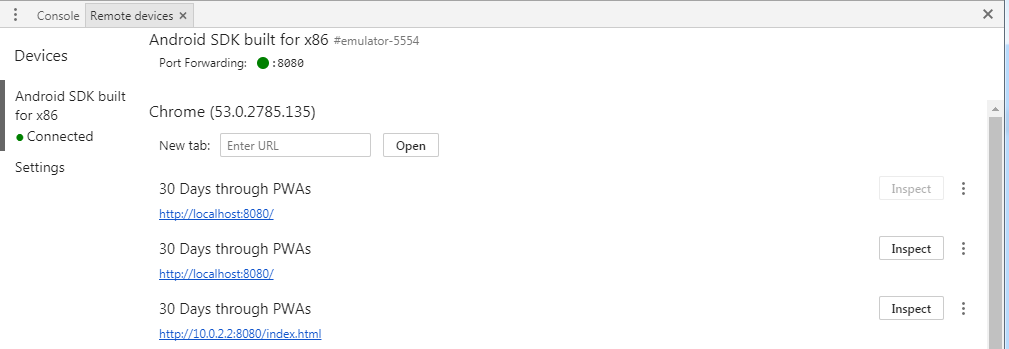
接著會看到現在瀏覽器開著的網址,選擇Inspect之後會出現手機的畫面
這時候當你改變手機或虛擬機上的畫面,localhost的網頁也會跟著變動,這樣我們就能來偵錯啦!!!
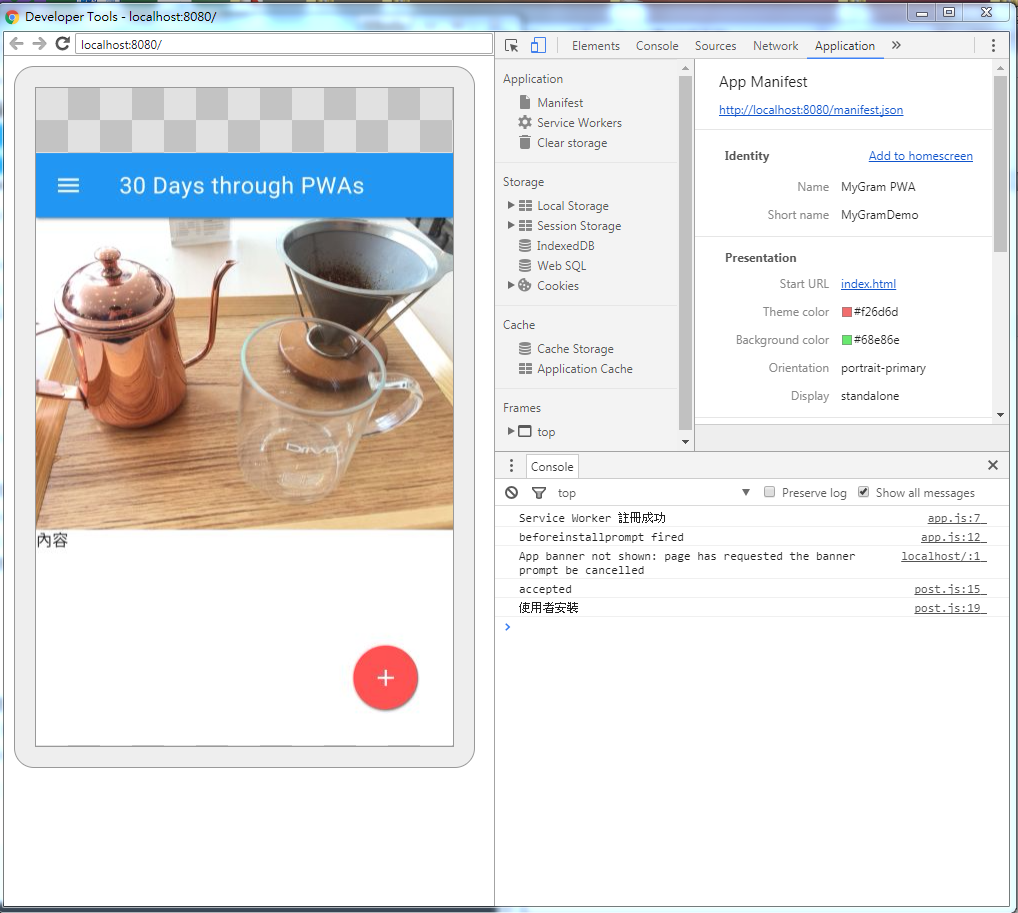
Service Worker 註冊成功
安裝視窗跳出來前 阻止它!!
App banner not shown: page has requested the banner prompt be cancelled
當載入首頁的時候,console視窗出現了三個訊息。
accepted
使用者安裝
console顯示accepted,代表使用者介面成功出現安裝視窗,並且點選了安裝到裝置桌面。
看到現在會發現,這個event的必要條件不是有https嗎?
那是因為google為了開發人員測試方便,local的環境屬於例外情形,今天看到Service Worker註冊成功,但是我們不是還沒講到嗎!!
因為event必要條件之一就是環境必須註冊Service worker所以為了demo,就先補上去了,但接下來幾天的主角就是它啦~~
Manifest還沒有很全面的支援下,還是可以透過meta設定補足想實現的效果,接下去我們就接著學習,另一個核心的角色Service worker吧!
大大 謝謝您的教學 講得很仔細受用良多
但這邊有個問題想請教
就是Chrome 提供javascript測試App Install Banner Events
那段程式碼是要放置於何處?
是public 的index.html裡面嗎

