
昨天已成功將部落格部署到 heroku。
今天將部署靜態的 html 到:
新增 scripts,
其中 npm run generate 是一般產生靜態頁面的指令,npm run generate:github 當然就是針對 github page 所做的處理啦,
透過 cross-env 傳入了 DEPLOY_ENV=GH_PAGES,
方便在 nuxt.config.js 中區分部署的條件。
"scripts": {
	"generate": "nuxt generate",
	"generate:github": "cross-env DEPLOY_ENV=GH_PAGES nuxt generate",
}
直接貼上程式碼,解釋就在程式碼註解中:
const { uniq, flatten } = require('lodash')
// 引入了 lodash 的 uniq, flatten,因為下面要用到。

// 這邊引入 firebase.firestore 並宣告一個變數為 db 備用。
const config = require('./firebase.config.js')

import firebase from 'firebase/app'
import 'firebase/firestore'

if (!firebase.apps.length) {
  firebase.initializeApp(config)
  firebase.firestore().settings({timestampsInSnapshots: true})
}
const db = firebase.firestore()

/*
  針對 github page 給定一個 root 目錄的概念,
  例如下面設定為 ironman-blog,
  github page 網址就是: https://hunterliu1003.github.io/ironman-blog
*/
const routerBase = process.env.DEPLOY_ENV === 'GH_PAGES'
  ? {
		router: {
			base: '/ironman-blog/'
		}
	}
	: {}


// 正確的 favicon 路徑
const faviconPath = process.env.DEPLOY_ENV === 'GH_PAGES' ? '/ironman-blog/favicon.ico' : '/favicon.ico'

module.exports = {
	link: [
		{ rel: 'icon', type: 'image/x-icon', href: faviconPath }
	],

	...routerBase,

	generate: {
		// 決定產出的資料夾名稱
		dir: (process.env.DEPLOY_ENV === 'GH_PAGES') ? 'ironman-blog' : 'dist',

		/*
   		利用上面引入的 db,
	  	透過運算將動態的頁面加入 generate 的 routes 當中。
		*/
		routes (callback) {
			db.collection('posts').where('isShow', '==', true).orderBy('postTime', 'desc').get()
				.then(({ docs }) => docs)
				.then(posts => {
					let routes = []
					posts.forEach(post => {
							routes.push('/posts/' + post.id )
					})

					let allTags = []
					posts.forEach(post => {
							allTags.push(post.data().tags)
					})
					allTags = uniq(flatten(allTags)).forEach(tag => {
							routes.push('/tags/' + tag)
					})

					let pageLength = Math.ceil(posts.length / 10)
					for (let i = 1; i <= pageLength; i++) {
							routes.push('/pages/' + i)
					}
					callback(null, routes)
				})
				.catch(callback)
	}
}
npm generate:github
執行過後會產出一個資料夾為 ironman-blog,
將整個資料夾複製貼到 github page 的 branch 推上去,
這樣就成功啦。
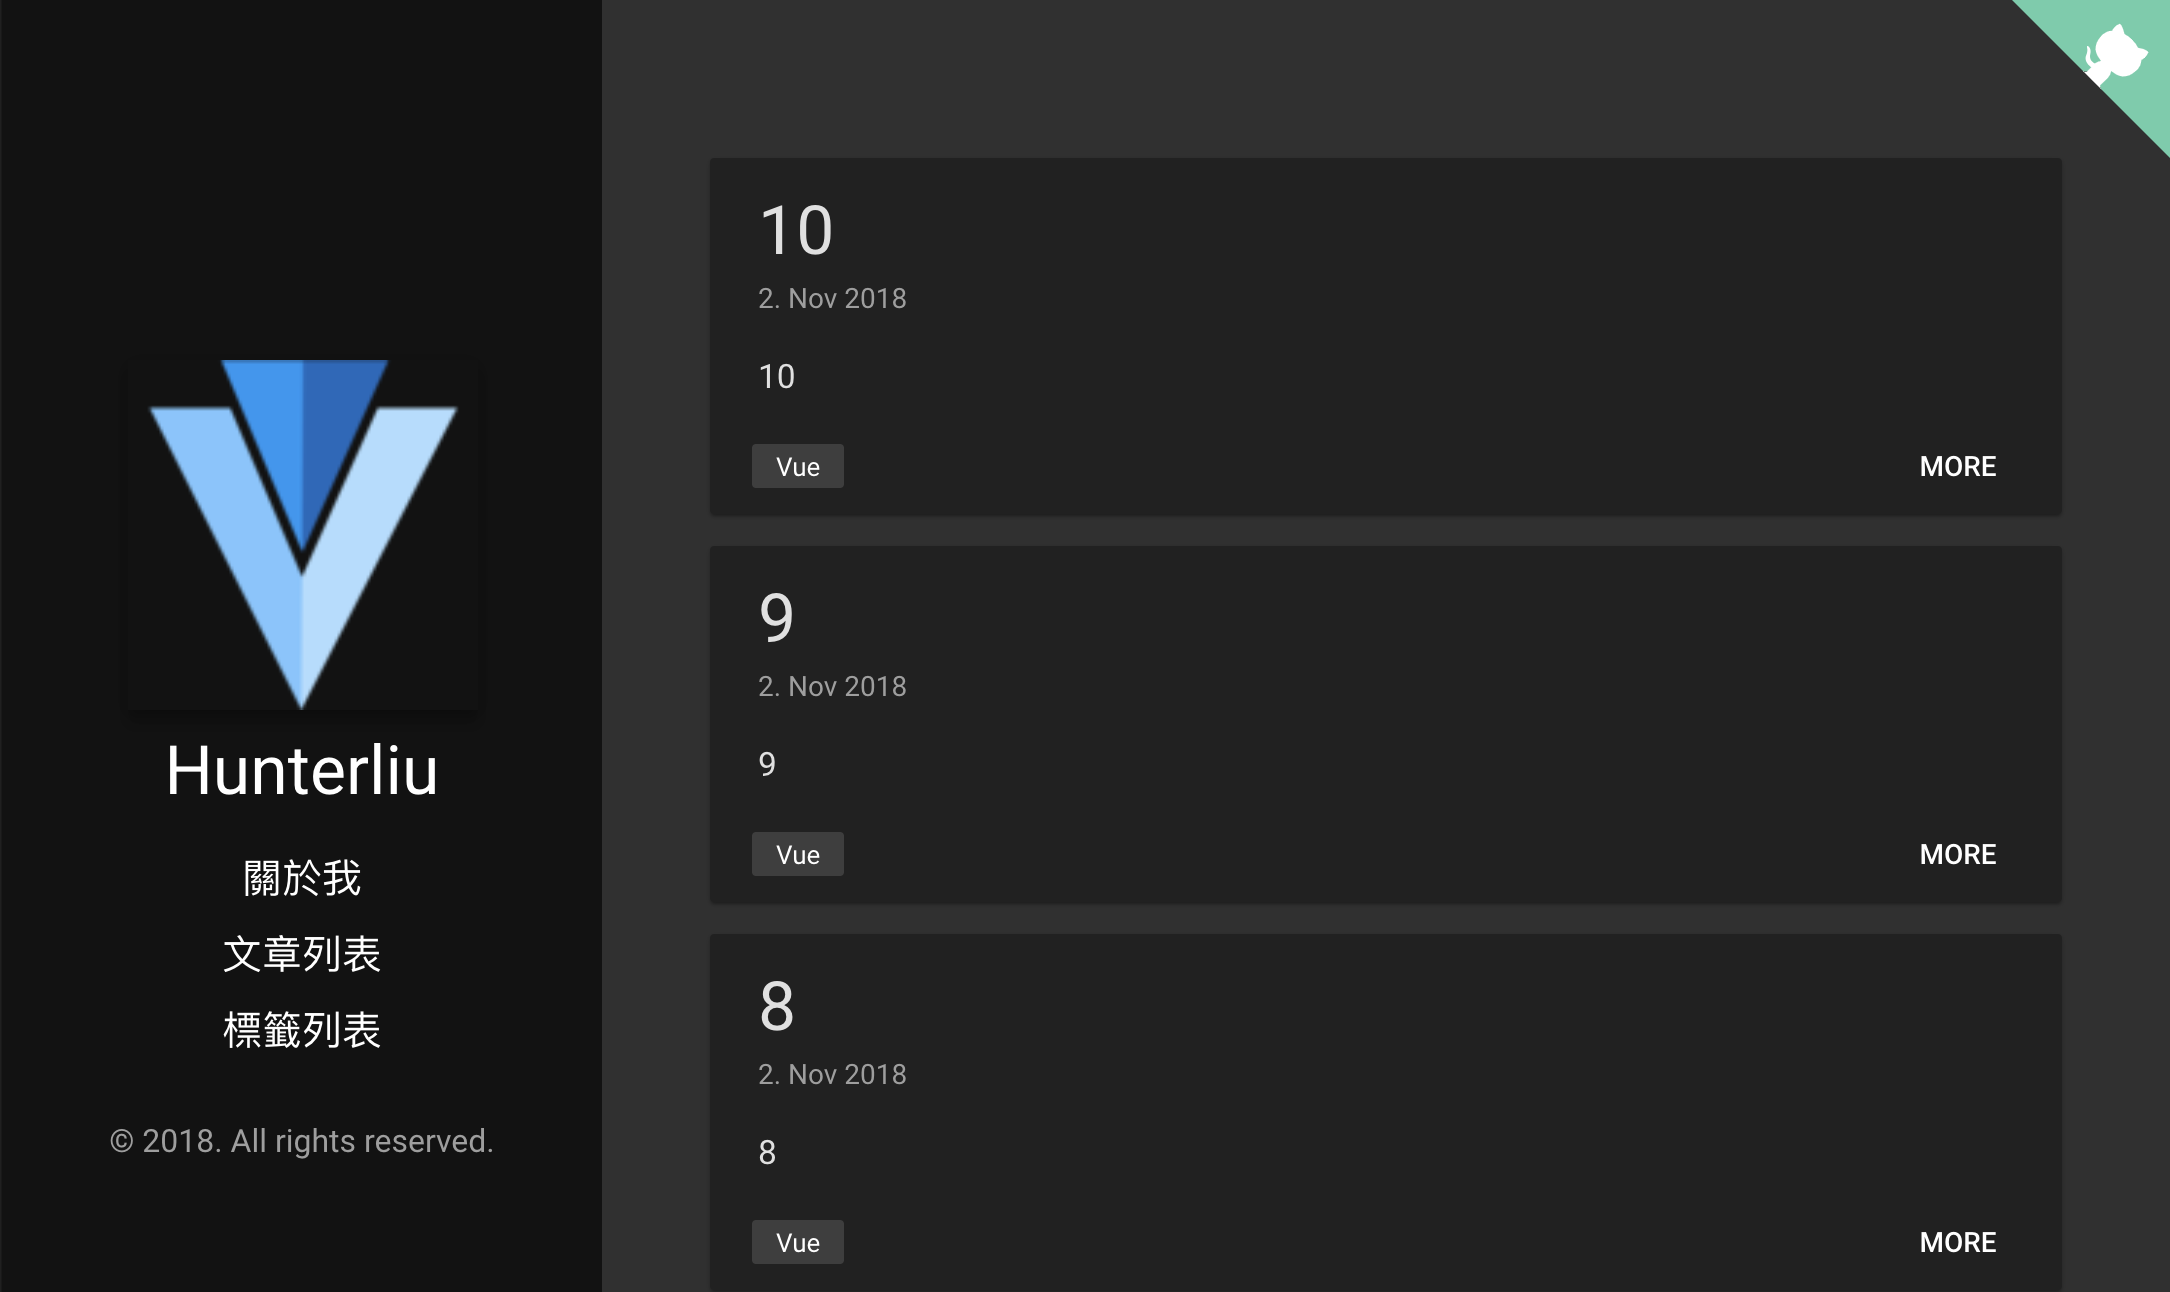
連結:https://hunterliu1003.github.io/ironman-blog/
截圖畫面:

先來到 firebase hosting 的頁面,點選"開始使用"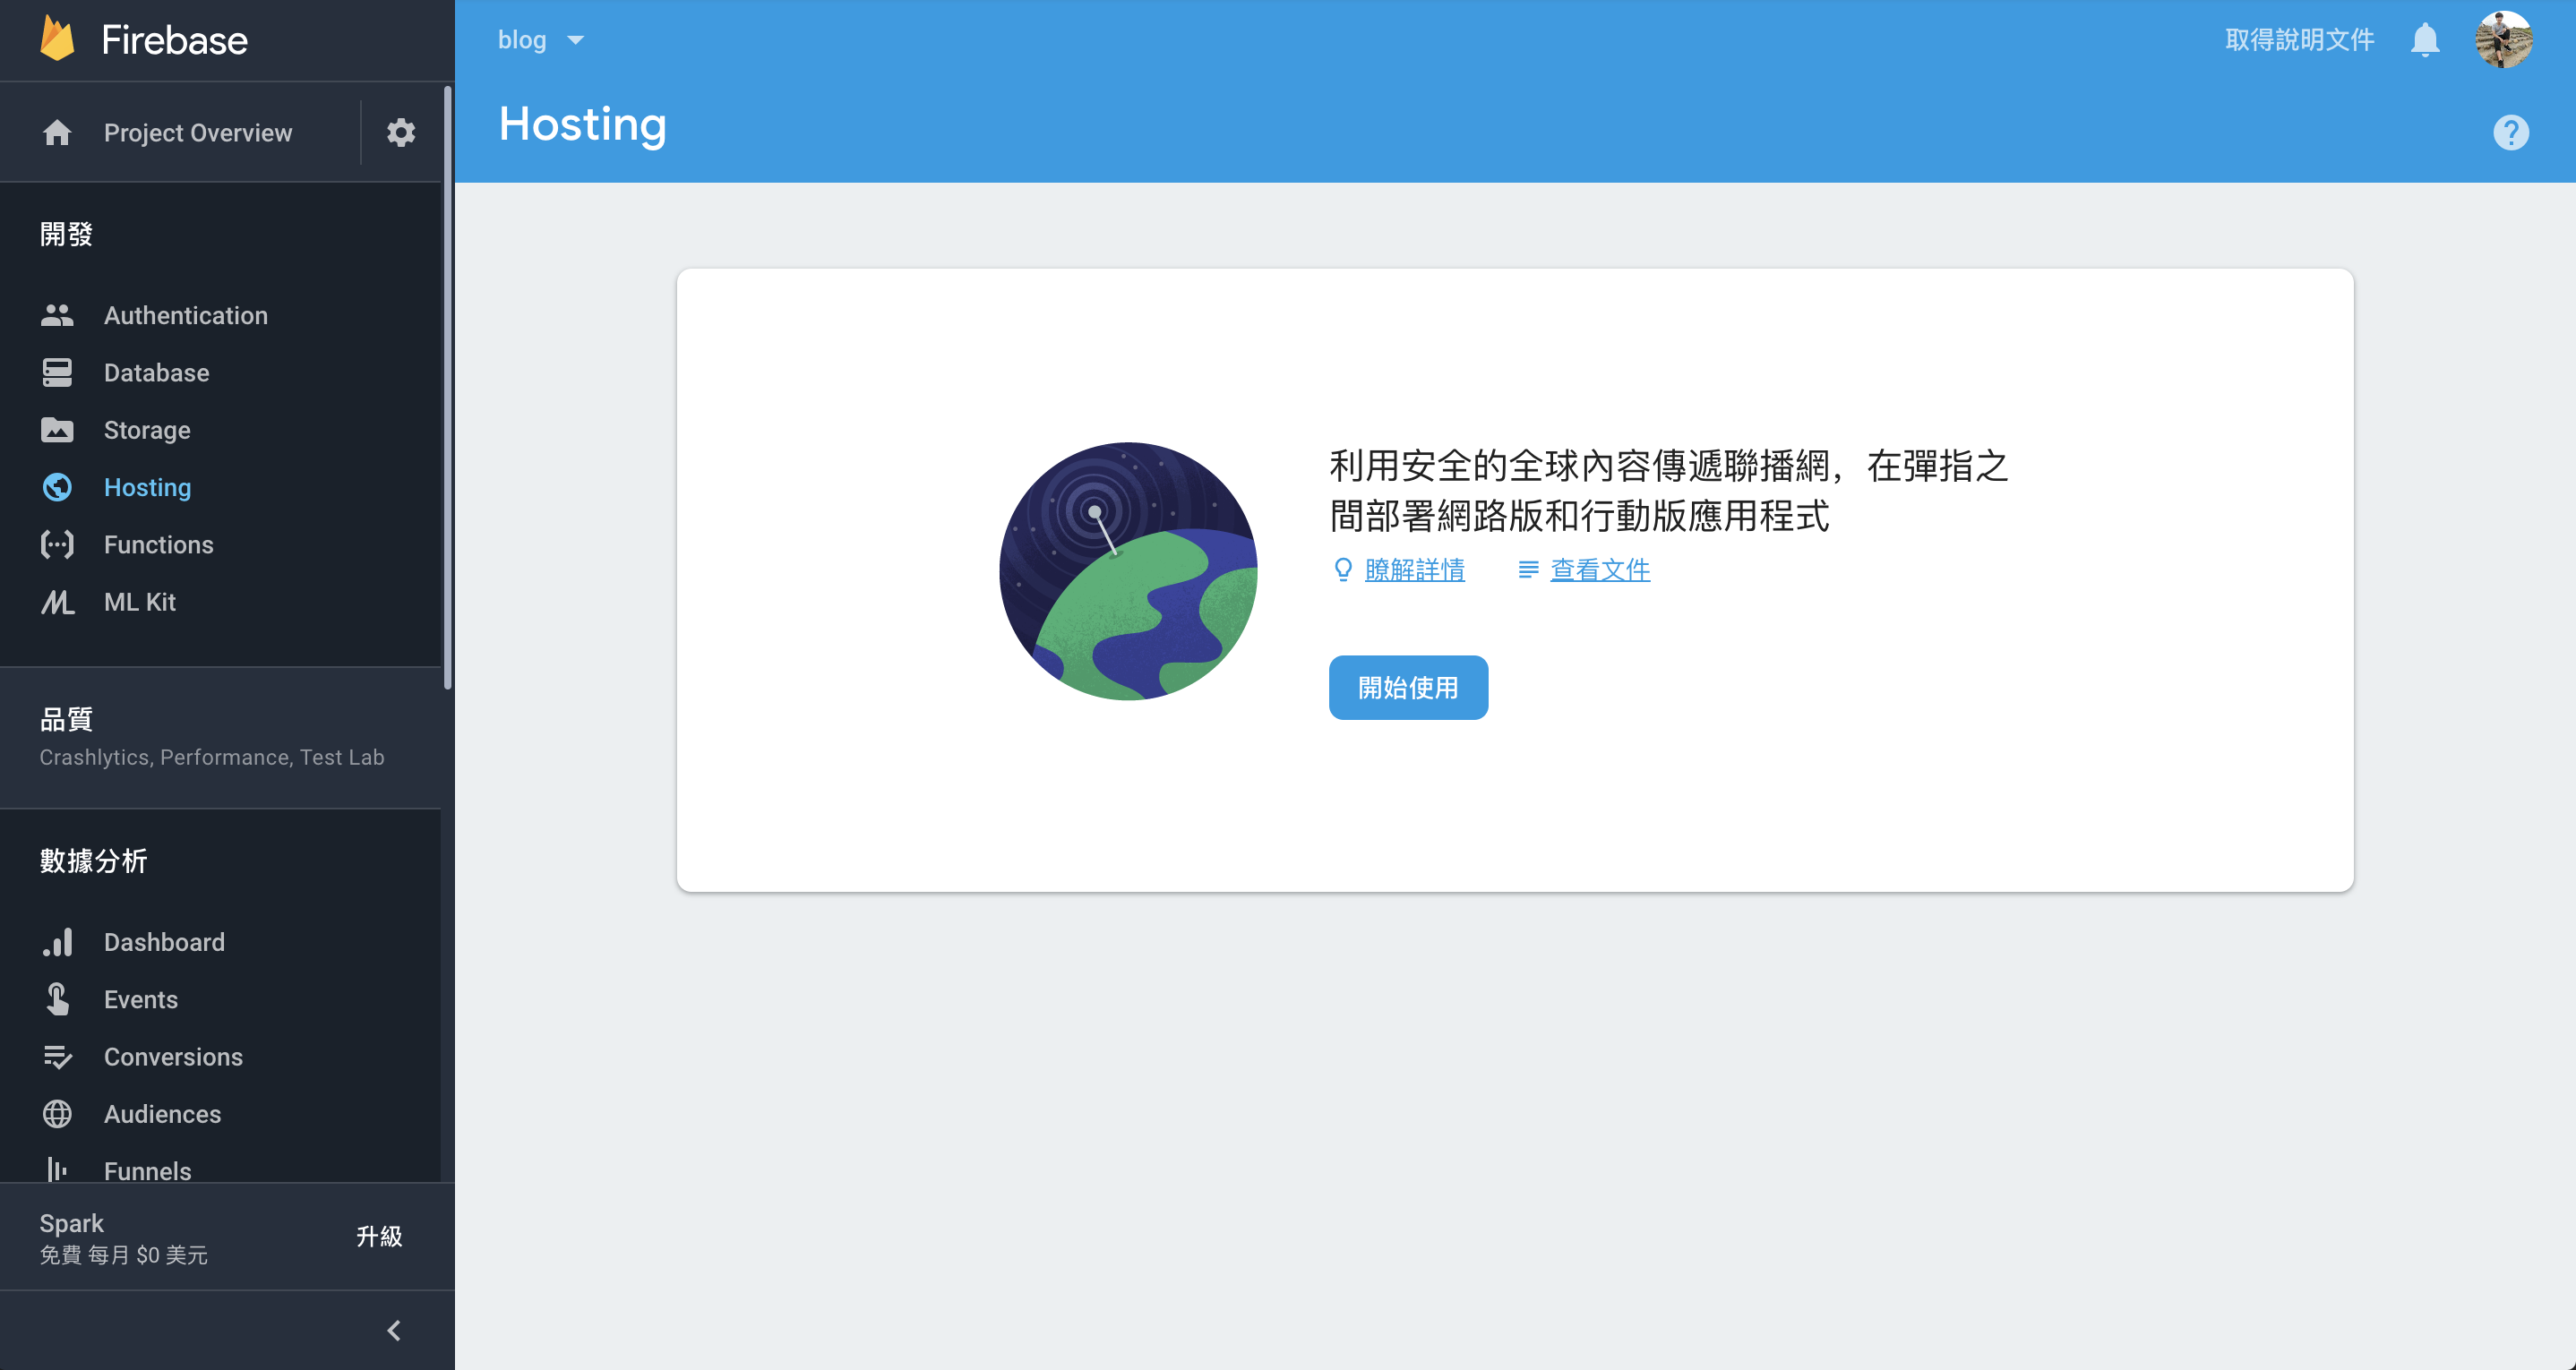
全域安裝 firebase-tools,點選完成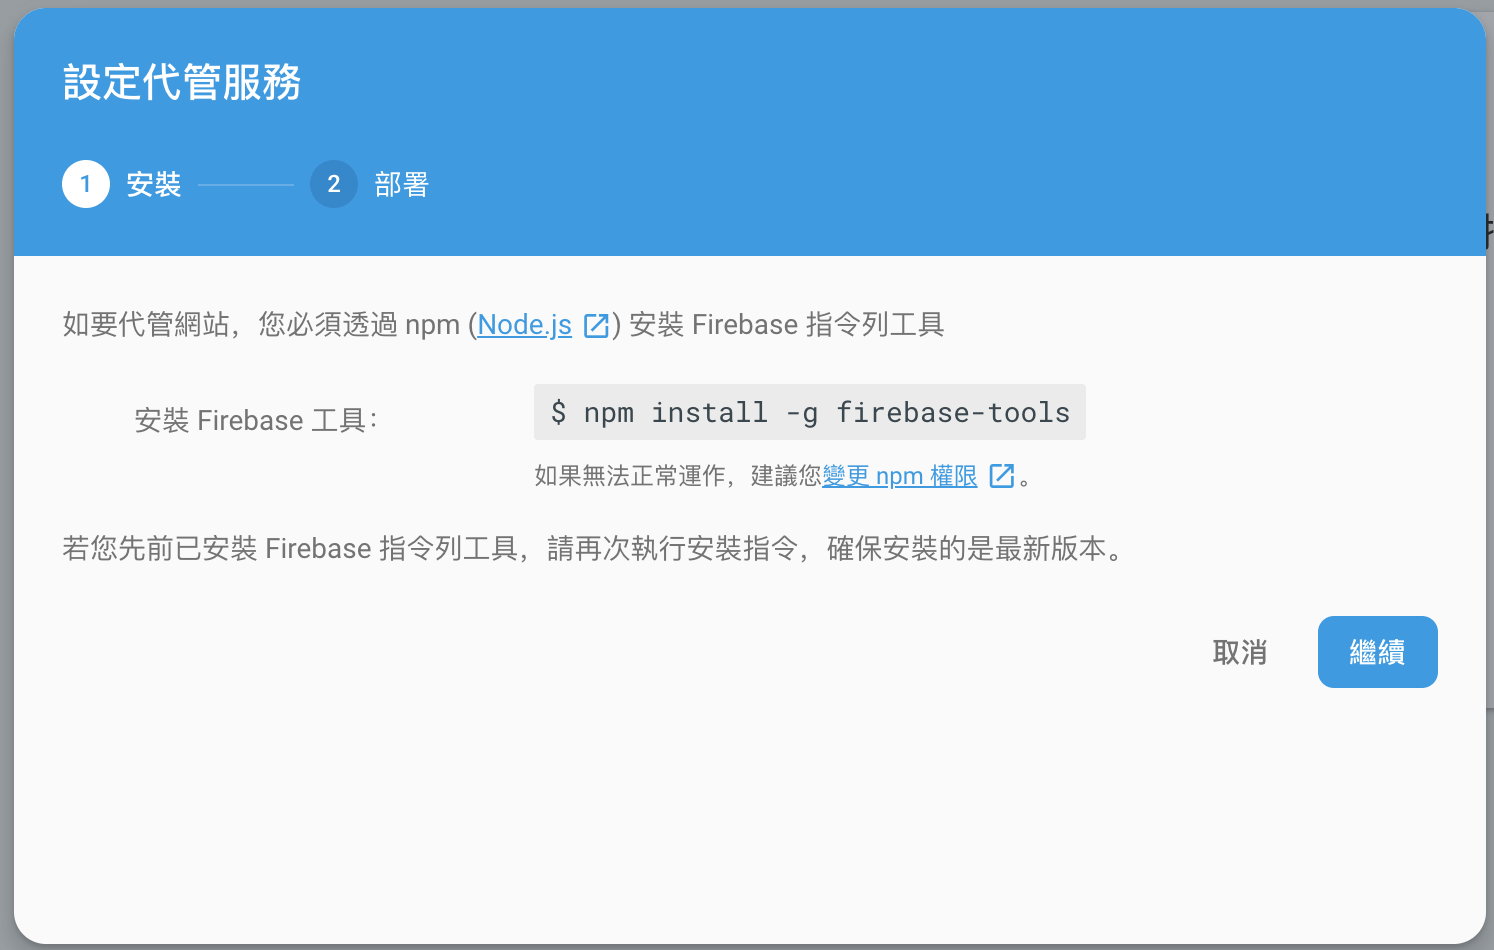
npm install -g firebase-tools
回到專案分別執行以下指令即可完成部署: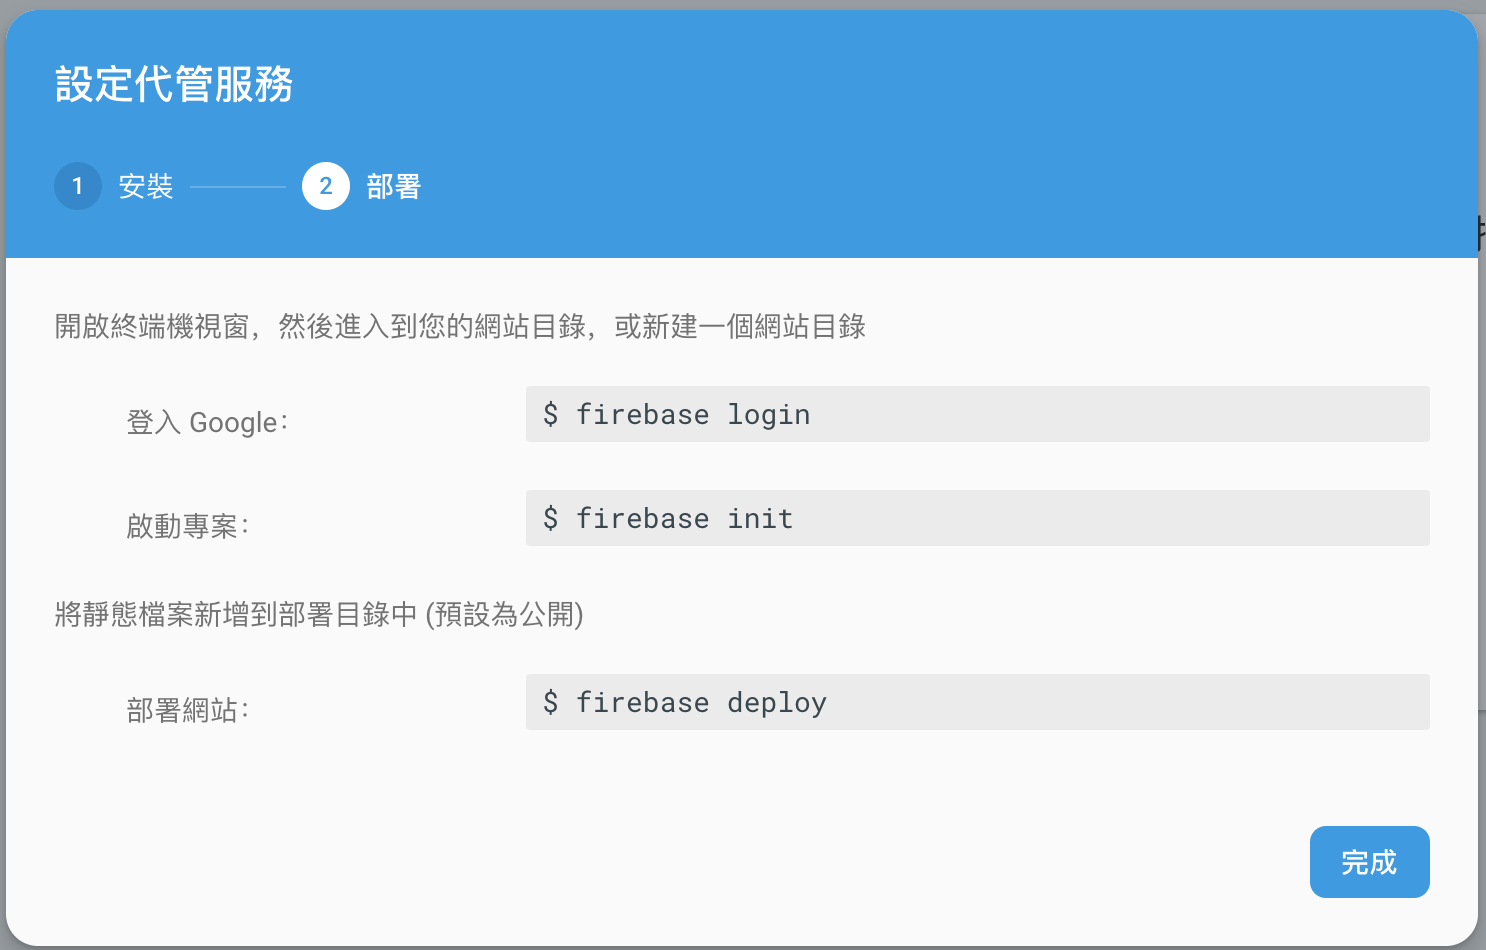
firebase login
執行後會彈出瀏覽器視窗請你登入,成功截圖:
初始化 firebase init 這個指令會問一連串問題:
firebase init

大概回答一下就好,之後也是可以更改的。
這邊比較需要注意的是,
要輸入部署到 firebase hosting 的資料夾,
以本專案為例是 dist,
當然也是可以之後再更改的。

初始化完成後,可以透過 npm run generate 建置 dist 靜態部落格
npm run generate
並執行 firebase deploy 將靜態專案部署到 firebase hosting
firebase deploy
部署到 firebase hosting 成功啦!
連結: https://blog-6894c.firebaseapp.com/
因為跟上面 github page 長一樣,差別在網址而已,就不截圖啦。
029-deploy-github-page-and-firebase-hosting
指令:
git clone -b 029-deploy-github-page-and-firebase-hosting --single-branch https://github.com/hunterliu1003/blog.git
cd blog
npm install
npm run generate
npm run generate:github
