
這系列非常難我看很久哈哈哈哈,有錯還請不吝指教
大家都知道在訓練模型之前,資料的處理永遠是最麻煩的
像是移除不必要的範例、縮放置同一標準...等都算在資料預處理的範疇
當然可以利用我們所講過的BigQuery、TensorFlow去進行處理,但在這邊我們要試著利用Apache Beam來做處理
那Apache Beam有甚麼好處呢?
最大的好處就是他是以open source的方式整合的模型,並且同時能夠定義批次與串流的資料集,最後藉由建立管道透過平行化的處理
講這麼多想必大家一定還是一頭霧水,跟我在上課的時候一樣 ,那我們直接用範例來嘗試體驗這的東西吧!
這個實驗最主要的目的,是讓我們使用python建立一個簡單的pipeline(管道),利用Dataflow去做連結
並且能夠執行query在本地端與雲端
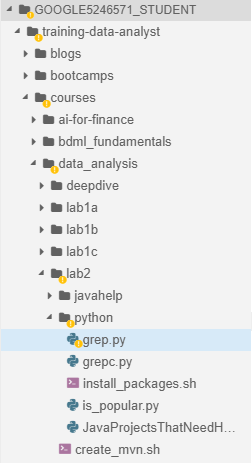
git clone https://github.com/GoogleCloudPlatform/training-data-analyst
sudo ./install_packages.sh
pip -V


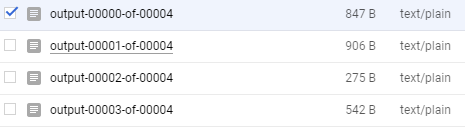
grep.py檔案,這邊如果習慣用command line的方式可以利用nano來做查看python grep.py來執行程式碼,並使用cat語法查看輸出檔案
# grep.py
import apache_beam as beam
import sys
def my_grep(line, term):
if line.startswith(term):
yield line
if __name__ == '__main__':
p = beam.Pipeline(argv=sys.argv) #創建Pipeline
input = '<輸入檔案路徑>'
output_prefix = '<輸出檔案路徑>'
searchTerm = 'import' 搜尋檔案中包含import的字串
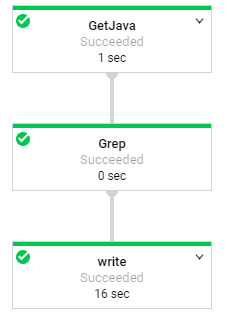
#這邊是透過三個步驟分別是讀取、搜尋、寫入
(p
| 'GetJava' >> beam.io.ReadFromText(input)
| 'Grep' >> beam.FlatMap(lambda line: my_grep(line, searchTerm) ) #FlatMap是把多個Stream連接成一個Stream
| 'write' >> beam.io.WriteToText(output_prefix)
)
p.run().wait_until_finish()

gsutil cp <路徑位置> gs://<YOUR-BUCKET-NAME>/<BUCKET底下名字>
PROJECT、BUCKET欄位gsutil cat gs://<YOUR-BUCKET-NAME>/<輸出路徑>
cp指令複製到bucket
# grepc.py
# 這邊跟grep.py上面不一樣的地方就只有更改名稱以及路徑
PROJECT='XXX' #這邊改成自己的專案名稱
BUCKET='XXX' #這邊改成自己的BUCKET名稱
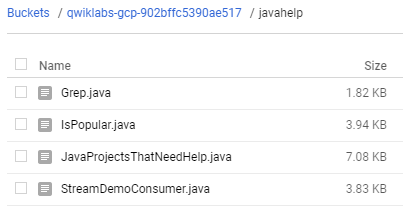
input = 'gs://{0}/javahelp/*.java'.format(BUCKET)
output_prefix = 'gs://{0}/javahelp/output'.format(BUCKET)

這個實驗除了嘗試使用其他pipeline options在Dataflow中外,最主要就是要實現MapReduce這個概念,那有人就會又開始頭痛了MapReduce這又是甚麼東西,簡單來說他是map、reduce兩個合在一起的意思,詳細的做法可以看下面這張圖,基本上不同於其他架構不同的地方,就是他會先進行排列再做組合,比起一般的方法使用單工一個一個去做對照,MapReduce會更像是多工的方式。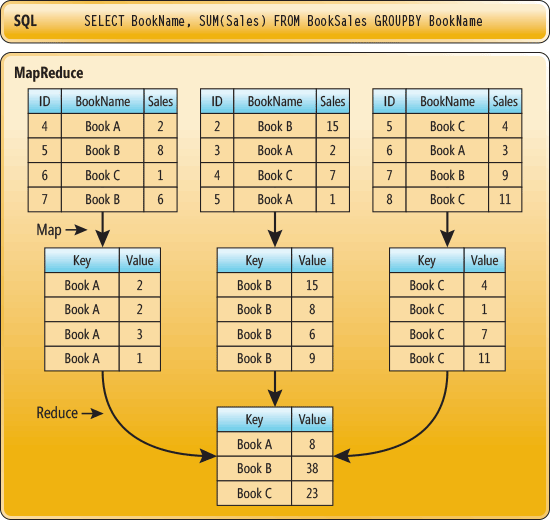
這邊的第一步跟上面的一模一樣這邊就不再重複了,這次要打開is_popular.py這個檔案
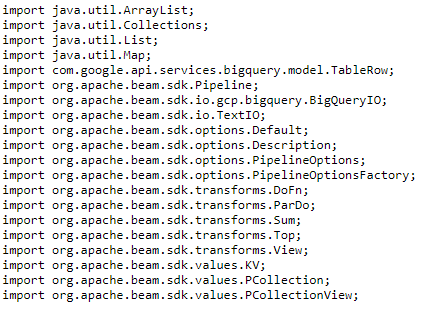
接著直接來看程式,程式想要輸出的結果是在import裡的套件其中哪個Package是被使用最多次的,依照" . "來做切割取出前五個使用率最高的套件,主程式的流程如下方所述
parser.add_argument('--output_prefix', default='/tmp/output', help='Output prefix')
# is_popular.py
if __name__ == '__main__':
   p = beam.Pipeline(argv=pipeline_args)
   input = <輸入檔案路徑>
   output_prefix = <輸出檔案路徑>
   keyword = 'XXX'
   (p
      | 'GetJava' >> beam.io.ReadFromText(input)
      | 'GetImports' >> beam.FlatMap(lambda line: [找出Imports資訊](line, keyword))
      | 'PackageUse' >> beam.FlatMap(lambda line: [找出Package資訊](line, keyword))
      | 'TotalUse' >> beam.CombinePerKey(sum)
      | 'Top_5' >> beam.transforms.combiners.Top.Of(前幾筆輸出(int), [數值比較])
      | 'write' >> beam.io.WriteToText(output_prefix)
   )

   p.run().wait_until_finish()

至於對於相關副程式有興趣的人可以到教材內的github,去找詳細的副程式撰寫方式,基本上概念跟我上面講的一樣,這邊為了避免侵權問題,就不放上來了。
