上一篇我們介紹的部分是以藍芽模組作為開發使用,今天要來介紹硬體的藍芽開發介紹。
ESP32 是一款支援 Wifi 與藍芽的開發單晶片採用 TSMC 40 奈米技術所生產製造的!
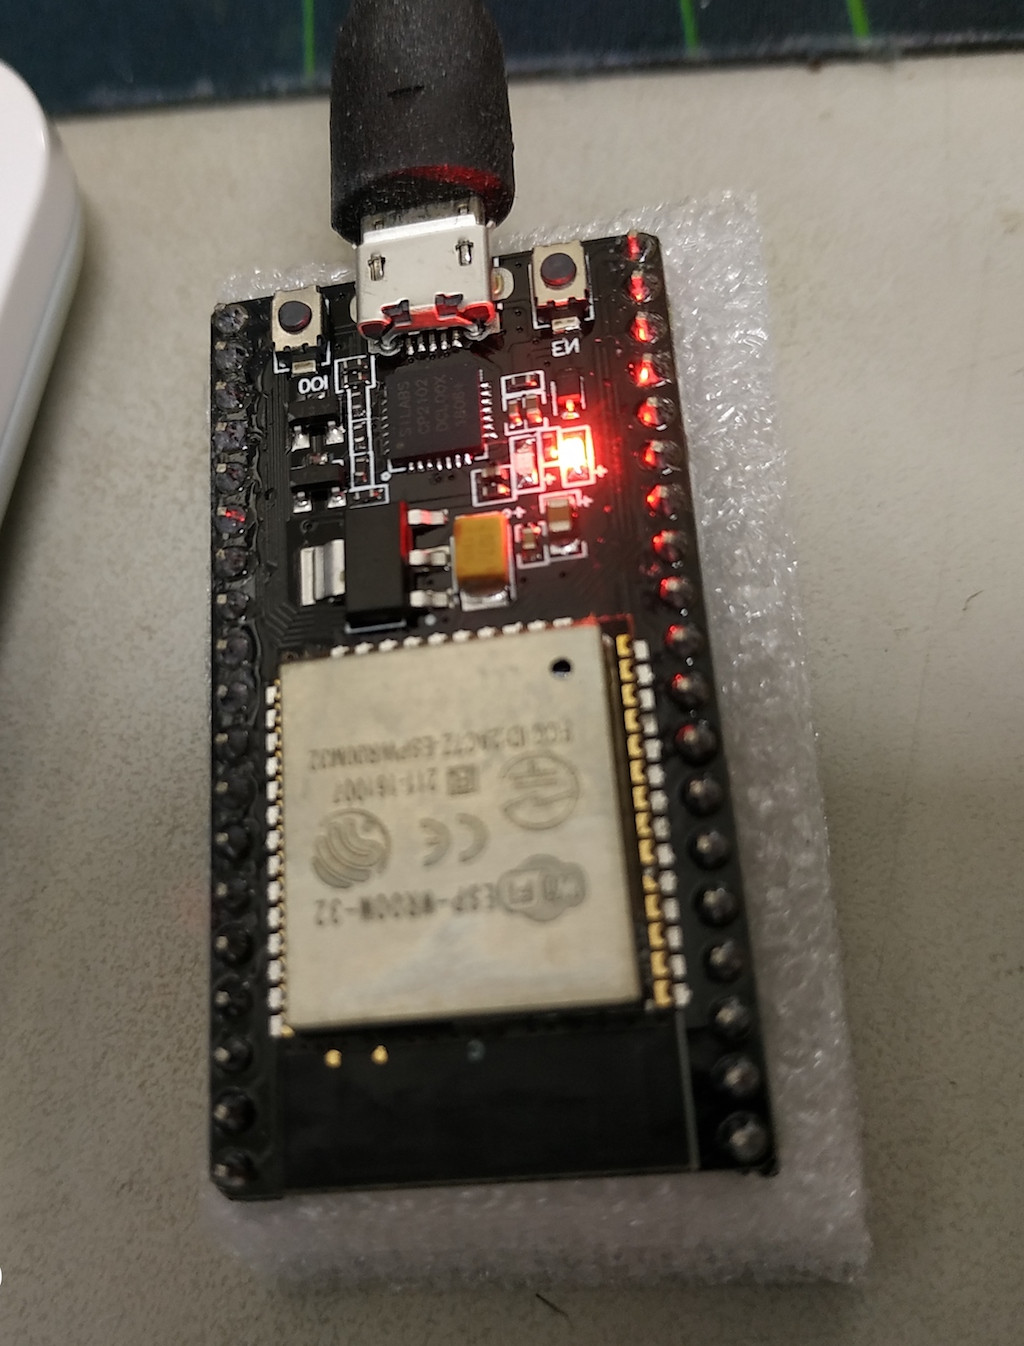
ESP32 目前連結開發
ESP32
傳統藍牙應用部分 SPP,簡單到不能再簡單了!
#include "BluetoothSerial.h"

#if !defined(CONFIG_BT_ENABLED) || !defined(CONFIG_BLUEDROID_ENABLED)
#error Bluetooth is not enabled! Please run `make menuconfig` to and enable it
#endif

BluetoothSerial SerialBT;

void setup() {
  Serial.begin(115200);
  SerialBT.begin("ESP32_BT"); //藍芽裝置名稱
  Serial.println("The device started, now you can pair it with bluetooth!");
}

void loop() {
  if (Serial.available()) {
    //電腦端接受資料發送到藍牙
    SerialBT.write(Serial.read());
  }
  if (SerialBT.available()) {
    //藍牙端接受資料發送到電腦
    Serial.write(SerialBT.read());
  }
  delay(20);
}
這裡使用的範例也是想達到類似 Uart 資料發送接收不過,改為以服務的特徵方式一個是通知代繳資料回傳(RX),一個是可以寫入特徵代表資料傳入(TX)。
Loop 部分不斷發送隨意資料。
特徵碼部分也是 可以去 https://www.uuidgenerator.net/ 隨意生成。
/*
    Video: https://www.youtube.com/watch?v=oCMOYS71NIU
    Based on Neil Kolban example for IDF: https://github.com/nkolban/esp32-snippets/blob/master/cpp_utils/tests/BLE%20Tests/SampleNotify.cpp
    Ported to Arduino ESP32 by Evandro Copercini

   Create a BLE server that, once we receive a connection, will send periodic notifications.
   The service advertises itself as: 6E400001-B5A3-F393-E0A9-E50E24DCCA9E
   Has a characteristic of: 6E400002-B5A3-F393-E0A9-E50E24DCCA9E - used for receiving data with "WRITE"
   Has a characteristic of: 6E400003-B5A3-F393-E0A9-E50E24DCCA9E - used to send data with  "NOTIFY"

   The design of creating the BLE server is:
   1. Create a BLE Server
   2. Create a BLE Service
   3. Create a BLE Characteristic on the Service
   4. Create a BLE Descriptor on the characteristic
   5. Start the service.
   6. Start advertising.

   In this example rxValue is the data received (only accessible inside that function).
   And txValue is the data to be sent, in this example just a byte incremented every second.
*/
#include <BLEDevice.h>
#include <BLEServer.h>
#include <BLEUtils.h>
#include <BLE2902.h>

BLEServer *pServer = NULL;
BLECharacteristic * pTxCharacteristic;
bool deviceConnected = false;
bool oldDeviceConnected = false;
uint8_t txValue = 0;

// See the following for generating UUIDs:
// https://www.uuidgenerator.net/

#define SERVICE_UUID           "4fafc201-1fb5-459e-8fcc-c5c9c331914b" // UART service UUID
#define CHARACTERISTIC_UUID_RX "6E400002-B5A3-F393-E0A9-E50E24DCCA9E"
#define CHARACTERISTIC_UUID_TX "6E400003-B5A3-F393-E0A9-E50E24DCCA9F"


class MyServerCallbacks: public BLEServerCallbacks {
    void onConnect(BLEServer* pServer) {
      deviceConnected = true;
    };

    void onDisconnect(BLEServer* pServer) {
      deviceConnected = false;
    }
};

class MyCallbacks: public BLECharacteristicCallbacks {
    void onWrite(BLECharacteristic *pCharacteristic) {
      std::string rxValue = pCharacteristic->getValue();

      if (rxValue.length() > 0) {
        Serial.println("*********");
        Serial.print("Received Value: ");
        for (int i = 0; i < rxValue.length(); i++)
          Serial.print(rxValue[i]);

        Serial.println();
        Serial.println("*********");
      }
    }
};


void setup() {
  Serial.begin(115200);

  // Create the BLE Device
  BLEDevice::init("UARTService");

  // Create the BLE Server
  pServer = BLEDevice::createServer();
  pServer->setCallbacks(new MyServerCallbacks());

  // Create the BLE Service
  BLEService *pService = pServer->createService(SERVICE_UUID);

  // Create a BLE Characteristic
  pTxCharacteristic = pService->createCharacteristic(
										CHARACTERISTIC_UUID_TX,
										BLECharacteristic::PROPERTY_NOTIFY
									);

  pTxCharacteristic->addDescriptor(new BLE2902());

  BLECharacteristic * pRxCharacteristic = pService->createCharacteristic(
											 CHARACTERISTIC_UUID_RX,
											BLECharacteristic::PROPERTY_WRITE
										);

  pRxCharacteristic->setCallbacks(new MyCallbacks());

  // Start the service
  pService->start();

  // Start advertising
  pServer->getAdvertising()->start();
  Serial.println("Waiting a client connection to notify...");
}

void loop() {

    if (deviceConnected) {
        pTxCharacteristic->setValue(&txValue, 1);
        pTxCharacteristic->notify();
        txValue++;
		delay(10); // bluetooth stack will go into congestion, if too many packets are sent
	}

    // disconnecting
    if (!deviceConnected && oldDeviceConnected) {
        delay(500); // give the bluetooth stack the chance to get things ready
        pServer->startAdvertising(); // restart advertising
        Serial.println("start advertising");
        oldDeviceConnected = deviceConnected;
    }
    // connecting
    if (deviceConnected && !oldDeviceConnected) {
		// do stuff here on connecting
        oldDeviceConnected = deviceConnected;
    }
}
藍芽服務連結與測試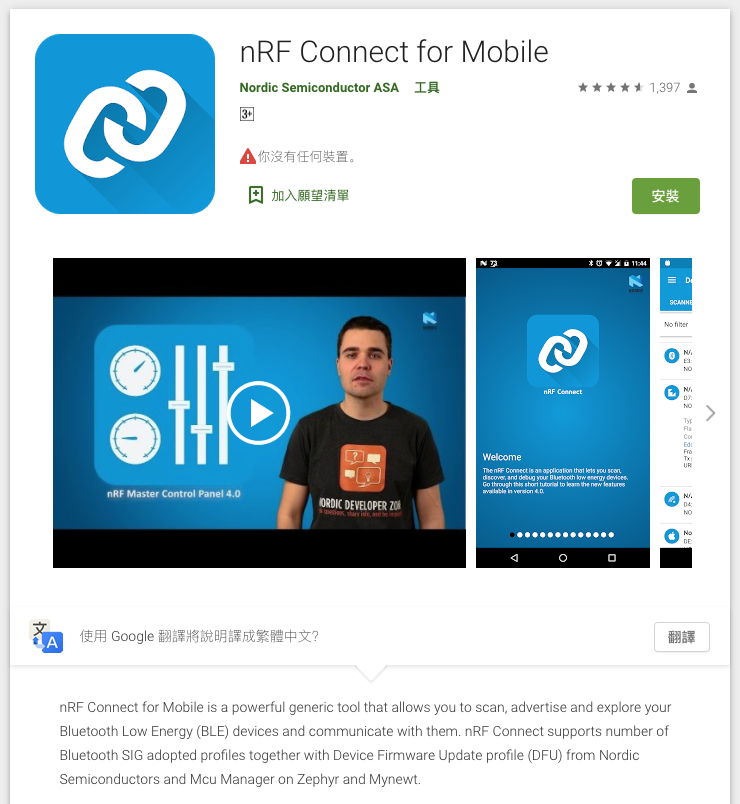
手機推薦測試軟體 https://play.google.com/store/apps/details?id=no.nordicsemi.android.mcp
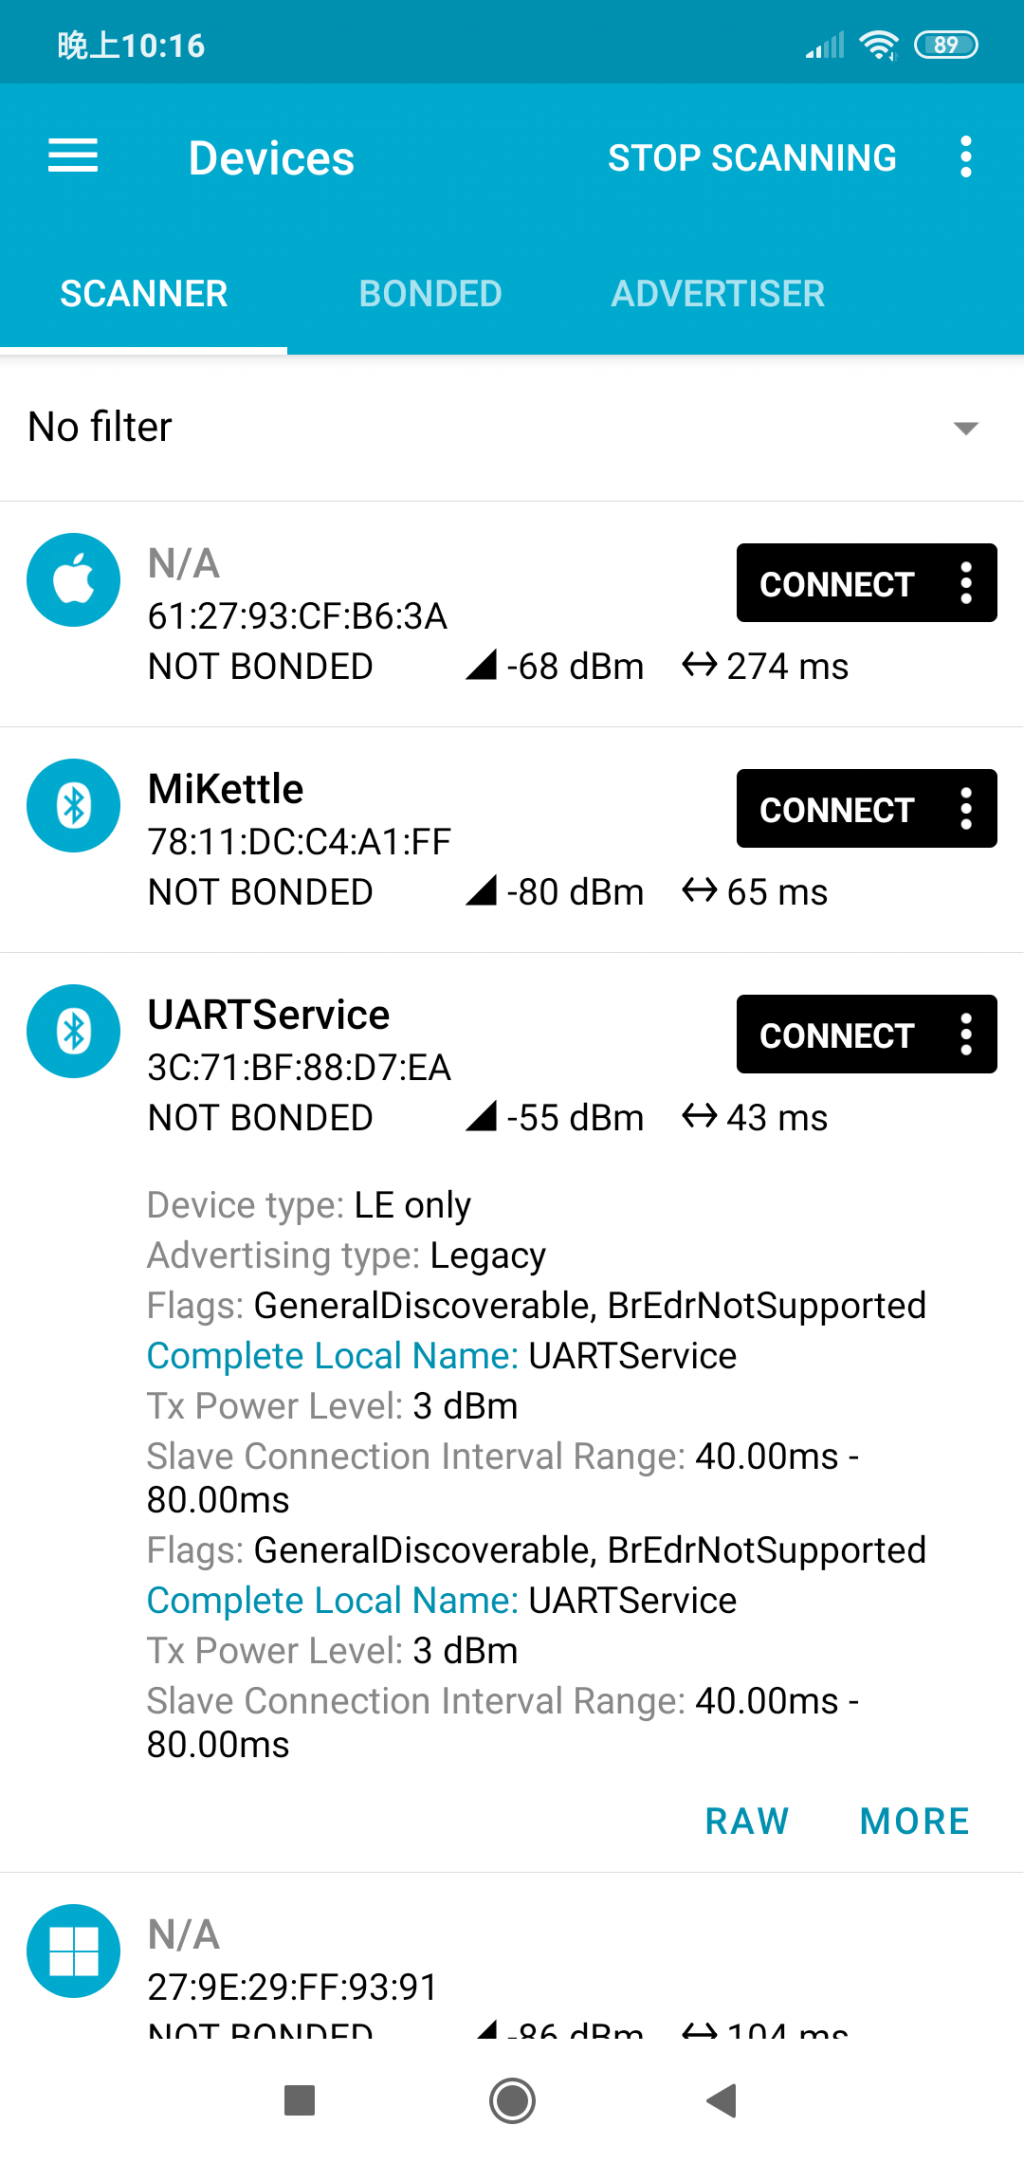
已找到我們定義的裝置與服務
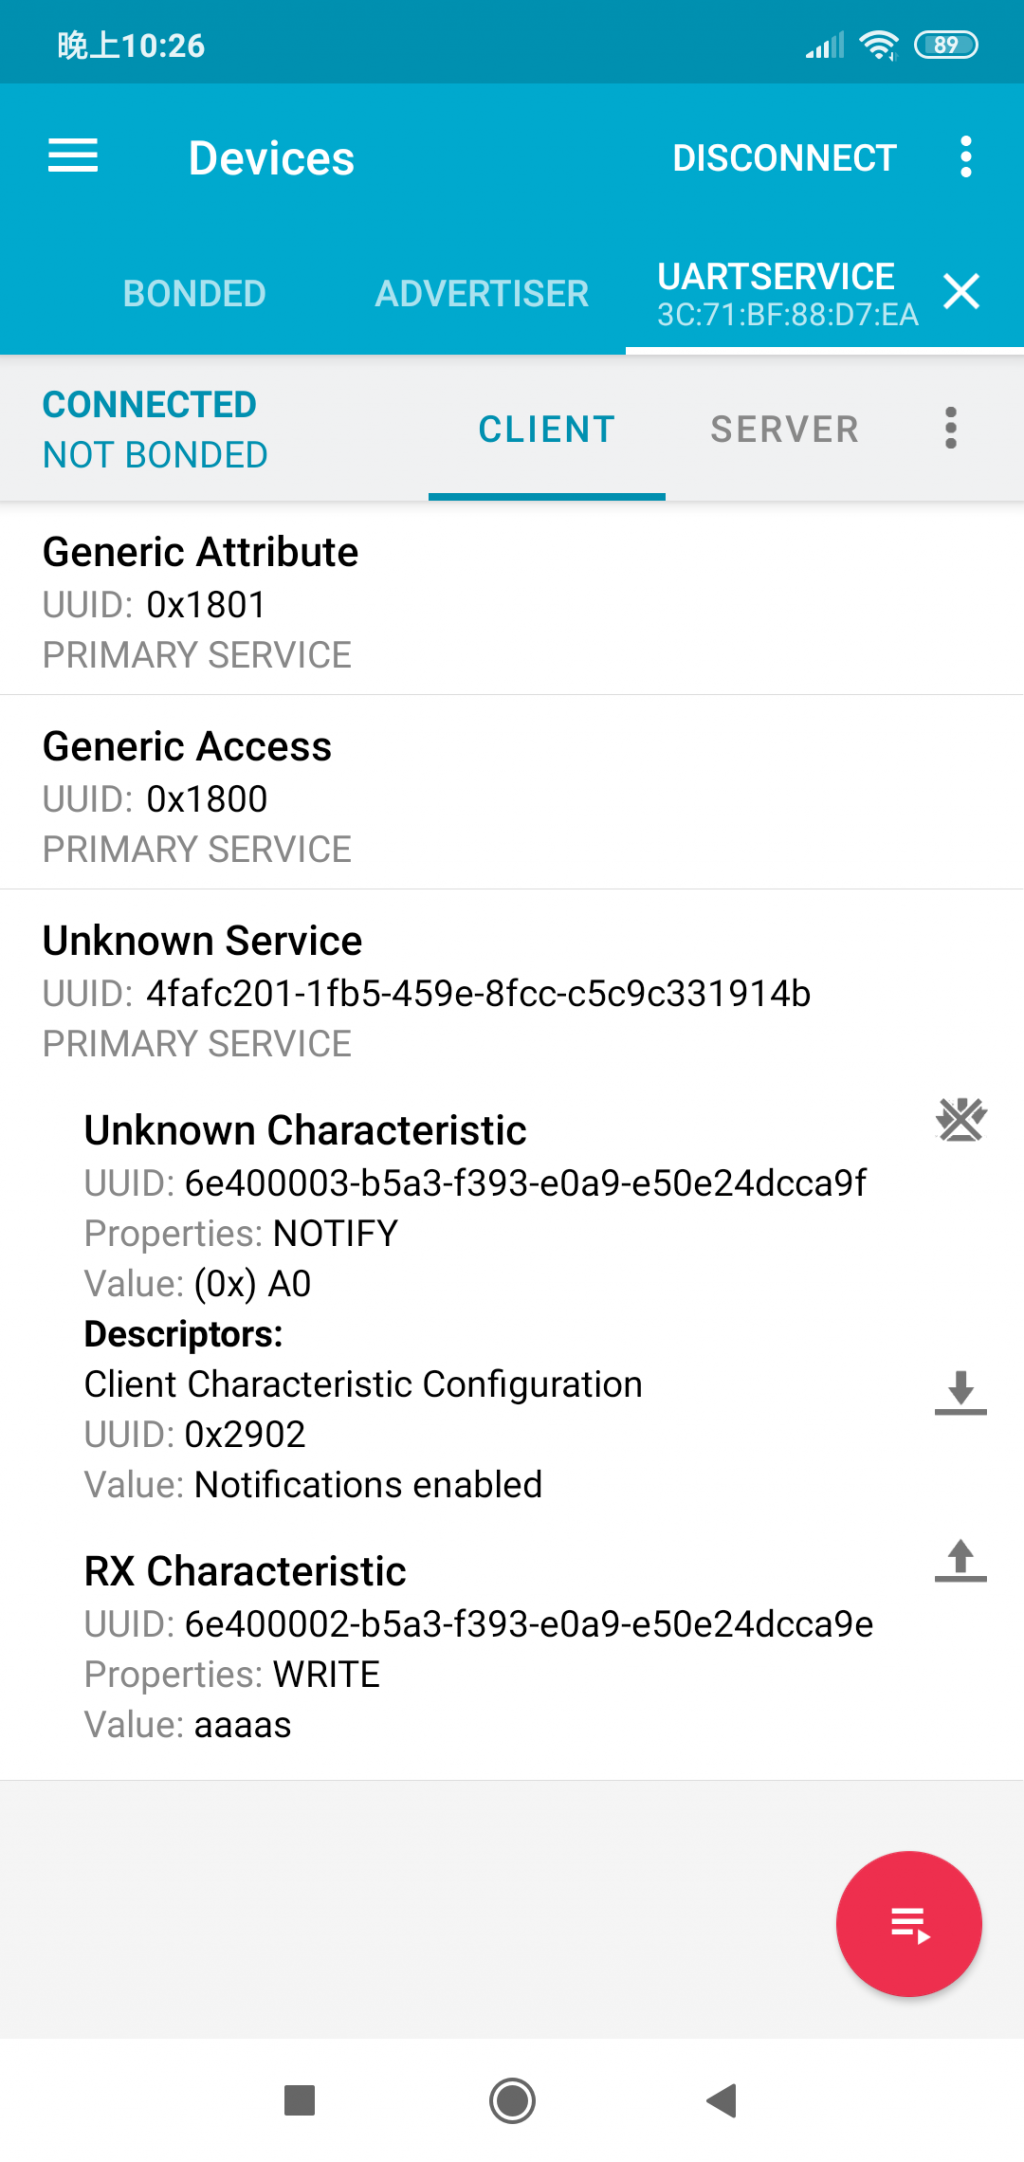
查看詳細資料可以看到接收與我們發送的兩個特徵
今天有別於一班藍芽模組的使用方式,直接開發藍芽功能不用再外掛模組!