在許多的情況我們都會需要條列一些資料,或者需要一大筆的選單,此時我們就會使用UITableView。
首先我們先啦一個 TableView 的元件至我們的 Storyboard ,接著在 TableView的設定中增加一個 Prototype Cell , Cell 就是指 TableView 的資料的容器。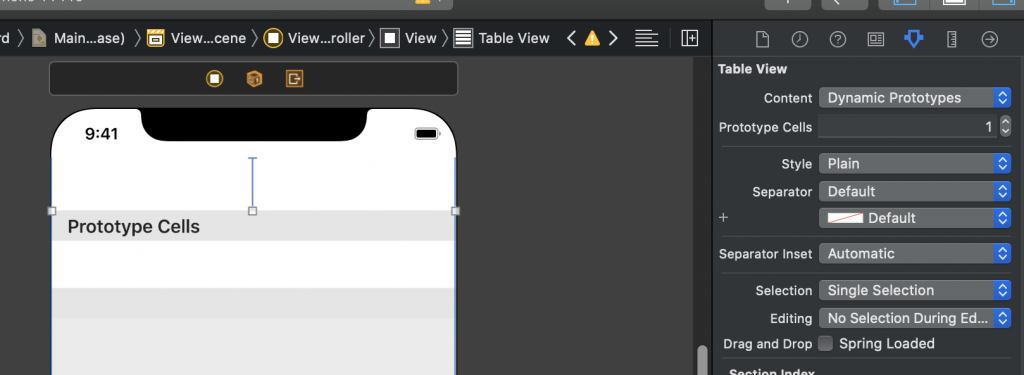
UITableView 的 @IBOutlet
@IBOutlet weak var tableView: UITableView!
再來為 ViewController 新增一個 extension
extension ViewController: UITableViewDelegate, UITableViewDataSourse {
    func tableView(_ tableView: UITableView, numberOfRowsInSection section: Int) -> Int {
        <#code#>
    }

    func tableView(_ tableView: UITableView, cellForRowAt indexPath: IndexPath) -> UITableViewCell {
        <#code#>
    }
}
在第一個 numberOfRowsInSection 的 Function 指的是有幾組資料,第二個 cellForRowAt 則是負責將資料寫入 Cell 的 Function。
再來我們用陣列的方式宣告一組資料。
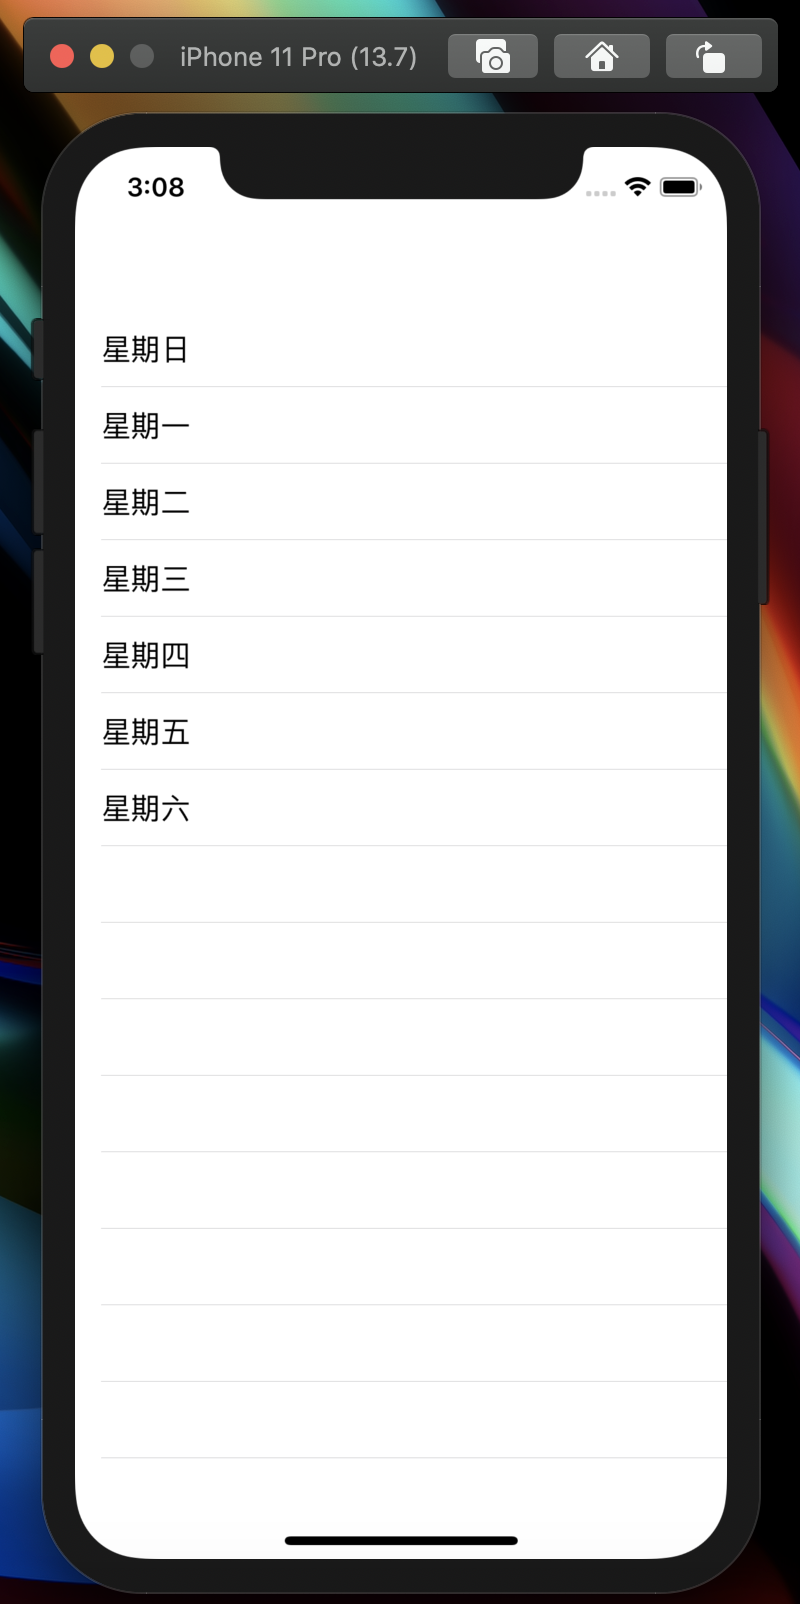
let datas = ["星期日","星期一","星期二","星期三","星期四","星期五","星期六"]
回到 extension ,在第一個 Function 我們 return 資料組內資料的個數。
return datas.count
第二個 Function 寫入 Cell 的資料
let cell = tableView.dequeueReusableCell(withIdentifier: "myCell", for: indexPath)
cell.textLabel?.text = datas[indexPath.row]
return cell
在 viewDidLoad 內設定委任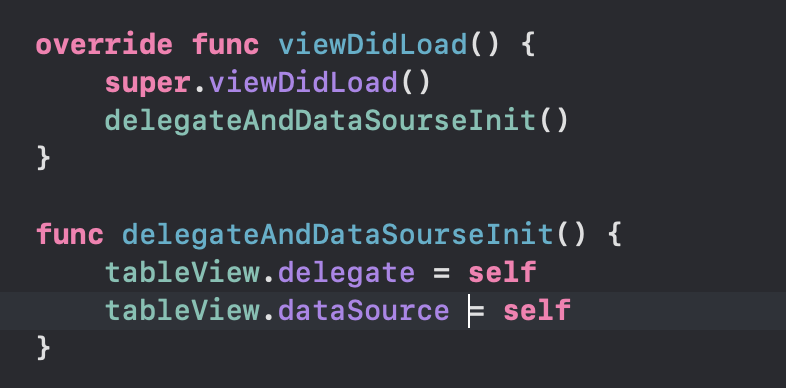
回到 Storyboard 點擊 Prototype Cell 並設定 Identifier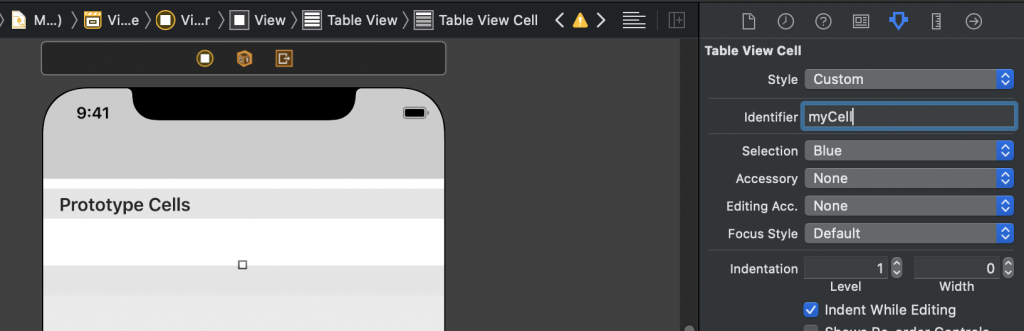
按下 Command + R 看看我們的成果。