對於初學著來說(像我本人),一開始如果沒先了解佈局的運作容易在佈局的編排上產生問題,所以第一篇先來介紹基本的佈局LinerLayout
LinerLayout(線性佈局)
其主要的佈局方向分成水平(horizontal)和垂直(vertical)兩部分
效果大致如下:
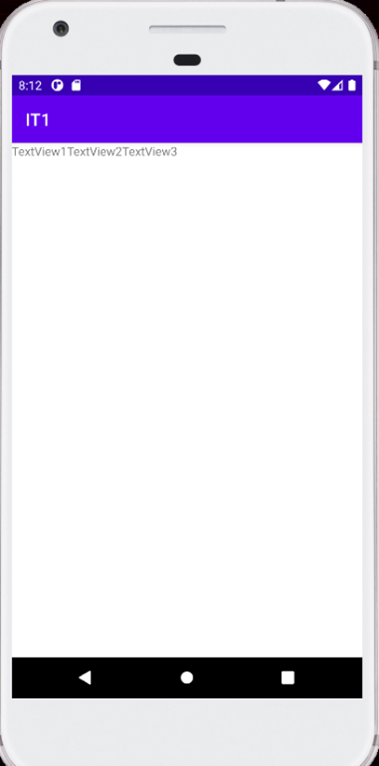
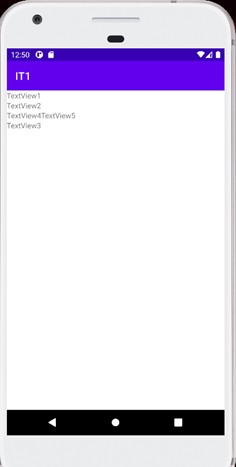
其主要差在android:orientation=”” 的部分,一個填上horizontal另一個則填上vertical。不過這裡稍微提一下在android:layout_weight和android:layout_height所設定的值,有wrap_content和match_parent兩種,前著會跟隨TextView或其他所設定的子元件內容調整合適的長寬,後著會跟隨父元件的大小調整至合適的狀態,也可以直接輸入數字加單位(如60dp)設定自己想要的長寬。也可以試著結合兩著運用,例如一開始用垂直(vertical)在第三橫行時用水平(horizontal),做出不同的排列。依此類推,也可以透過這種做法做出類似表格的效果。簡單運用的例子給大家參考
<LinearLayout xmlns:android="http://schemas.android.com/apk/res/android"
    xmlns:tools="http://schemas.android.com/tools"
    android:layout_width="match_parent"
    android:layout_height="match_parent"
    android:orientation="vertical"
    tools:context=".MainActivity">

        <TextView
            android:layout_width="wrap_content"
            android:layout_height="wrap_content"
            android:text="TextView1" />

        <TextView
            android:id="@+id/textView"
            android:layout_width="wrap_content"
            android:layout_height="wrap_content"
            android:text="TextView2" />
        <LinearLayout
            android:layout_width="match_parent"
            android:layout_height="wrap_content"
            android:orientation="horizontal">

            <TextView
                android:id="@+id/tv2"
                android:layout_width="wrap_content"
                android:layout_height="wrap_content"
                android:text="TextView4" />

            <TextView
                android:id="@+id/tv3"
                android:layout_width="wrap_content"
                android:layout_height="wrap_content"
                android:text="TextView5" />
        </LinearLayout>
        <TextView
            android:id="@+id/textView2"
            android:layout_width="wrap_content"
            android:layout_height="wrap_content"
            android:text="TextView3" />
</LinearLayout>
最後總結一下