在玩AR APP時都有一個拍照功能,本次章節會介紹如何撰寫Unity的截圖功能
先在Project新增一個C# Sprite並命名為Photo
打開Photo撰寫程式碼
using System.Collections;
using System.Collections.Generic;
using UnityEngine;

public class Photo : MonoBehaviour
{

    [Header("檔案名稱")]
    public string FileName;
    int FileNumber;
    [Header("APP上的UI")]
    public GameObject[] UIs;

    public void CapturePhoto() {
        //先將UI全部關閉
        for (int i = 0; i < UIs.Length; i++) {
            UIs[i].SetActive(false);
        }
        //每按一次按鈕FileNumber會+1
        FileNumber += 1;
        //圖片名稱為IThomeAR + FileNumber.png
        FileName = "IThomeAR" + FileNumber + ".png";
        //截圖的程式碼
        ScreenCapture.CaptureScreenshot(Application.persistentDataPath + FileName);
        //2秒後執行打開UI的函式
        Invoke("openUI", 2);
    }
    void openUI() {
        //將UI全部開啟
        for (int i = 0; i < UIs.Length; i++)
        {
            UIs[i].SetActive(true);
        }
    }
}
在Hierarchy新增一個Button並將Text改為拍照。
將Photo腳本拖曳給EventSystem,點擊EventSystem打開Inspector在Photo裡有個UIs把Size改為Canvas下有在畫面上的UI數量,像下圖中有父物件包著多個Button的話只要拉父物件到UIs就可以了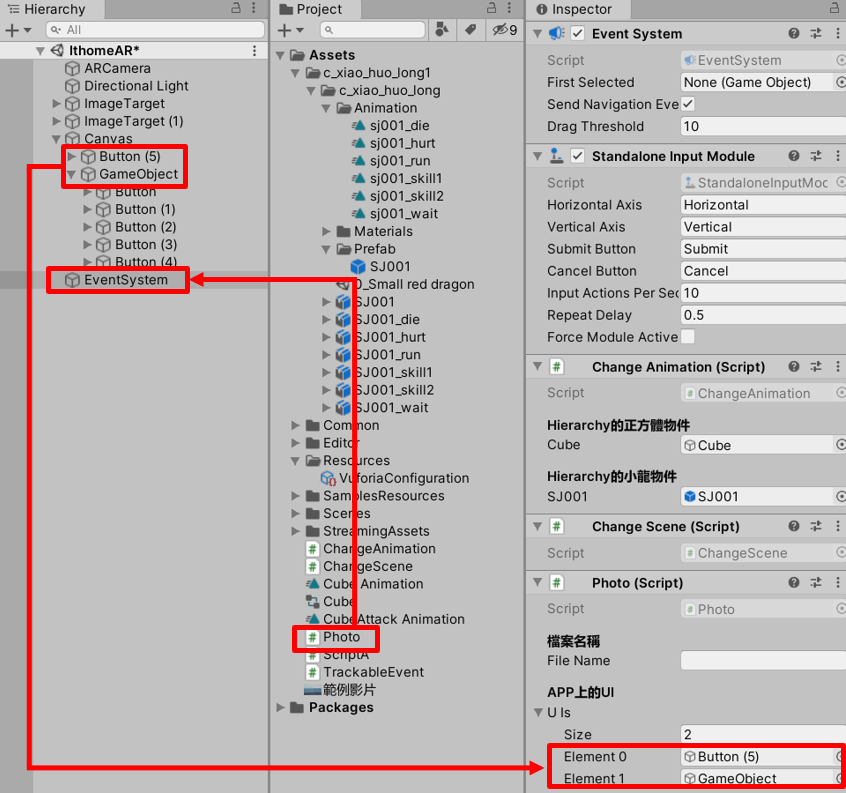
點擊新增的Button打開Inspector點擊OnClick()+號把EventSystem拖曳到GameObject(None)選擇Photo→CapturePhoto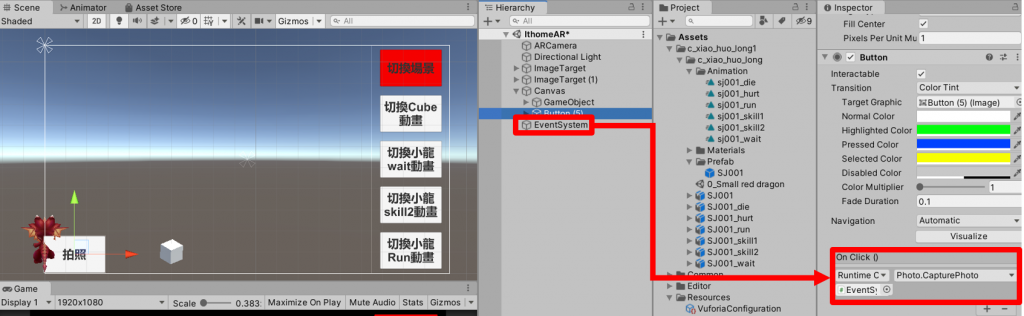
按下執行鍵後點擊拍照就會有照片在電腦裡囉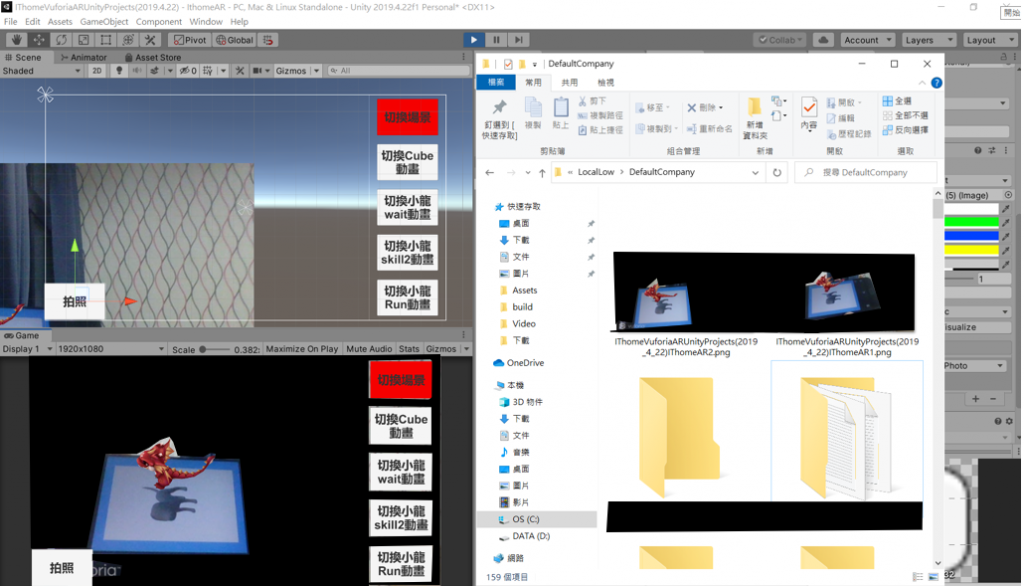
電腦拍照後所擷取的路徑在C:\Users\user\AppData\LocalLow\DefaultCompany
如果找不到截圖路徑的話可以參考這篇
https://docs.unity3d.com/ScriptReference/Application-persistentDataPath.html
下一章節會教大家如何在APP開啟網站