補充昨天忘記下的結論:不管要繪製的圖案多大,都建議畫(儲存)在一個和原圖一樣大的canvas上,取代原本的圖案,當作未來的繪製來源。
let leafImg = new Array();
let pngImg = new Array();
for(let N = 0; N < 4; N++){ // 準備了四種樹葉素材
    leafImg[N] = new Image();
    // 等待每一張圖片讀取好
    leafImg[N].onload = () => {
        // 每張圖片創建一個對應的畫布
        pngImg[N] = document.createElement('canvas');
        pngImg[N].width = leafImg[N].width;
        pngImg[N].height = leafImg[N].height;
        let ctx = pngImg[N].getContext("2d");
        // 畫一次就可以了,以後就拿pngImg[N]來當圖片(N為0~3之間)
        ctx.drawImage(leafImg[N], 0, 0, leafImg[N].width, leafImg[N].height);
    }
}
// 依序設置圖片的src(略)
也就是把昨天我們設定大小為30x30的那些畫布,改成和圖片相同的大小,即使如此,仍然可以減輕繪圖的負擔,實測都是100x100px的情況下:
相當推薦大家使用這個方法,先把要用到的圖片轉存一次!
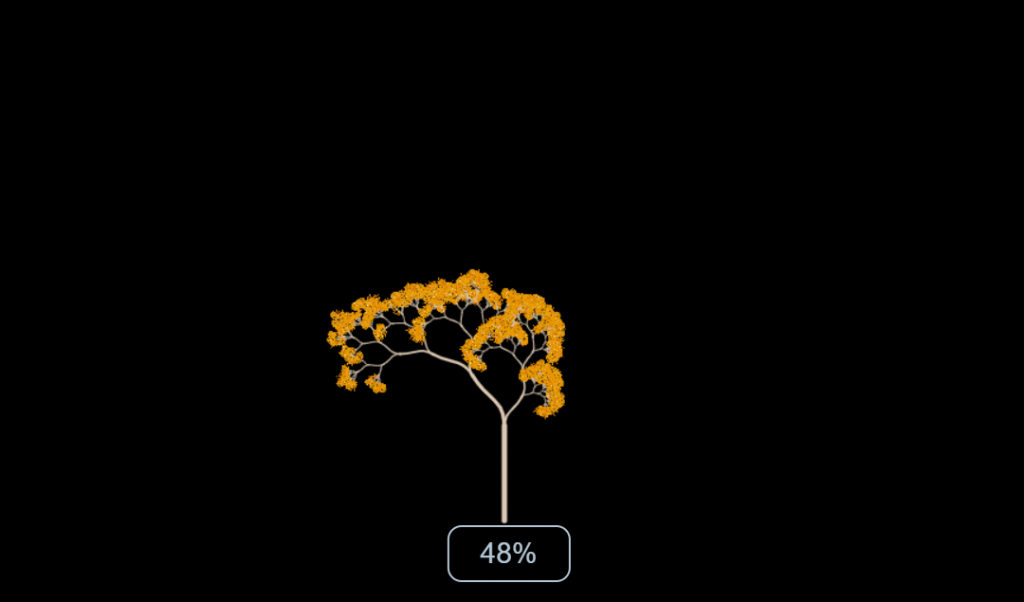
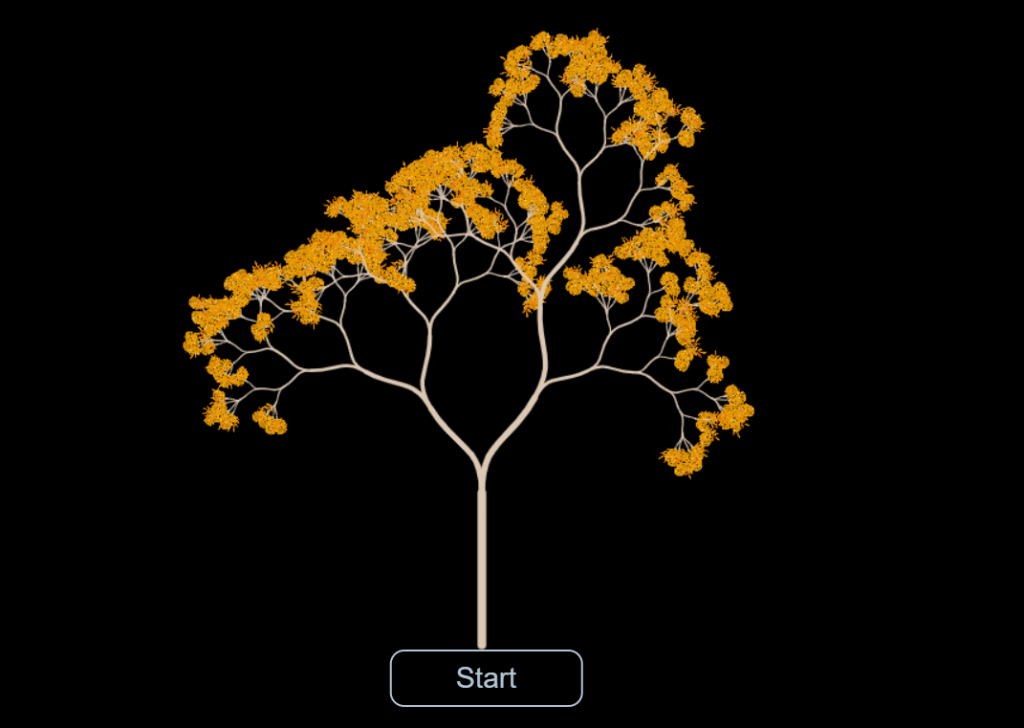
因為只是要做這個遊戲的原型,先有個主體就好,就先不設定背景,一般遊戲檔案載入都會有一定時間,那麼我們就先假裝我們正在載入,設計一下這個頁面吧!
// 獲取開始按鈕的寬度
let Start = document.querySelector("#Start");
let Start_CSS = window.getComputedStyle(Start);
let minWidth = Math.floor(Start_CSS.width.substring(0, Start_CSS.width.lastIndexOf("p")));

// 動畫框架
requestAnimationFrame(LoadingScreen);
function LoadingScreen(){
    try{
        Resize("#game-box", canvas, context, '#000');
        clear(context);

        // 1. 讓樹長出來
        treeGrowth.NextFrame(1, -1, 3);
        myTree.Transform();
        myTree.Draw();

        // 2. 讀取進度條
        if(loading.timer > 0){
            loading.NextFrame(1, 0, 2);
            let percent = Math.floor(loading.pointX * 100);
            Start.style.width = minWidth + percent + "px";
            Start.textContent = percent + "%";
        }
        else Start.textContent = "Start";
    }catch(e){
        console.log(e);
        return;
    }
    requestAnimationFrame(LoadingScreen);
}
今天時間有點趕可能沒辦法一一解釋,主要是把之前的技術整合起來,分別說明兩大項:
第二章所設計的緩衝函式,稍微改了個名字和微調,在建構式中先設定起始點,再用NewTarget方法來設定終點,同時也把Restore方法的定義寫在當中,便可用來持續重置動畫:
let Trail = function(x = 0, y = 0, visibility = false){
    this.pointX = x;
    this.pointY = y;
    this.originX = x;
    this.originY = y;
    this.period = 1;
    this.timer = 0;
    this.timestamp = Date.now();

    this.NewTarget = function(targetX = 1, targetY = 1, frames = 60){
        this.targetX = targetX;
        this.targetY = targetY;
        this.originX = this.pointX;
        this.originY = this.pointY;
        this.timer = frames;
        this.period = frames;
        this.Restore = function(){
            this.pointX = x;
            this.pointY = y;
            this.originX = x;
            this.originY = y;
            this.timer = frames;
            this.period = frames;
        };
    };
    // 以下略
    // NextFrame方法
}
把Restore包在NewTarget,是因為在輸入參數時,比如說frames = 90,會把Restore中的this.timer設定成frames當下的值,也就是說無須另外設定一個變數存取該值。
舉實際例子,接下來我會分別為樹的成長和畫面讀取寫入:
let treeGrowth = new Trail(0, 0, false);
let loading = new Trail(0, 0, false);
treeGrowth.NewTarget(1, 0, 90);
loading.NewTarget(1, 0, 90);
我們只需要一個變數X,由0到1,而Y皆設為0,兩個動畫偵數設為90
當new Traail(x, y, visibility)設置為(0, 0, false),Restore函式就會變成:
this.Restore = function(){
    this.pointX = 0;
    this.pointY = 0;
    this.originX = 0;
    this.originY = 0;
    this.timer = frames;
    this.period = frames;
};
當NewTarget(targetX, targetY, frames)設置為(1, 0, 90),Restore函式就會變成:
this.Restore = function(){
    this.pointX = 0;
    this.pointY = 0;
    this.originX = 0;
    this.originY = 0;
    this.timer = 90;
    this.period = 90;
};
那麼讓樹長出來應該就不難理解了,把昨天的Transform方法中grow變數的代碼處修改成:
Stick.prototype.grow = treeGrowth.pointX;
就可以順利使用一開始貼上的代碼:
// 1. 讓樹長出來
treeGrowth.NextFrame(1, -1, 3);
myTree.Transform();
myTree.Draw();
加上事件監聽,就可以利用Restore讓玩家在開頭畫面有些許的互動:「點擊畫面任一處」重新長出一顆新的樹。
let myTree = new Tree(WIDTH/2, 0.8 * HEIGHT, HEIGHT/6, 90, maxTimes)
let startScreen = document.querySelector("#startScreen");
startScreen.addEventListener('click', () =>{
    treeGrowth.Restore();
    myTree = new Tree(WIDTH/2, 0.8 * HEIGHT, HEIGHT/6, 90, maxTimes)
});
在HTML設計一個ID為Start的按鈕後,內文設"0%",上面我們在製作樹的時候,把樹根的Y座標設置在高度的80%,同樣CSS就是設計水平置中垂直80%,來跟樹相接:
<div id="startScreen">
    <button id="Start">0%</button>
</div>
接著用window.getComputedStyle方法取得目前該按鈕的寬度,做字串處理來取得數值的部分:
// 獲取開始按鈕的寬度
let Start = document.querySelector("#Start");
let Start_CSS = window.getComputedStyle(Start);
let minWidth = Math.floor(Start_CSS.width.substring(0, Start_CSS.width.lastIndexOf("p")));
接著在動畫框架中就可以利用緩衝函式loading的X座標映射到百分比percent,然後使按鈕的寬度逐次增加,直到動畫結束(也是loading.timer == 0為True的時候),就把該按鈕的內文改成Start。
// 2. 讀取進度條
if(loading.timer > 0){
    loading.NextFrame(1, 0, 2);
    let percent = Math.floor(loading.pointX * 100);
    Start.style.width = minWidth + percent + "px";
    Start.textContent = percent + "%";
}
else if(Start.disabled == true){ // 增設一個條件,避免重複設定Dom的屬性
    Start.textContent = "Start";
    Start.disabled = false; // 讓按鈕從disabled狀態回到可使用狀態
}
最後別忘了在玩家點擊開始按鈕後,要隱藏開始按鈕並且使該出現的東西出現,比如這邊我們在CSS替header隱藏了起來,那就要記得把display改回block,並且用cancelAnimationFrame方法取消讀取畫面的動畫:
Start.addEventListener("click", function(){
    Start.style.display = "none";
    let header = document.getElementsByTagName("header")[0];
    header.style.display = "block";
    cancelAnimationFrame(loadingAnime);
});
這邊我們用loadingAnime變數來指向動畫,才符合該方法的格式,那loadingAnime指向的動畫是誰呢?讓我們修改原本的動畫框架:
let loadingAnime = requestAnimationFrame(LoadingScreen);
function LoadingScreen(){
    // ......
    // 以上略
    loadingAnime = requestAnimationFrame(LoadingScreen);
}
就是requestAnimationFrame方法所回傳的值,暫存在loadingAnime裡面,拿去console查看會發現,他實際上只是一個數字、一個表示動畫的編號,似乎是從0開始累加,很可能表示了一連串的陣列
還記得參數(a, b, c)嗎?這次有稍作修改,作為可輸入的三個參數,若無輸入的情況,同樣能使用input作為預設值,剛剛樹的成長和進度條讀取分別用了不同的參數,不過frames皆設為90,因此視覺上仍然能保有一致性:
let Trail = function(x = 0, y = 0, visibility = false){
    // ......
    // 以上略
    this.NextFrame = function(a=input.linear, b=input.easein, c=input.easeout){
        if(this.timer > 0){
            let dX = this.targetX - this.originX;
            let dY = this.targetY - this.originY;
            let t = this.timer;
            let p = this.period;
            let linear = 1/p;
            let easeout = Math.pow(t/p, 2) - Math.pow((t-1)/p, 2);
            let easein = Math.pow(1 - (t-1)/p, 2) - Math.pow(1 - t/p, 2);
            this.pointX+= (a * linear + b * easein + c * easeout) / (a+b+c) * dX;
            this.pointY+= (a * linear + b * easein + c * easeout) / (a+b+c) * dY;
        }
        this.timer--;
        if(visibility){
            let width = WIDTH * 0.05;
            let height = WIDTH * 0.05 * mouseImg.height / mouseImg.width;
            context.save();
            context.translate(this.pointX, this.pointY);
            context.drawImage(mouseImg, -width/2, -height/2, width, height);
            context.restore();
        }
    };
}
唯一的不同處在於多了一個專為滑鼠設計的visibility,在作滑鼠追蹤時,不管是映射真實座標或是虛擬座標都很好用,上一個章節的愛心鼠標就是把這個設為true來繪製真實座標的


接下來兩天拚一下,等遊戲完成在來個大一點的demo吧!
