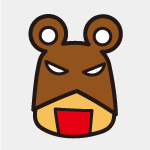
突然注意到信件夾出現ProtoPie 寄來的信,分享更多不同的教學。
很好奇他們是怎麼找到這些人,並且用什麼樣的方式合作。
這次是最早我看的影片教學任職於微軟做使用者經驗設計的 Abhas Sinha 。
看來都是有個人正職,又同時幫 ProtoPie 寫教學,是不是社群很強大?
問題些放下,以後可能就會得到答案。
今天要來跟看看信件分享的文字教學。
其實這次在寫鐵人賽才意識到,長期只看英文的缺點就是,其實很多東西的描述我其實不知道中文怎麼講。
這有時候會在溝通的時候造成詞不達意,以前就有發現跟某一任老闆溝通,如果講英文的部分他會直接忘掉。
後來就發現跟他互動要把所有的內容都轉成中文(即便有時候用英文可以減少一些溝通誤會)。
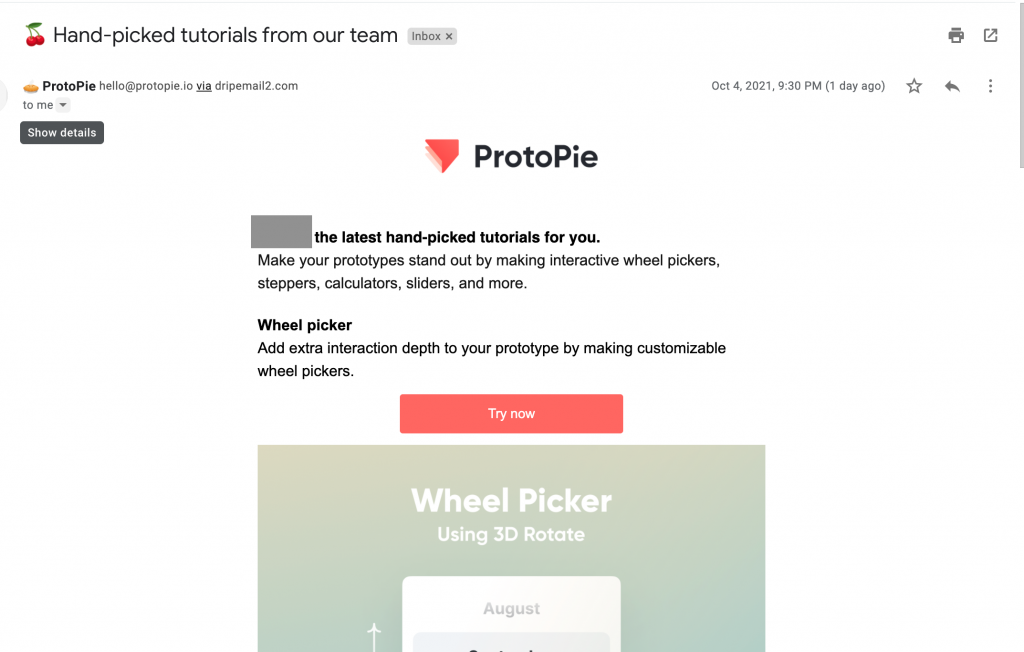
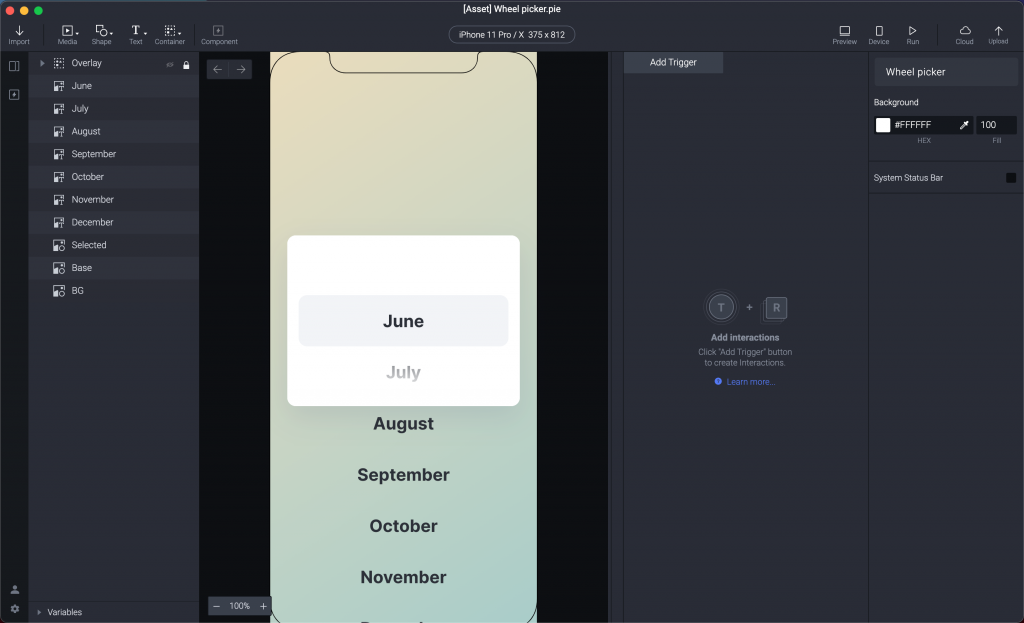
總之,滾輪選擇器,就是用手指上下滑動可以做選擇的一種選單。
自從有越來越小的觸控螢幕,從智能手機到智能手錶,都很容易看到這一種選單或其他變化型。
(例如不只有上下滾動,甚至可以多方向。)
講者舉的例子,常見有生日選擇器、或是只有少量選項的時候會用到。
(大概是因為如果選項非常多,而且又沒有一定的順序,用這種選則器會不知道自己滑到哪裡...)
這次我們使用 3D Rotate 和 Chain 要來製作滾輪選擇器,讓人在滑動的時候有物理上的滾輪視覺深淺變化。
我們大概會做到幾個東西:
然後在ProtoPie Studio 打開。
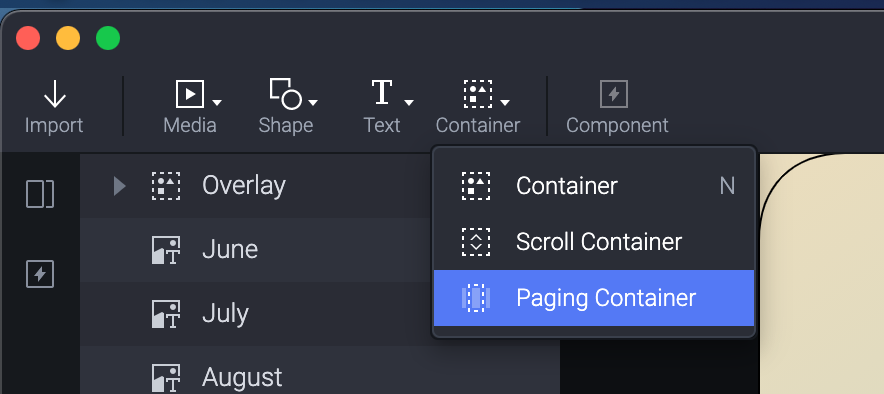
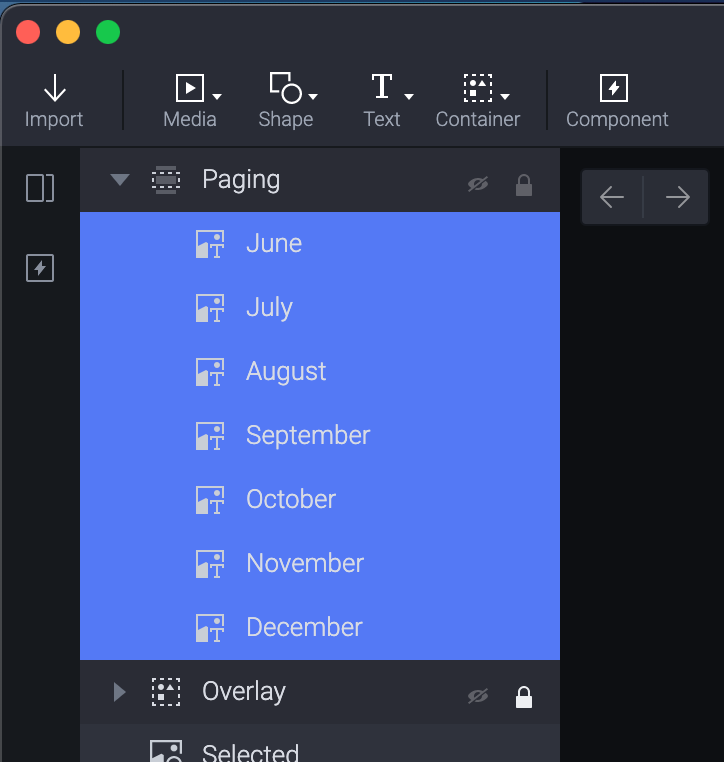
我們先製作一個 Paging Container,左上角選一下。
右手邊 Size 設定為 327 x 216 ,剛好可以蓋住中間的白色盒子。
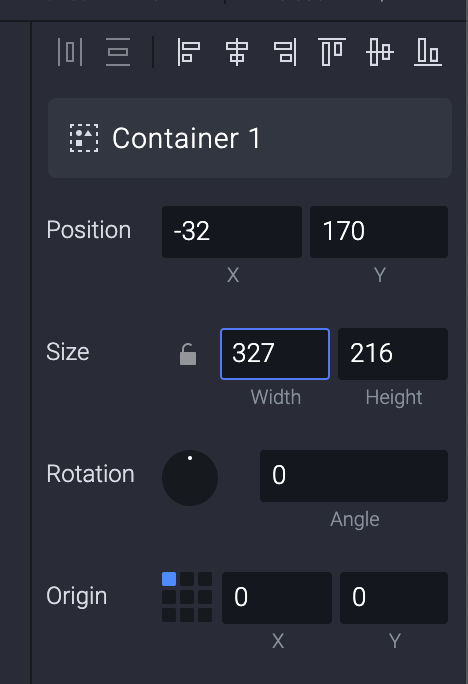
順便把名稱改為 Paging ,好的命名很重要!!!
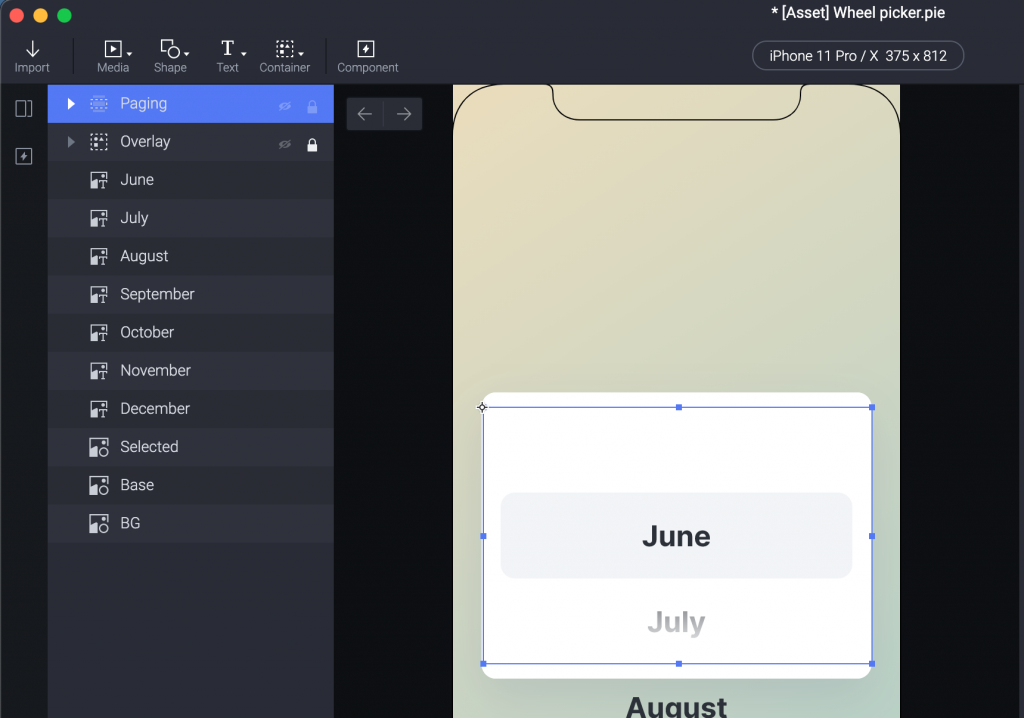
接下來選擇所有的月份。
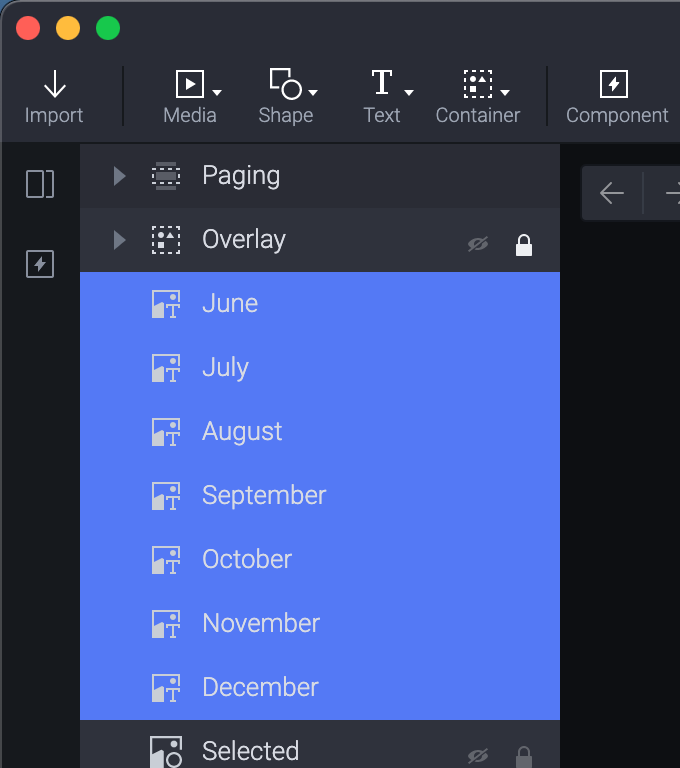
拉到 Paging 裡面。
講者這邊很貼心解釋為什麼前面 Paging Container 設定高度為 216 。
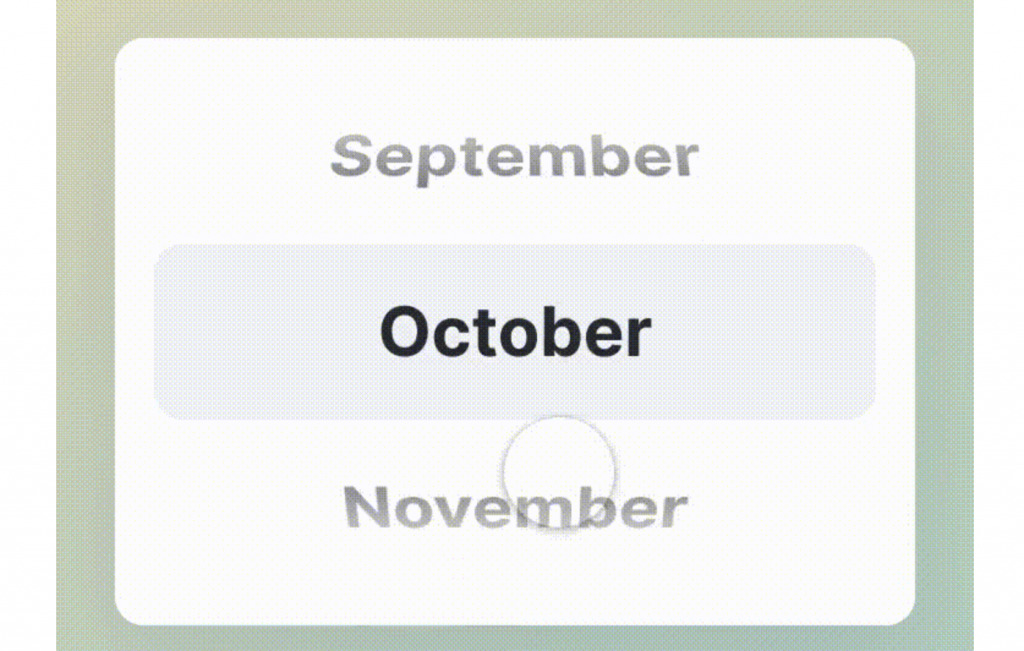
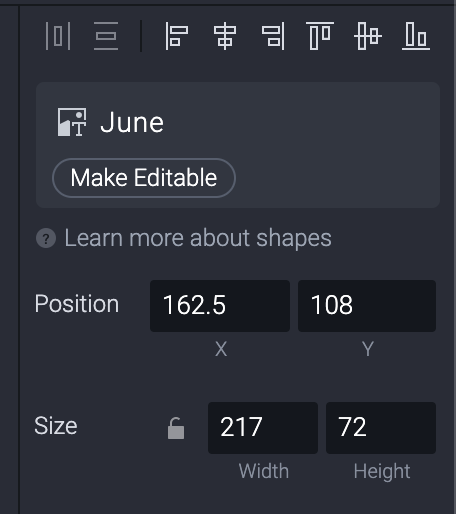
如果單獨看一個月份的高度是72 px。(例如這是 June)
一次如果要看三個月份的話,72 * 3 就是 216 。
而 Paging Container 的範圍是使用這可以觸摸得到的。
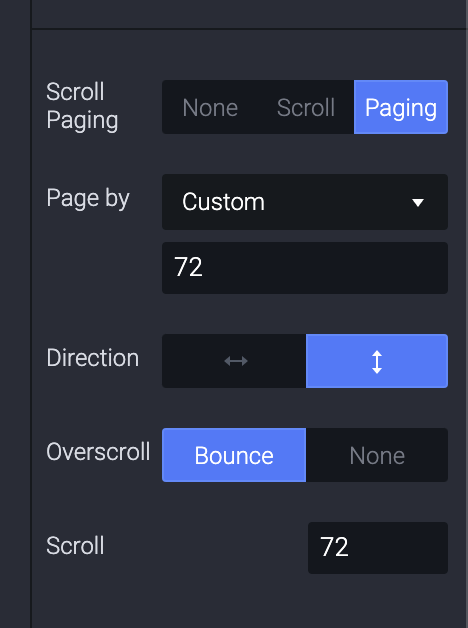
接下來選 Paging 這個 Layer ,改一下右手邊 Page by 成 Custom 設定為 72 。
這樣每一頁就會用 72 px 為單位改變。
Scroll也改成 72,這可能要看你想要什麼樣的感覺。
如果想要從第一個開始,最上面空白,那也可以設定成為 0。
設定成 72 會讓最上面有一格月份 June,中間從 July 選起。
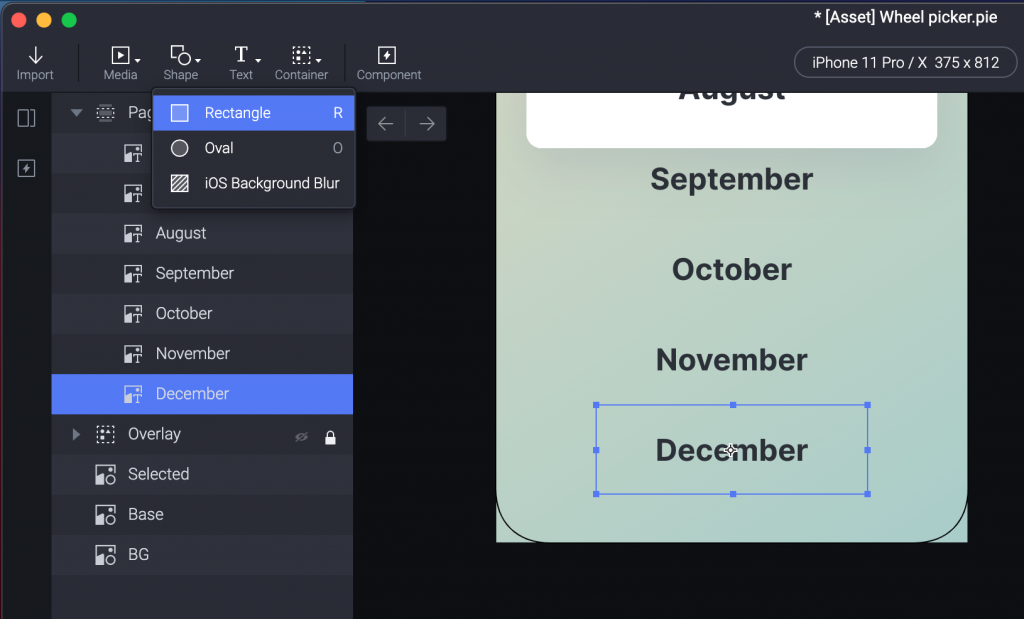
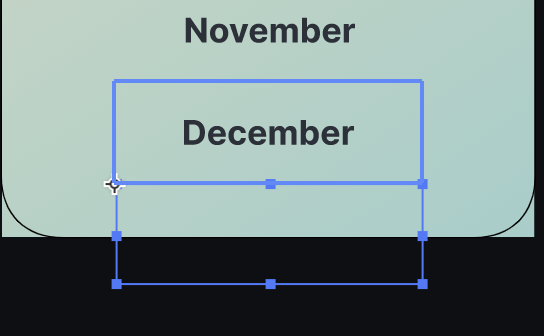
也因為上面的原因,我們要讓最後一個月份 December 最下面加一個 72 px 的高度,所以選到最後面 December 才會在中間。
我們用 Rectangle 做一個方塊,大小跟前面月份一樣 217 x 72 ,然後把透明度 Opacity 改成 0 ,這純粹只是幫忙置中用。
然後我們是不是很多月份都顯示在框框外面?
選一下 Paging Container ,右邊的設定 Clip Sublayers 勾一下。
沒勾選的樣子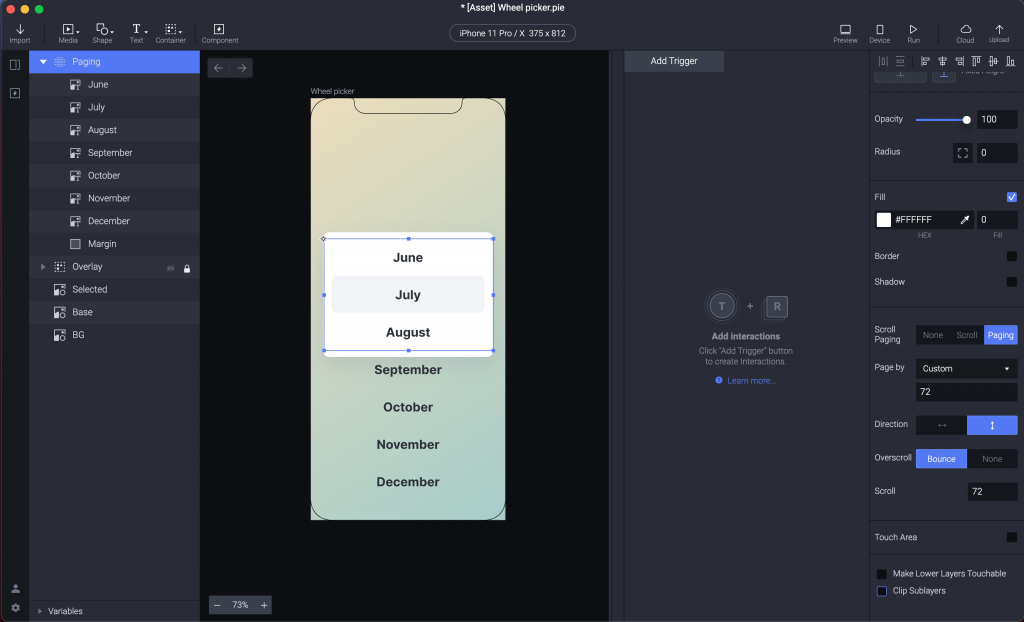
有勾選的樣子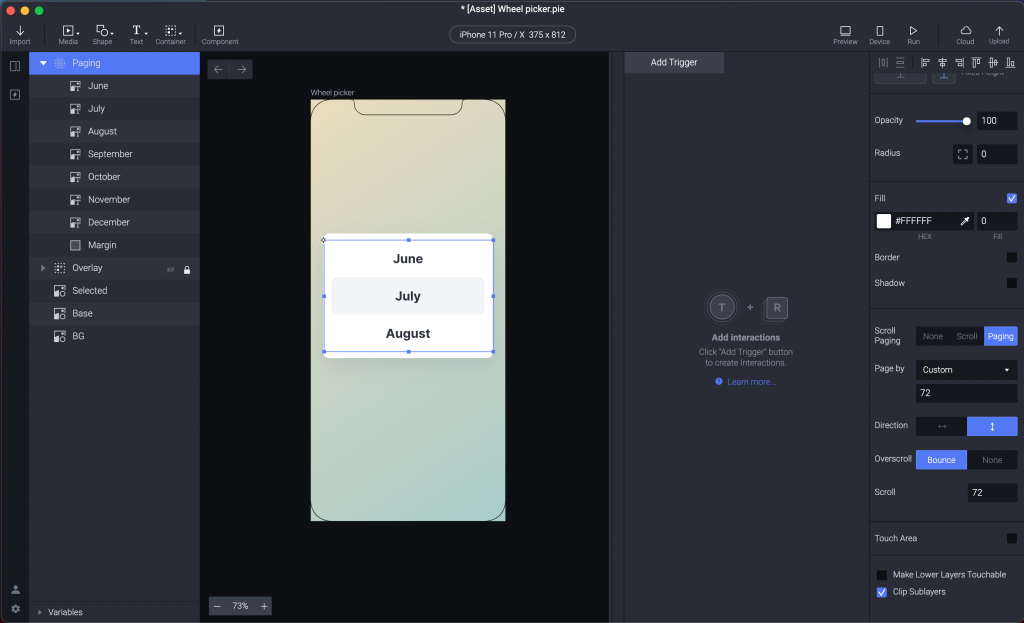
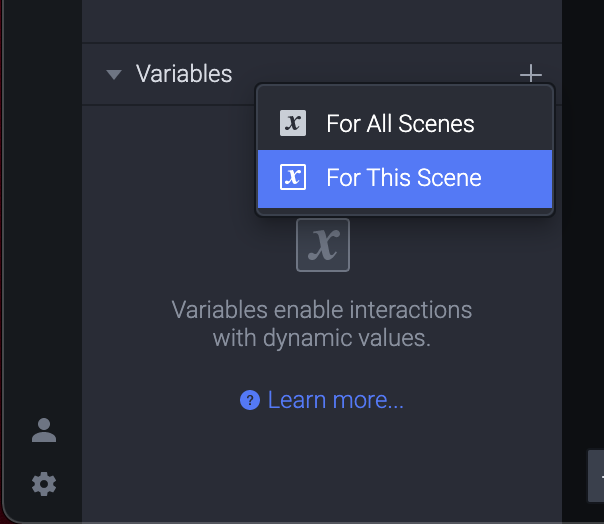
接下來我們需要一個變數 Variable 來追蹤使用者滾到哪去了。
左手邊最下方有個 Variable ,點開來可以新增一個。
記得要選為 For This Scene ,因為之後會使用 Formula 指定給這個 Variable 。
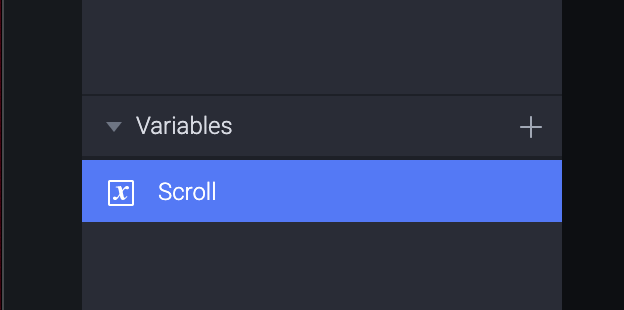
命名為 Scroll 。
右手邊勾選 Use Formula 。
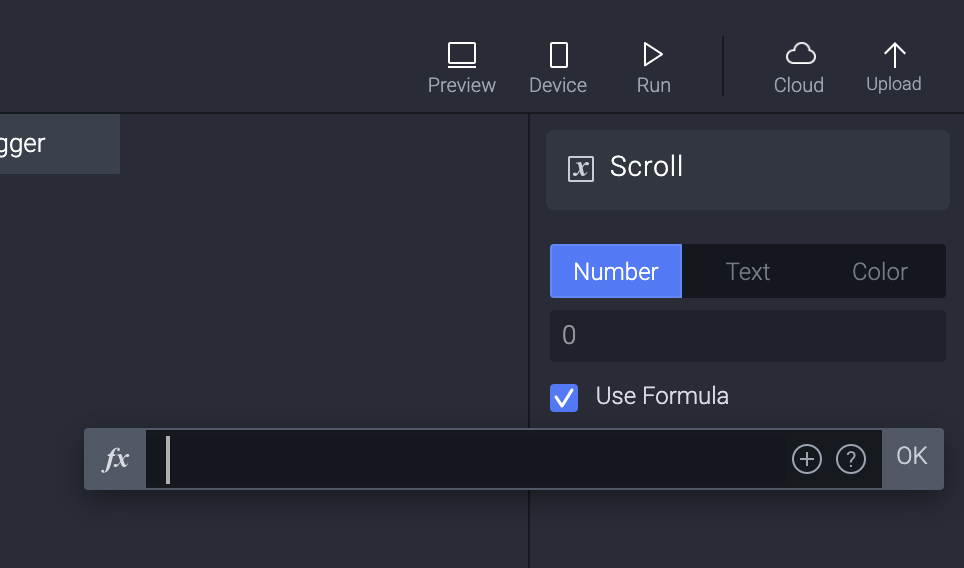
Formula 裡面輸入 'Paging'.scrollOffset 。
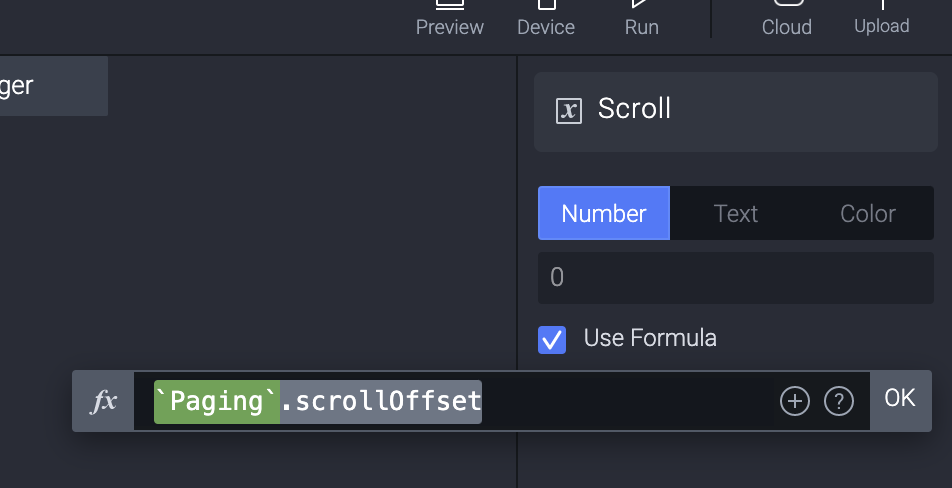
這個意思就是 Paging 這個 Container ,用 scrollOffset 回傳目前的 scroll value 。
游標移動到 Variable 上方的時候,就會出現一個小蟲,就是 Debug 模式,點一下。
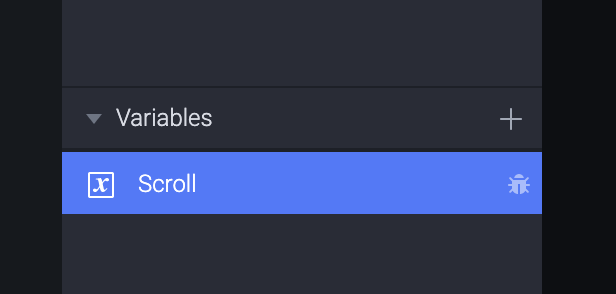
這樣畫面上就能看到這個回傳值是什麼了。

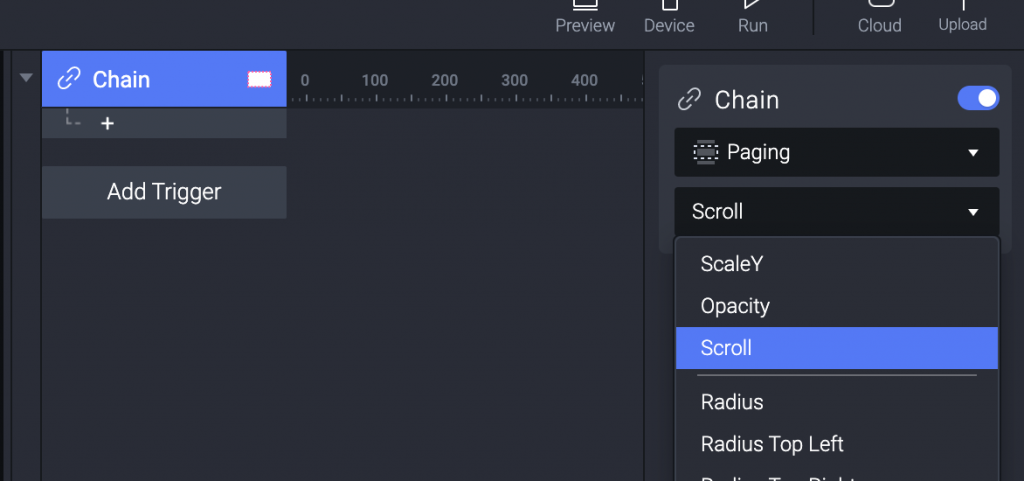
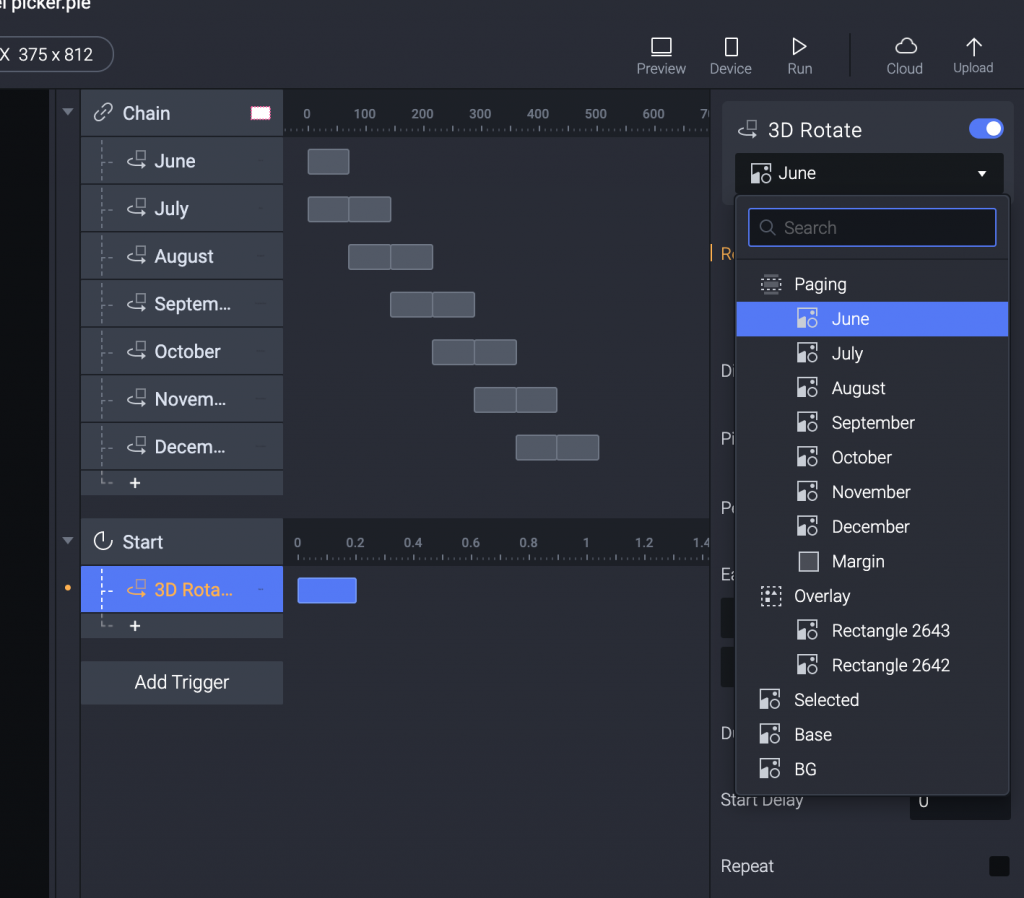
選一下 Paging 這個 Container 然後加一個 Chain Trigger ,值設定為 Scroll 。
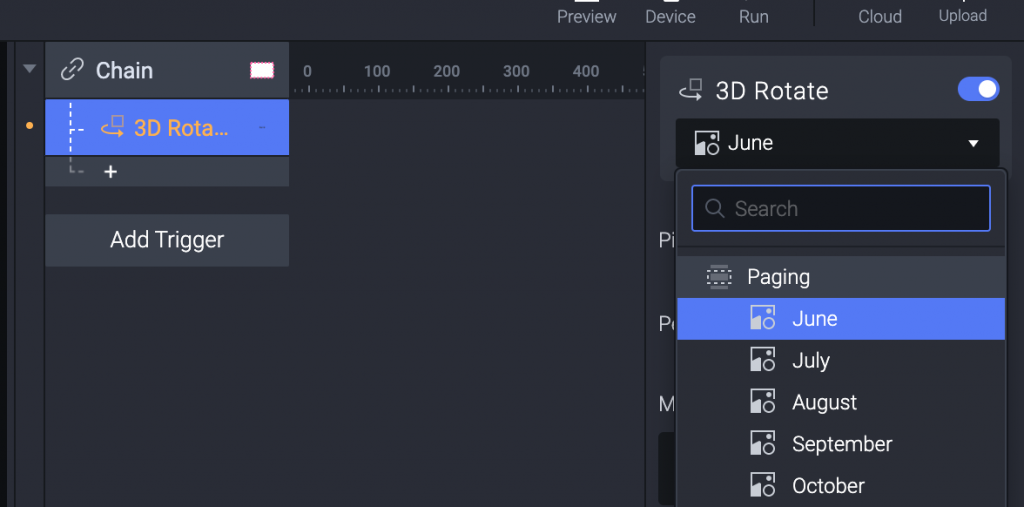
加一個 3D Rotate 的 Response ,指定 June 這個 Layer 。
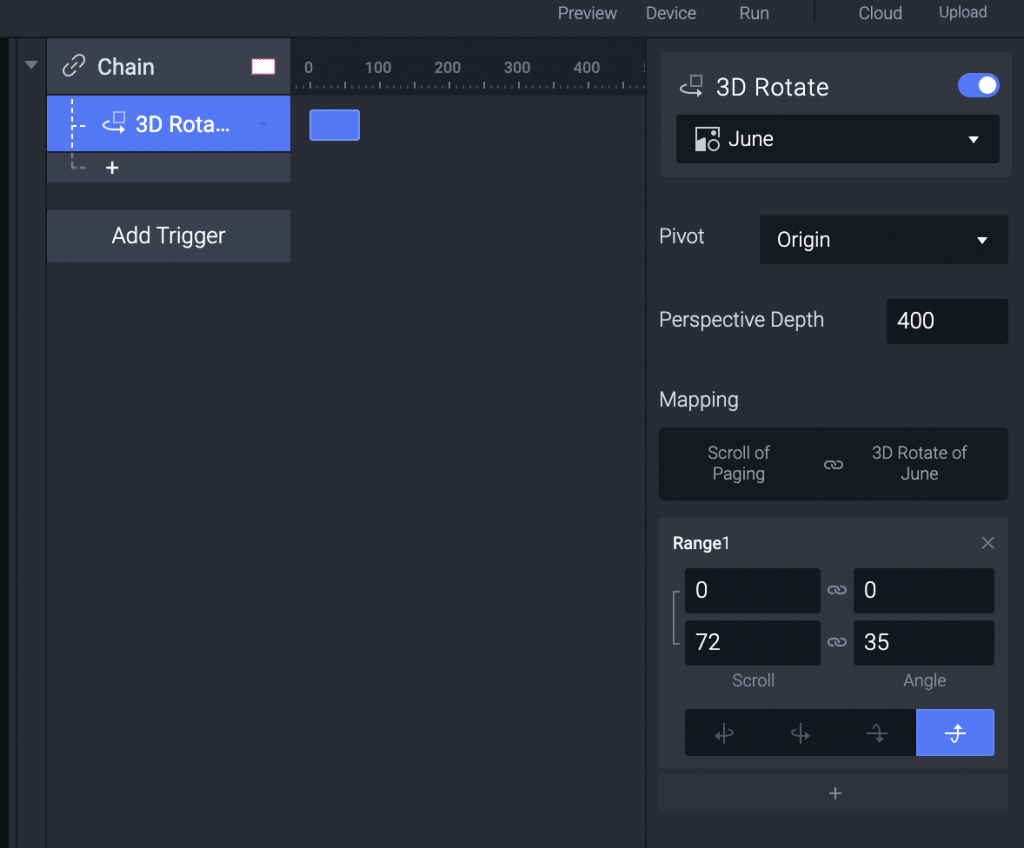
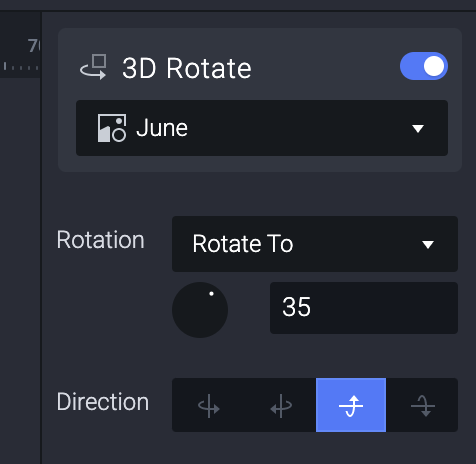
3D Rotate 做以下設定,來讓 Paging 從 0 到 72 pixel (一個月份的高度)就會向上旋轉 35 度。
(想像一下滾輪的上方)
接下來比較繁瑣,那就是每個月都要各別處理。
July 會需要兩個 Range ,因為有向上轉根向下轉兩種情形。
所以加一個 3D Rotate 指定 July 這個 Layer ,並做以下設定。
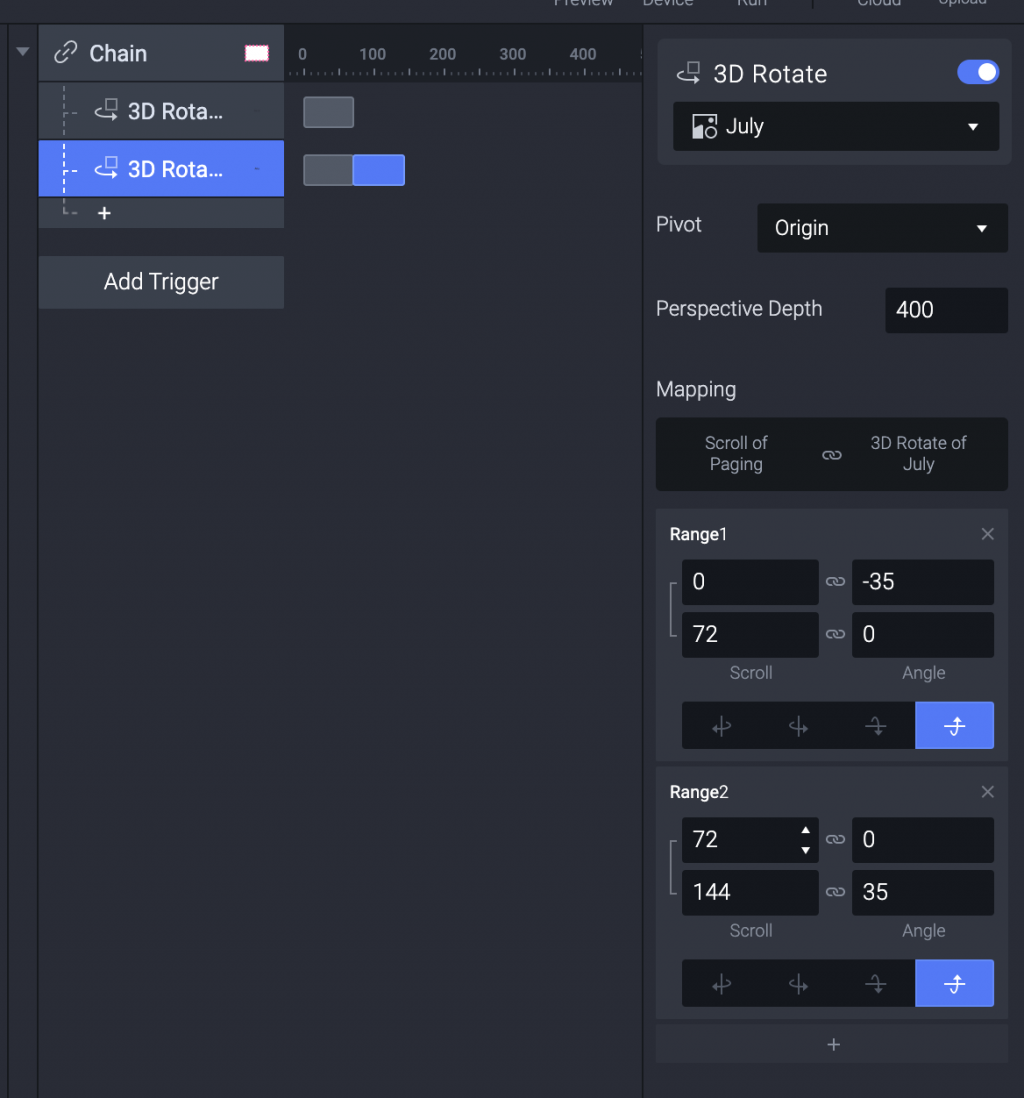
兩個都設定向上旋轉,直接控制角度的正負數比較不會亂掉。
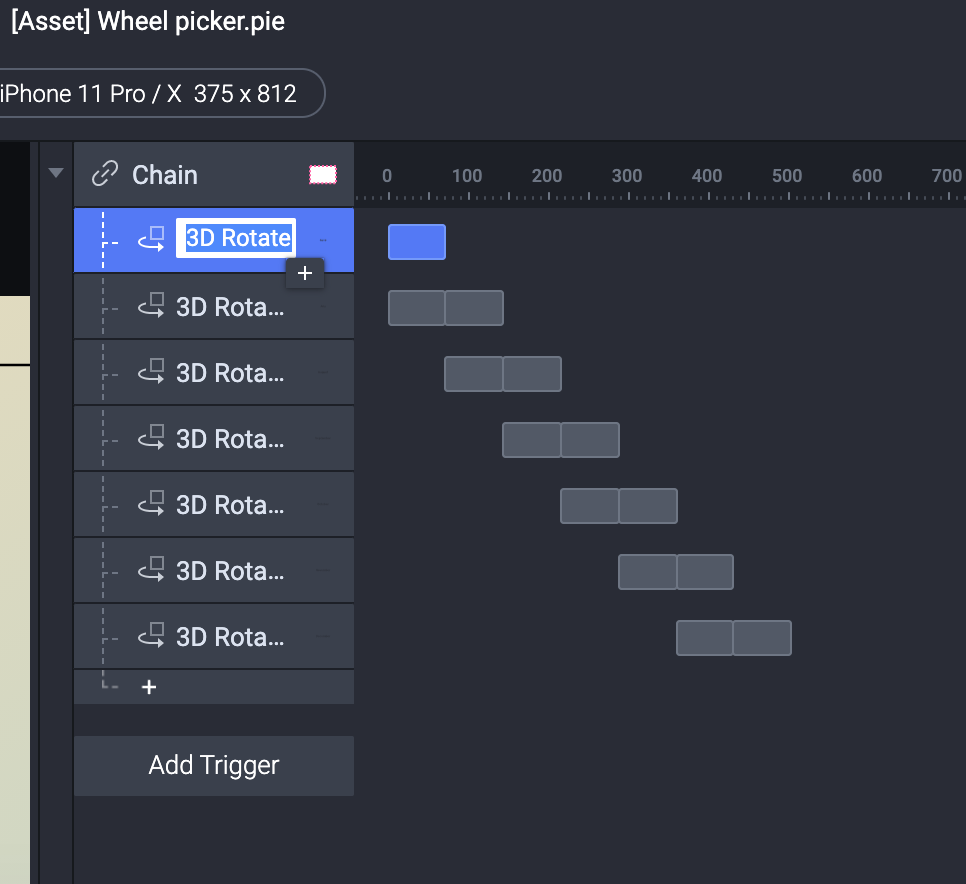
然後每個月份就是這樣一直加72,就會得到一個漂亮的階梯圖...
(明明就有完成的 Pie 檔案可以直接下載...如果你們不想這樣花時間,歡迎去下方下載。但自己做過比較有感覺啦。)
如果你願意也可以好好命名一下就會長這樣。

其實做一下也滿快的,大概做到 August 就只是肌肉記憶了。
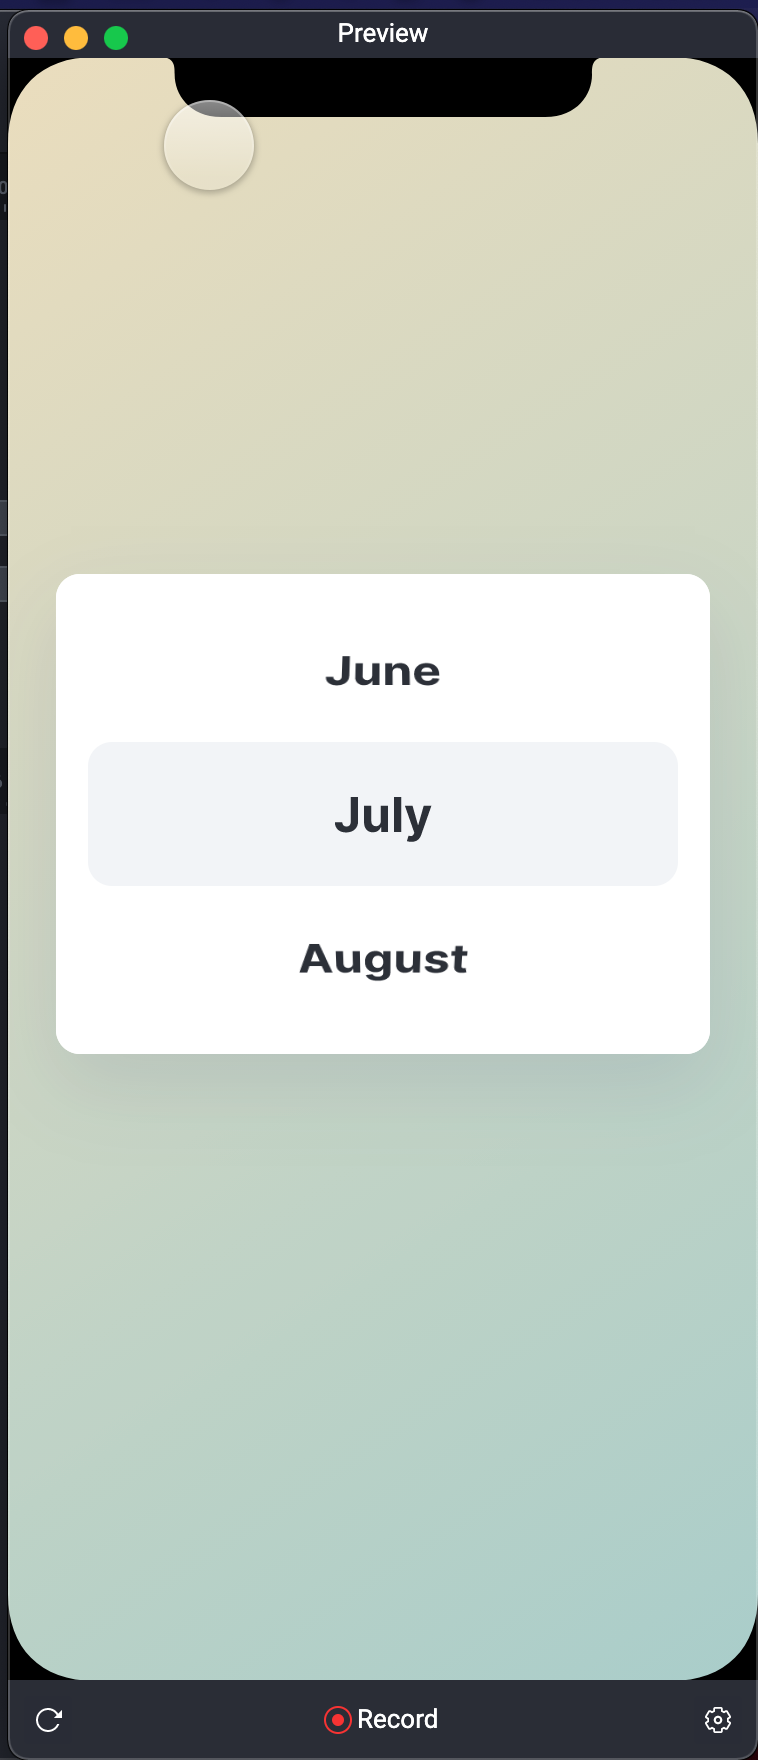
我們用 Preview 看一下,好像都還算順利,能滑動也會在正確的地方停下來。
但,好像每一個轉換有點卡卡的?
例如 September 剛滑上來的時候還是平的,但到達位置之後瞬間變成滾輪的下緣。
September 是平的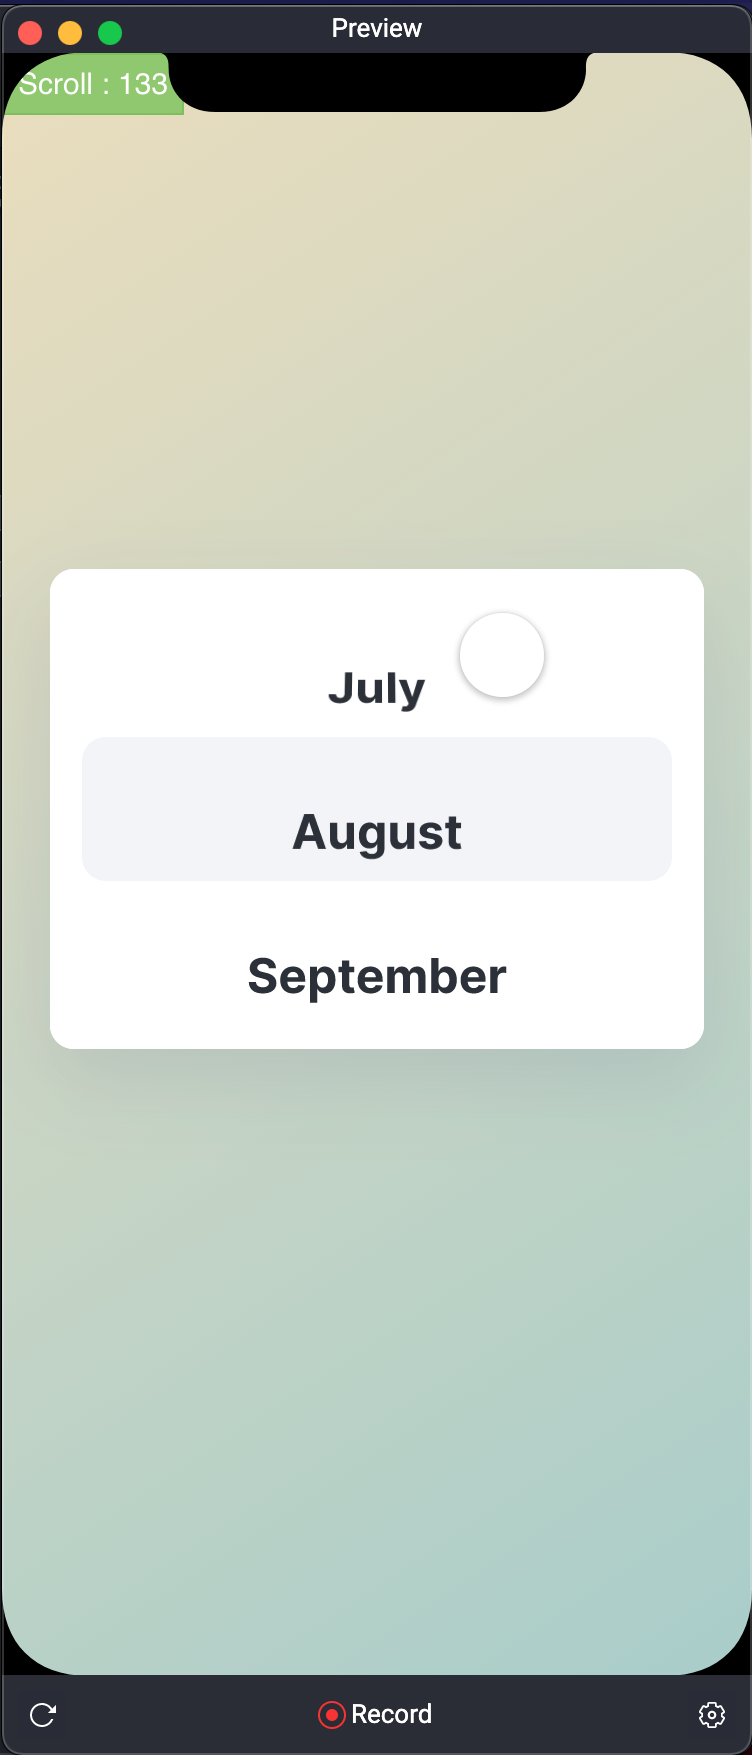
September 變成滾輪下緣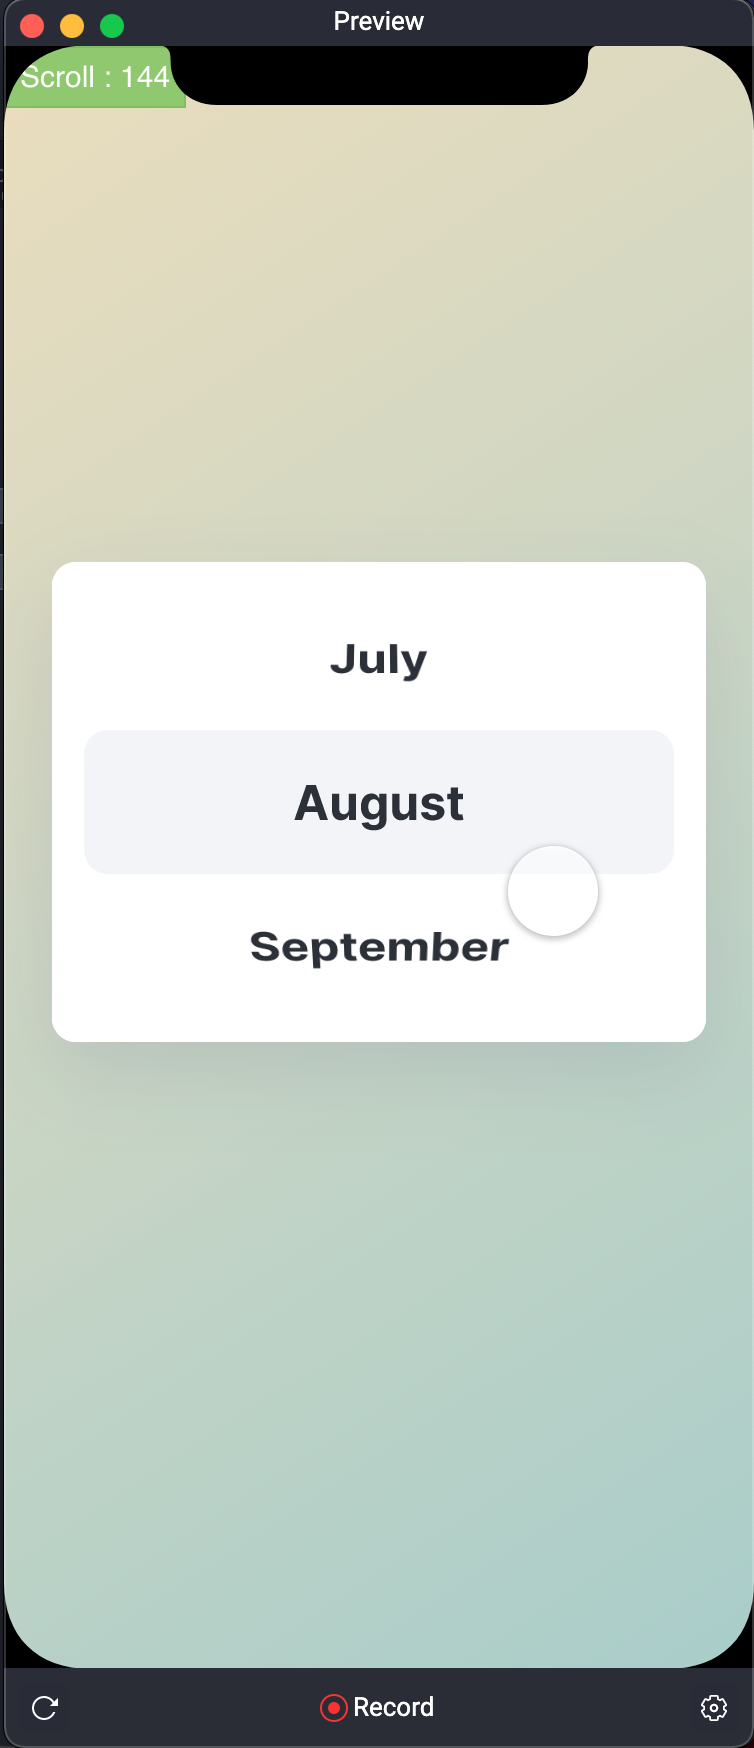
怎麼辦呢?
我們只要再加一個 Trigger Start 。

加上 3D Rotate。
設定 June Rotate to 35 ,一樣設定成向上旋轉。
但這邊最重要的一步就是...
Duration 設定為 0 。
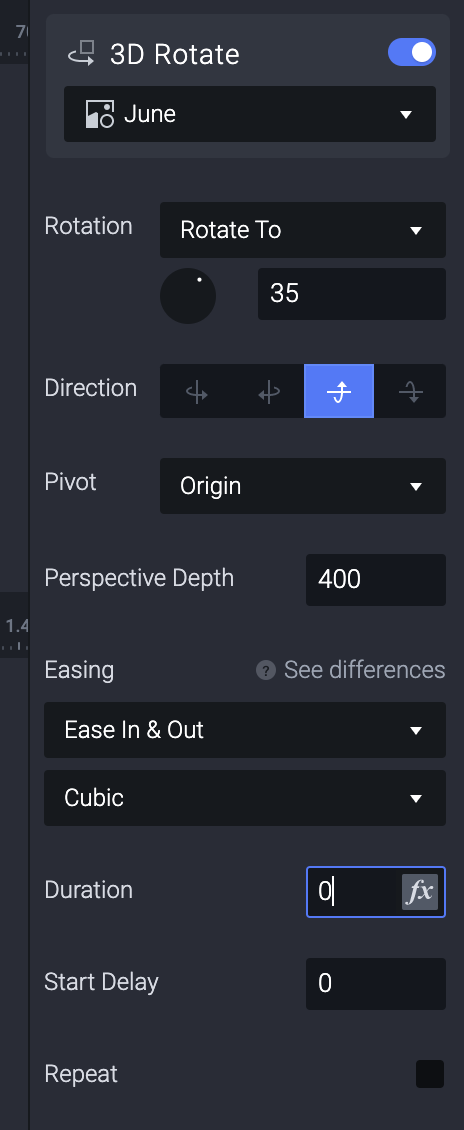
這樣每一個轉換之間不會有延遲,一換到下一個月份就已經是在旋轉好的位置了。
July 不用設定,因為他是一開始打開滾輪就會看到在中間的月份。
之後的每一個月份,逐一增加一個 3D Rotate 的 Response 。
只不過因為是下緣,所以全部 Rotate to -35 。
Preview 看一下,哇,好像不錯...但?
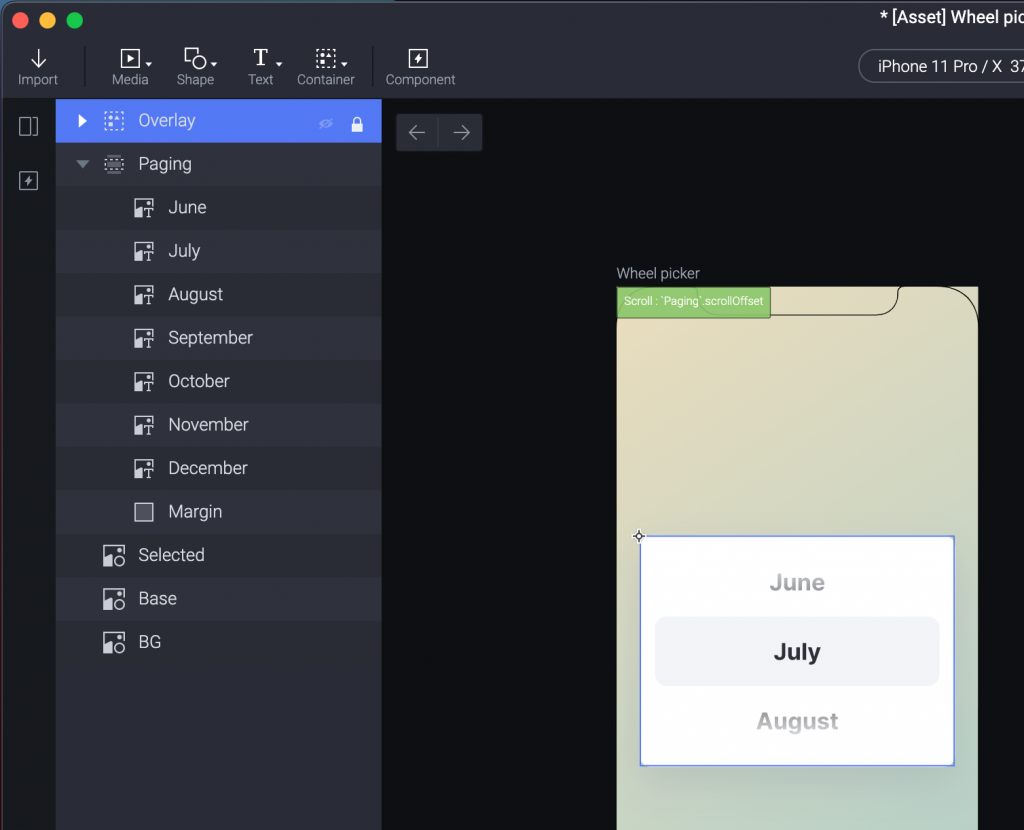
剛剛發現我把 Overlay 這個 Layer 放到下方了。
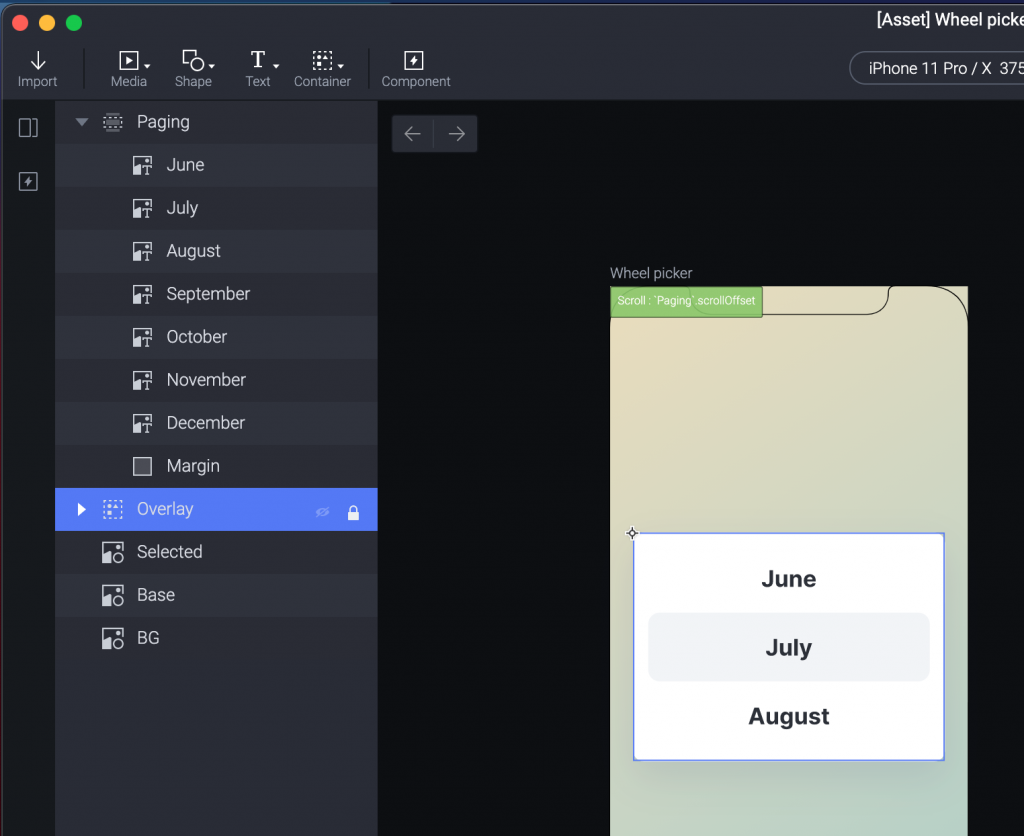
所以我移動一下,就多了一個把上下方霧掉的視覺。
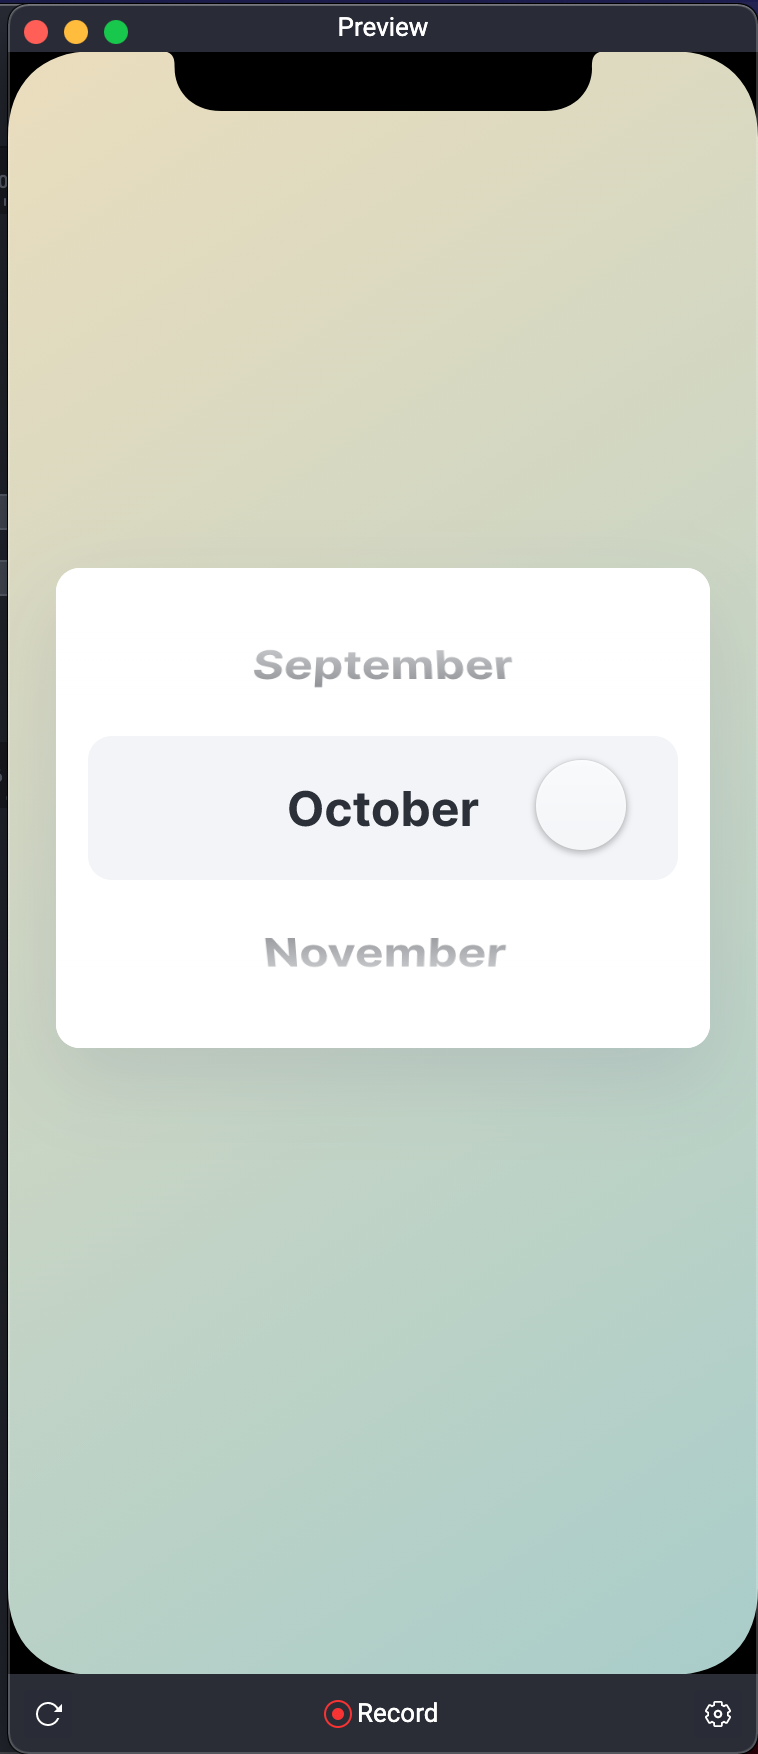
Preview 再看一下,好像可以了!
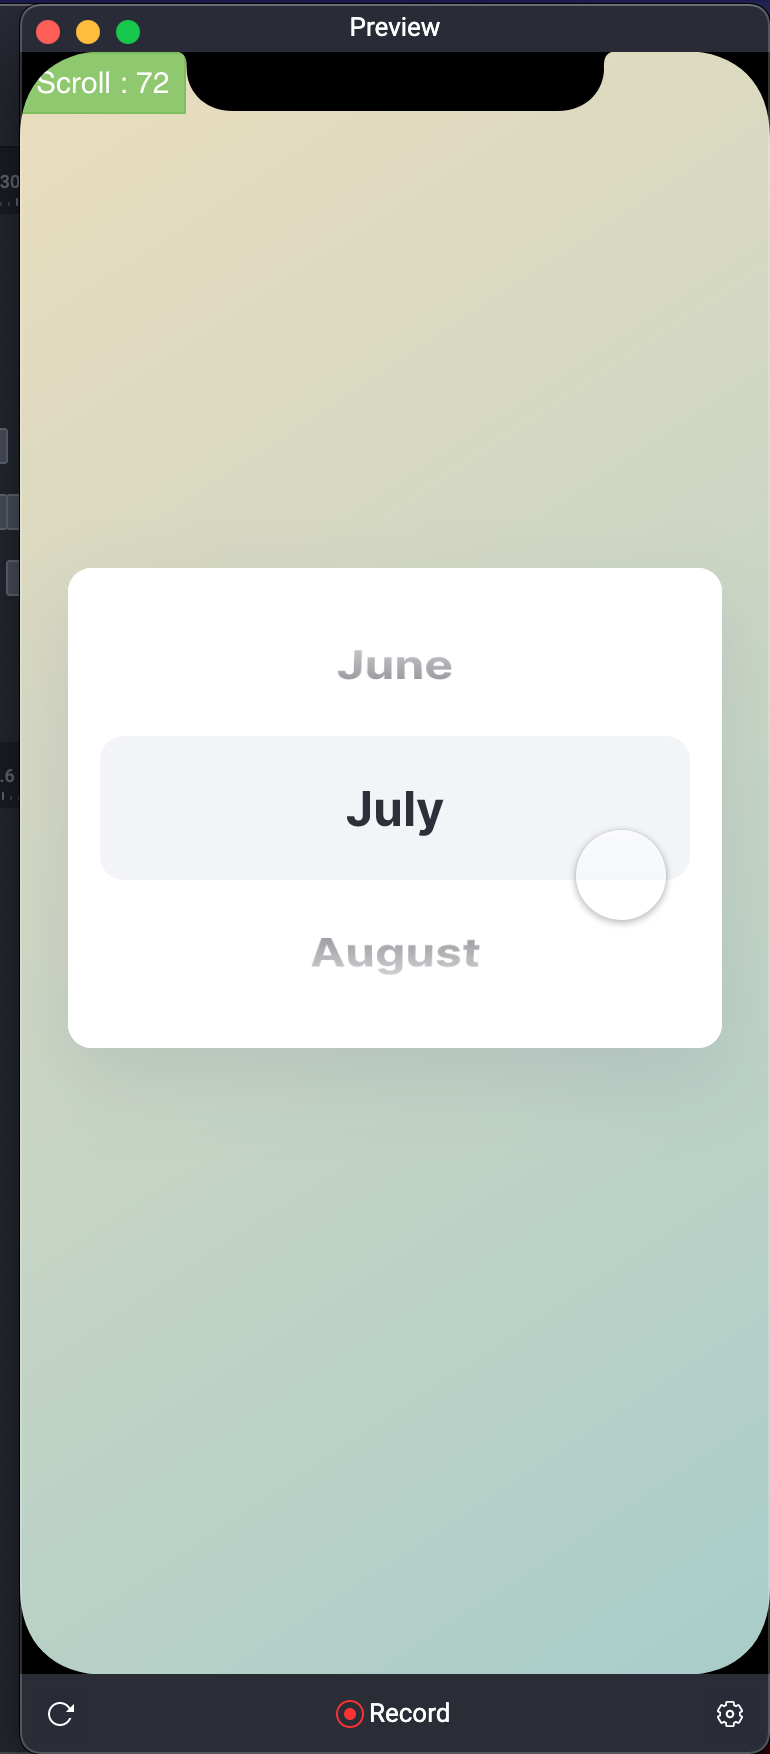
最後,左上角那個紀錄 Scroll Value 的,記得要去左下角按一下小蟲,就能拿掉囉。
今天有點驚險,不過還滿喜歡看文字的教學,我覺得比影片的容易理解,但也代表講者需要花更多時間慢慢的製作,而不是向影片一樣,邊做邊講就可以了。
各有好壞,但有件事情是真的。
照顧好自己的身體。
晚安。