糟糕 突然就 29 天 了。
今天來看官網上的 ProtoPie Advanced Workshop 2 。
https://www.youtube.com/watch?v=ZunEmcNV2Sw
講者 Jeff 昨天有提到今天要來玩 Variables 和 Formulas 。
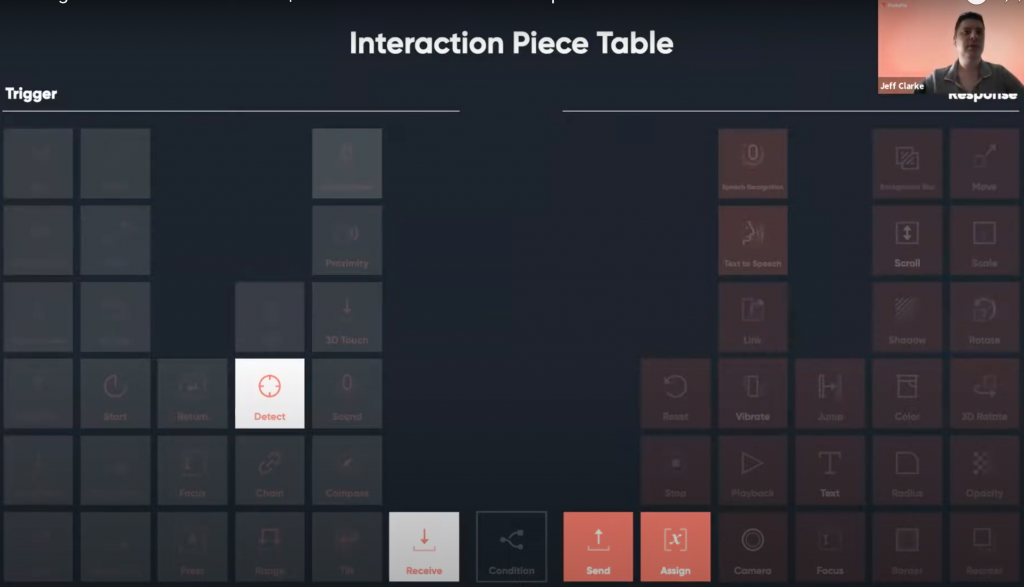
會玩到兩個新的 Trigger , Detect 和 Receive 。
兩個新的 Response , Send and Assign 。
而這個 Workshop 會帶大家...
先下載第一個檔案:
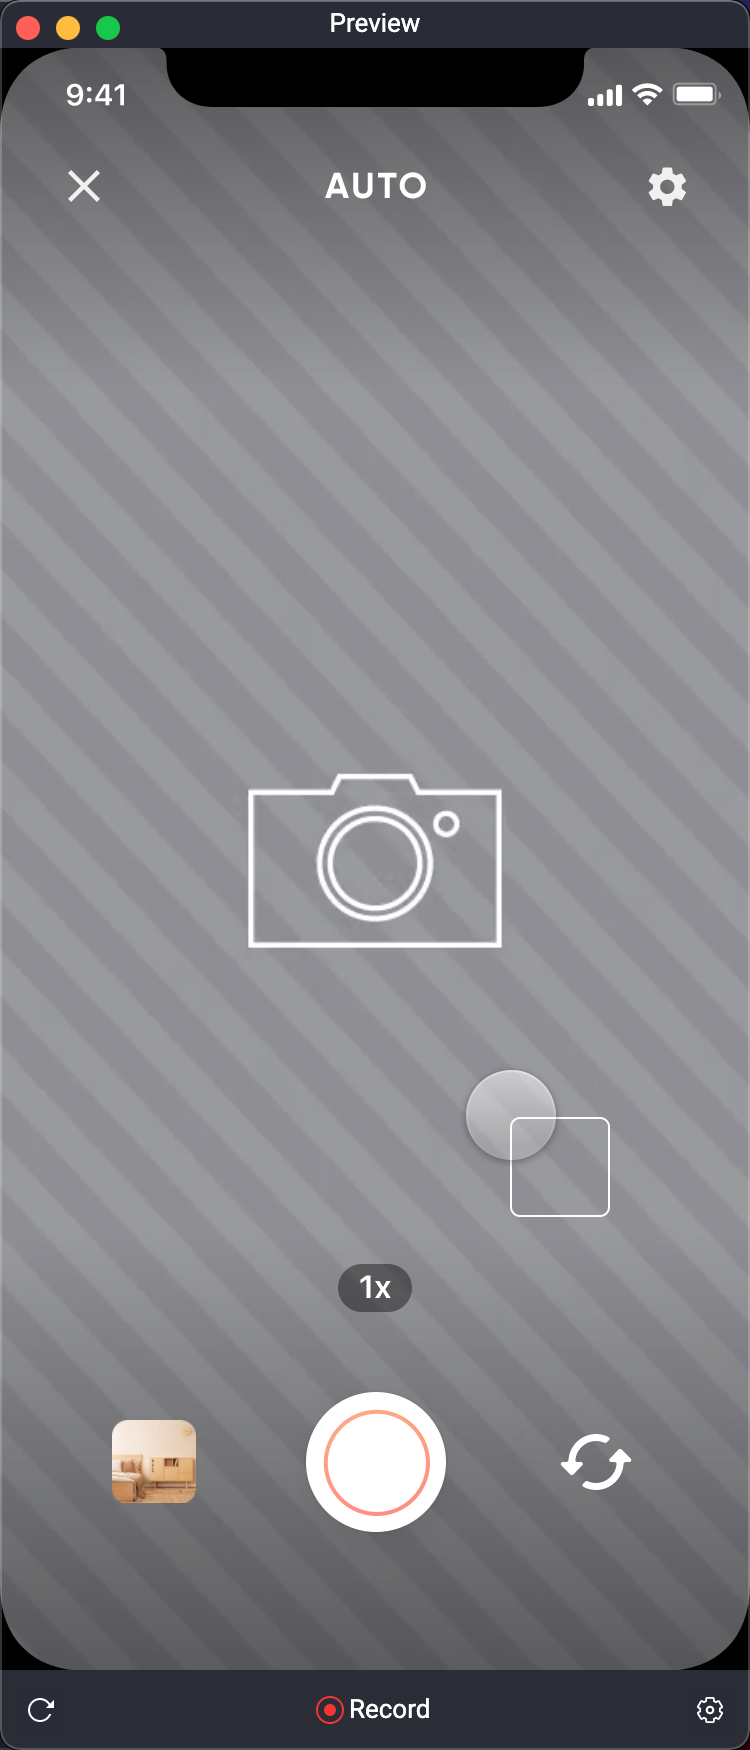
打開會長這樣。

然後去 Scenes 裡面選擇 Camera 這個 Scene。
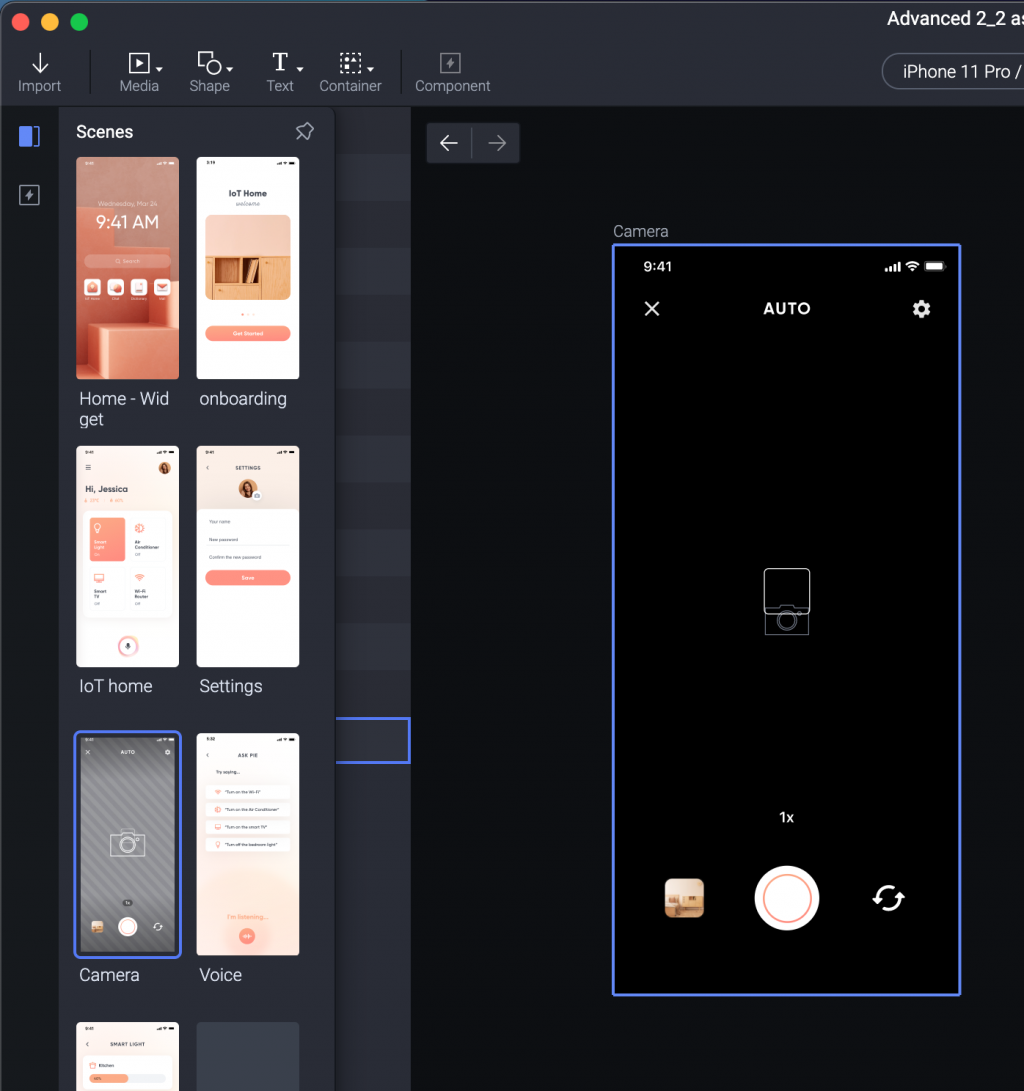
中間有個方塊框,我們要來把它變成使用者點螢幕任何一處的時候,模擬「聚焦」的點。
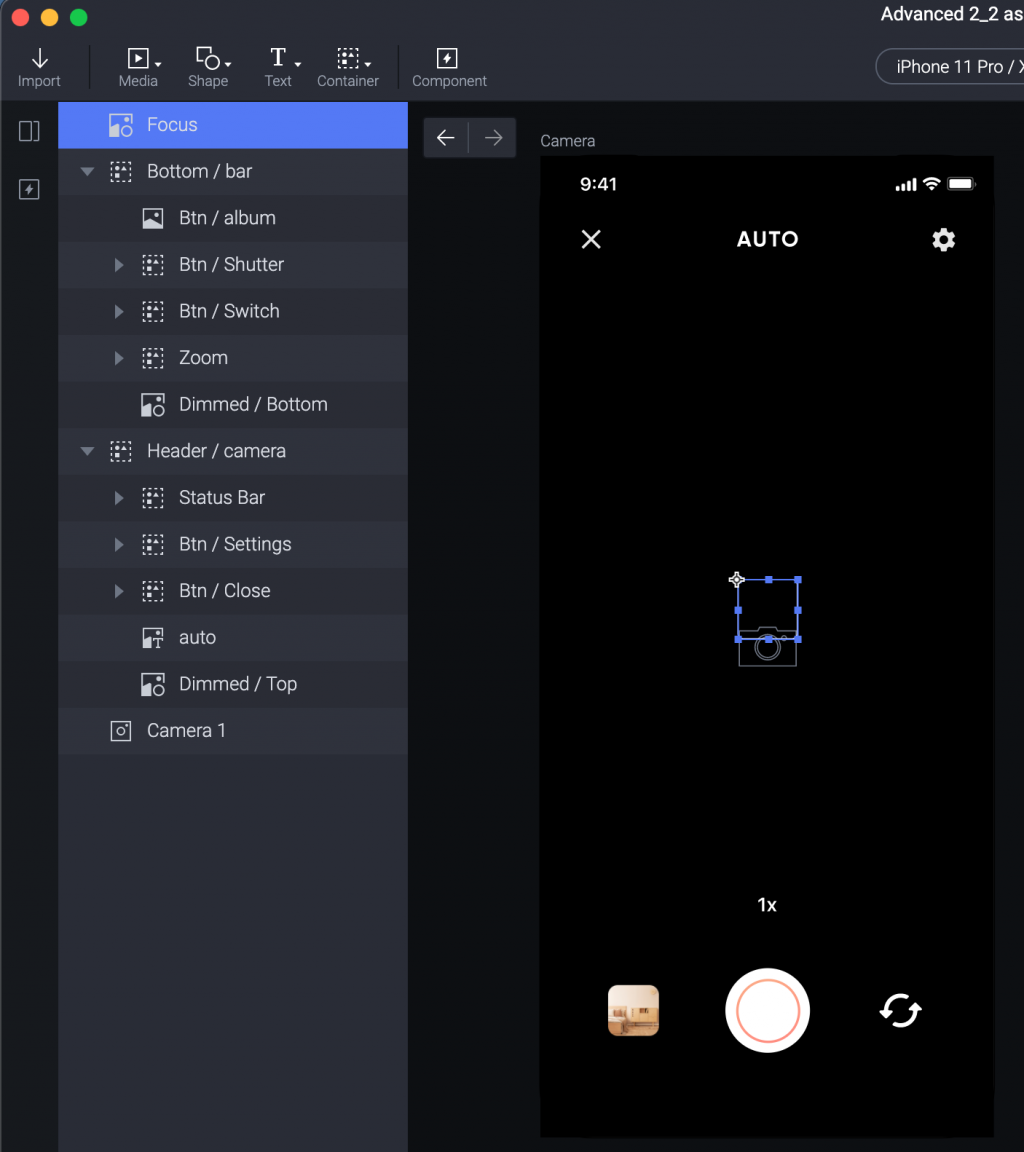
我們第一步,要幫整個螢幕的 Layer Camera 1 選擇一個 Tap Trigger 。
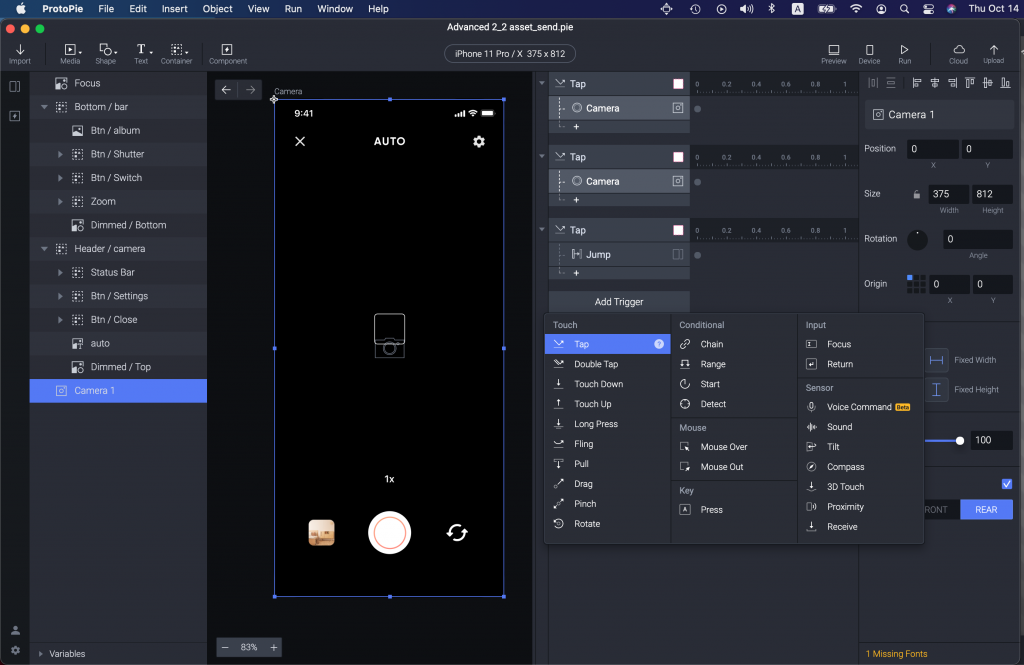
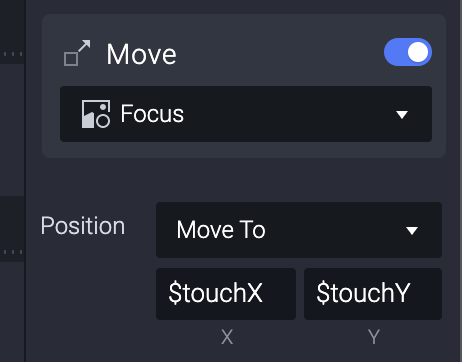
接著選擇 Focus 這個方塊,選 Move 作為 Response 。
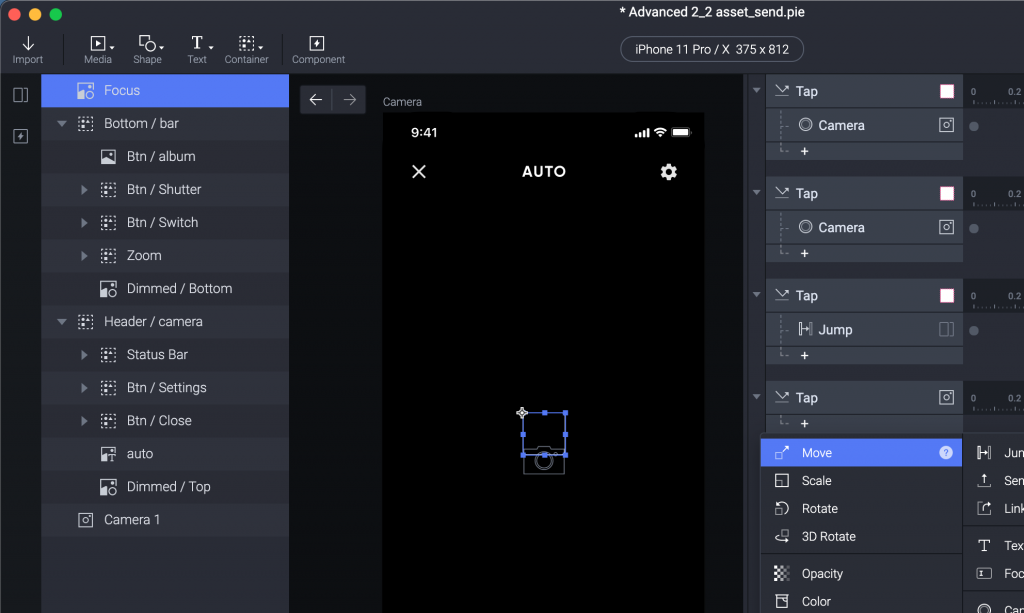
但我們 Move 要怎麼設定 Move 去哪呢?
之前都是直接設定 X 和 Y 值,但這是動態的行為,使用者可能在螢幕任何一處點擊。
這時候就要用一個 Formula ,右手邊可以點一下這個格子,會出現一個 fx 。

點一下 fx 會展開一個輸入窗,最右手邊有個問號,點一下。
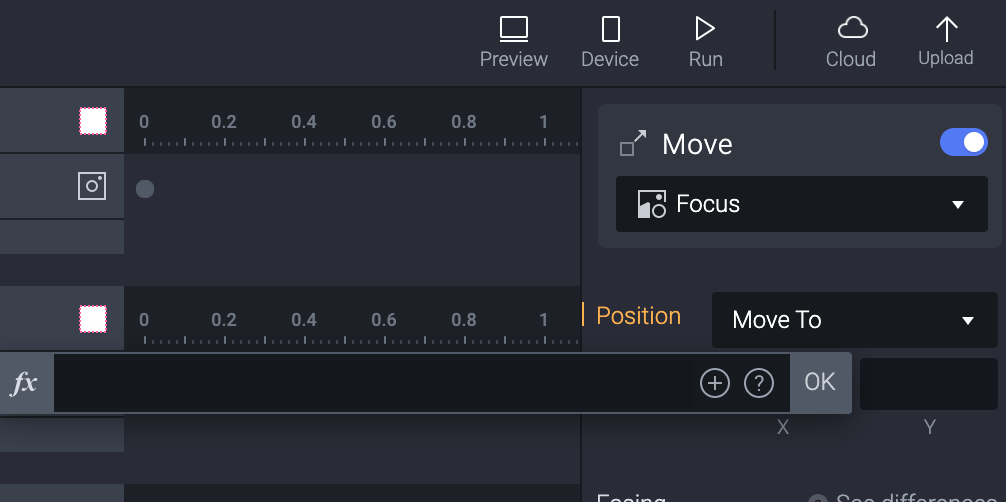
這會在你的瀏覽器裡面打開跟 Fomula 相關的文件,可以稍微看一下。
連結:https://www.protopie.io/learn/docs/formulas/getting-started
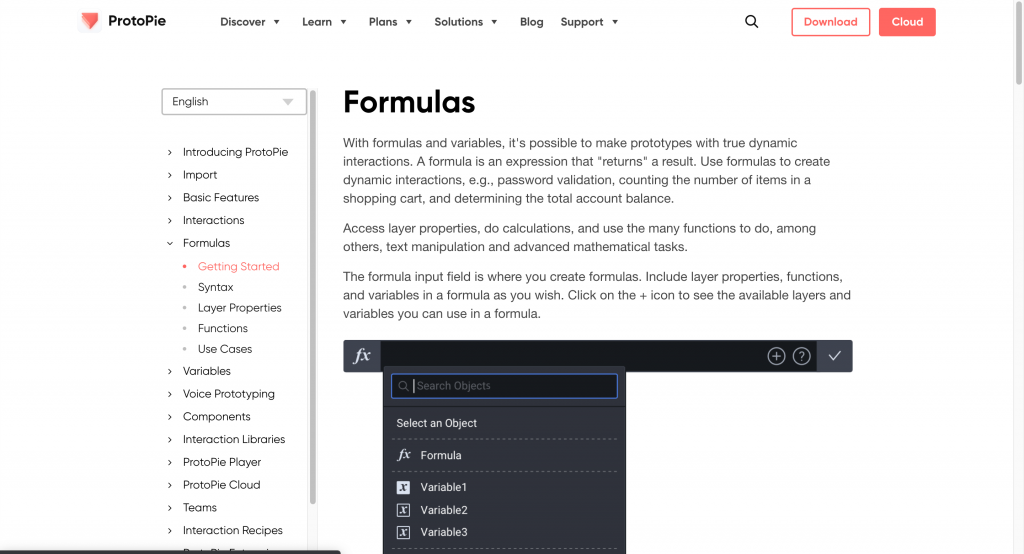
這時候發現講者的畫面、連結通通都不一樣,但明明是點同一個問號。
(這是講者的畫面。)
影片是今年 7/6 上傳,隔三個月就有改版,看來他們真的很認真在打造產品呢。
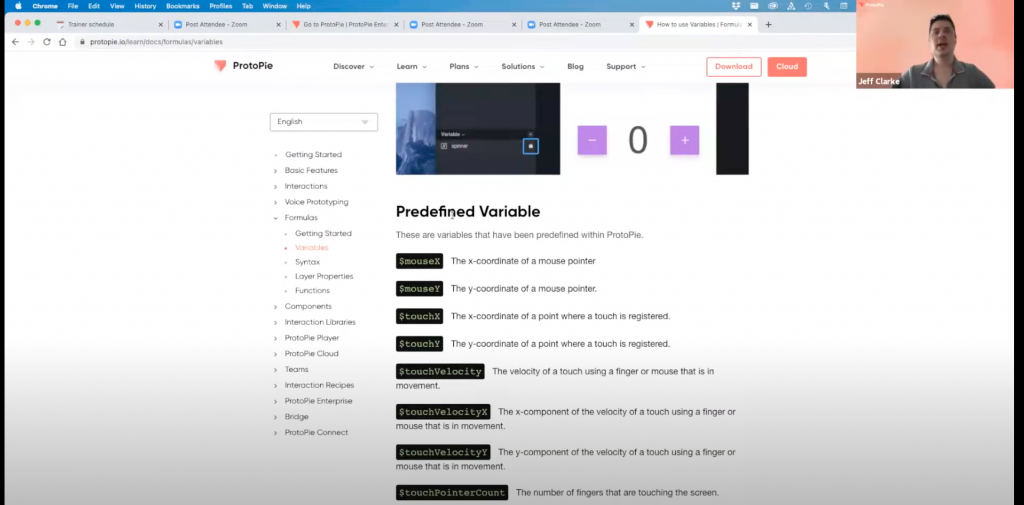
反正,我有找到 Predefined Variables 的新位置。
連結:https://www.protopie.io/learn/docs/variables/predefined-variables
看來是文件把 Variables 獨立出來。
講者是直接從上面複製 $touchX 但如果你直接在輸入框裡面打$符號也是可以找到的。
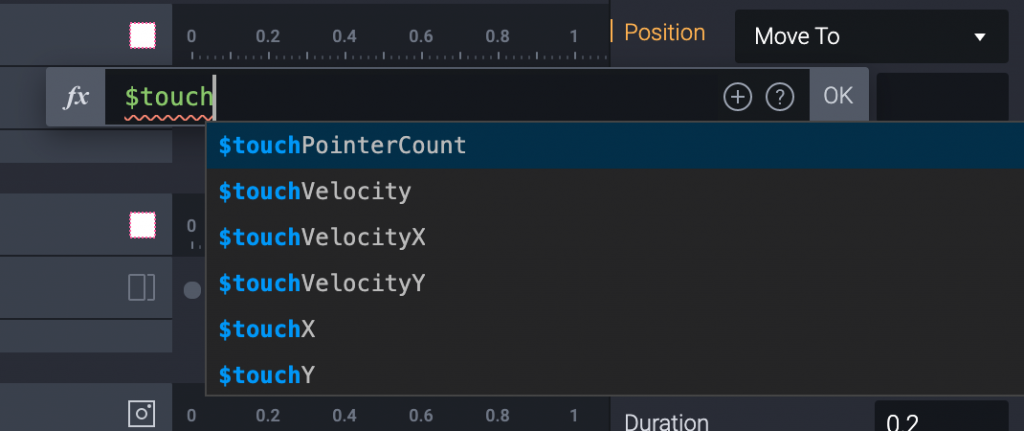
基本上這會做什麼呢?你能透過這個 Function 得到使者點螢幕的X值。
Y 也用一樣的方式 用 $touchY ,記得這邊的大小寫是有意義的,是case sensitive 的。
如果直接複製或是從裡面選擇比較不會出錯,我猜這也是為什麼講者用複製貼上。
可能很多人在學的時候因為輸入錯誤感到很挫折吧。
(例如很多年前因為沒有輸入分號程式跑不出來一樣...)
所以螢幕怎麼點就會出現在哪,不過剛剛測試發現因為 Layer 的關係,有些地方看起來能點但其實點不到,例如最上面跟最下方有按鈕的地方。
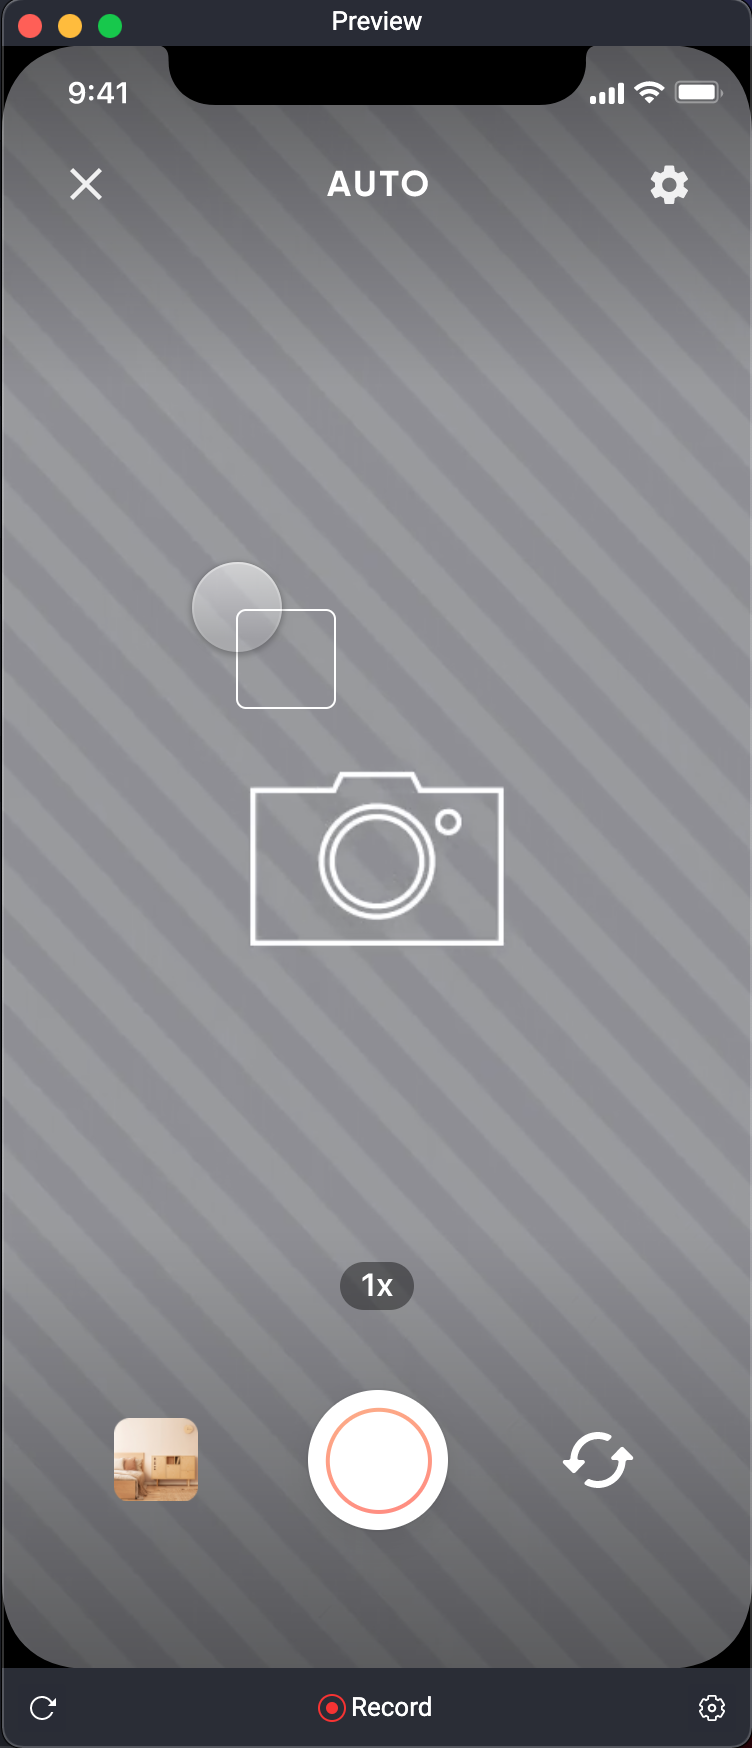
痾,要換下一個了?恩,所以這個就是教大家怎麼點擊移動方塊。
之前有做過輸入密碼做判斷的畫面,還記得嗎?
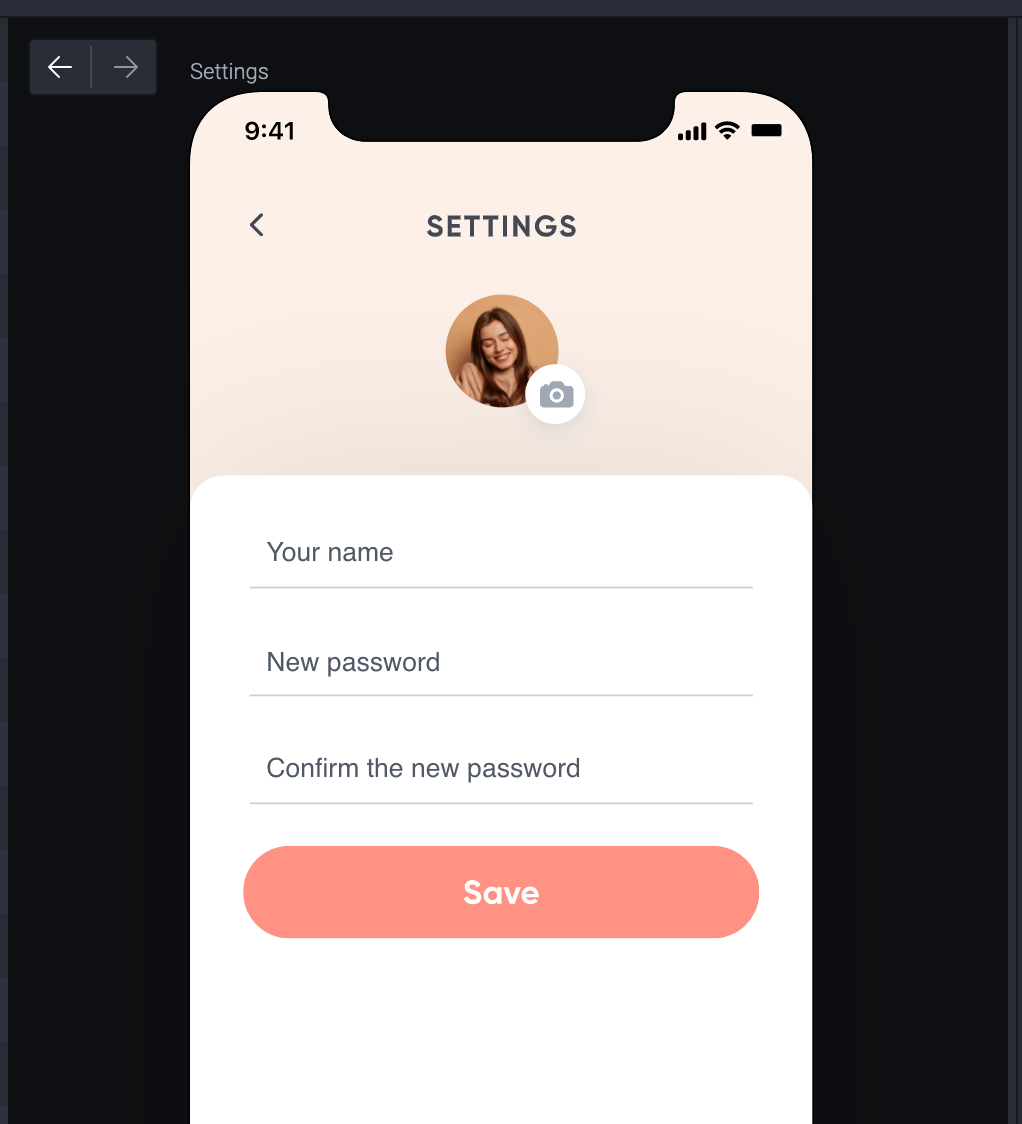
這次我們要拿這邊輸入的名稱,用 Variable 存起來,在別的頁面顯示出來。
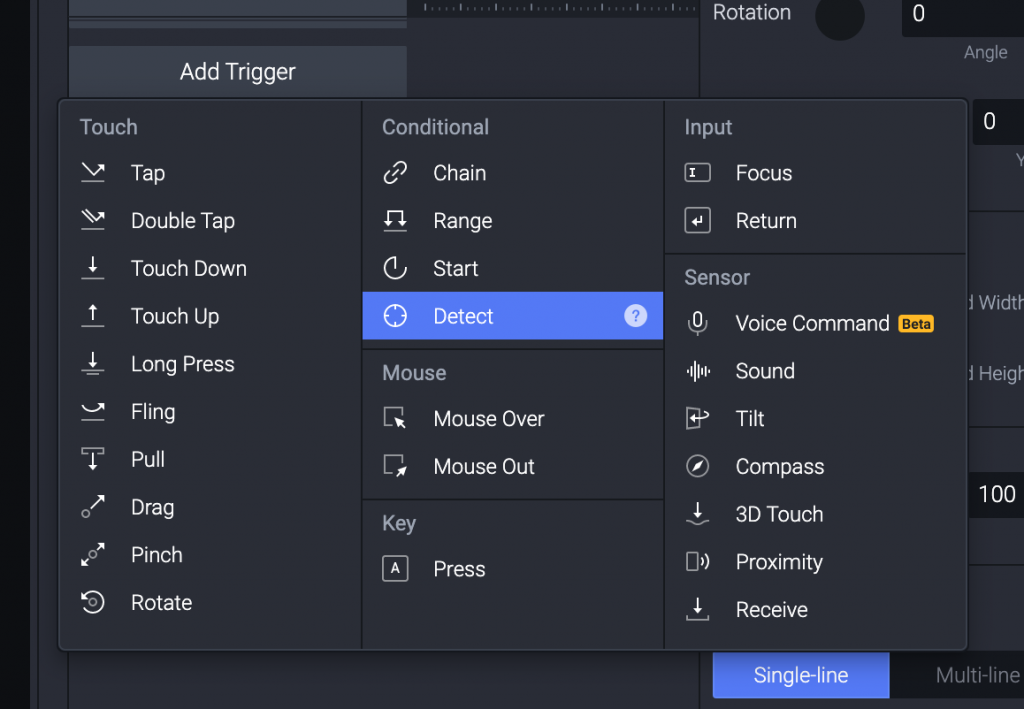
我們會用一個 Trigger 叫做 Detect ,當你在偵測的值改變,這 Trigger 就會被觸發。
接著會用 assign 這個 response 把資訊存給一個 variable 。
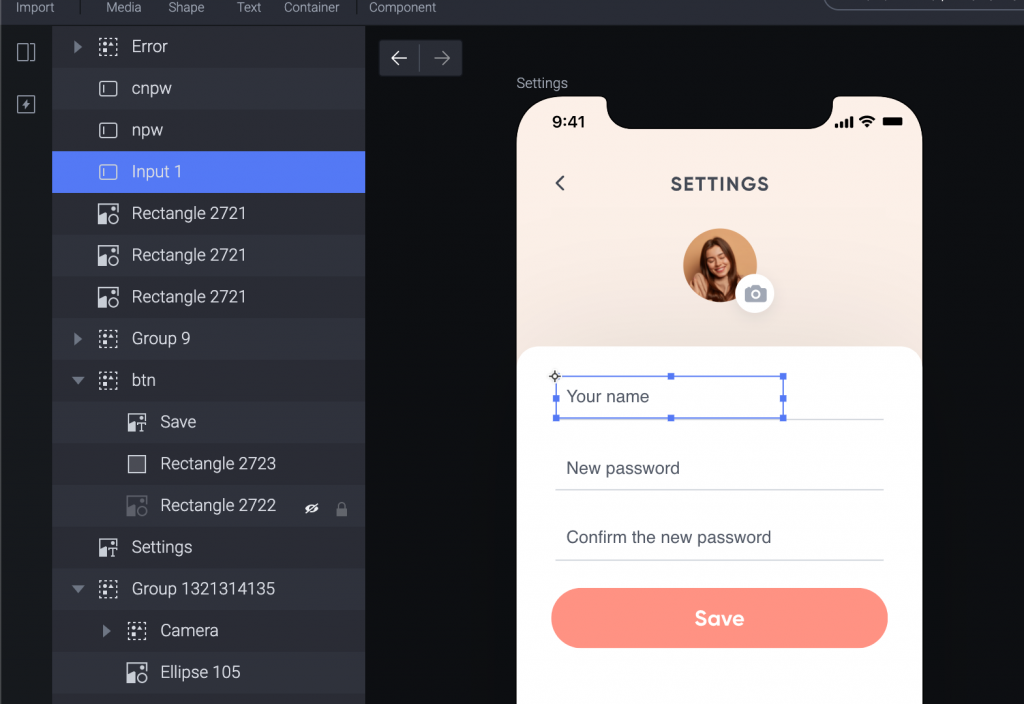
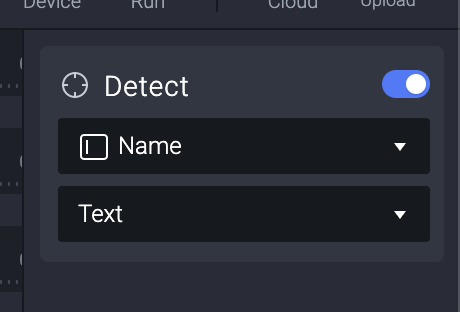
先來選擇 Input 1 ,這個名字的輸入框,順便把名字改成 Name 。
(Name 比Input 1來得直覺)
選擇 Detect 這個 Trigger 。
接著我們設定 Detect 當 Text 的資訊改變的時候,會被觸發。
(意思就是當我們有輸入東西的時候。)
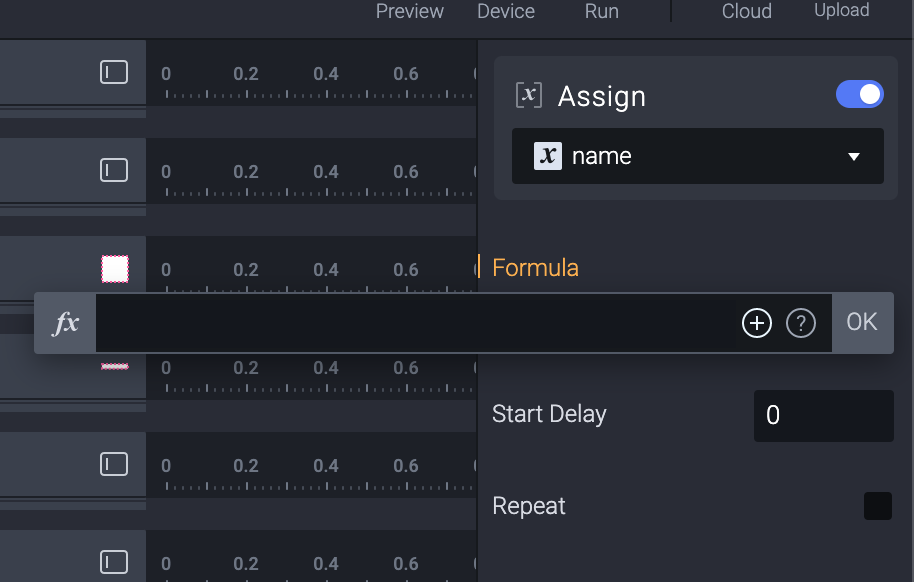
接著給一個 Response ,就是 Assign 。
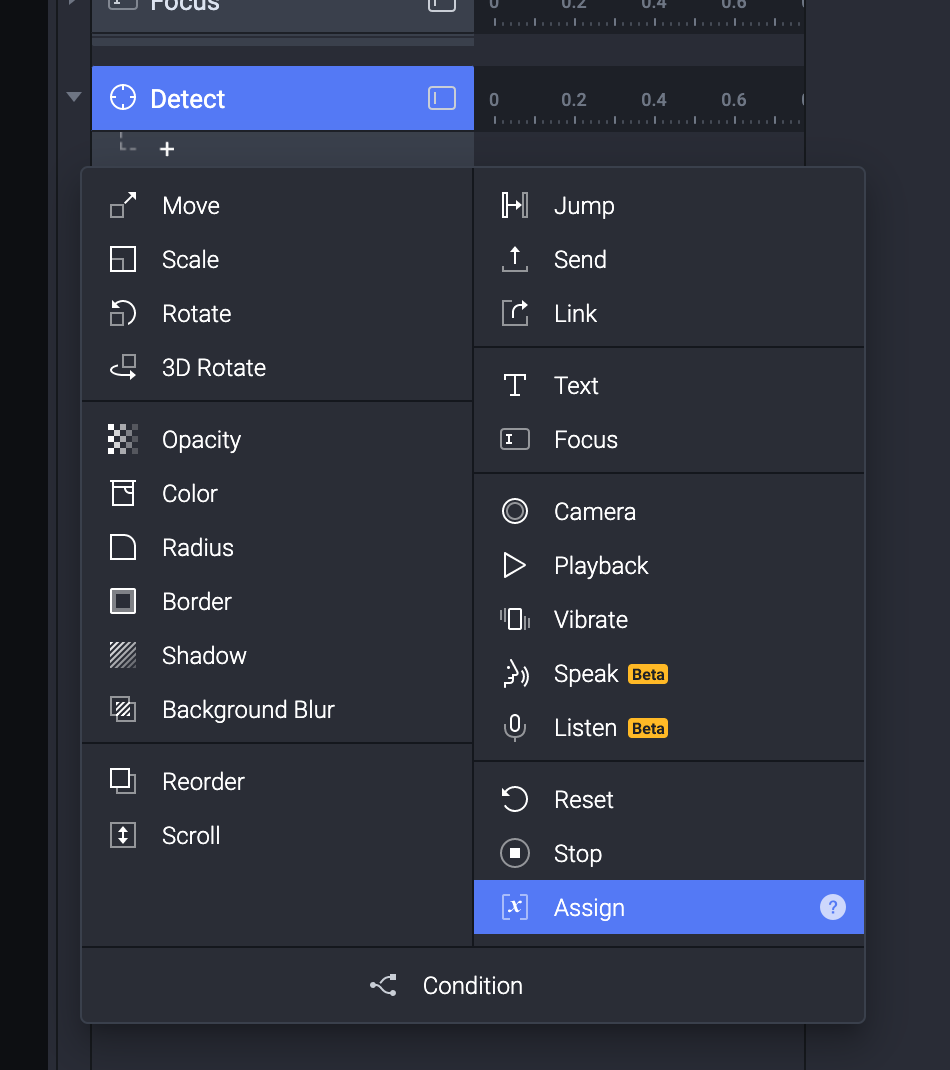
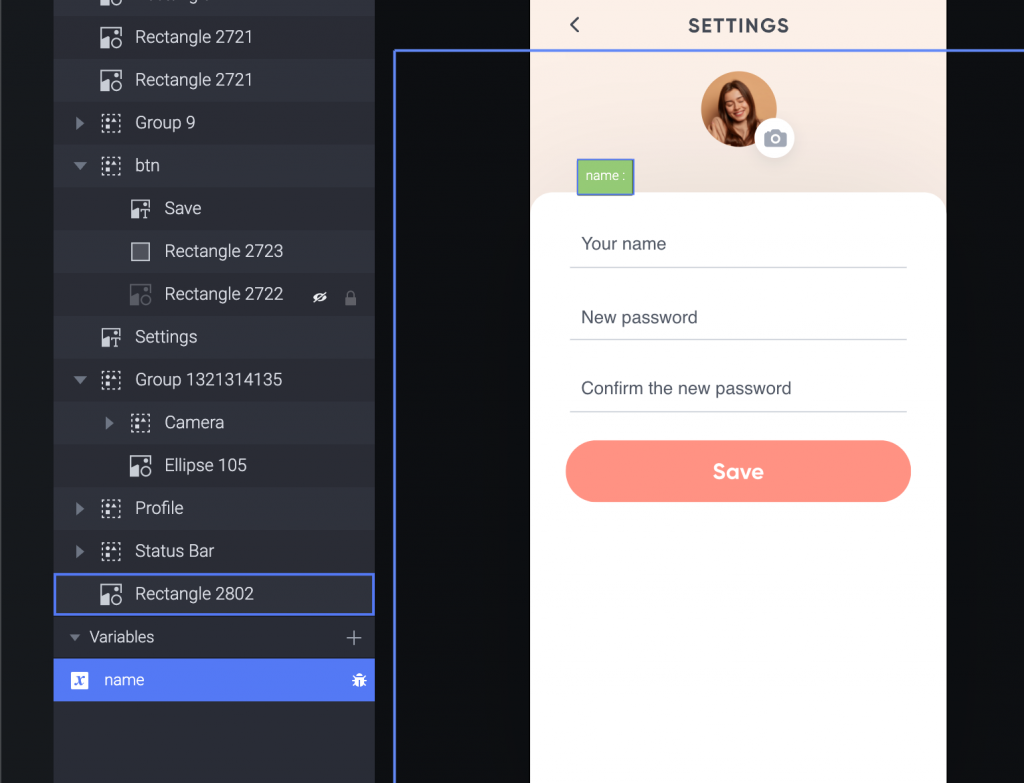
但這時候我們還沒有 Variables 可以用,所以先來到左下角這邊。

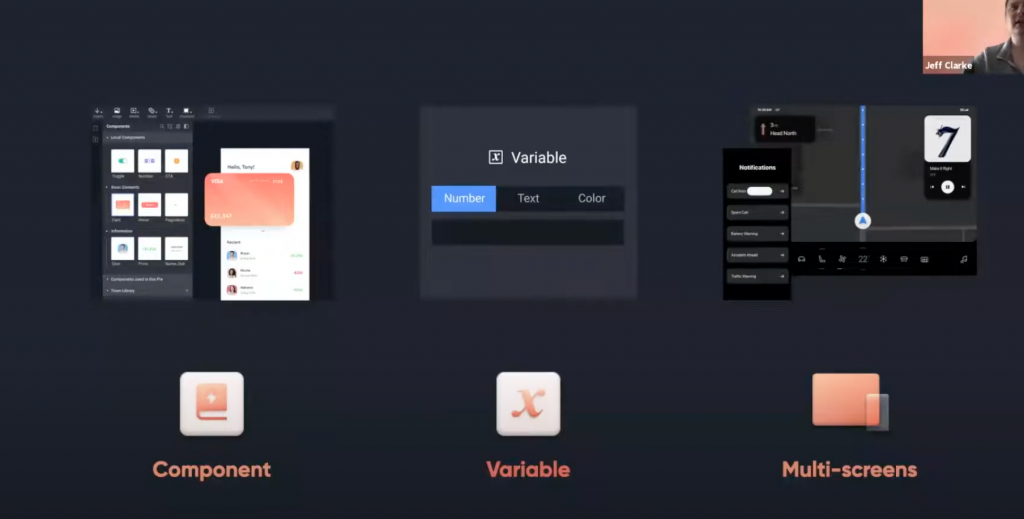
點選+號來新增 Variable ,此時有兩個選項:
For All Scenes 和 For This Scene。
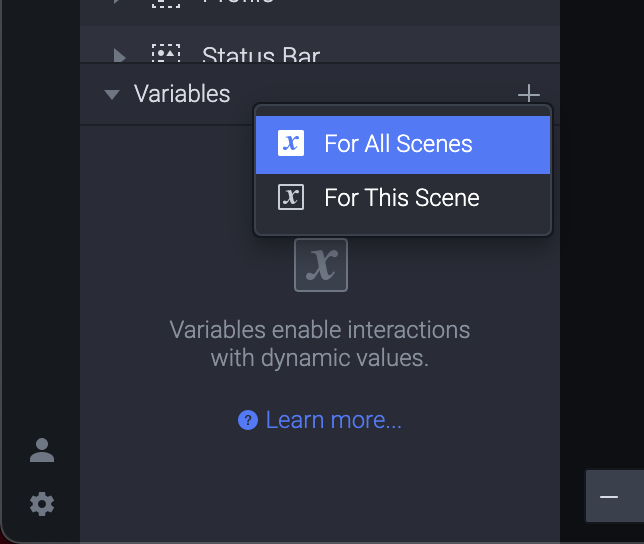
可以想像成 Global 或 Local 的 Variable ,而我們之後要在別的頁面使用的時候,那就是選 For All Scenes 囉。
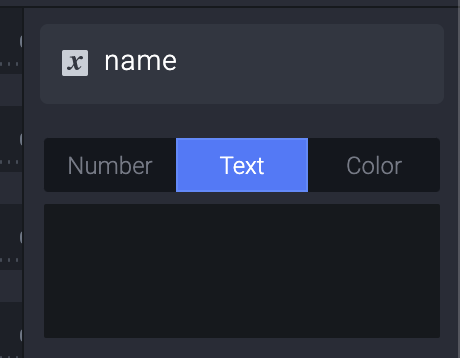
點兩下幫忙改個名字 name 。
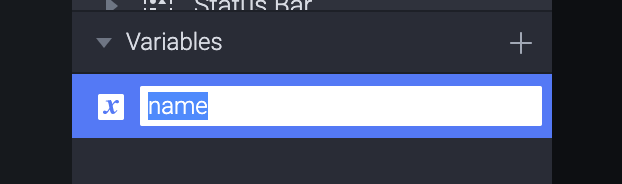
接著到右手邊,因為要記錄名字,設定為 Text。
你也可以在下面的方框輸入預設值。
有趣的是,Variable 除了數字跟文字之外,可以記錄 Color 。
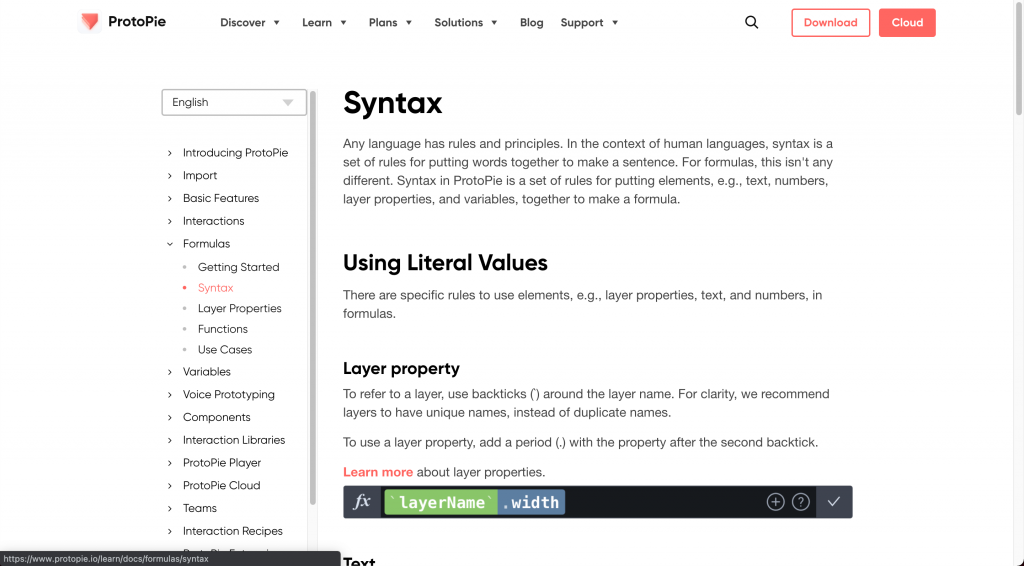
然後我們回到原本的 Formula 的文件,底下有一個 Syntax 的頁面。
這邊告訴我們如果要使用某一個 Layer 的時候,用 backticks (就是寫 JS Template literals 會用的那種)。
然後要加上一個屬性,就用 . 來隔開。
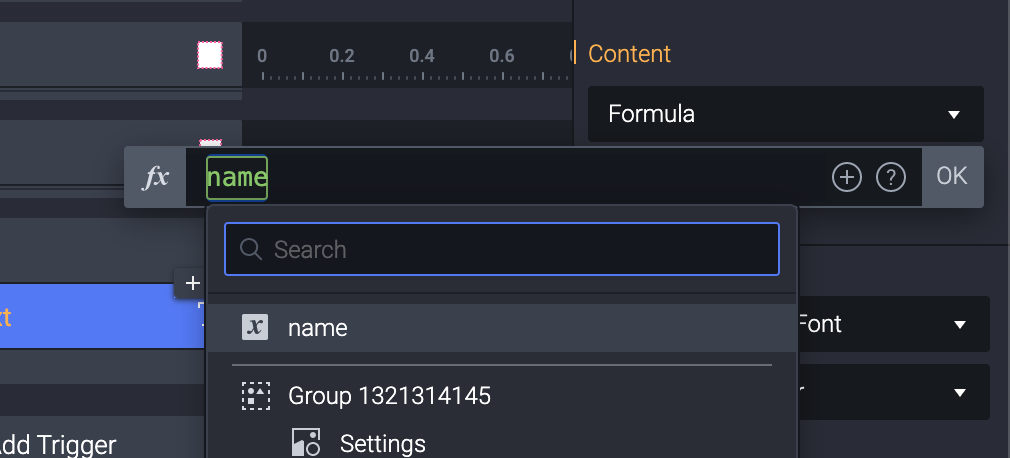
但,也有一個直接選擇的方法,去 Formula 的輸入框,點選 + 號。
然後選擇 Name。
(記得,這邊 Name 是 Layer ,而 name 是 Variable。我們要的是 Layer。)
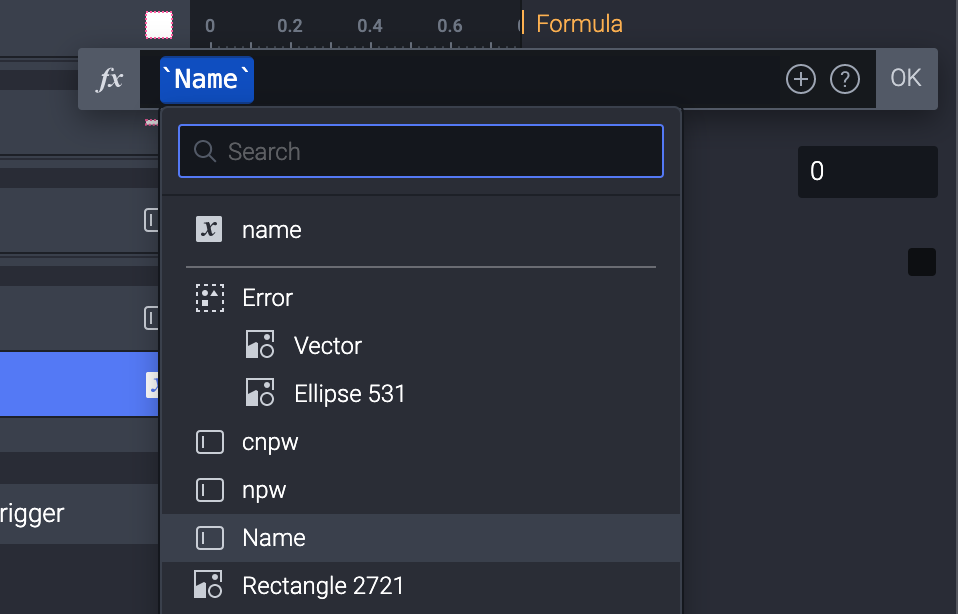
接著輸入一個 . 就會出現 Name 這個Layer 下面所有的屬性。
我們選擇text。
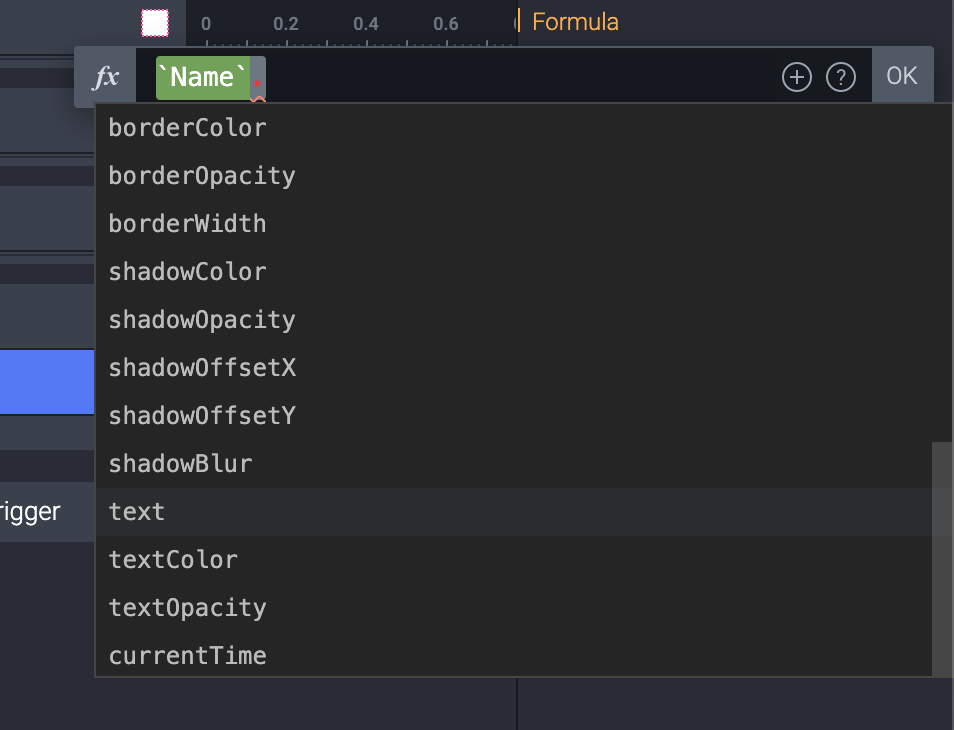
當然如果你本來就知道你要的是什麼,你也可以直接在框框裡面打 Name.text 就可以了。
接著點那隻蟲打開我們的 Debug Tool 就會出現一個綠框可以看到 name 這個 Variable 裡面存什麼。
(就跟一直 print 或 console.log 的概念很像 ker)
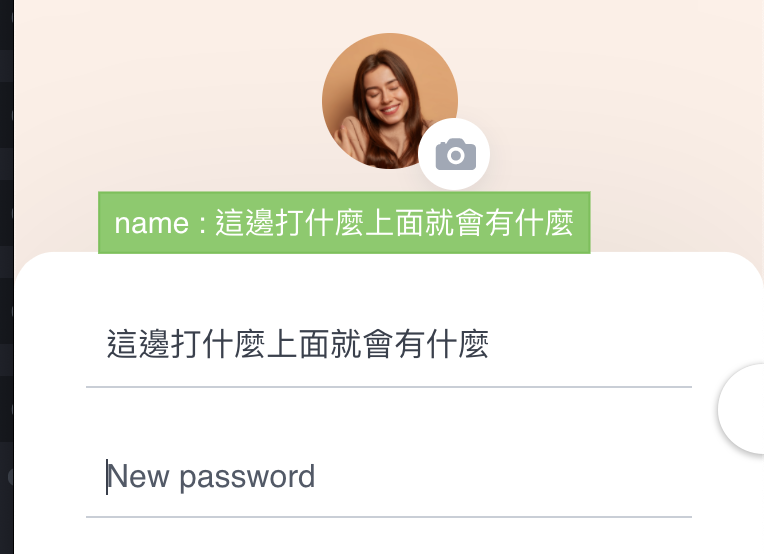
用 Preview 一看,確實能夠用 name 這個 Variable 紀錄目前輸入的 text 。
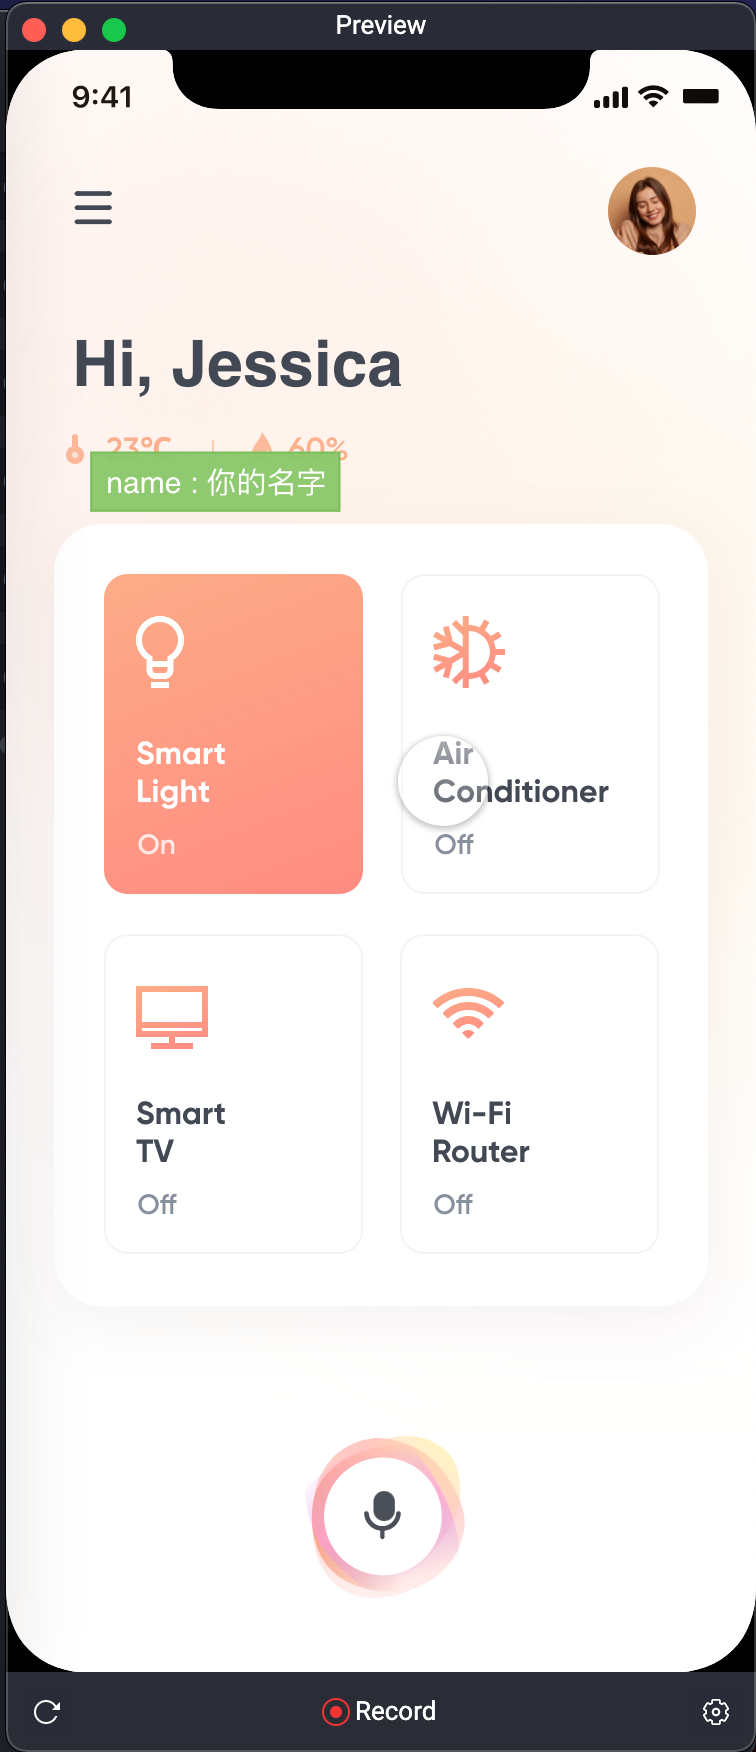
現在回來看很熟悉的 IoT Home 這個 Scene 目前上面暫時放 Jessica 這麼名字。
我們要來讓這個名字根據使用者輸入的不圖而跟著改變。
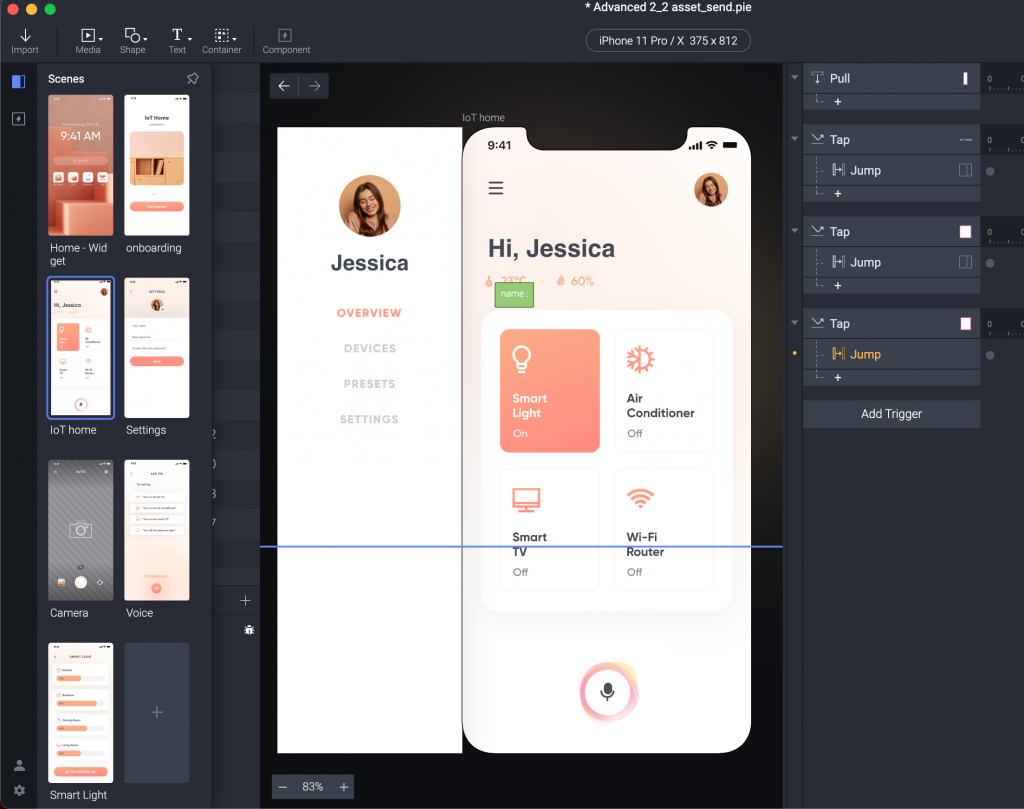
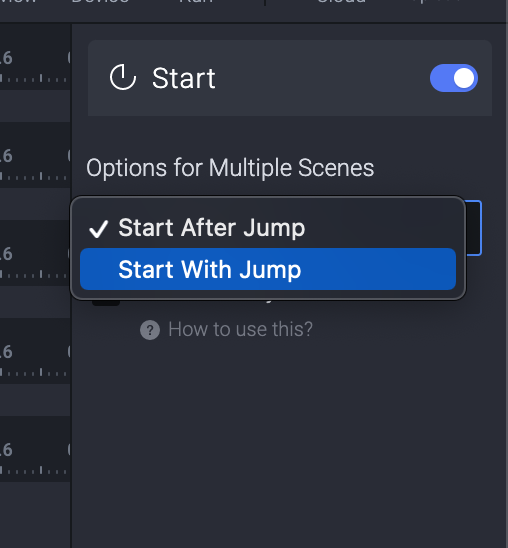
先選一個 Start Trigger ,來到這個頁面就要開始改變,所以右手邊也設定為 Start With Jump。
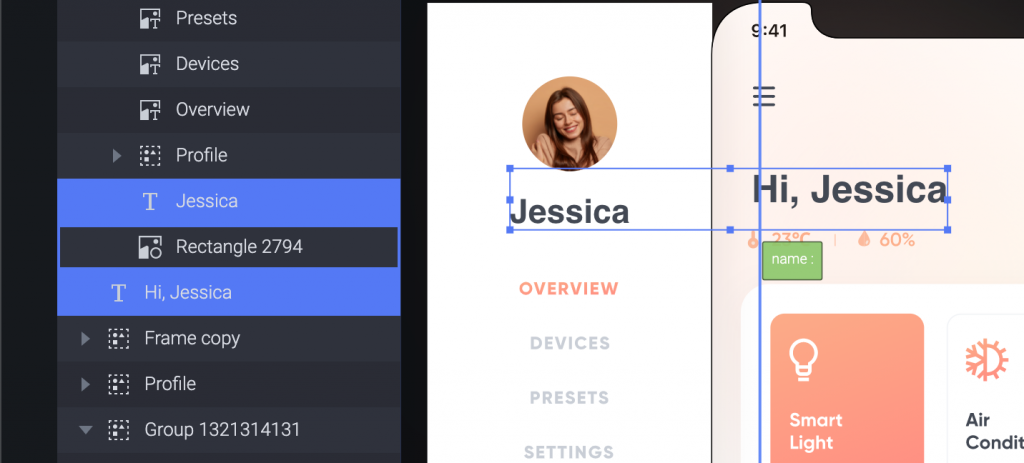
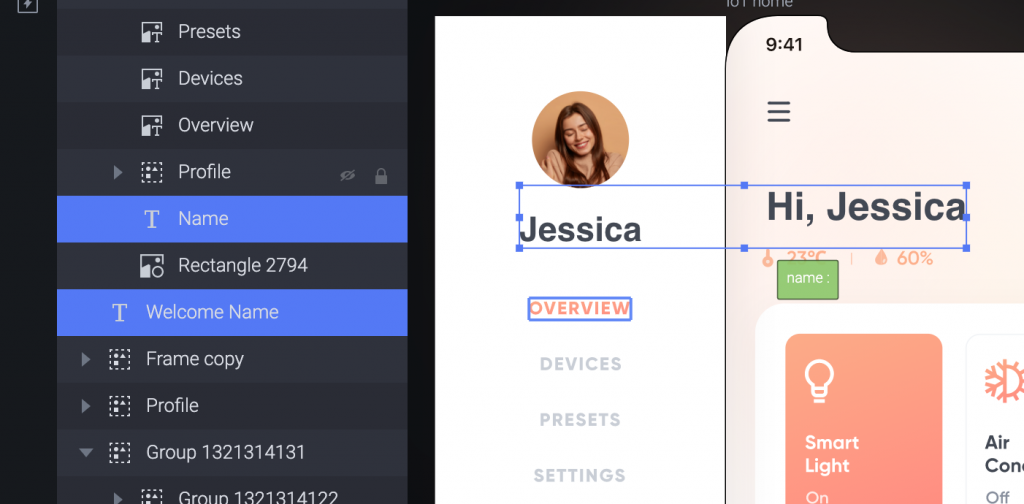
開始前我們先把圖層改名,左邊的 side bar 顯示名字不要叫 Jessica ,改叫 Name 。
右邊的歡迎就先叫 Welcome Name 。
(你想怎麼取名如果別人看越直覺越好。)
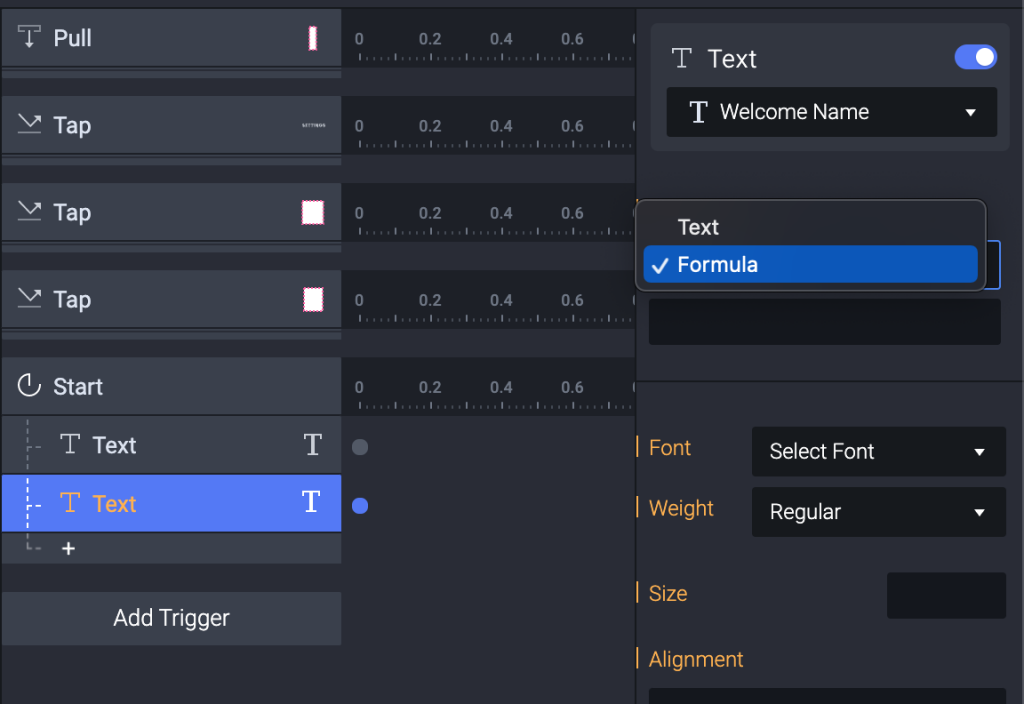
接著我們先處理 side bar 的名字,選擇他並給一個 Response : Text 。
接著選擇 Formula 。
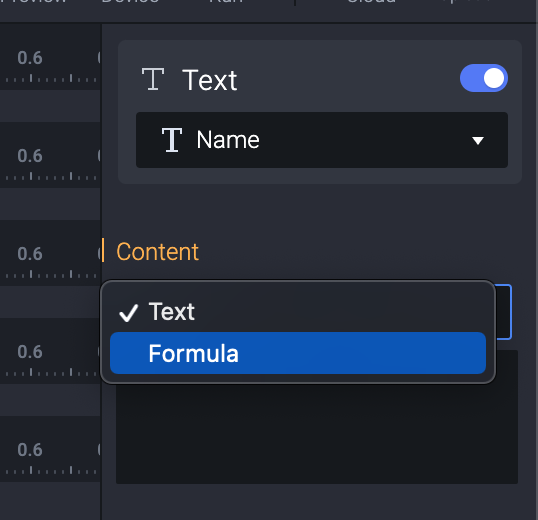
而 Formula 很單純,直接用已經做好的參數 name 。
Preview 看一下,在 Settings 這一頁輸入你的名字。
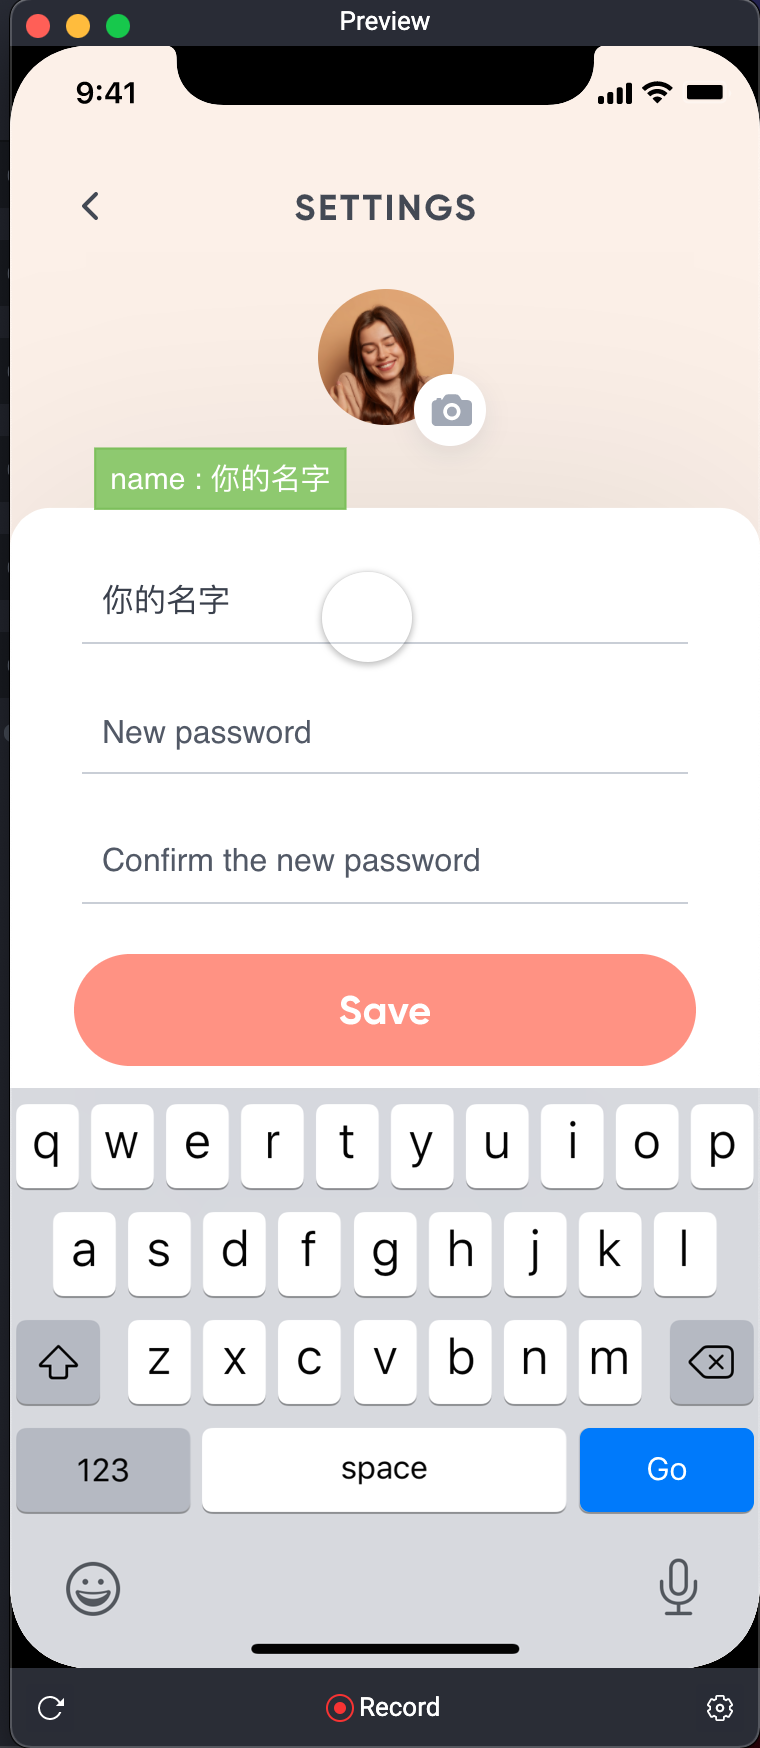
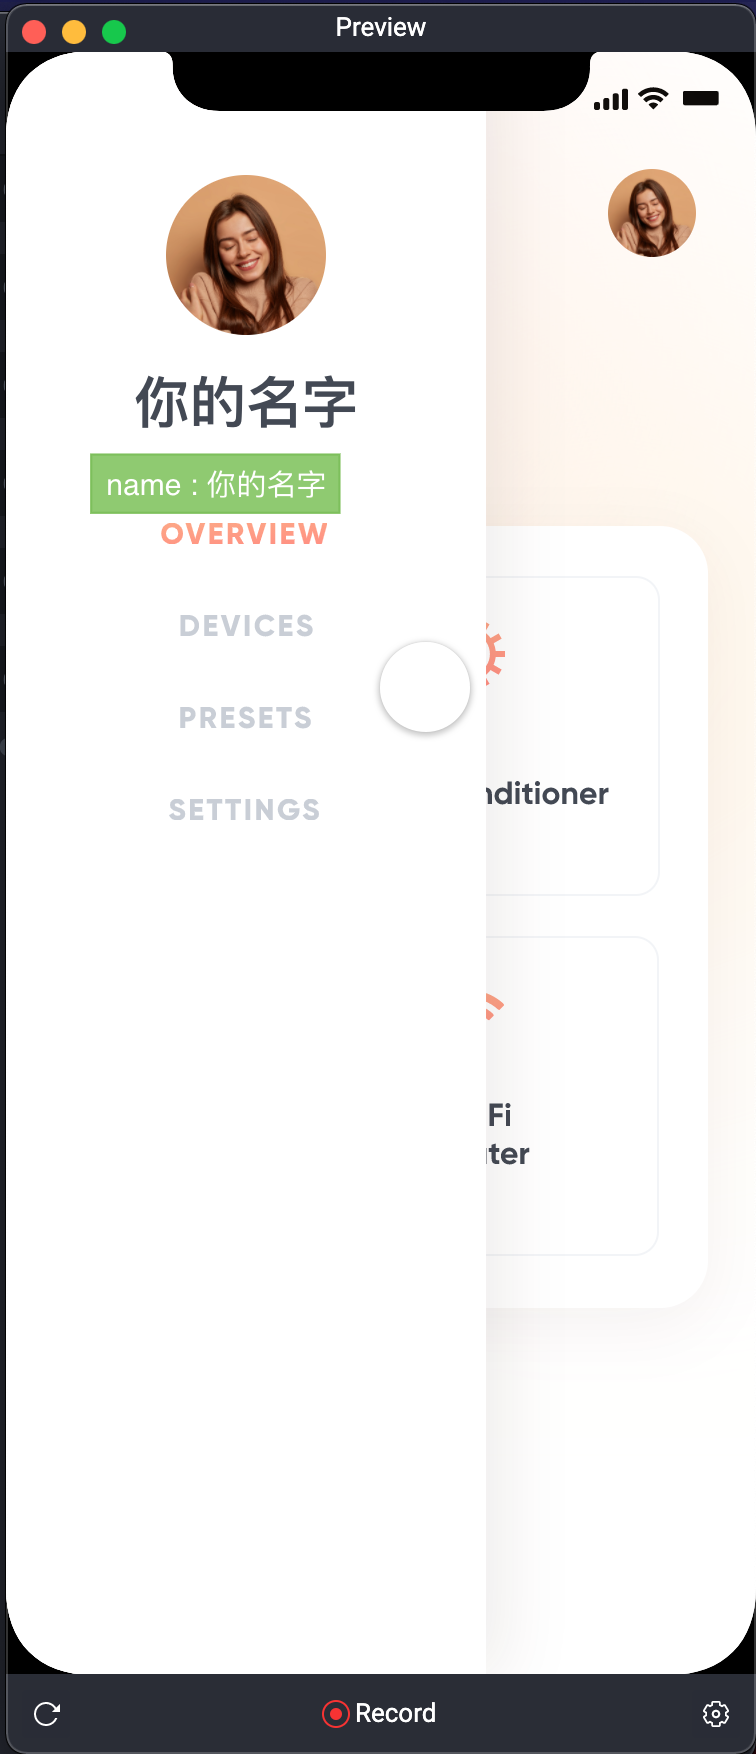
Jump 到下一頁,因為我 debug 模式開著,所以綠色的框框會顯示我的 Variable 。
(這也是因為我選擇 For All Scenes ,就能看到。)
Side bar 一拉出來...就看到啦。
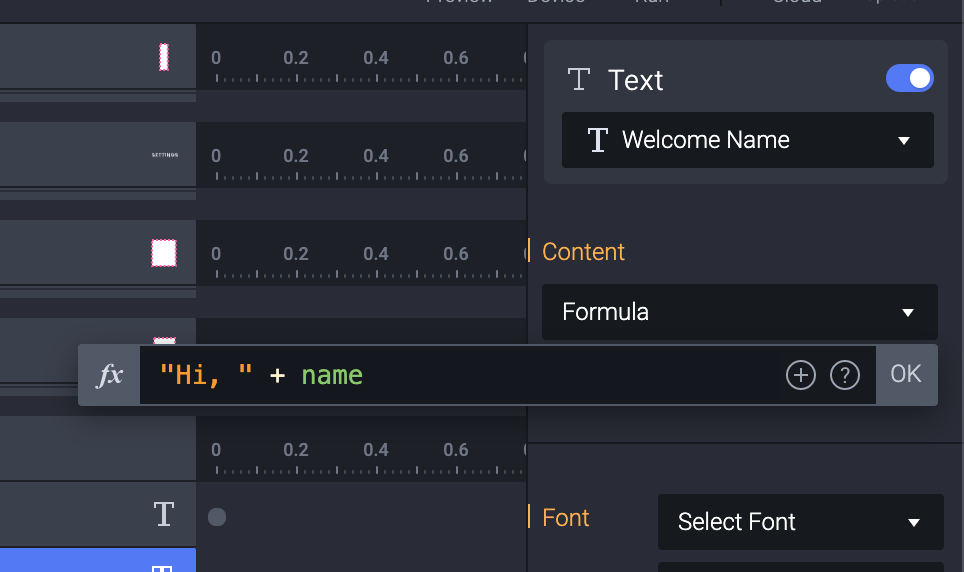
接著我們用接上第二個 Text Response 給 Welcome Name ,選擇Formula 。
因為我們想要不管名字怎麼變,前面有個 Hi ,而這邊 ProtoPie 的寫法就跟平常你寫程式的方法一樣。
是 String 就用””包住,例如 “Hi, “ 然後可以用 + 號去把 Variable 加上去。
(記得電腦只會認得你給他的,所以 Hi, 後面有個空格,這樣顯示的時候才會正確。)
接著回到 Settings 輸入,就會發現,後面兩個都順利把Variable 帶進去啦!
輸入 Harry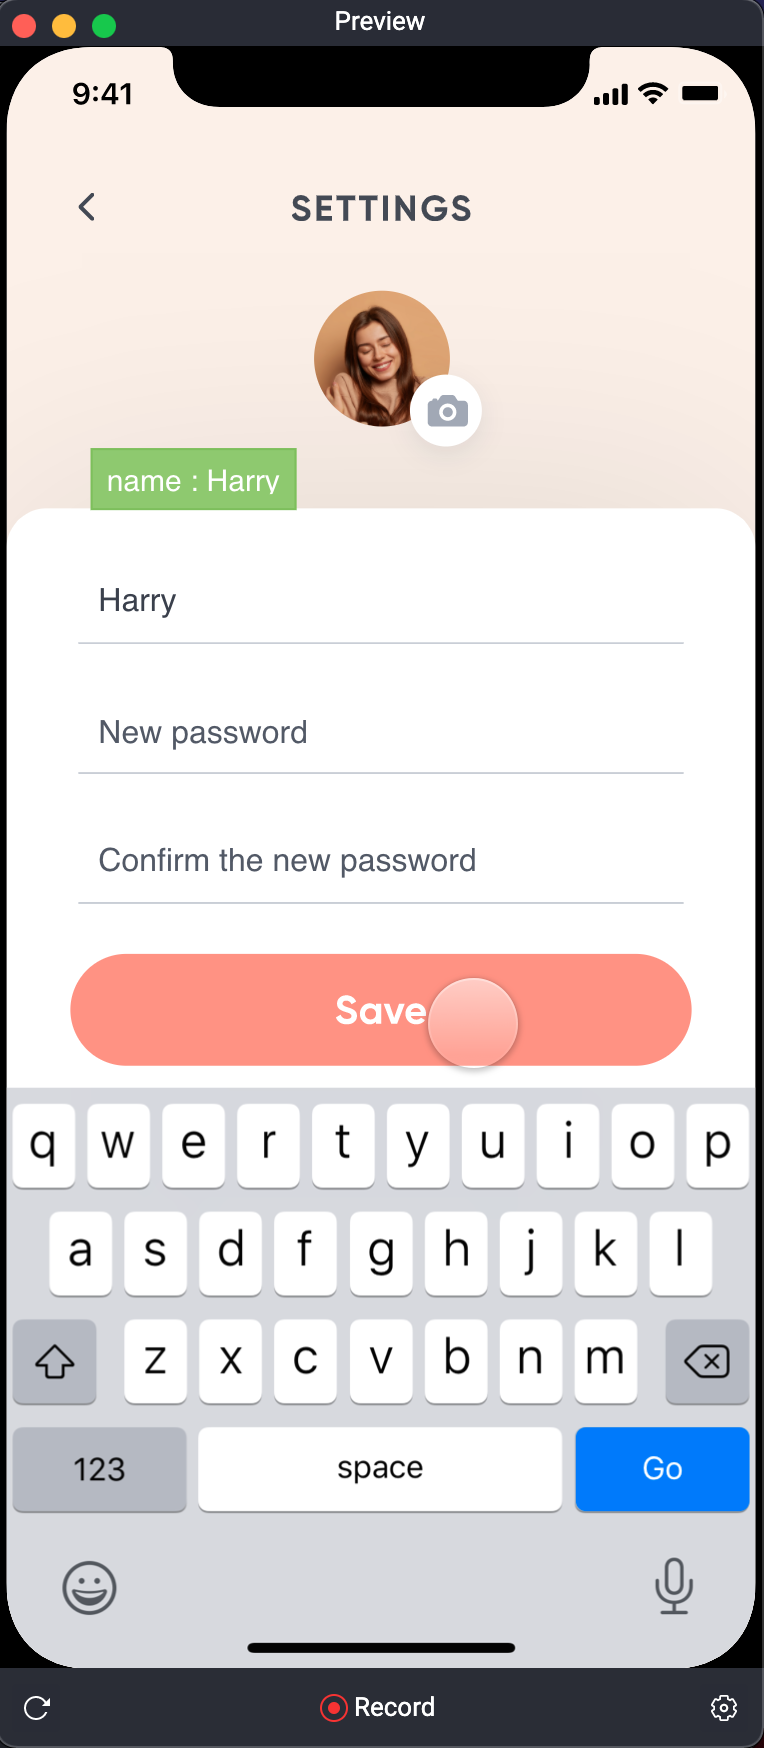
跳到下一頁 看 Debugger 確實 Variable 帶過來了 Welcome name 也順利更新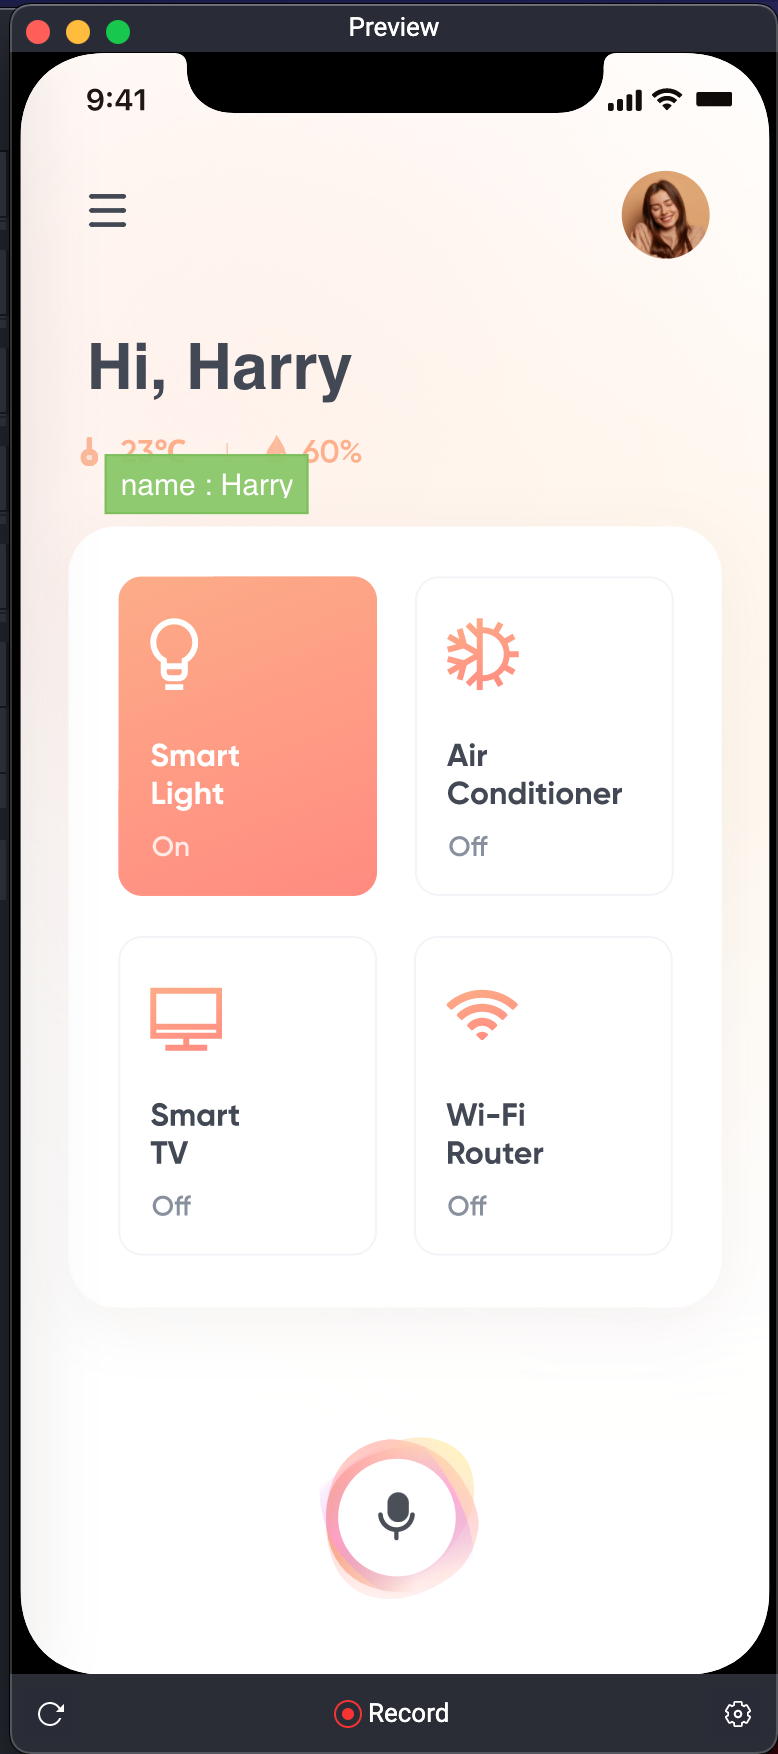
拉出來一看,名字也是正確的 Harry!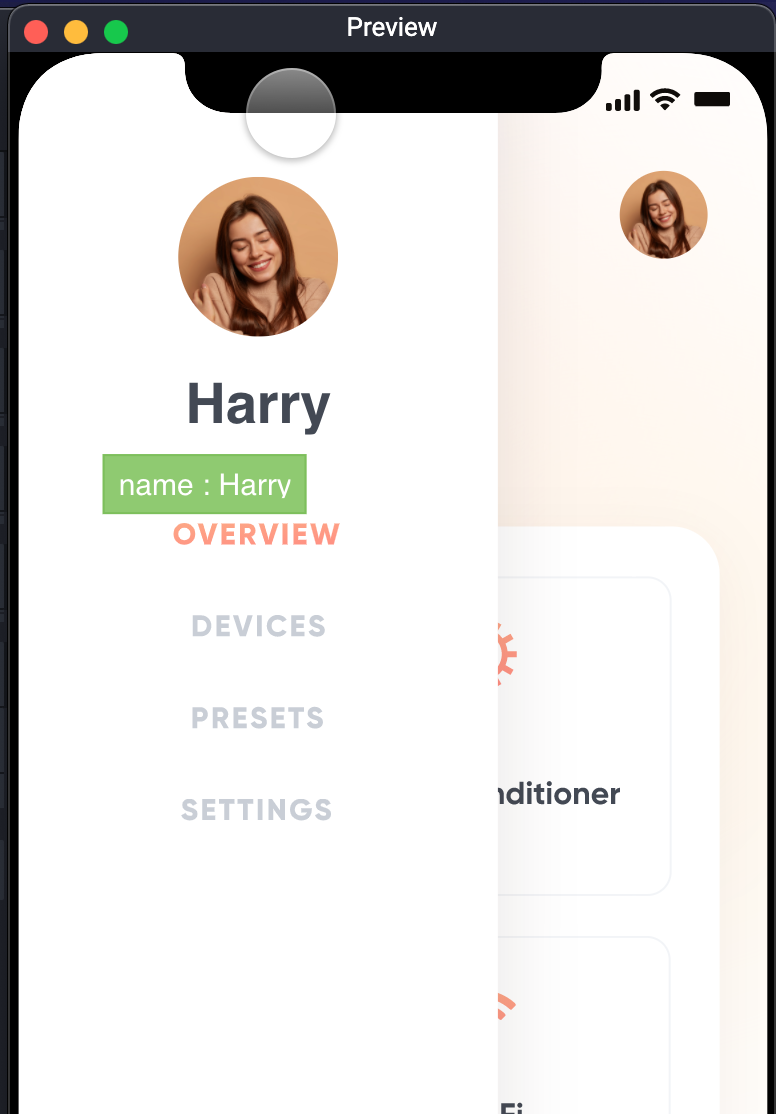
在一天 就 30 天就這樣過去了。
人生短短幾個秋。


 iThome鐵人賽