今天來玩這個,模擬一個旋轉鈕。
(其實是 Slider 但這東西真不容易翻譯。等等直接看圖片吧。)
分享者是個在學使用者設計的大學生,Cal Brackin。
會使用到 Mask 和 Chain 這兩個功能。
講者有順道幫忙解釋,當你沒有要追求很精準的控制,讓使用者可以設定自己想要的數值的時候,Slider就很適合。
我想,就像是音量這種很憑感覺的設定。
(除非你跟我以前很像,轉到某些地方一定要是雙位數或某個數字。)
所以等等會用 Chain 來連動兩個 layer 並利用 Variable 來計算這個旋轉鈕的值。
原始檔案下載的地方在這。
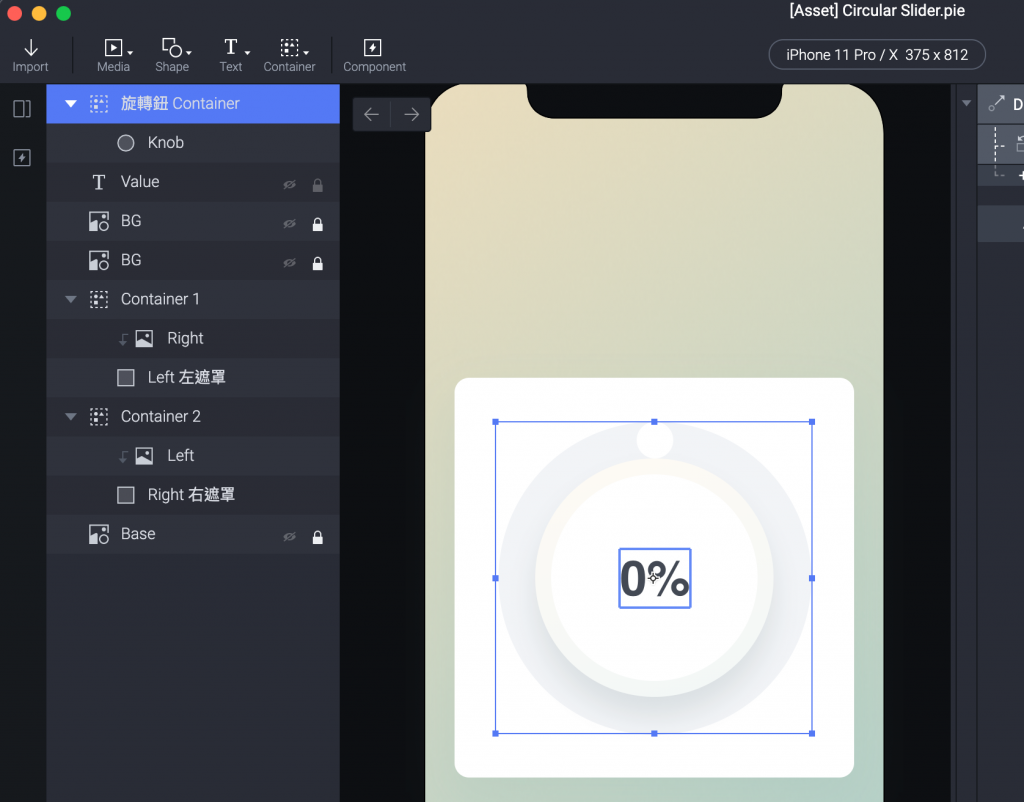
跟之前一樣,每次的開始都是從一個 Container 開始。
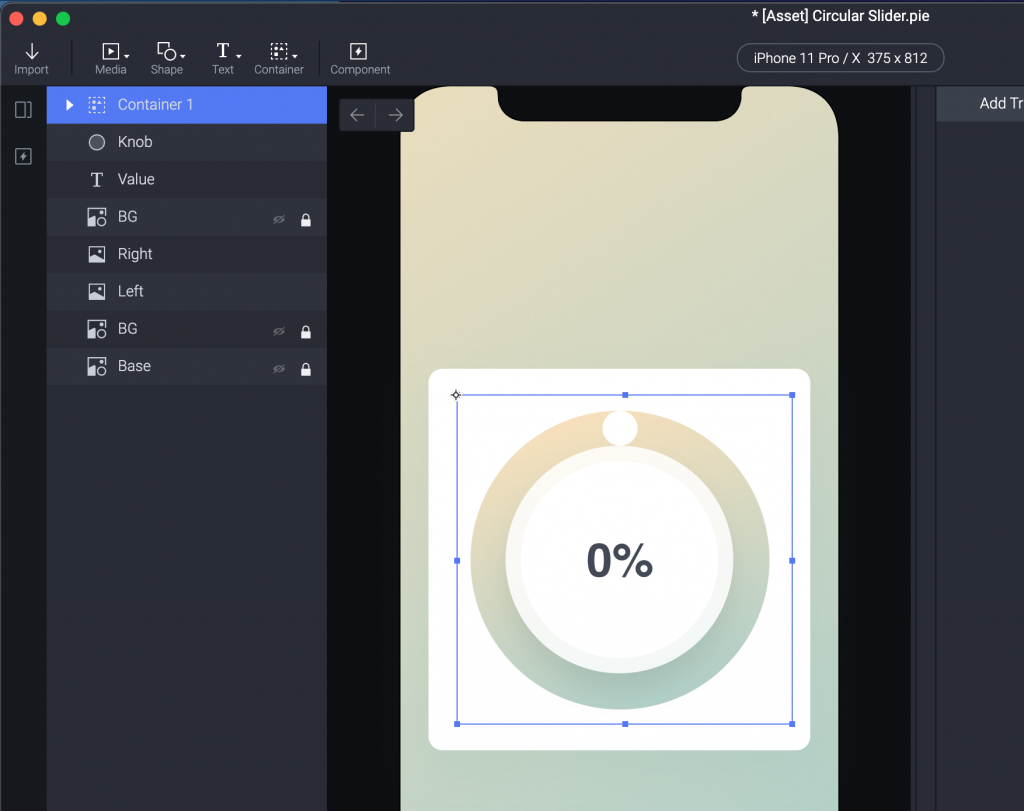
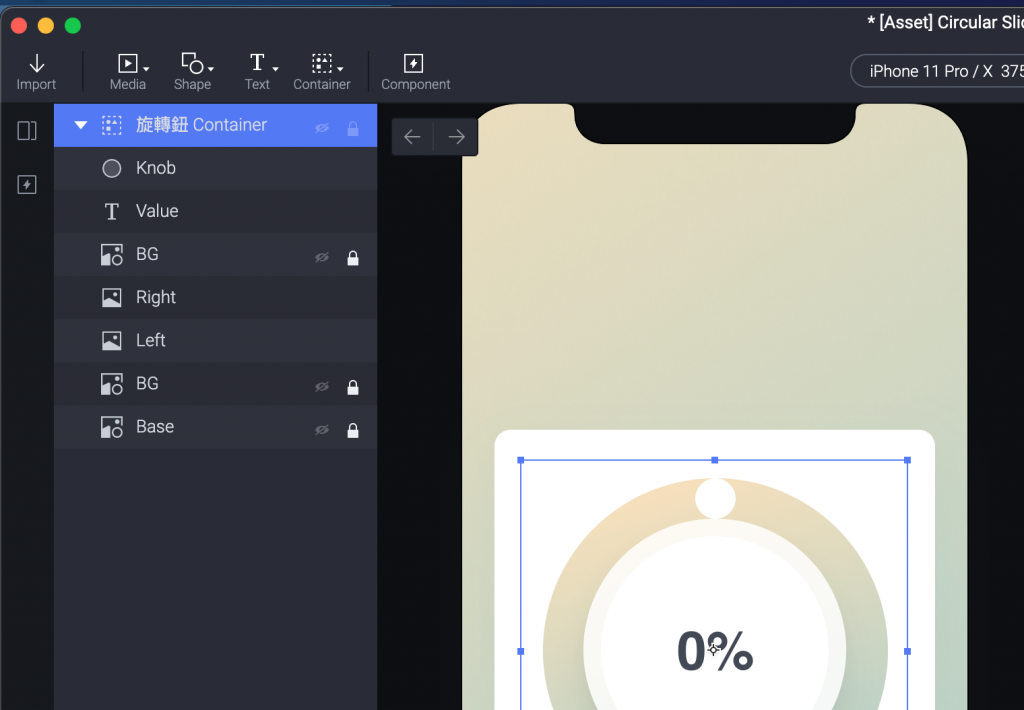
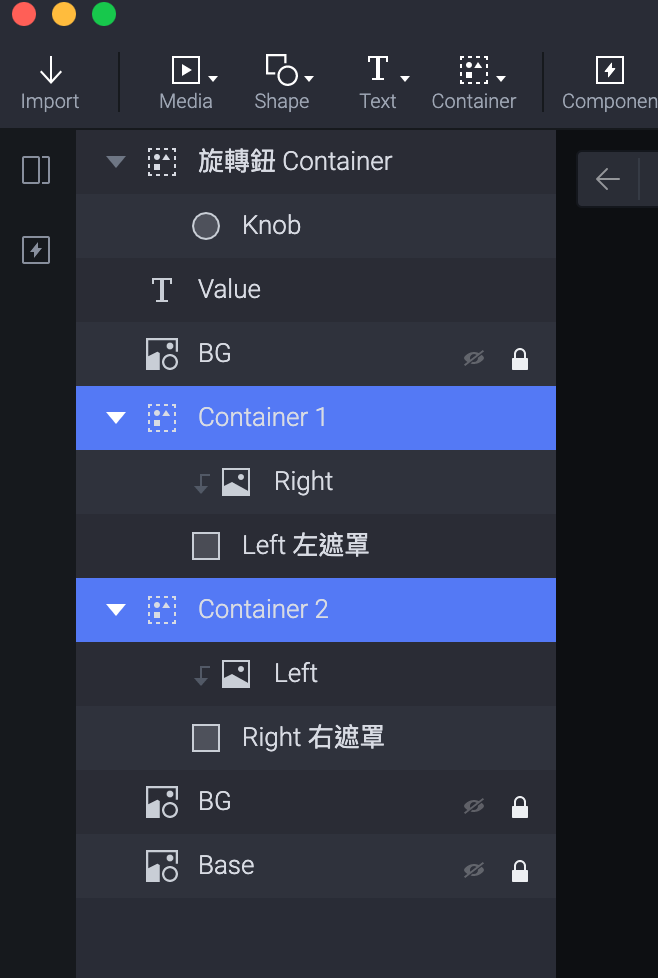
我們做一個跟中間圈圈一樣大的 Container 然後命名為「旋轉鈕 Container」。
(這樣命名ok嗎?我也不知道,但我想試試看用中文命名,看看順不順。)
(上傳前加上這句:不順,直接用英文比較不會亂掉...)
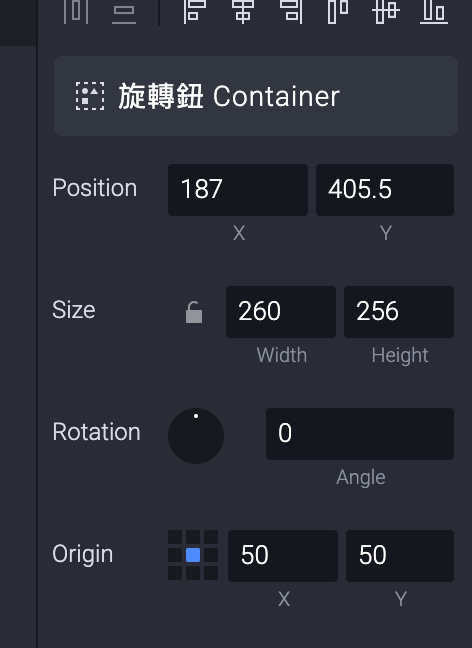
旋轉鈕 Container 的 Origin 移動到中間。
(Rotation 旋轉時候的軸心。)
再來選擇 Knob 順便把他放到旋轉鈕 Container 裡面。
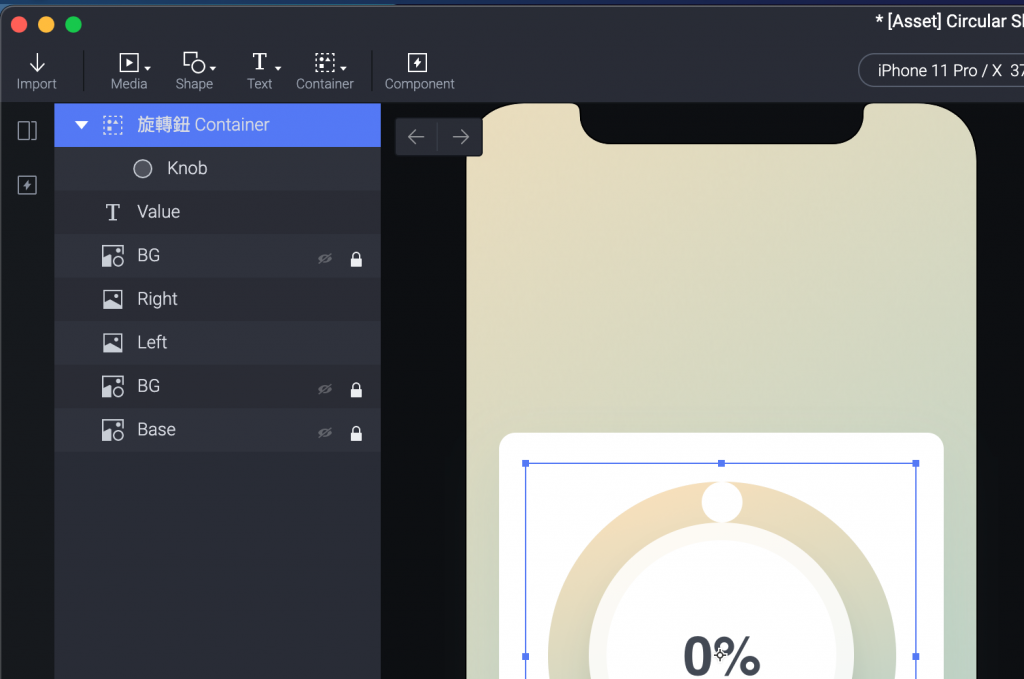
我們給他一個 Drag 的 Trigger,並且加上一個 Rotate response 。

Preview 就能看到手指能拖動Knob繞圈圈了。
這個部分比較混亂,我們一步一步來看。
原始檔案已經把圓圈做成兩半。
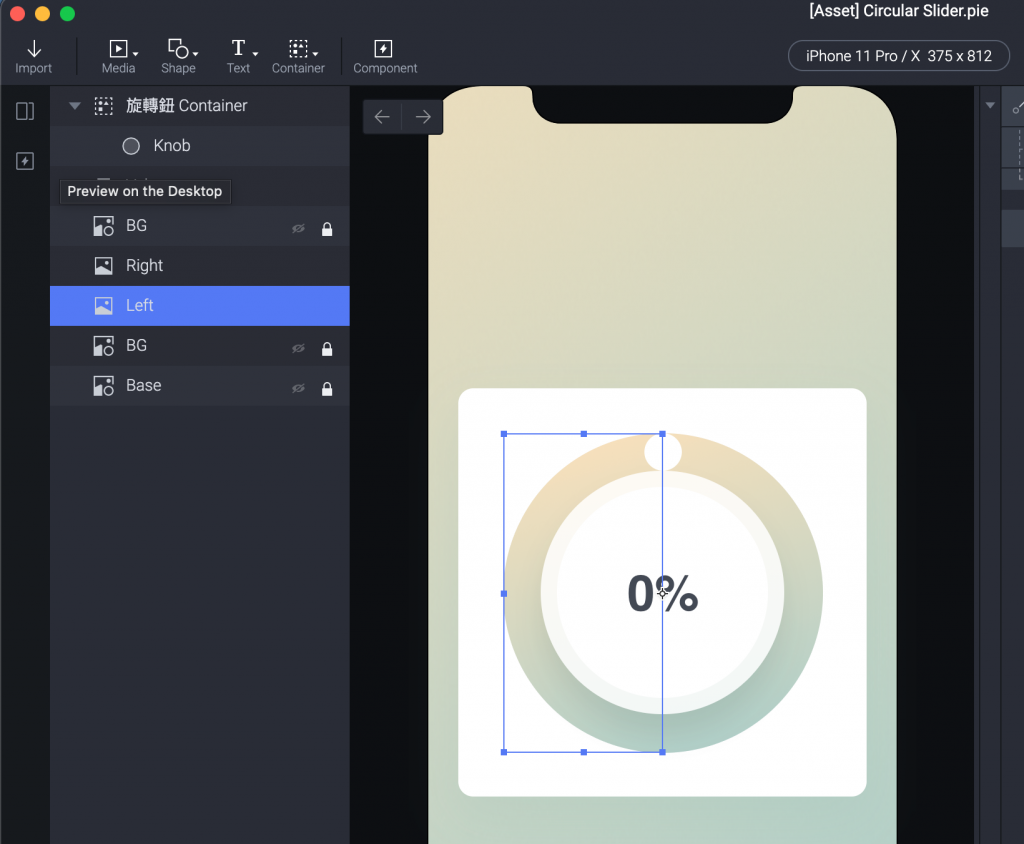
一個 Left 。
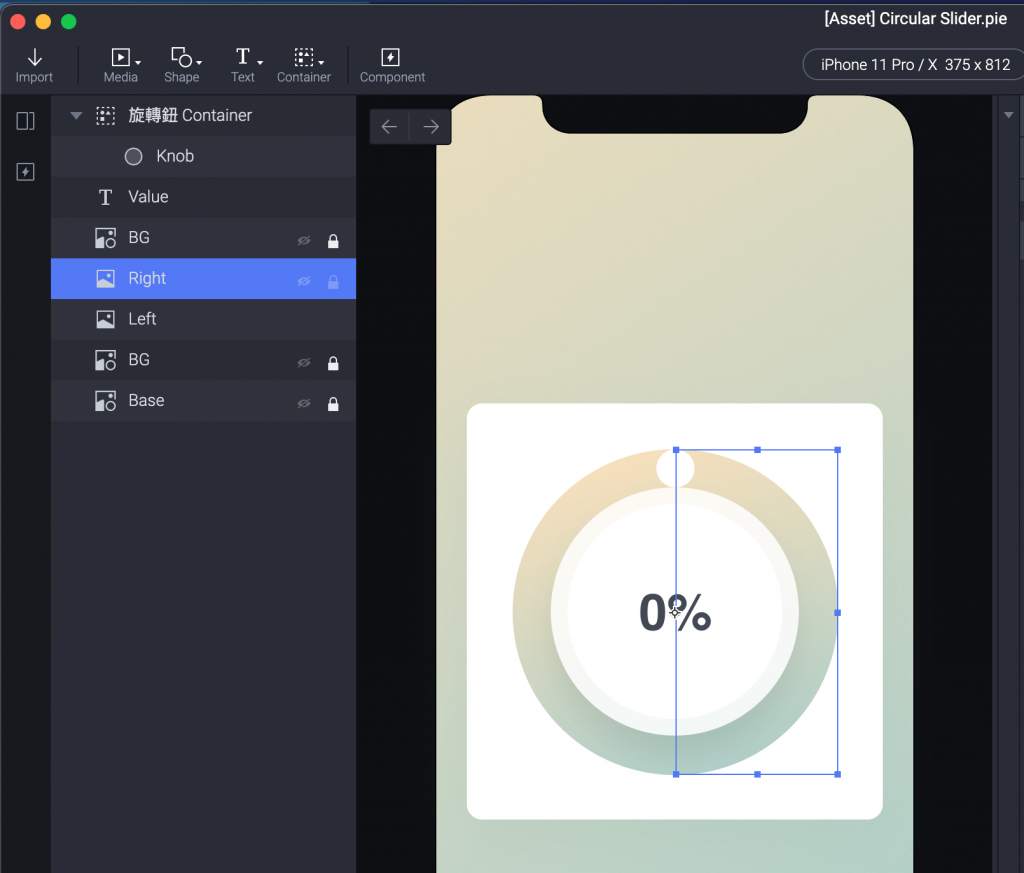
一個 Right 。
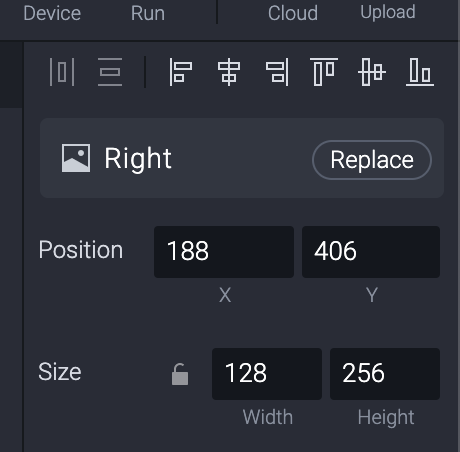
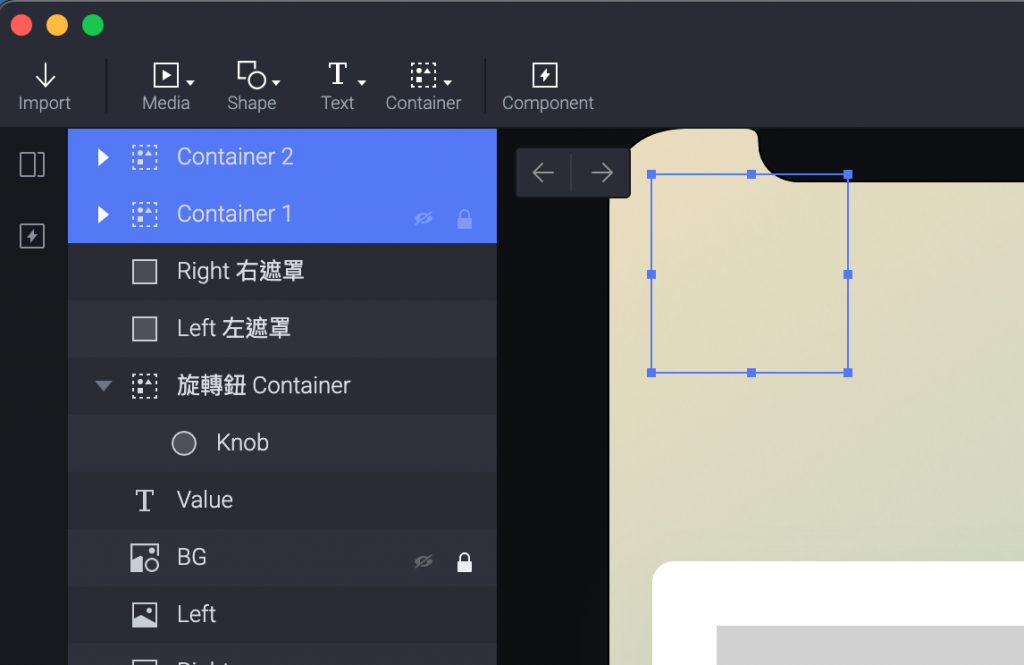
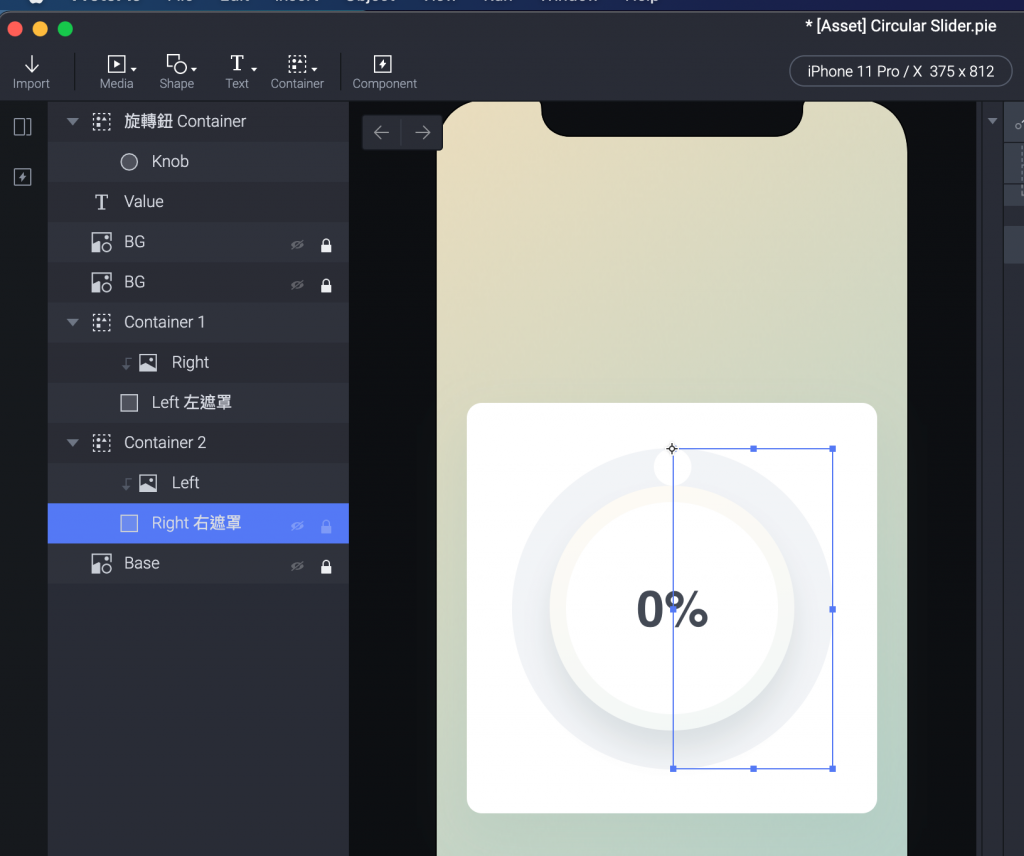
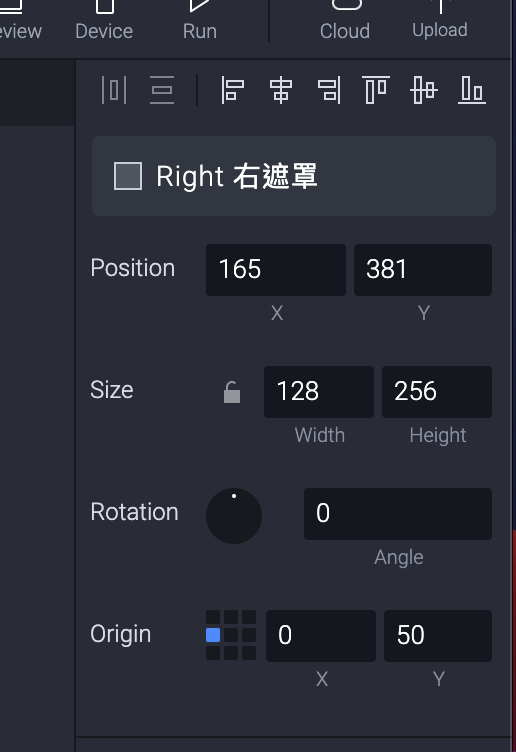
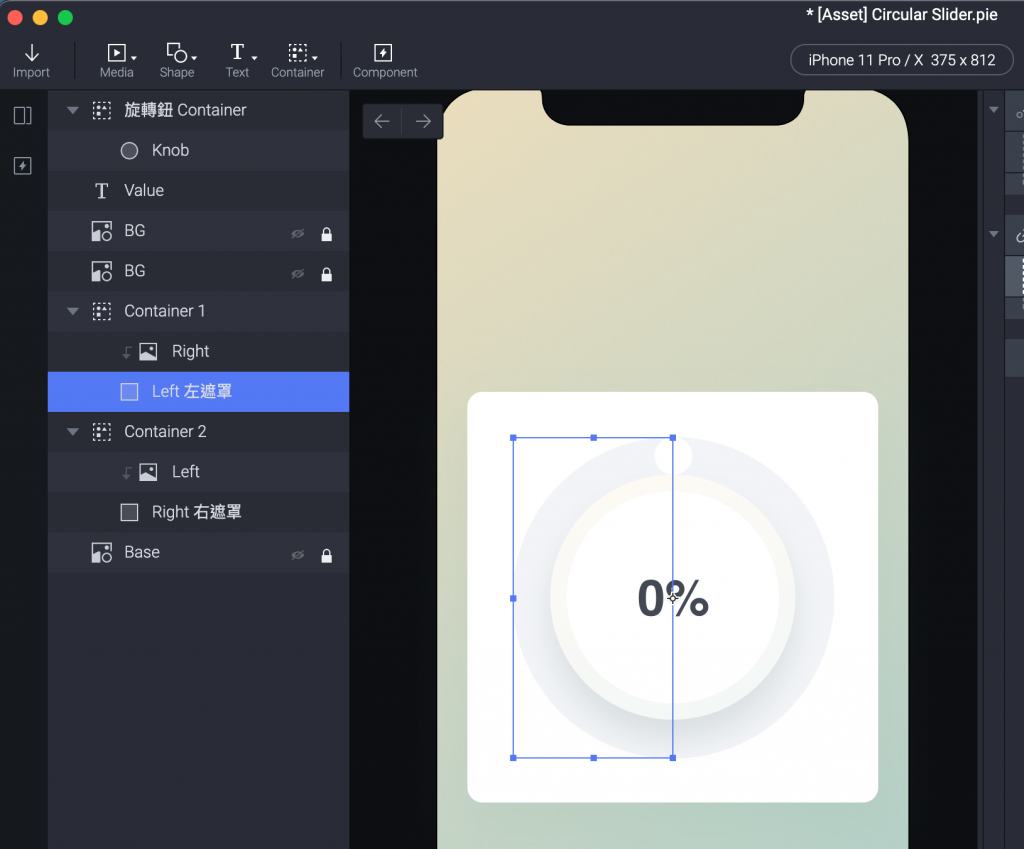
我們製作兩個方塊 Rectangle,剛好一個蓋住左邊、一個蓋住右邊,這個等等要做 Mask 遮罩用。
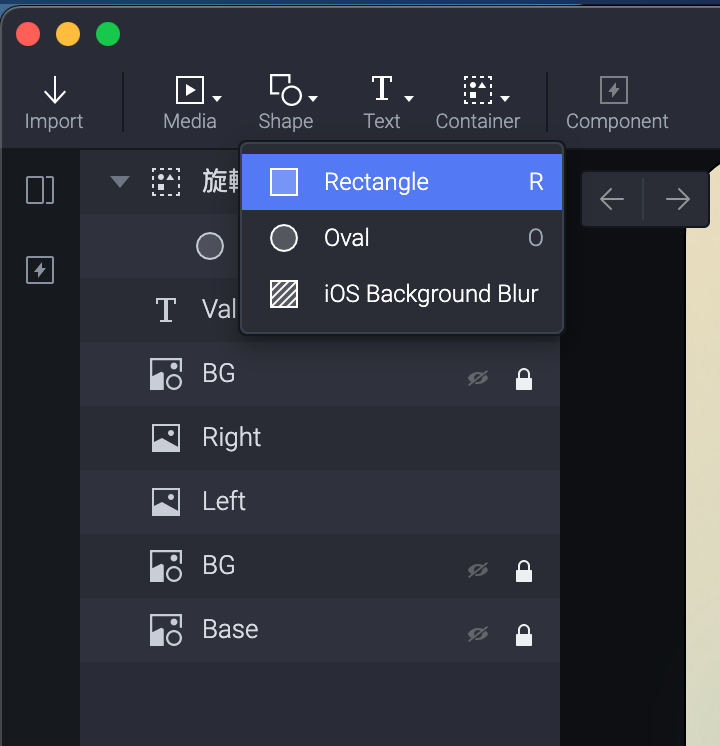
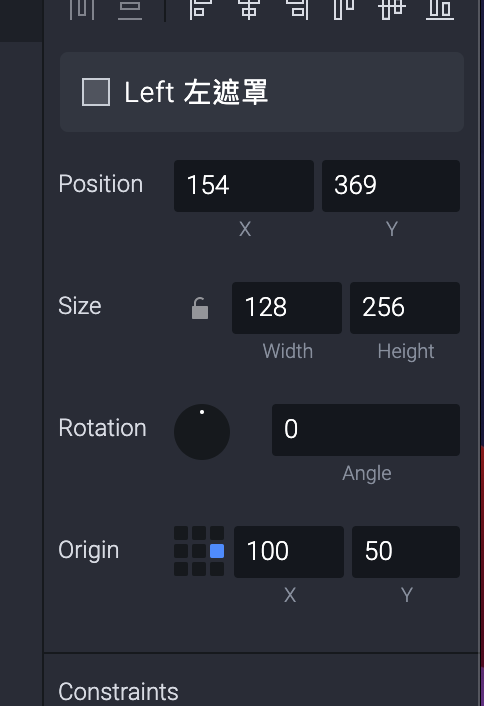
你可以手動直接拉也可以用左右圖的長寬(128*256)來設定。
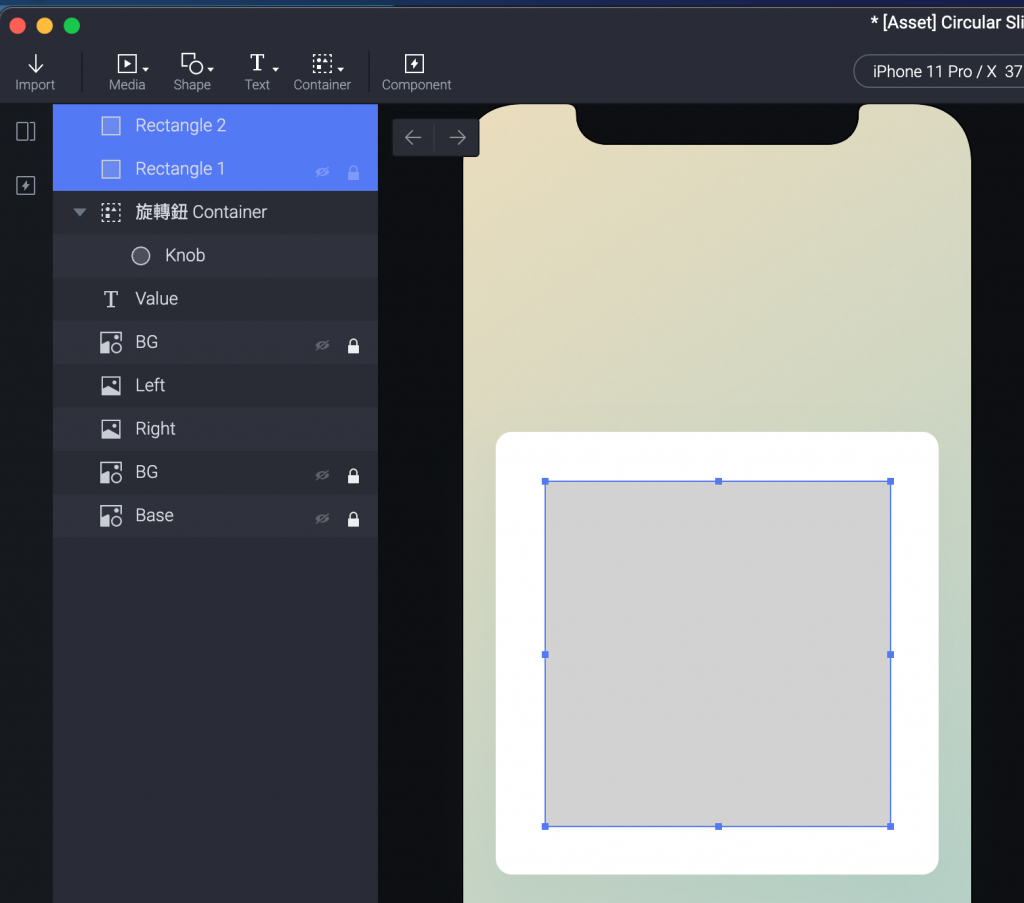
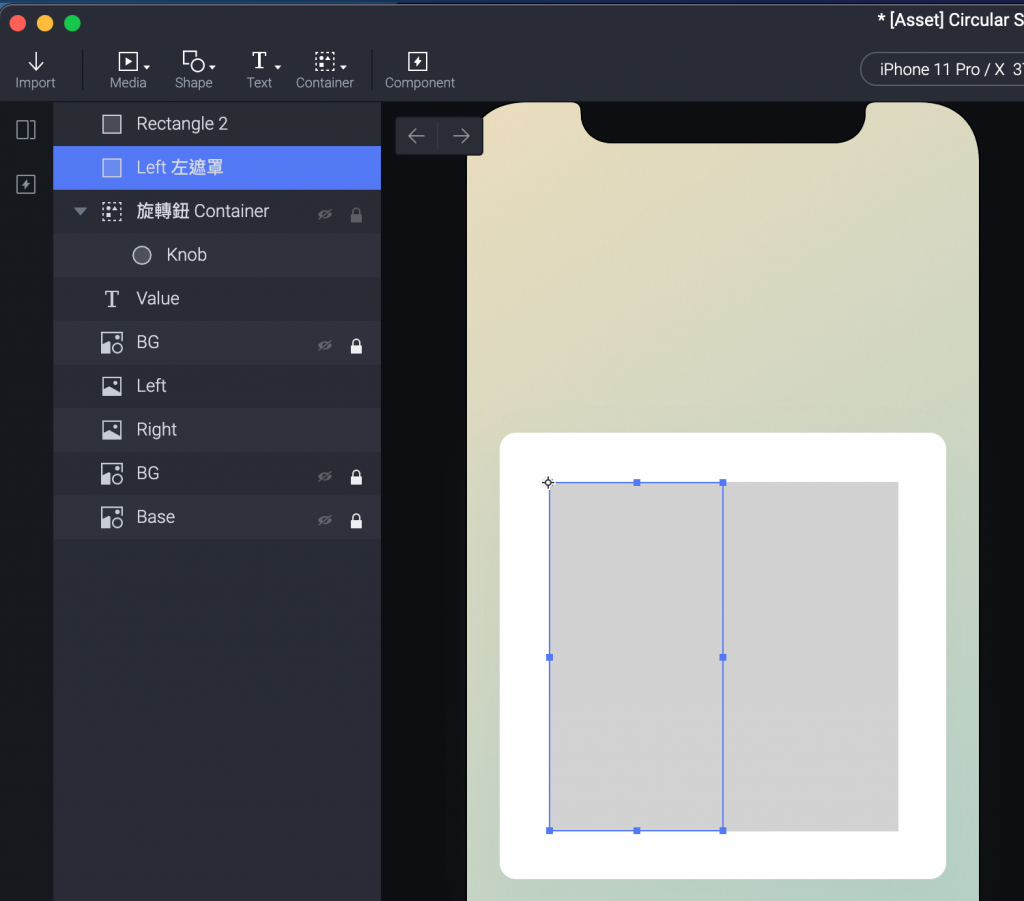
記得把方塊兩個名稱也改一下,左邊的就設為「Left 左遮罩」,右邊的是「Right 右遮罩」。
(覺得這個人寫得教學有點不清楚,也好好反省是不是自己寫的很多地方也不是很清楚...)
所以自己嘗試了一下,接下來這邊我順序跟講者的會不太一樣。。
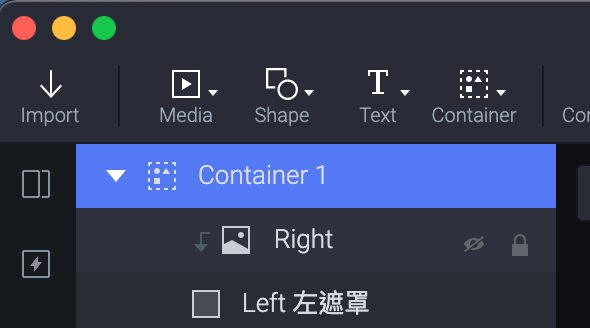
這時我們做兩個 Container ,一個 Container 1 、一個 Container 2 。
我隨便在螢幕上點一下,感覺 Container 設定在哪好像沒差。
(剛測試起來是這樣沒錯,原講者沒解釋放哪。)
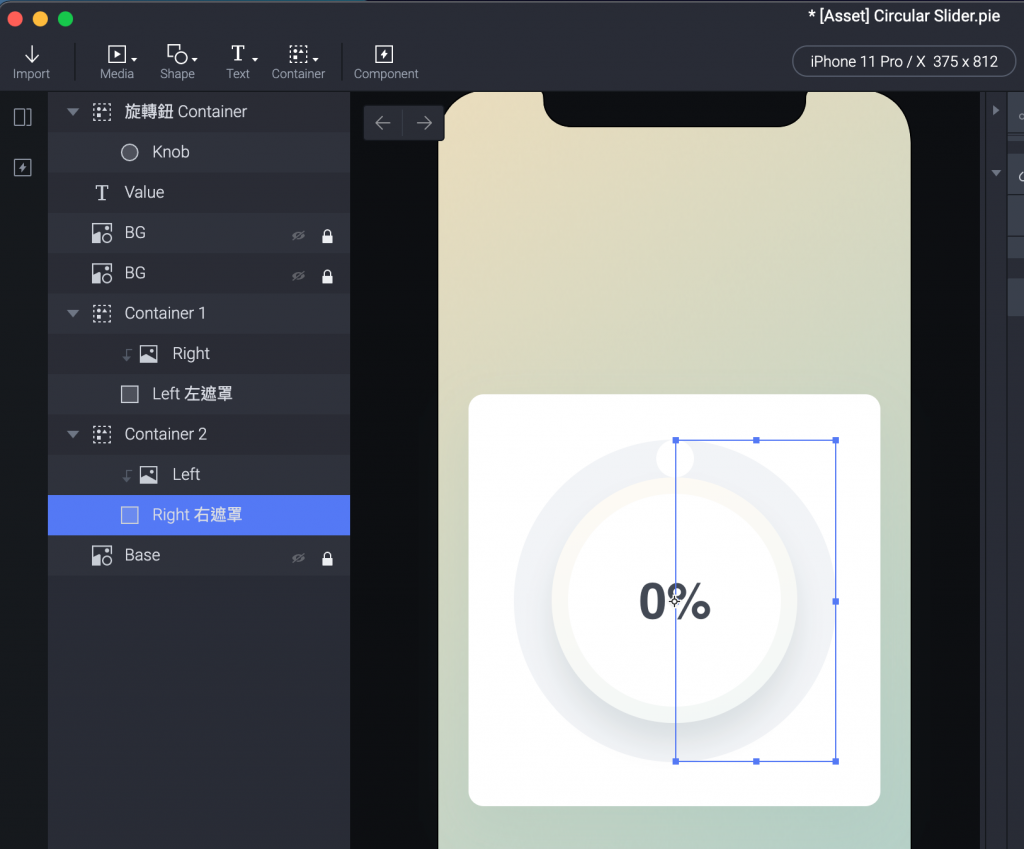
接著我們把「Right 右遮罩」按右鍵,設定為 Mask。
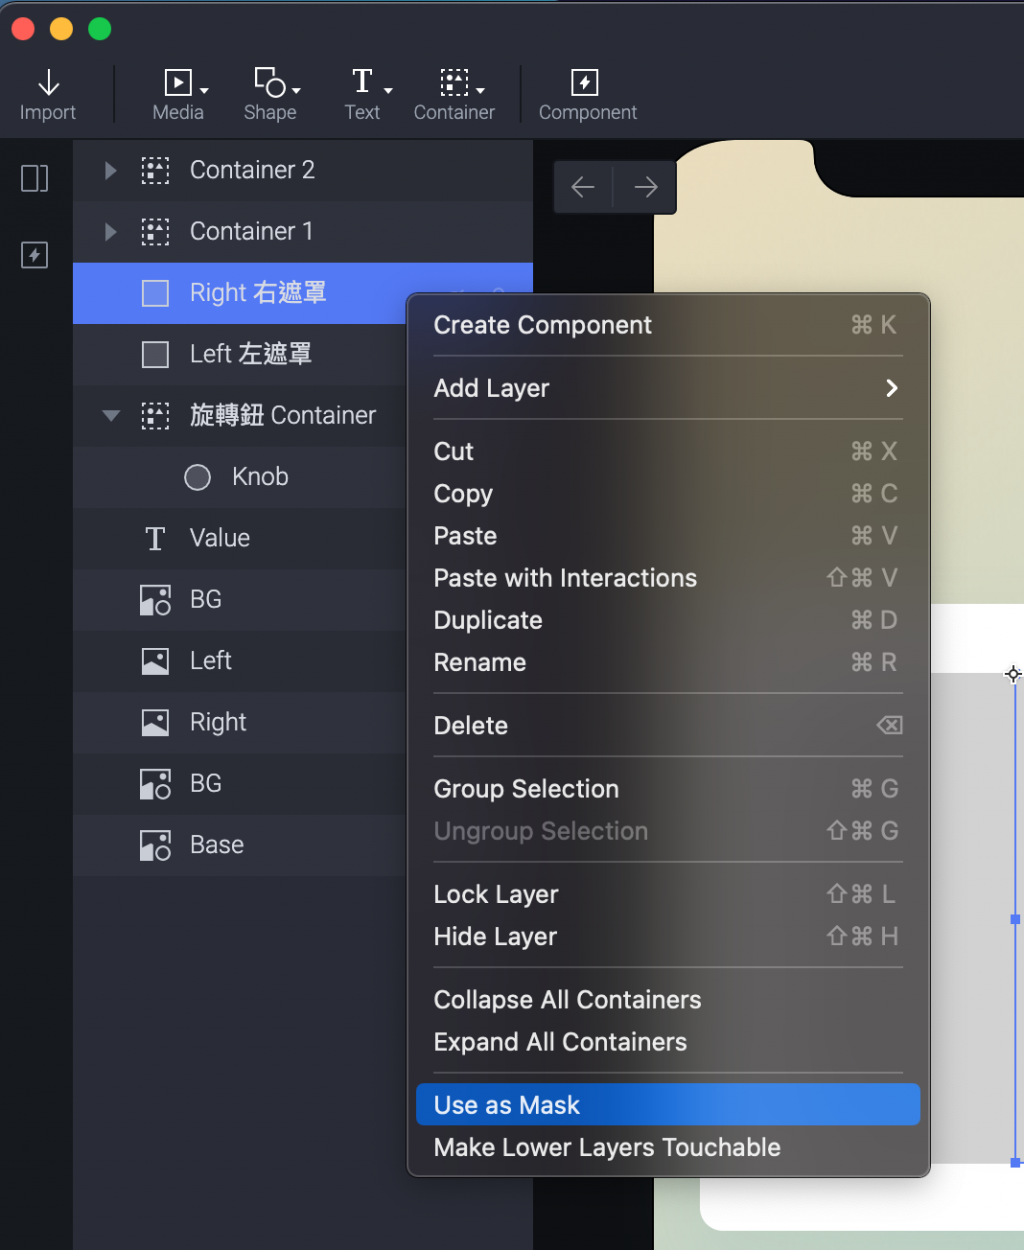
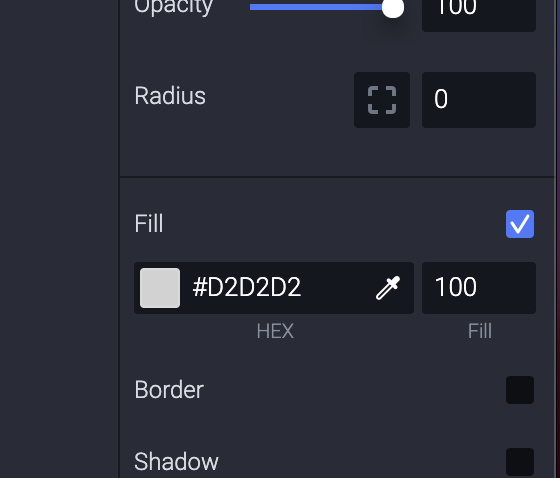
然後把右邊的 Fill 取消勾選。
你的畫面會長這樣。
(但記得如果你的Layer 順序跟我不同可能會有差異)
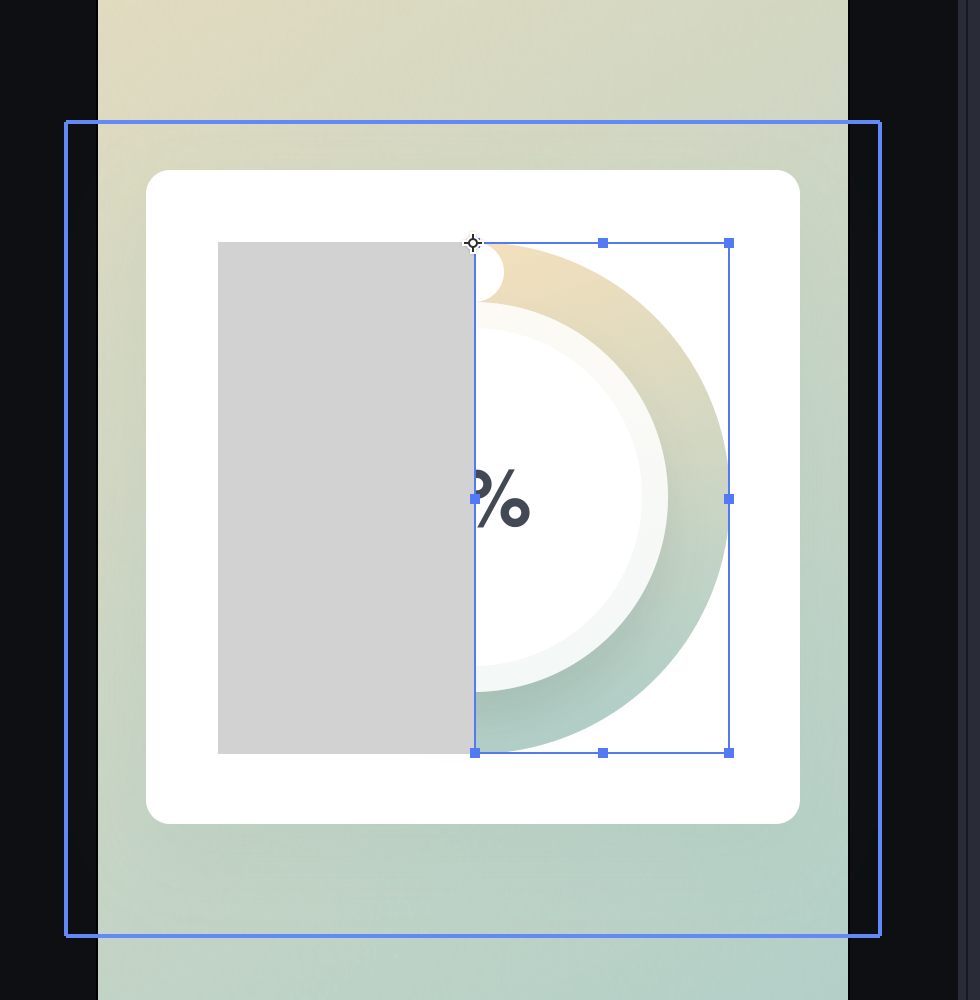
「Left 左遮罩」也依樣設定 Mask 和取消 Fill 。
接著把 Left 左遮罩 放在 Right 下方,裝進 Container 1。
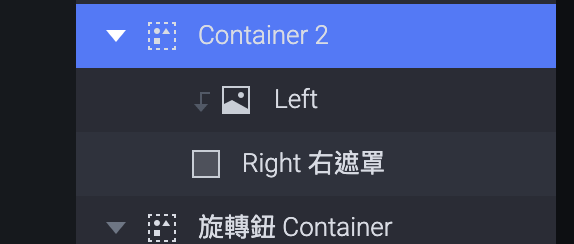
Right 右遮罩 放在 Left 下方,裝進 Container 2。
接下來我們就要來用 Chain 施點魔法。
其實製作的原則很單純,我們是順時鐘在轉,所以用兩個 Mask 遮罩分別去跟著中心軸轉動,去把後面的顏色放出來。
我們先選「Left 左遮罩」。
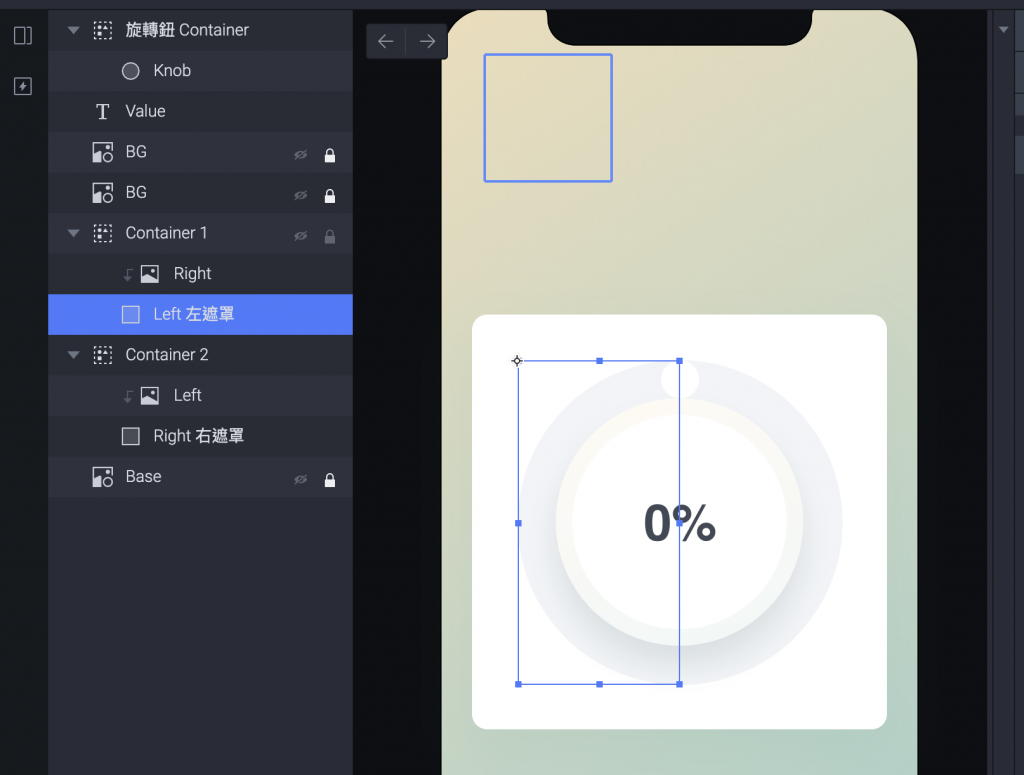
然後把 Origin 設定成右側的中間。
(藍色的方塊所在之處當作軸心)
我們再選 Right 右遮罩。
Origin 設定成為左側的中間。
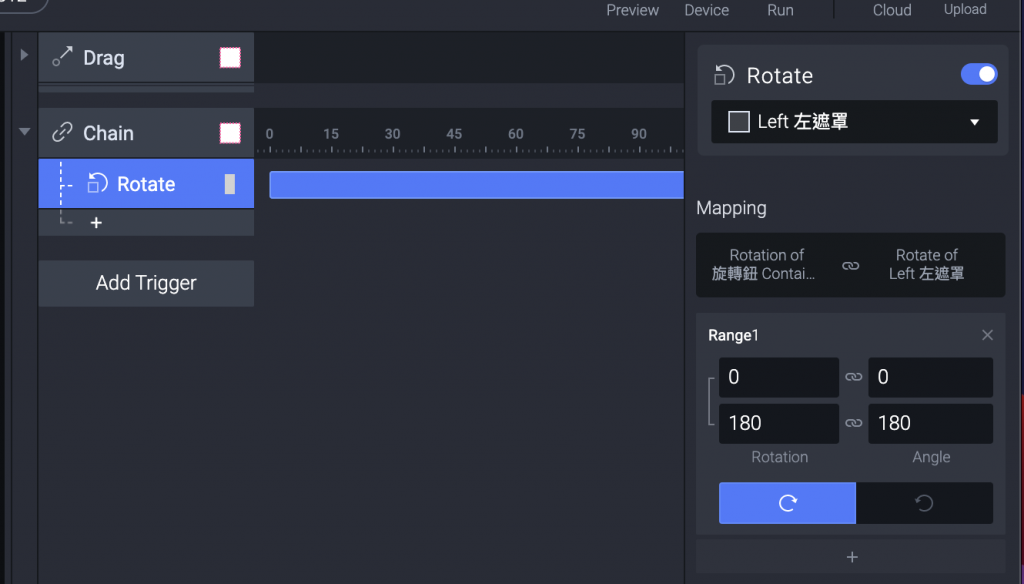
這時我們回來選擇我們的「選轉扭 Container」。
把他設定一個 Chain Trigger 的 Rotation。
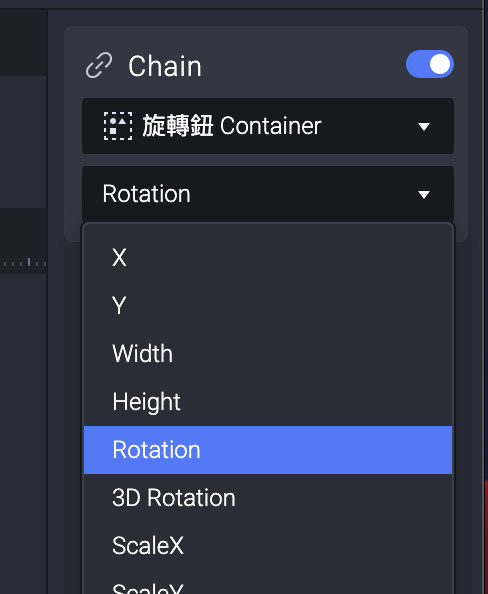
因為我們是順時鐘轉,所以 Left 左遮罩會先顯露右側的圖片,所以選擇 Left 左遮罩。
同時設定 Range 1 裡面,當「選轉扭 Container」從 0 到180 轉動的時候,連動 Left Mask 也轉 0 到 180。
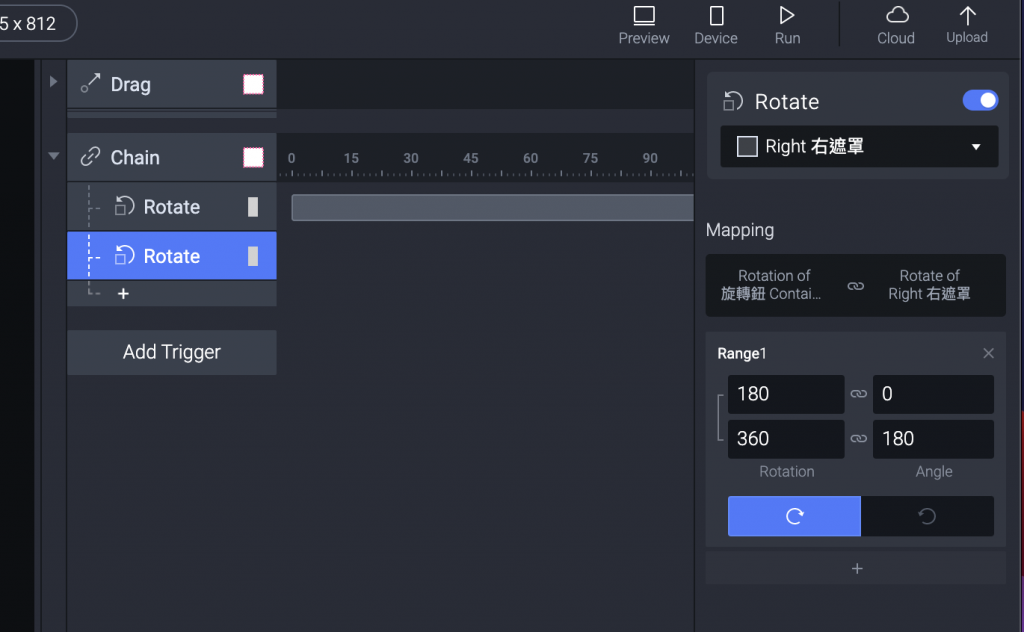
接著選 Right 右遮罩,是要顯示後半圈的部分。
所以再加上一個 Rotate ,讓「選轉扭 Container」從 0 到180 轉動的時候,連動 Right Mask 也轉 0 到 180。
這部分會有一個瞬間想通,不知道有沒有更直覺的解法就是。
接著把 Container 1 跟 Container 2 移動到這個位置,這樣 Layer 才會順利顯示。
(想知道為什麼就上下移動看看,去 Preview 看發生什麼事情。)
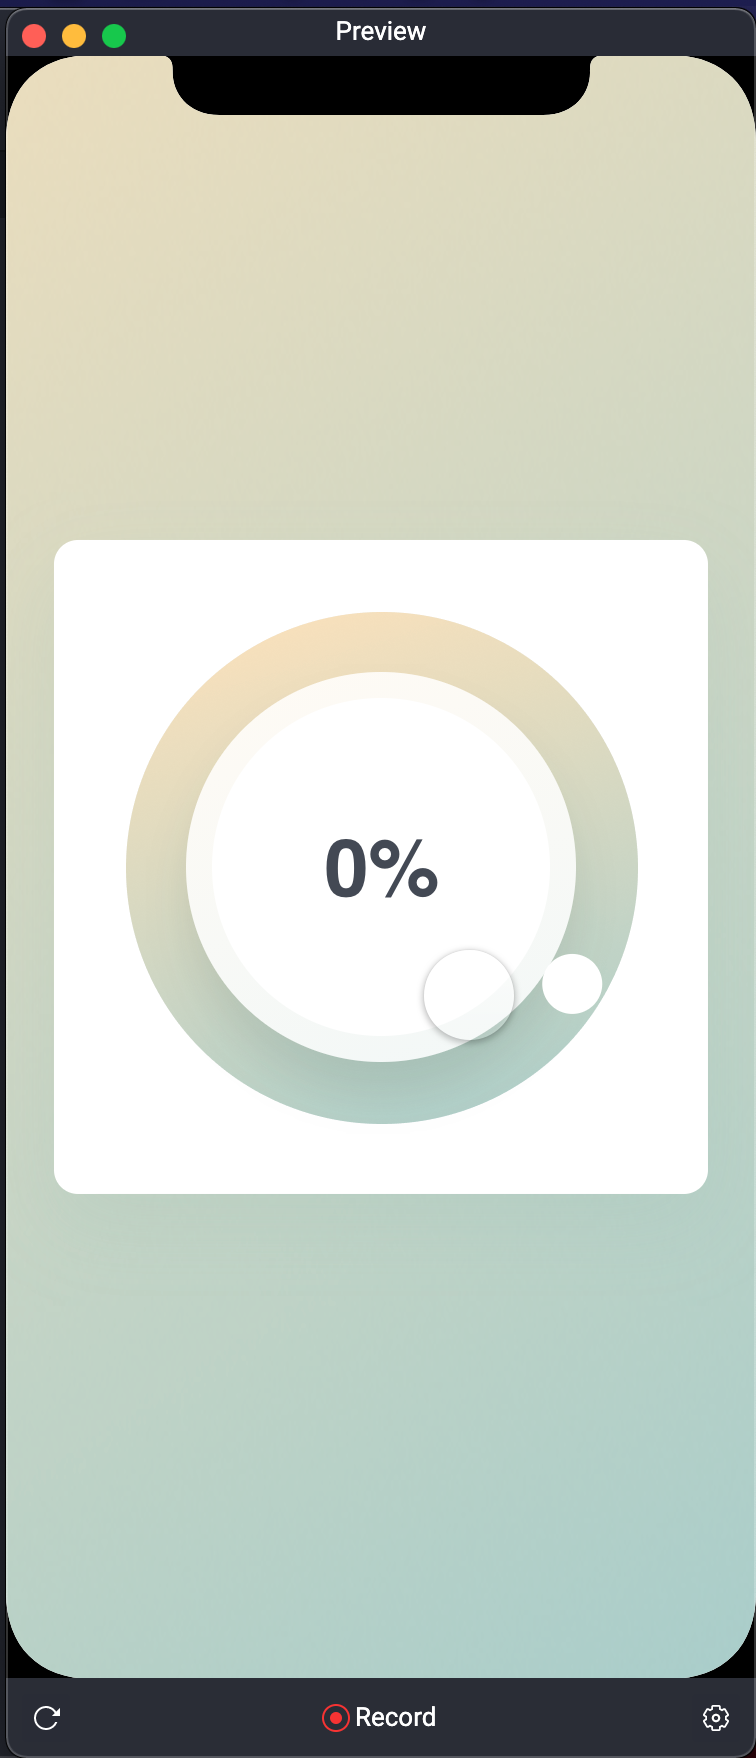
Preview 看一下,就會長這樣啦!
旋轉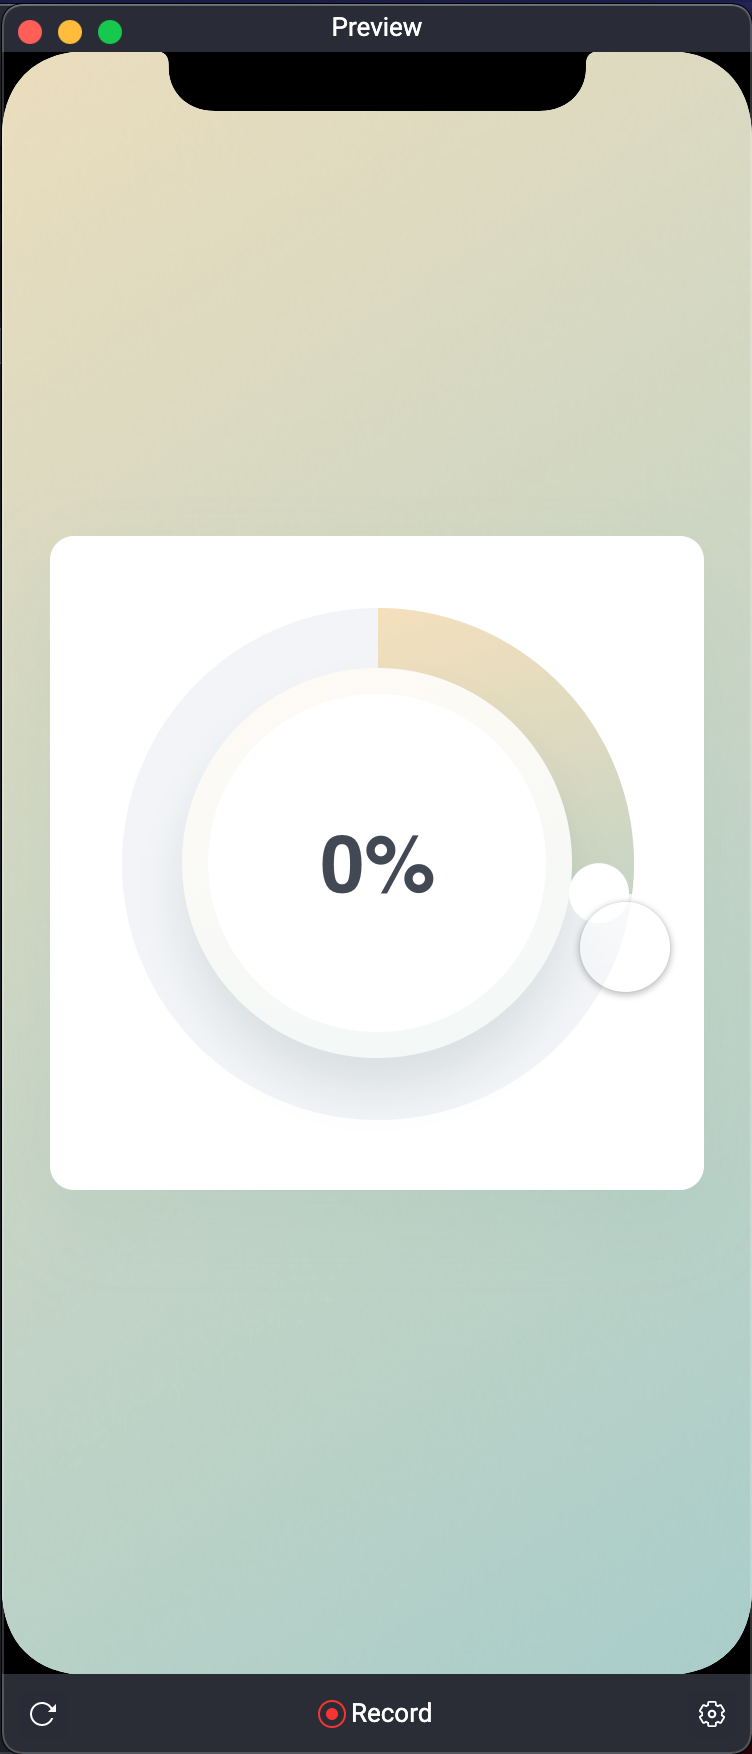
繼續旋轉
繼續往下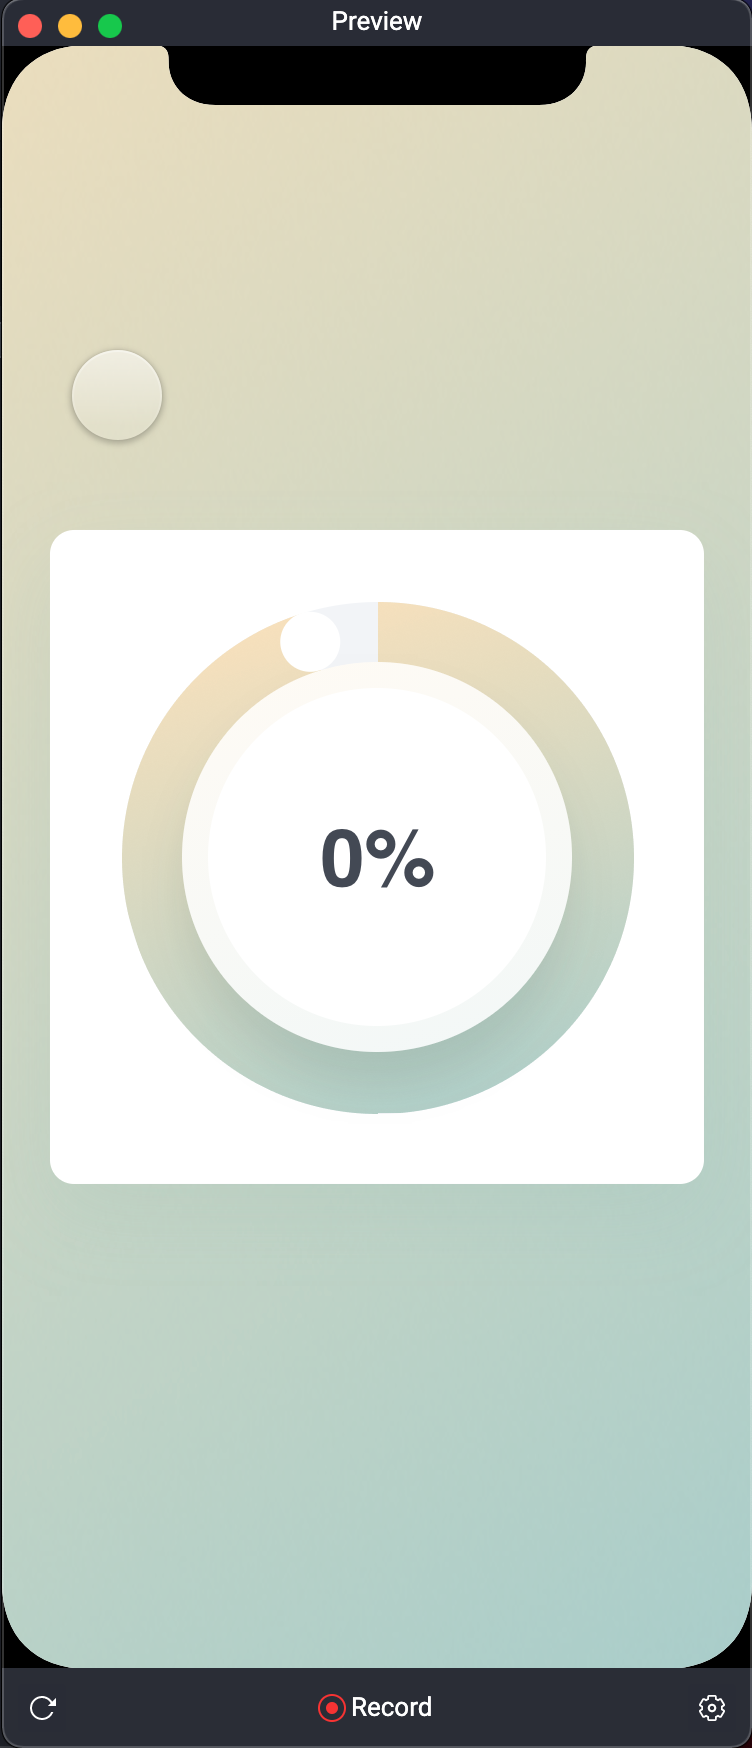
現在還有一個小問題就是如果一直轉動就會再次從 0 開始計算,他不會停在上方。
明天再來繼續。
晚安。