在完成Model的建置之後,我們要將Template和我們的Model進行連結。
今天我們會運用我們之前學到的,來完成一個頁面。
首先我們到Tempate的資料夾,創建一個HTML,名為Product.html
我們在body 裡建立一個接收變數傳遞的product_name
<!DOCTYPE html>
<html lang="en">
<head>
    <meta charset="UTF-8">
    <meta http-equiv="X-UA-Compatible" content="IE=edge">
    <meta name="viewport" content="width=device-width, initial-scale=1.0">
    <title>Document</title>
</head>
<body>
    {{product_name}}
</body>
</html>
接著我們回到我們最熟悉的 views.py
我們先把 models import進來
打上from . import models
接著建立一個view 名為product_page
並使用models來呼叫資料庫的資料
接著用我們學過的方式,將資料庫的資料傳到html去!
from django.urls import reverse
from django.shortcuts import render,redirect
from django.http import HttpResponse, HttpResponseNotFound, Http404, HttpResponseRedirect
from django.utils import timezone
import datetime
from . import models

def product_page(request):
    product_all = models.Product.objects.all()
    product_list = {"product_name":product_all}
    return render(request, "Django_app/Product.html", context = product_list)
接著到我們的urls.py裡將product_page的view連結到urls
from django.urls import path
from . import views

app_name = "app"

urlpatterns = [
   path("product/", views.product_page, name= "product_name")
]
接著我們就可以在terminal 執行
python manage.py runserver
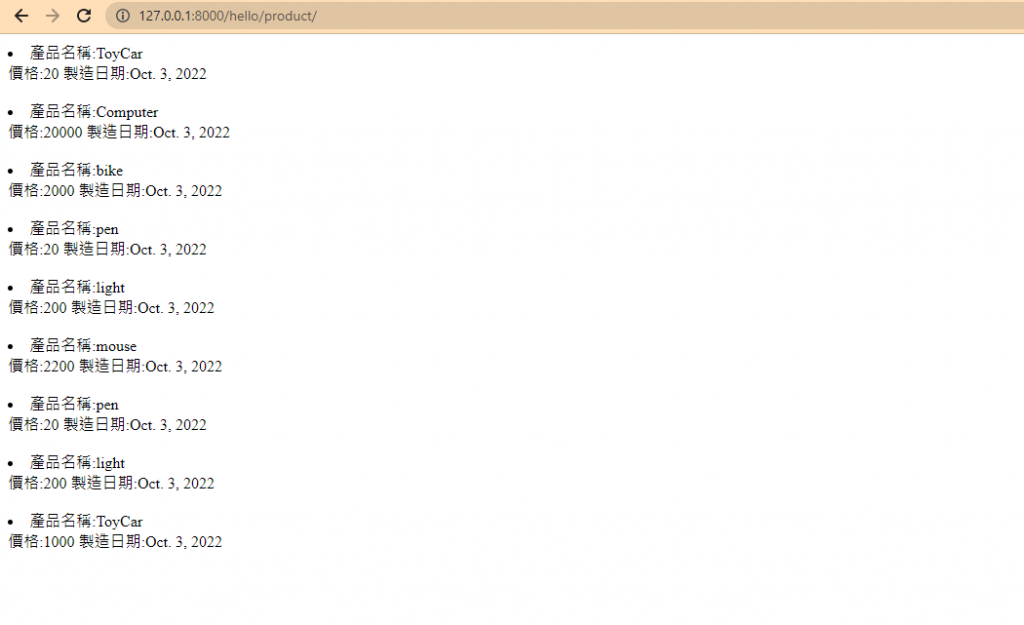
就能在我們product的頁面看到我們建立的資料

不過這樣顯示資料是不是很雜亂又會看不懂?
所以我們要使用之前有學過的迴圈來讓資料一個一個顯示並整齊排好
<!DOCTYPE html>
<html lang="en">
<head>
    <meta charset="UTF-8">
    <meta http-equiv="X-UA-Compatible" content="IE=edge">
    <meta name="viewport" content="width=device-width, initial-scale=1.0">
    <title>Document</title>
</head>
<body>
    {% for product in product_name %}
        <li> 產品名稱:{{product.Product_name}}</li>
         價格:{{product.price}}
         製造日期:{{product.makedate}}<br><br>

    {% endfor %}
</body>
</html>

這樣就完成囉!
除此之外也能像在models做object操作那樣在views裡面利用QuerySet API來對資料做操作,並傳遞到HTML,非常的方便!
那今天就到這裡了~
我們明天見囉!
https://docs.djangoproject.com/en/4.1/intro/tutorial03/#write-views-that-actually-do-something
