本系列文已改編成書「甚麼?網頁也可以做派對遊戲?使用 Vue 和 babylon.js 打造 3D 派對遊戲吧!」
書中不只重構了程式架構、改善了介面設計,還新增了 2 個新遊戲呦!ˋ( ° ▽、° )
新遊戲分別使用了陀螺儀與震動回饋,趕快買書來研究研究吧!ლ(╹∀╹ლ)
在此感謝深智數位的協助,歡迎大家前往購書,鱈魚感謝大家 (。・∀・)。
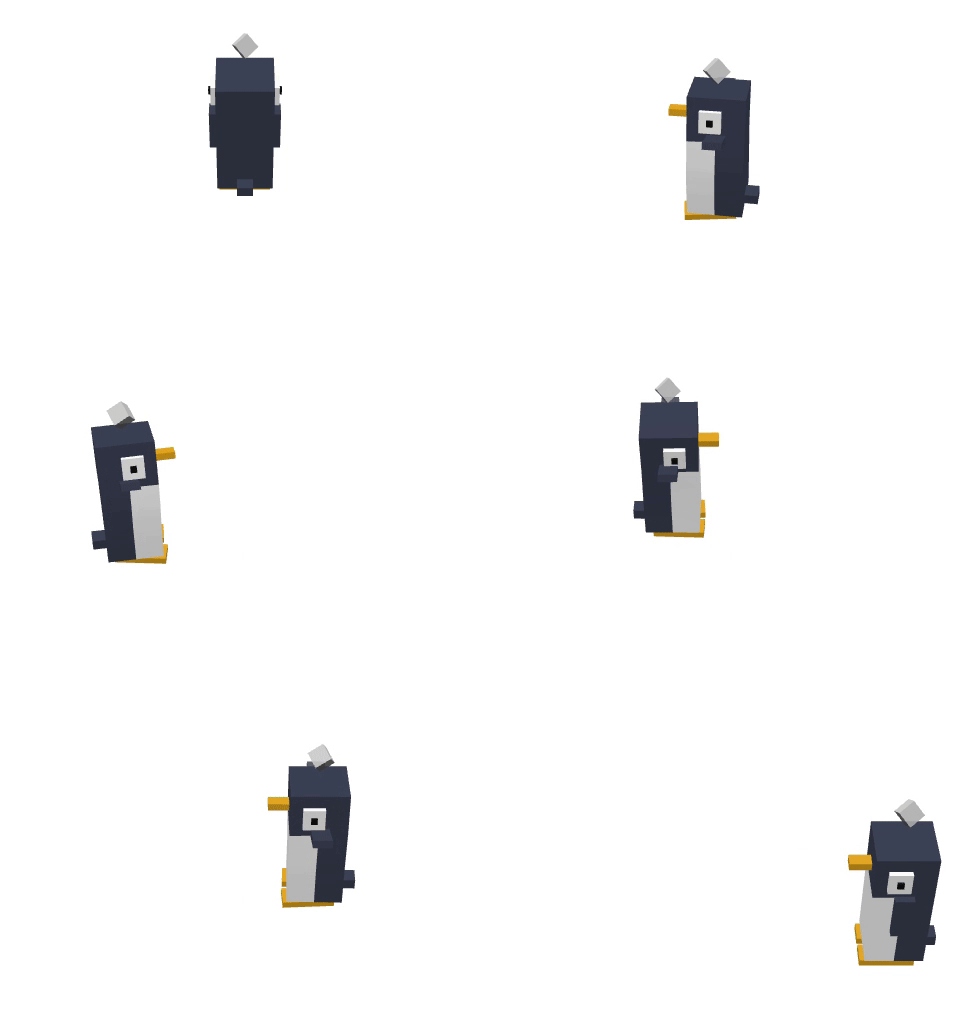
助教:「所以到底差在哪啊?沒圖沒真相,被你坑了都不知道。(´。_。`)」
鱈魚:「你對我是不是有甚麼很深的偏見啊 (っ °Д °;)っ,來人啊,上連結!」
助教:「都沒動作的移動很像幽靈欸,能不能再給力一點?」
鱈魚助教:「都沒動作的移動很像幽靈欸,能不能再給力一點?」
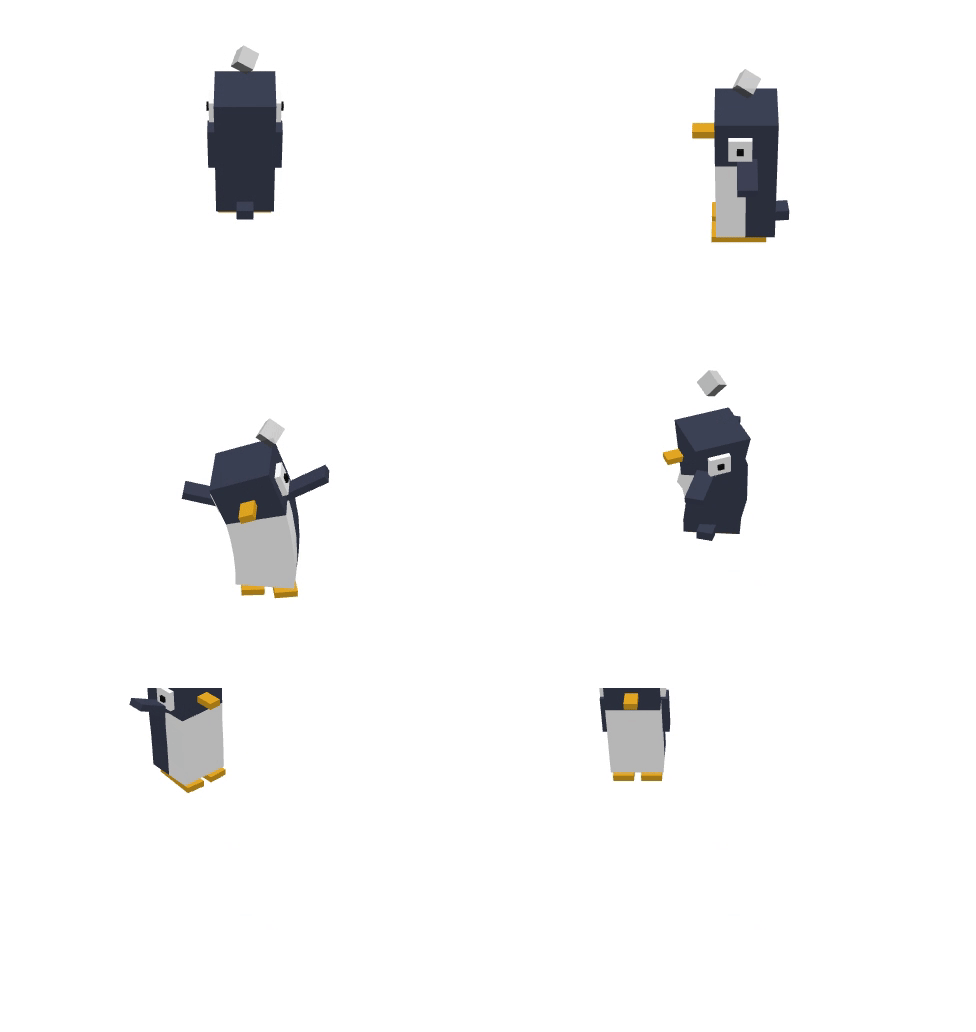
鱈魚:「那就來點動畫吧。(´,,•ω•,,)」
讓我們呼叫模型中的動畫,利用動畫權重混合功能,讓兩種動畫之間切換滑順。
原理很簡單,就是把播放狀態從改成以 0 到 1 的權重呈現,原有動畫為 1,目標動畫為 0。
動畫切換時,原有動畫逐步減少至 0,目標動畫逐步增加至 1,如此便可以在兩種動畫之間平滑切換。
新增功能。
...
export class Penguin {
  ...
  async init() {
    ...

    this.setState('idle');

    this.scene.registerBeforeRender(...);

    return this;
  }

  /** 指定移動方向與力量 */
  walk(force: Vector3) {
    ...
    if (this.rotateAction) {
      ...
      /** 播放走路動畫 */
      this.animation.walk?.start(true);
      this.setState('walk');
      /** 在停止走路後,過 500ms 時切換為 idle 狀態 */
      this.setIdleStateDebounce();
    }

  }
  ...
  /** 設定人物狀態 */
  private setState(value: State) {
    this.processStateAnimation(value);
    this.state = value;
  }
  /** 處理狀態動畫 */
  private processStateAnimation(newState: State) {
    if (newState === this.state) return;

    const playingAni = this.getAnimationByState(this.state);
    const targetAni = this.getAnimationByState(newState);

    this.state = newState;
    if (!targetAni || !playingAni) return;

    /** 攻擊動畫不循環播放 */
    const loop = this.state !== 'attack';
    /** 切換至攻擊動畫速度要快一點 */
    const offset = this.state === 'attack' ? 0.3 : undefined;

    this.scene.onBeforeRenderObservable.runCoroutineAsync(this.animationBlending(playingAni, targetAni, loop, offset));
  }
  /** 動畫混合 */
  private * animationBlending(fromAni: AnimationGroup, toAni: AnimationGroup, loop = true, offset = 0.1) {
    let currentWeight = 1;
    let targetWeight = 0;

    toAni.play(loop);

    while (targetWeight < 1) {
      targetWeight += offset;
      currentWeight -= offset;

      toAni.setWeightForAllAnimatables(targetWeight);
      fromAni.setWeightForAllAnimatables(currentWeight);
      yield;
    }

    fromAni.stop();
  }
  /** 根據 state 取得動畫 */
  private getAnimationByState(value: State) {
    return this.animation[value];
  }
  /** 停止呼叫後 500ms 設為 idle 狀態 */
  private setIdleStateDebounce = debounce(async () => {
    this.setState('idle');
  }, 500)
}

助教:「看起來不錯,但好像少了點甚麼?(´・ω・`)」
鱈魚:「那就讓企鵝增加攻擊技能吧!ヽ(●`∀´●)ノ 」
增加攻擊功能,並加入以下限制:
...
export class Penguin {
  ...
  /** 指定移動方向與力量 */
  walk(force: Vector3) {
    ...
    // 攻擊時舞法移動
    if (this.state === 'attack') return;

    ...
  }
  ...
  /** 攻擊,限制攻擊頻率,2 秒一次 */
  attack = throttle(() => {
    this.setState('attack');
    this.leaveAttackStateDebounce();
    this.setIdleStateDebounce.cancel();
  }, 2000, {
    leading: true,
    trailing: false,
  })
  /** 攻擊結束後 1 秒時,回到 idle 狀態 */
  private leaveAttackStateDebounce = debounce(() => {
    this.setState('idle');
  }, 1000, {
    leading: false,
    trailing: true,
  })

  /** 取得力與人物的夾角 */
  ...
}
接著透過空白建發動攻擊吧。
src\games\the-first-penguin\game-scene.vue
...
<script>
async function init() {
  ...
  scene.onKeyboardObservable.add((keyboardInfo) => {
    ...
    switch (keyboardInfo.event.key) {
      ...
      case ' ': {
        penguin.attack();
        break;
      }
    }
  });
  ...
}
</script>
現在我們得到可以幹架的完全體企鵝了!◝(≧∀≦)◟

接著讓我們實作被攻擊效果吧,新增一個被攻擊的 method 並微調部分程式。
概念很簡單,就是被攻擊時會施加一個指定的力量即可。
src\games\the-first-penguin\penguin.ts
...
export class Penguin {
  ...
  private readonly assaultedForce = new Vector3(20, 20, 20);

  constructor(name: string, scene: Scene, params?: PenguinParams) {
    ...
    /** 設定預設值 */
    this.params = defaultsDeep(params, this.params);
  }

  ...
  /** 被攻擊
   * @param direction 移動方向
   */
  assaulted = throttle((direction: Vector3) => {
    if (!this.mesh) {
      throw new Error('未建立 Mesh');
    }

    // 計算力量
    const force = direction.normalize().multiply(this.assaultedForce);
    this.mesh.physicsImpostor?.applyImpulse(force, Vector3.Zero());
  }, 500, {
    leading: true,
    trailing: false,
  })
  ...
}
現在來實作攻擊判定,回到場景,稍微調整一下建立企鵝 function 內容,建立一隻沙包企鵝。
src\games\the-first-penguin\game-scene.vue
...
<script>
...
let scene: Scene;
const penguins: Penguin[] = [];
...
async function createPenguin(id: string, index: number) {
  const penguin = await new Penguin(`penguin-${index}`, scene, {
    position: new Vector3(5 * index, 10, 0),
    ownerId: id,
  }).init();

  return penguin;
}

async function init() {
  ...
  createIce(scene);

  const result = await Promise.allSettled([
    createPenguin('', 0),
    createPenguin('', 1),
  ])
  result.forEach((data) => {
    if (data.status !== 'fulfilled') return;
    penguins.push(data.value);
  });

  scene.onKeyboardObservable.add((keyboardInfo) => {
    ...
    const penguin = penguins[0];

    switch (keyboardInfo.event.key) { ... }
  });
  ...
}
</script>
現在畫面上有兩隻企鵝了。

接著加入攻擊碰撞偵測。
src\games\the-first-penguin\game-scene.vue
<script setup lang="ts">
...
async function createPenguin(id: string, index: number) {...}

// 偵測企鵝碰撞事件
function detectCollideEvents(penguins: Penguin[]) {
  const length = penguins.length;
  for (let i = 0; i < length; i++) {
    for (let j = i; j < length; j++) {
      if (i === j) continue;

      const aMesh = penguins[i].mesh;
      const bMesh = penguins[j].mesh;
      if (!aMesh || !bMesh) continue;

      if (aMesh.intersectsMesh(bMesh)) {
        handleCollideEvent(penguins[i], penguins[j]);
      }
    }
  }
}

function handleCollideEvent(aPenguin: Penguin, bPenguin: Penguin) {
  if (!aPenguin.mesh || !bPenguin.mesh) return;

  const aState = aPenguin.state;
  const bState = bPenguin.state;
  // 沒有企鵝在 attack 狀態,不須動作
  if (![aState, bState].includes('attack')) return;

  const direction = bPenguin.mesh.position.subtract(aPenguin.mesh.position);
  if (aState === 'attack') {
    bPenguin.assaulted(direction);
  } else {
    aPenguin.assaulted(direction.multiply(new Vector3(-1, -1, -1)));
  }
}

async function init() {
  ...

  /** 持續運行指定事件 */
  scene.registerAfterRender(() => {
    detectCollideEvents(penguins);
  });

  /** 反覆渲染場景,這樣畫面才會持續變化 */
  ...
}
...
</script>
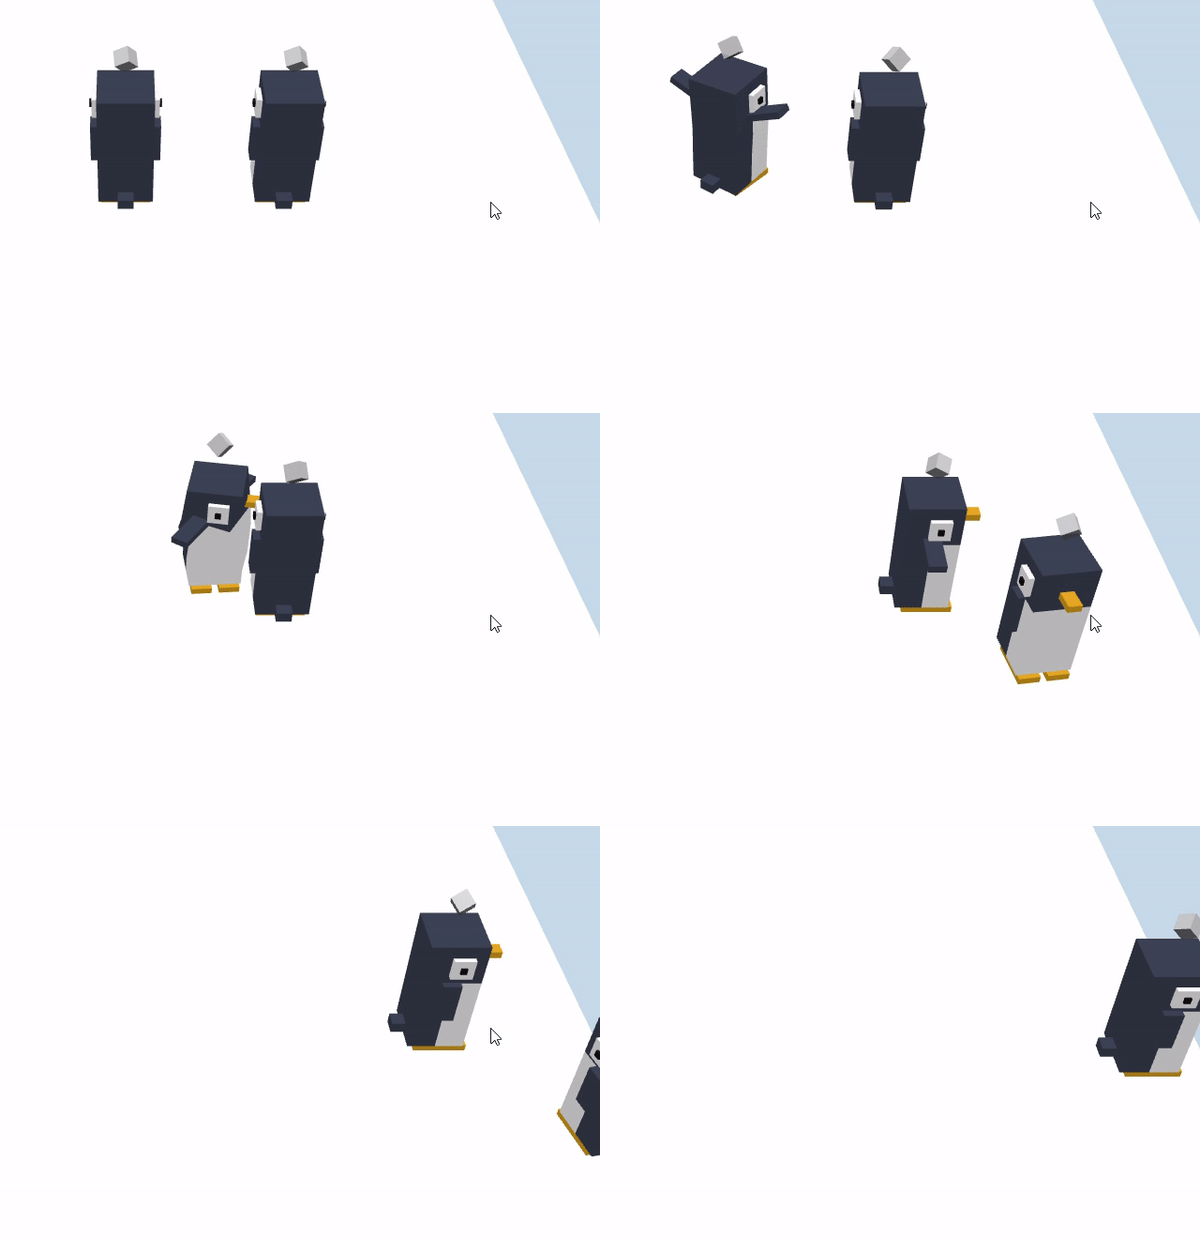
現在企鵝可以兇殘的擊飛同類了!( •̀ ω •́ )y

以上程式碼已同步至 GitLab,大家可以前往下載:
