我們在這個實作要作的架構如下:

因為要使用即時串流數據,GCP本身有在維護公開的串流數據集,今天使用的是 pubsub-public-data 這項專案底下的 topics/taxirides-realtime data。這是紐約的公開數據集,紀錄了及時的計程車資料,大概長下面這個樣:

進入GCP頁面,打開你的 cloud shell:

Pub/sub API:
gcloud services enable pubsub.googleapis.com
Dataflow API:
gcloud services enable dataflow.googleapis.com
釘選以下幾個服務,方便日後使用:
這個是為了當 Dataflow 的暫存區使用。
gsutil mb gs://$DEVSHELL_PROJECT_ID
到 cloud storage 頁面;
可以發現剛剛生成的 bucket:
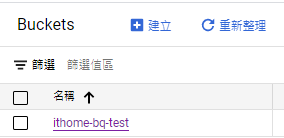
點選建立資料夾,並且命名為 tmp:

打開 cloud shell,輸入以下指令:
# 建置 datasets:

bq --location=us-west1 mk taxirides
# 建置 tables:

bq --location=us-west1 mk \
--time_partitioning_field timestamp \
--schema ride_id:string,point_idx:integer,latitude:float,longitude:float,\
timestamp:timestamp,meter_reading:float,meter_increment:float,ride_status:string,\
passenger_count:integer -t taxirides.realtime
點選左邊面板 Dataflow:
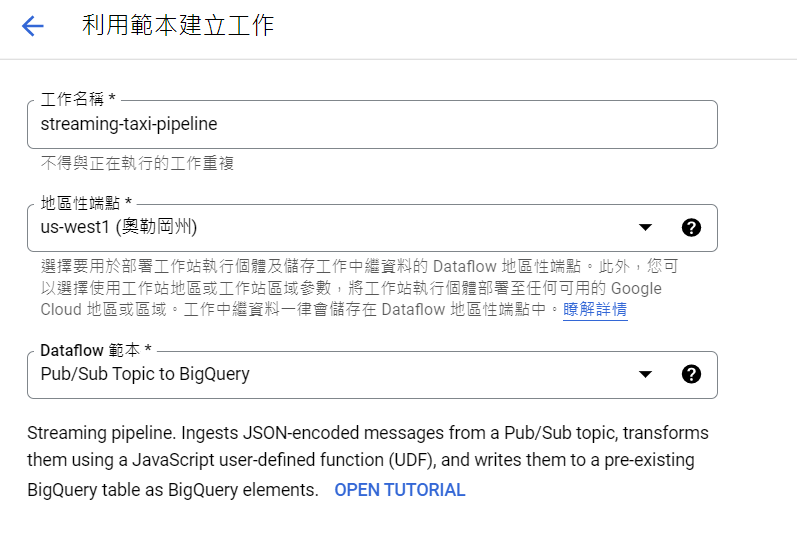
點選 依據範本建立工作:

分別輸入如下:
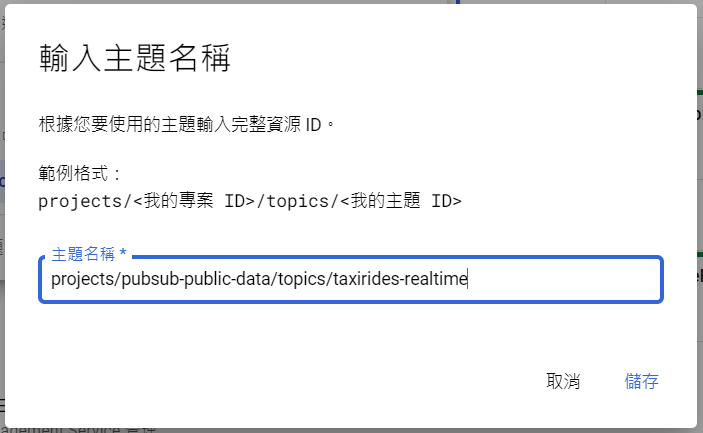
在 Input Pub/Sub topic 點選 手動輸入主題:
這個步驟是要告訴 Dataflow 你的 Pub/Sub 資料要從哪裡來?
我們使用的是 GCP 維護的公共數據集,這是紐約的公開數據集,紀錄了及時的計程車資料。
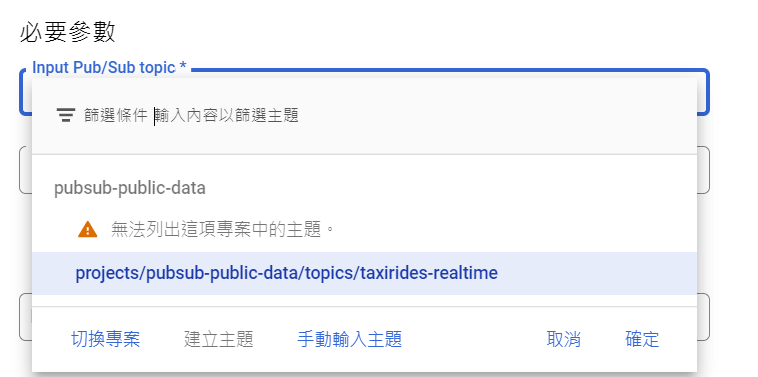
輸入 projects/pubsub-public-data/topics/taxirides-realtime:
在 BigQuery output table 輸入 ithome-bq-test:taxirides.realtime:
這個步驟是要告訴 Dataflow,你Pub/Sub 得到的資料,最後要傳到哪裡?
在 臨時位置 輸入 gs://ithome-bq-test/tmp:
這個步驟是要告訴 Dataflow,處理資料時的暫存位置。
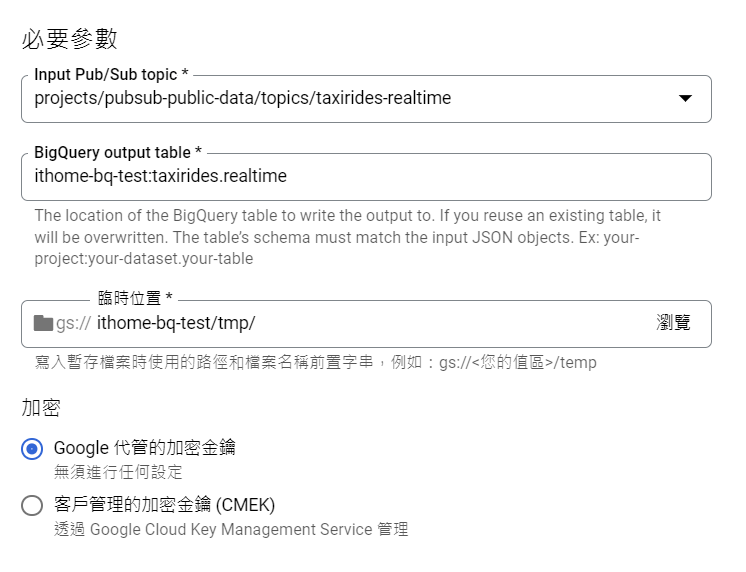
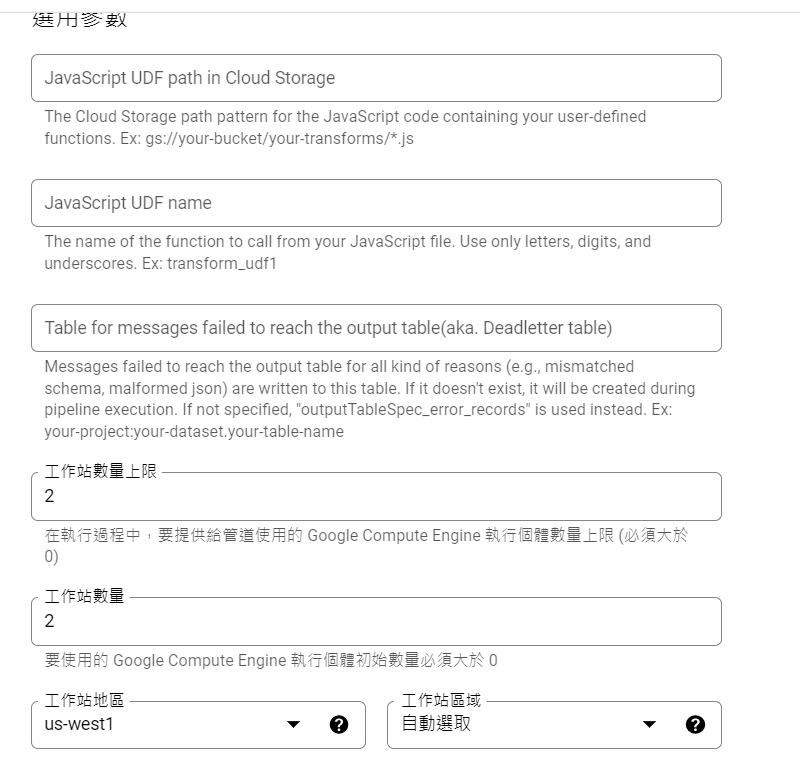
設置 工作站數量,和工作站數量上限:
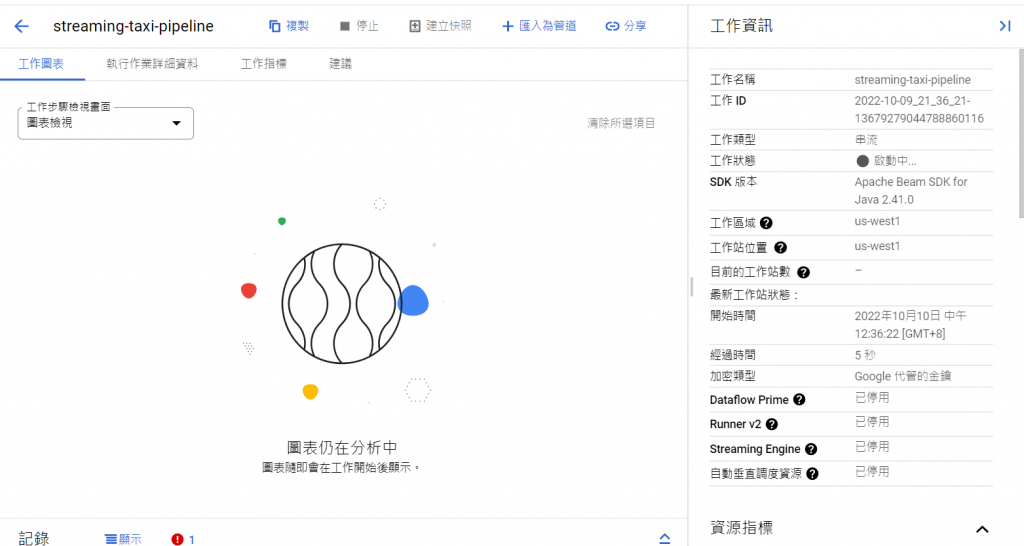
點選建立工作,可看到畫面如下,
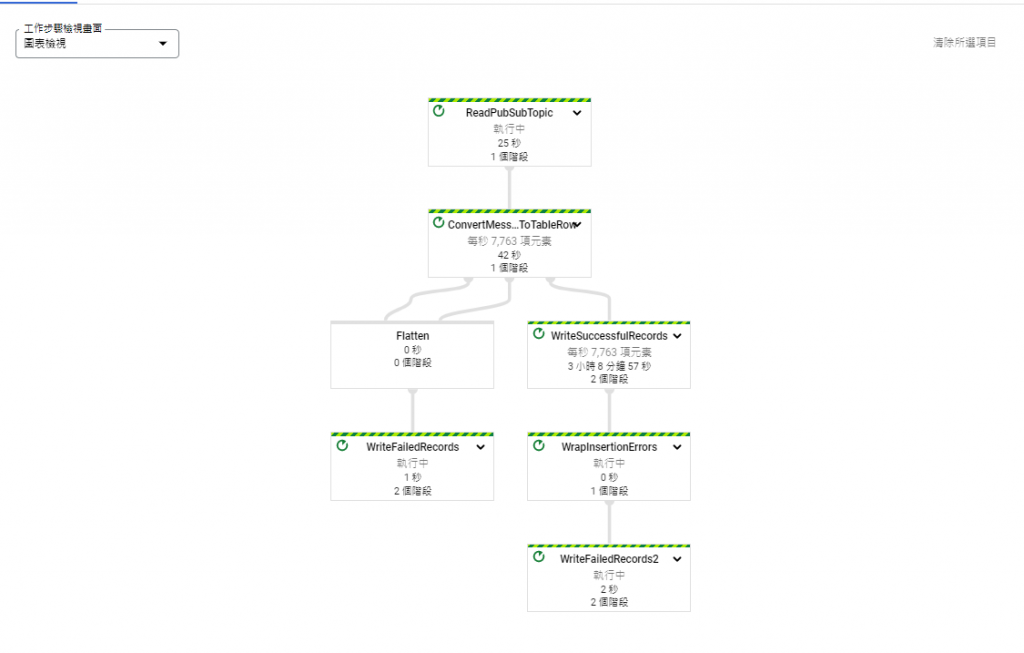
成功建立後,可以看到如下的畫面:
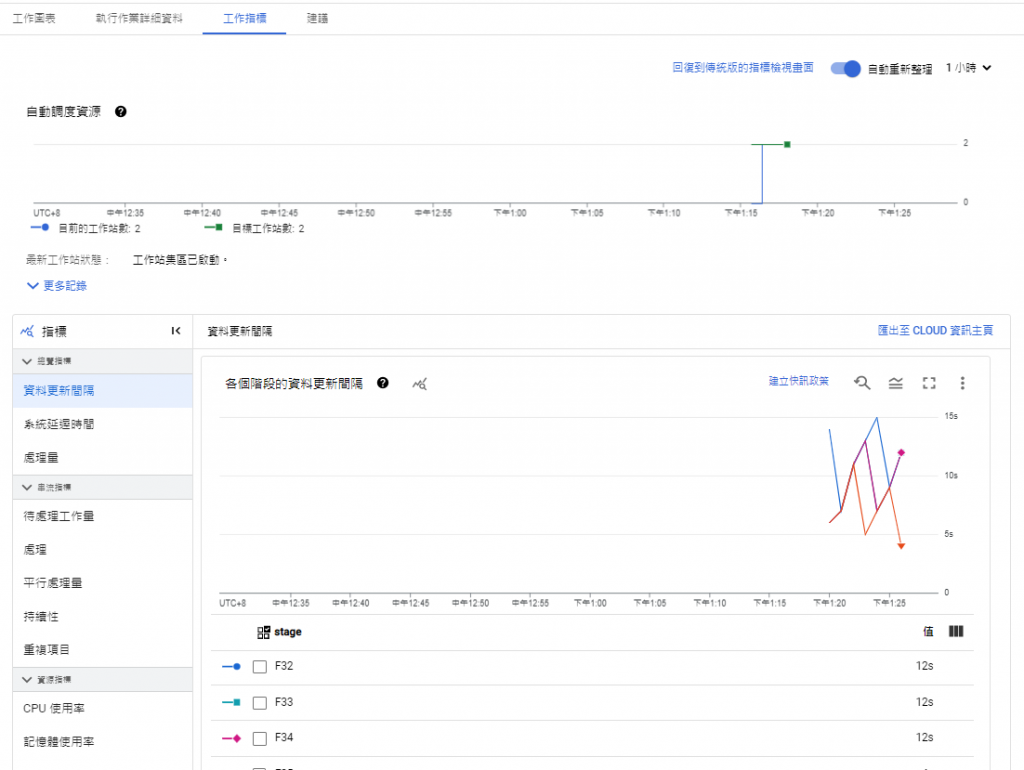
可以看到有資料寫入:
回到 BigQuery 頁面,查詢一下資料寫入的情況:
SELECT * FROM taxirides.realtime LIMIT 10
可以看到,已經有資料寫入!

點擊 透過數據分析探索:

點開可以看到畫面如下:
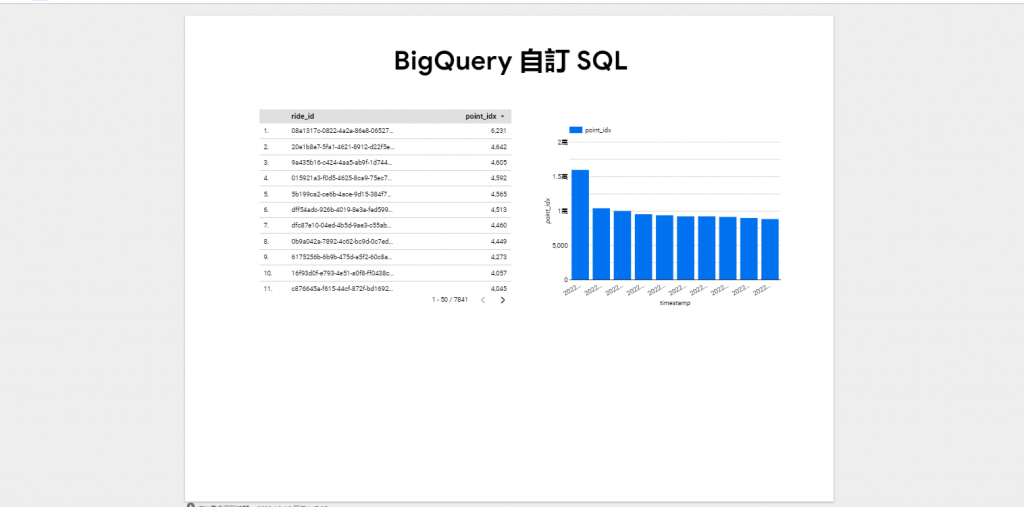
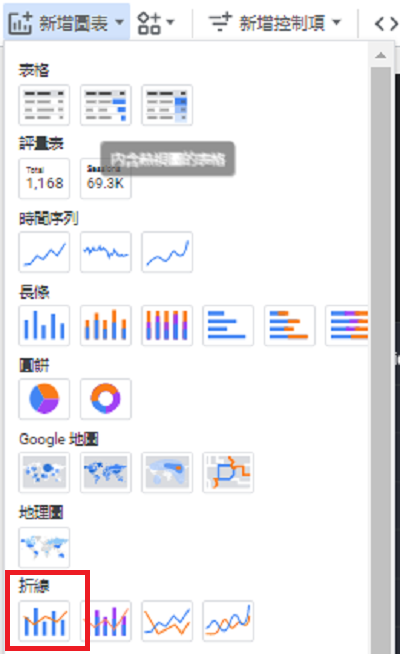
建立圖表:

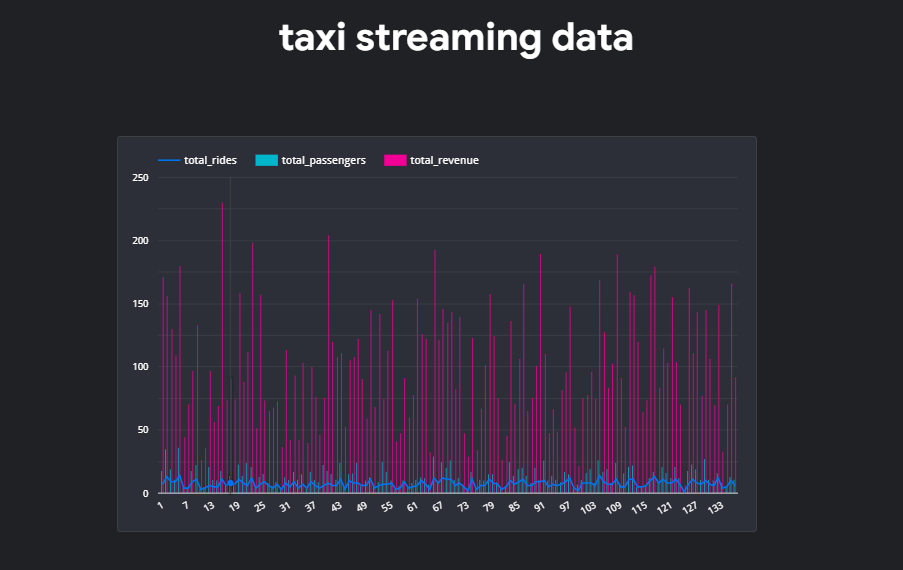
到這裡,就完成串流 streaming data 並且寫入 BigQuery 囉!
將串流資料(streaming data)寫入 BigQuery 並建立 Realtime Dashboard 的步驟:
Creating a Streaming Data Pipeline for a Real-Time Dashboard with Dataflow
https://www.confluent.io/learn/batch-vs-real-time-data-processing/
https://aws.amazon.com/tw/streaming-data/
https://www.confluent.io/learn/data-streaming/
Data Engineering with Google Cloud Platform
