
本篇會逐步講解NativeWind套件
在React Native Expo專案安裝及使用
官網:https://www.nativewind.dev
版本:2.0.11
只要有了此套件,在排/切版時就能套用大部分Tailwind CSS Class
基本上會以官方說明的安裝方式為主
也自行實測之後進行安裝分享
npm install tailwindcss@3.3.2Use process(css).then(cb) to work with async pluginsnpx expo install nativewind
npx tainwindcss inittailwind.config.jstailwind.config.js內容module.exports = {
content: ["./App.{js,jsx,ts,tsx}"],
theme: {
extend: {},
},
plugins: [],
}
※若之後會新增其他資料夾存放其他js檔,記得將路徑加到content陣列裡
範例:"./src/**/*.{js,jsx,ts,tsx}"
這樣src底下的檔案都能直接套用Tailwind CSS的class了
babel.config.jsnativewind/babelmodule.exports = function (api) {
api.cache(true);
return {
presets: ["babel-preset-expo"],
plugins: ["nativewind/babel"],
};
};
return (
   <View className="flex-1 items-center justify-center bg-white">
     <Text>Open up App.js to start working on your app!</Text>
     <StatusBar style="auto" />
   </View>
 );
className效果為flex-1 填滿整個版面items-center 水平置中justify-center 垂直置中bg-white 背景白色
在模擬器的效果如圖
文字有符合以上樣式,就代表套用成功了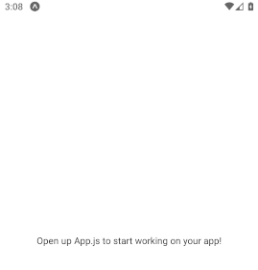
上方介紹NativeWind大部分支援Tailwind CSS
也就是說,部分class寫法,Native版本是不支援的
畢竟網頁與APP的樣式不可能完全相容🥺
而NativeWind官網也有貼心為開發者們寫出
Web與Native能不能使用相對應的class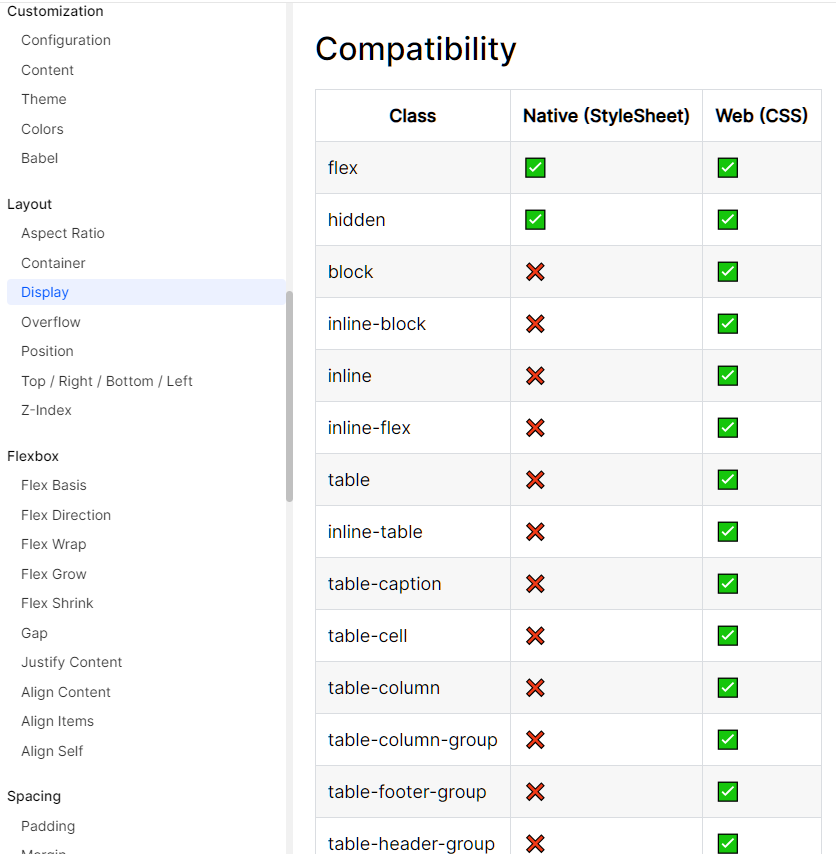
以基本版面設計為例
Html是可以使用inline-block將所有的元素放在同一行
<div class="inline-block mr-4">
        <!-- 標籤 -->
        <label for="username" class="font-bold">帳號:</label>
        <!-- 輸入框 -->
        <input type="text" id="username" name="username">
</div>
而Native版是不允許的
只能使用flexbox做為整個專案的版面設計
<View className="flex-1 items-center justify-center">
          <Text className="font-bold">帳號:</Text>
          <TextInput value={Account}/>
</View>
※TextInput為React Native 文字輸入框元件
在版面設計時
建議先翻閱Nativewind官方所列出的class限制在進行排版
結語:
系列文章到了這邊
你的專案已經安裝好Expo開發環境、NativeWind CSS框架
下一篇開始
將進入「實際專案開發」環節
會以自身完成的APP專案開始講解
也就是從「登入畫面」開始實作。
