iT邦幫忙

2023 iThome 鐵人賽

DAY 11
0

目錄

  1. Layout 元件介紹
  2. 快樂排版時間

正文

這邊建議各位新開一個專案。
https://ithelp.ithome.com.tw/upload/images/20230926/20162387BHf8NuAsM8.png

Layout 元件介紹

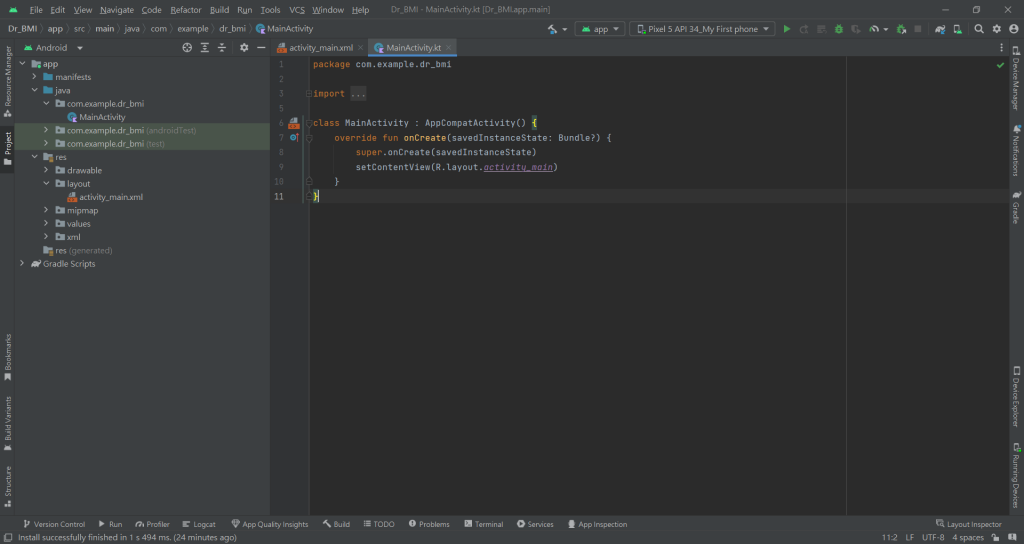
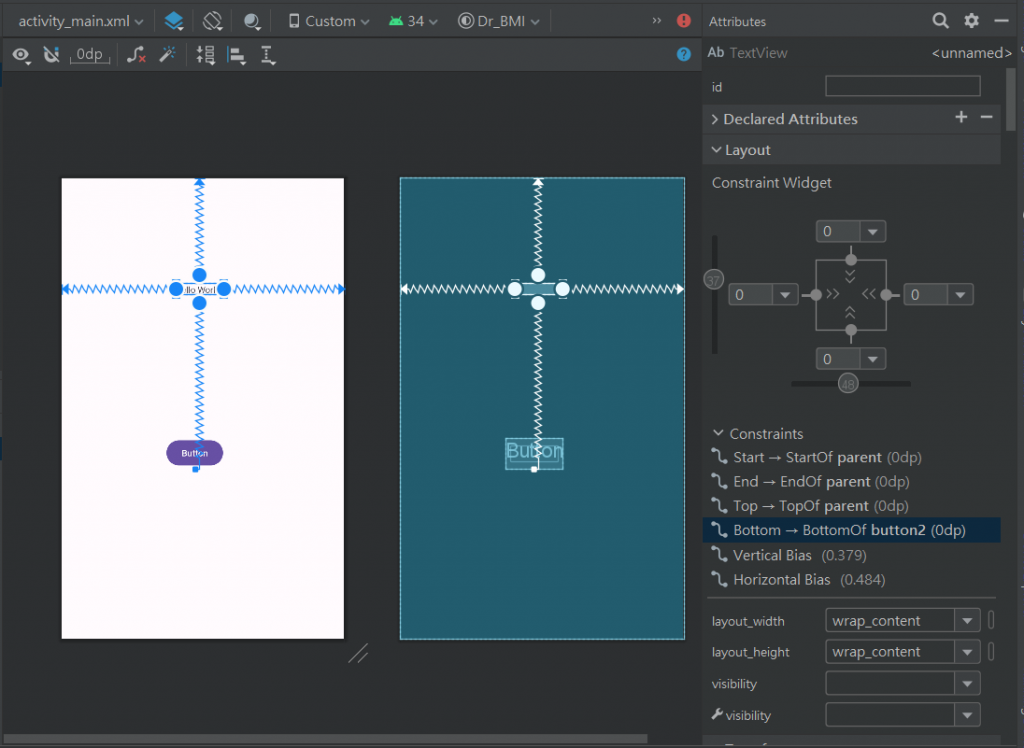
我們看到一個新的專案上有一個預設的 TextView,這個是已經有被布局約束過的原件,我們來研究一下它的語法。

  1. 線性布局,layout_width 和 layout_height 分別是調整物件佔據範圍的寬和高,可以給兩種參數
    1. warp_content:依照實際使用大小來決定此物件的範圍
    2. match_parent:從字面上來看就可以知道,此參數是依照父集的大小去做調整範圍
      https://ithelp.ithome.com.tw/upload/images/20230926/20162387NQZ7OIuFbT.png
  2. 相對布局,如果下面四個數值都是 0 的話就會置中喔
    1. layout_marginStart:此物件距離左邊多少距離
    2. layout_marginTop:此物件距離上面多少距離
    3. layout_marginEnd:此物件距離右邊多少距離
    4. layout_marginBottom:此物件距離下面多少距離
  3. 約束布局,依誰為準,大部分情況參數給 parent 就好,那如果要做一些對齊等排版,參數可以給其他物件的 id;以下面的例子來說,將 TextView 的底部約束設為按鈕,可以看到底部藍色線只到按鈕就沒有繼續延伸了,這代表 Text View 不能放到按鈕的下面(藍色線代表物件移動範圍)
    1. layout_constraintBottom_toTopOf
    2. layout_constraintEnd_toEndOf
    3. layout_constraintStart_toStartOf
    4. layout_constraintTop_toTopOf
    <TextView
            android:layout_width="wrap_content"
            android:layout_height="wrap_content"
            android:text="Hello World!"
            app:layout_constraintBottom_toBottomOf="@id/button2"
            app:layout_constraintEnd_toEndOf="parent"
            app:layout_constraintStart_toStartOf="parent"
            app:layout_constraintTop_toTopOf="parent" />
    
    https://ithelp.ithome.com.tw/upload/images/20230926/201623871r57KO1Tln.png

快樂排版時間

假設我們要做一個帳號登入畫面

  1. 先把一開始的 TextView 刪掉
    https://ithelp.ithome.com.tw/upload/images/20230926/201623877QS1t7PFXn.png

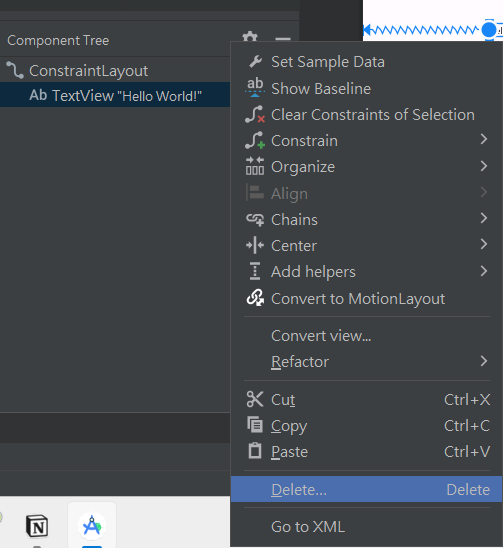
  2. 看到 Palette 點擊 Text,拉出兩個 Plain Text(這個是輸入框),拉到一個喜歡的位置按下魔法棒,可以檢查一下有沒有水平置中
    https://ithelp.ithome.com.tw/upload/images/20230926/201623871U3FAkWtfq.png

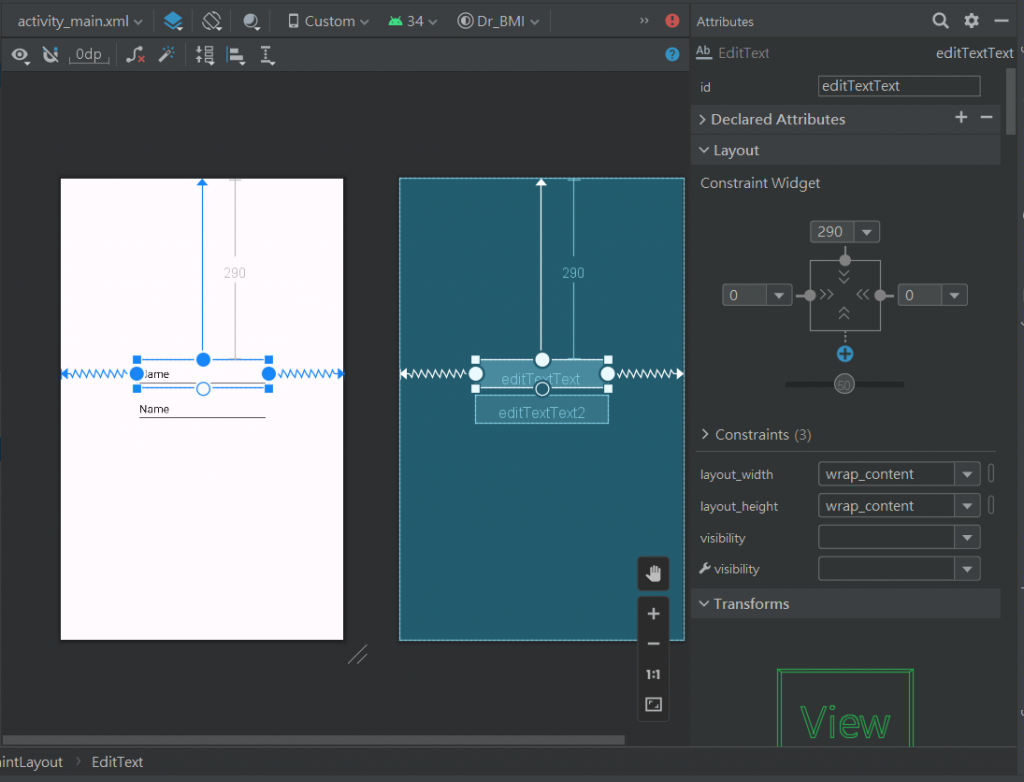
  3. 修改線性布局,讓兩個 Plain Text 的水平能夠符合畫面範圍,如果發現沒有變成下面這個畫面可能是因為約束布局的問題,左右的約束布局都建議用 parent
    https://ithelp.ithome.com.tw/upload/images/20230926/20162387jacGtsKHNi.png

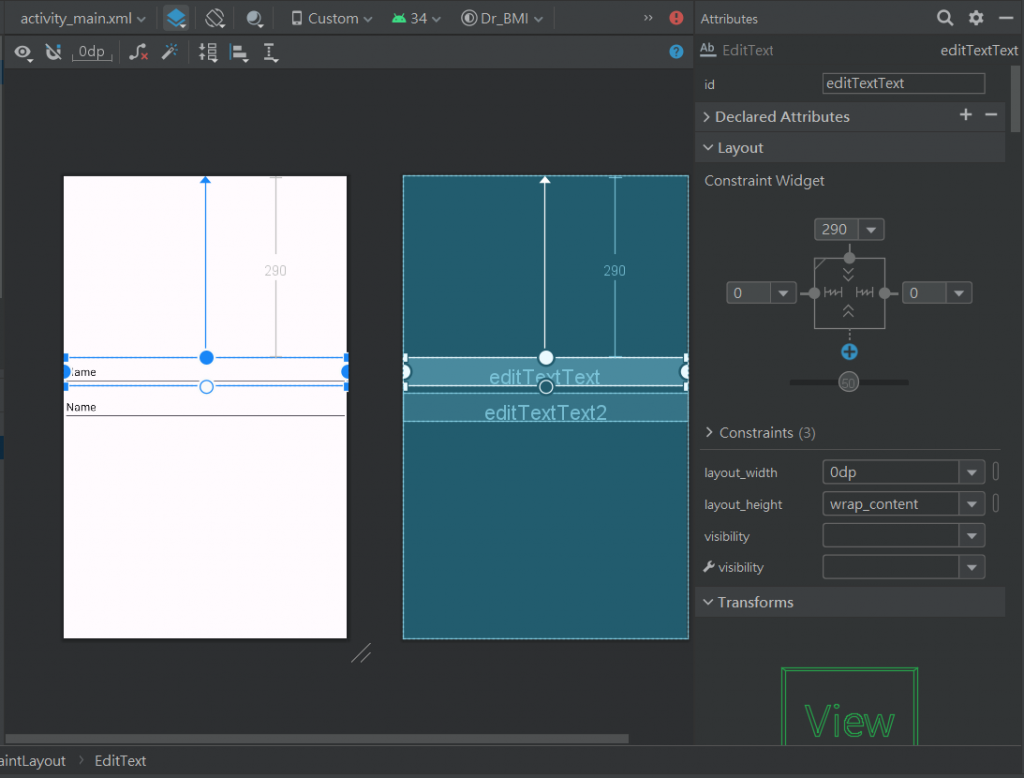
  4. 修改一下兩個 Plain Text 的 text

    <EditText
            android:id="@+id/editTextText"
            android:layout_width="0dp"
            android:layout_height="wrap_content"
            android:layout_marginTop="290dp"
            android:ems="10"
            android:inputType="text"
            android:text="Account"
            app:layout_constraintEnd_toEndOf="parent"
            app:layout_constraintStart_toStartOf="parent"
            app:layout_constraintTop_toTopOf="parent" />
    
        <EditText
            android:id="@+id/editTextText2"
            android:layout_width="0dp"
            android:layout_height="wrap_content"
            android:layout_marginTop="11dp"
            android:ems="10"
            android:inputType="text"
            android:text="Password"
            app:layout_constraintEnd_toEndOf="parent"
            app:layout_constraintStart_toStartOf="@+id/editTextText"
            app:layout_constraintTop_toBottomOf="@+id/editTextText" />
    
  5. 看到 Palette 點擊 Buttons,拉出一個 Button,做跟剛剛一樣的事情

  6. 點擊 RUN app,看到執行畫面
    https://ithelp.ithome.com.tw/upload/images/20230926/20162387Tgs8YT0Kks.png

總結

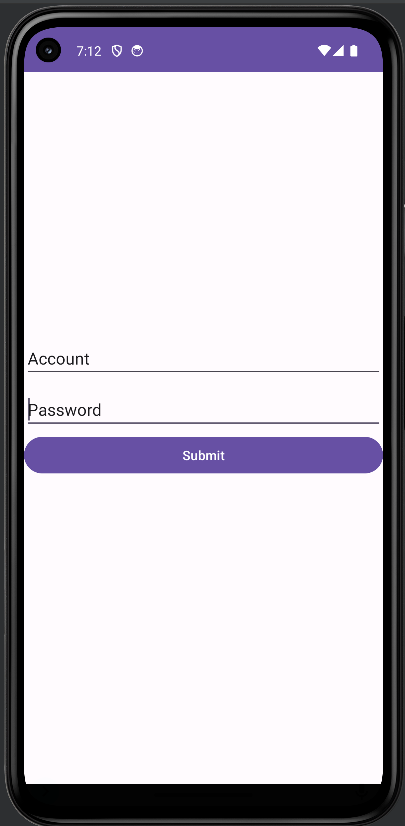
其實今天有很多內容應該要放到昨天或前天的,排版真的啃的很痛苦,也不知道怎麼整理比較好QQ,所以抱歉了各位,這三天內容都比較亂。

下一篇我們來認真做一個專案!專案主題藏在這篇文的某個角落,大家可以去找找看。

參考資料

Android Studio 筆記─Layout元件介紹
https://ithelp.ithome.com.tw/articles/10189264

第三篇:搞懂不同Layout之間的差異(上)
https://ithelp.ithome.com.tw/articles/10237445


上一篇
Day.10 學習 XML 初級練習班 - 物件介紹
下一篇
Day.12 小專案練習(BMI 博士)- 1
系列文
剛學Kotlin的我想要玩安卓開發,自學 Android Studio 30 天31
圖片
  直播研討會
圖片
{{ item.channelVendor }} {{ item.webinarstarted }} |
{{ formatDate(item.duration) }}
直播中

尚未有邦友留言

立即登入留言