好,目前已將 Firebase 的服務都設定的差不多了,接下來就是一一實作將功能與頁面結合。
在實作之前,我們來建立一個提示訊息元件,因為串接功能後,會有許多需要提示訊息的情境,先前篇幅中都是使用 Tailwind 搭配手刻製作,今天使用 react-toasitify 套件來客製化使用吧!
npm i react-toastify
import { ToastContainer, toast } from 'react-toastify';
import "react-toastify/dist/ReactToastify.css";
const YourPage = () => {
    return (
        <div>
            // some code...
            <ToastContainer />
        </div>
    )
}
const YourPage = () => {
    const notify = (status, content) => {
        toast.success("Success Notification !", {
            position: toast.POSITION.TOP_CENTER
        });
    };

    return (
        <div>
            // some code...
            <ToastContainer />
        </div>
    )
}
showNotify,於呼叫 function 的外層加入自定義的參數,分別為狀態(status)和文字內容(content),依照想呈現的樣式呼叫套件提供的調用函式。const YourPage = () => {
const showNotify = (status, content) => {
const notifySetting = {
position: toast.POSITION.TOP_CENTER,
autoClose: 5000,
hideProgressBar: false,
newestOnTop: false,
closeOnClick: true,
rtl: false,
pauseOnFocusLoss: true,
draggable: true,
pauseOnHover: true,
theme: "light"
}
if(status === "success") {
toast.success(content, notifySetting);
} else if (status === "error") {
toast.error(content, notifySetting);
}
};
return (
<div>
<button onClick={() => showNotify("success", "這是一段成功訊息")}>Notify</button>
<button onClick={() => showNotify("error", "這是一段錯誤訊息")}>Notify</button>
<ToastContainer />
</div>
)
}
firebase.js (firebase SDK)裡,引入身分驗證的方法,並初始化它。import { getAuth } from "firebase/auth";
const auth = getAuth(app);
import { getAuth, createUserWithEmailAndPassword } from "firebase/auth";
createUserWithEmailAndPassword),使用 try catch 即可在網頁控制台中查看 api 呼叫結果。重要資訊:呼叫
createUserWithEmailAndPassword時,一定要將 auth, email, password 這三個參數放在最前面,如果因為網站設計需求有其他的必傳欄位,需要在這三個參數後面插入,否則會導致 api 出錯唷。
async function onSubmit(e) {
    e.preventDefault();

    try {
      const auth = getAuth();
      const userCredential = await createUserWithEmailAndPassword(
        auth,
        email,
        password,
        role
      );

      const user = userCredential.user;
      console.log(result);
    } catch (error) {
      console.log(error.message)
    }
async function onSubmit(e) {
e.preventDefault();
try {
const auth = getAuth();
const userCredential = await createUserWithEmailAndPassword(
auth,
email,
password,
role
);
const user = userCredential.user;
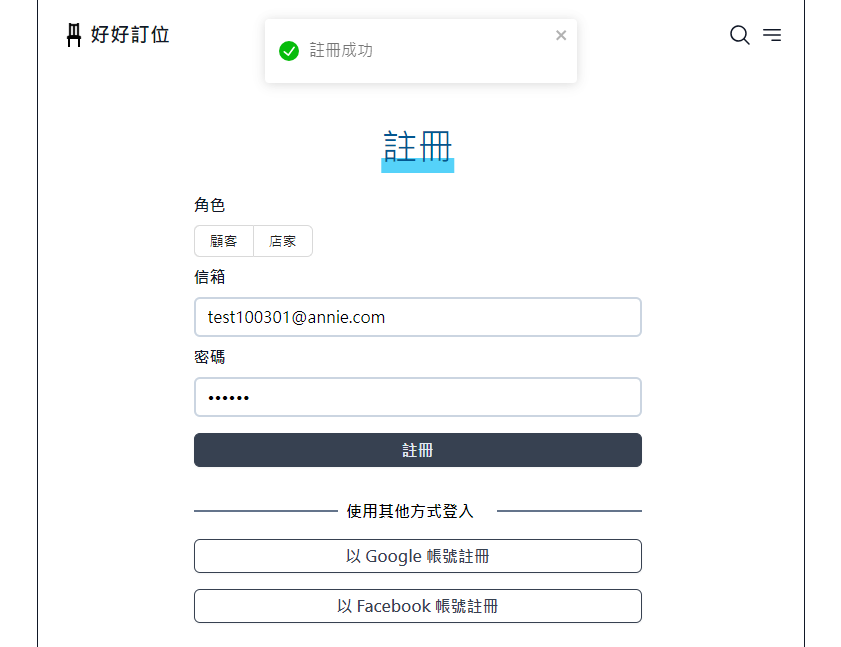
showNotify("success", "註冊成功");
} catch (error) {
showNotify("error", "註冊失敗");
}