結合Compose UI和XML布局_AndroidView的說明與實作
ActivityView和Compose UI之間的結合操作
Compose UI 結合 XML 進行intent跳轉頁面到 一般ActivityXML。View:就是我們最一開始接觸到的有Java或Kotlin程式碼和XML畫面布局檔案的組成。
Compose:就是沒有XML布局檔案並且使用Kotlin語法撰寫以 @Composable 可組合式註解來組成畫面布局。

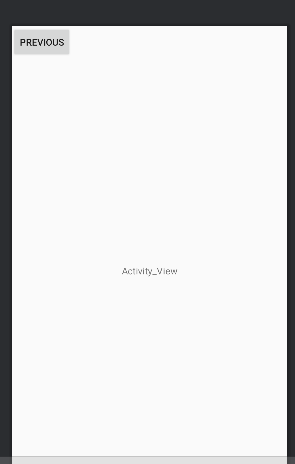
MyActivity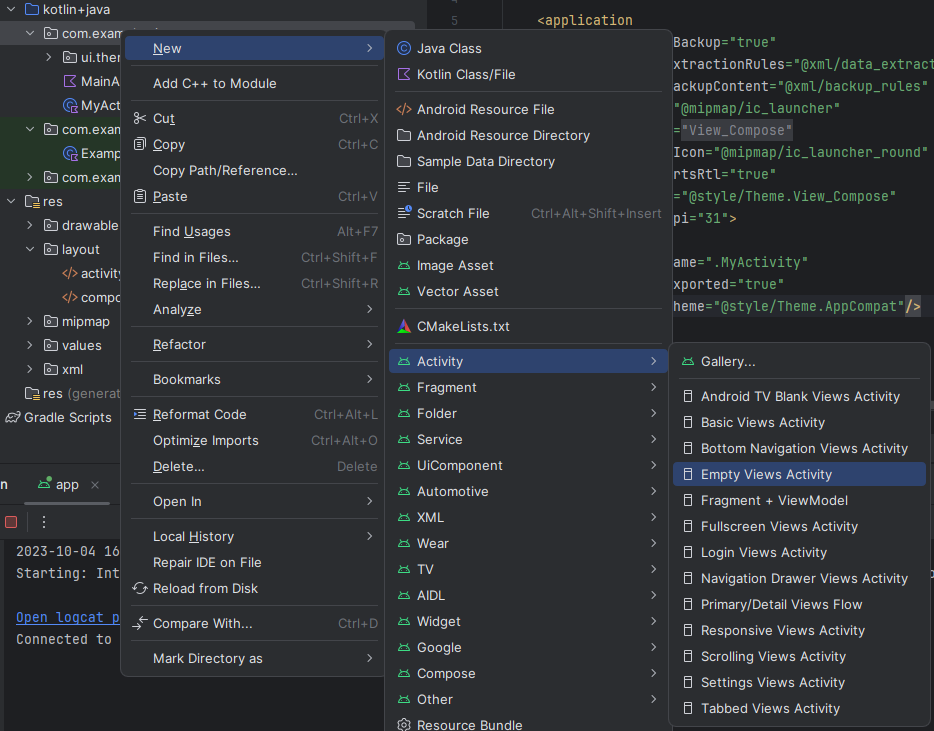
<?xml version="1.0" encoding="utf-8"?>
<androidx.constraintlayout.widget.ConstraintLayout xmlns:android="http://schemas.android.com/apk/res/android"
    xmlns:app="http://schemas.android.com/apk/res-auto"
    xmlns:tools="http://schemas.android.com/tools"
    android:layout_width="match_parent"
    android:layout_height="match_parent"
    tools:context=".MyActivity">

    <Button
        android:id="@+id/previous_btn"
        android:layout_width="wrap_content"
        android:layout_height="wrap_content"
        android:text="Previous"/>

    <TextView
        android:layout_width="wrap_content"
        android:layout_height="wrap_content"
        android:text="Activity_View"
        android:textAlignment="center"
        app:layout_constraintBottom_toBottomOf="parent"
        app:layout_constraintEnd_toEndOf="parent"
        app:layout_constraintStart_toStartOf="parent"
        app:layout_constraintTop_toTopOf="parent" />
</androidx.constraintlayout.widget.ConstraintLayout>
<?xml version="1.0" encoding="utf-8"?>
<androidx.constraintlayout.widget.ConstraintLayout xmlns:android="http://schemas.android.com/apk/res/android"
    xmlns:app="http://schemas.android.com/apk/res-auto"
    android:layout_width="match_parent"
    android:layout_height="match_parent">

    <TextView
        android:id="@+id/compose_textView"
        android:layout_width="wrap_content"
        android:layout_height="wrap_content"
        android:text="TextView"
        android:textSize="28dp"
        android:textAlignment="center"
        app:layout_constraintBottom_toBottomOf="parent"
        app:layout_constraintEnd_toEndOf="parent"
        app:layout_constraintStart_toStartOf="parent"
        app:layout_constraintTop_toTopOf="parent" />

    <Button
        android:id="@+id/compose_button"
        android:layout_width="match_parent"
        android:layout_height="wrap_content"
        android:text="Press me"
        android:textAlignment="center"
        android:textSize="32dp"
        app:layout_constraintEnd_toEndOf="parent"
        app:layout_constraintStart_toStartOf="parent"
        app:layout_constraintTop_toBottomOf="@+id/compose_textView" />
</androidx.constraintlayout.widget.ConstraintLayout>
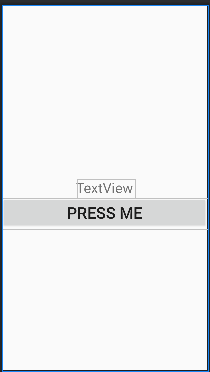
為什麼我們要在Compose中加入AndroidView來組合開發?
這邊我引用官方的說明如下:
您可以在 Compose UI 中加入 Android View 階層。如要使用 Compose 尚未提供的 UI 元素 (例如 AdView),這種做法就特別實用。您也可以透過這種做法重複使用自己設計的自訂檢視畫面。
factory: (Context) -> T:這是一個 lambda 函數,用於在Compose中建立一個 AndroidView。 它接受一個Context參數,通常用於從 XML 佈局檔案或程式碼建立 AndroidView。 函數會傳回一個泛型類型T,這是要嵌入到Compose中的 AndroidView 的類型。
modifier: Modifier = COMPILED_CODE:這是用來修飾 AndroidView 的 Compose Modifier。 Modifier是Compose中的修飾系統,用於控制佈局、樣式和行為等。 預設情況下,它被設定為COMPILED_CODE,表示沒有附加的修飾符。
update: (T) -> Unit = COMPILED_CODE:這是一個 lambda 函數,用於更新嵌入的 AndroidView 。 它接受一個泛型類型T的參數,即創建的 AndroidView,允許您在Compose中與該視圖進行互動。 預設情況下,它也被設定為COMPILED_CODE,表示沒有預設的更新操作。
AndroidView(
    factory={
        // 創建View參數
    },
    modifier=Modifier,
    update={
        // 更新事件
    }
)
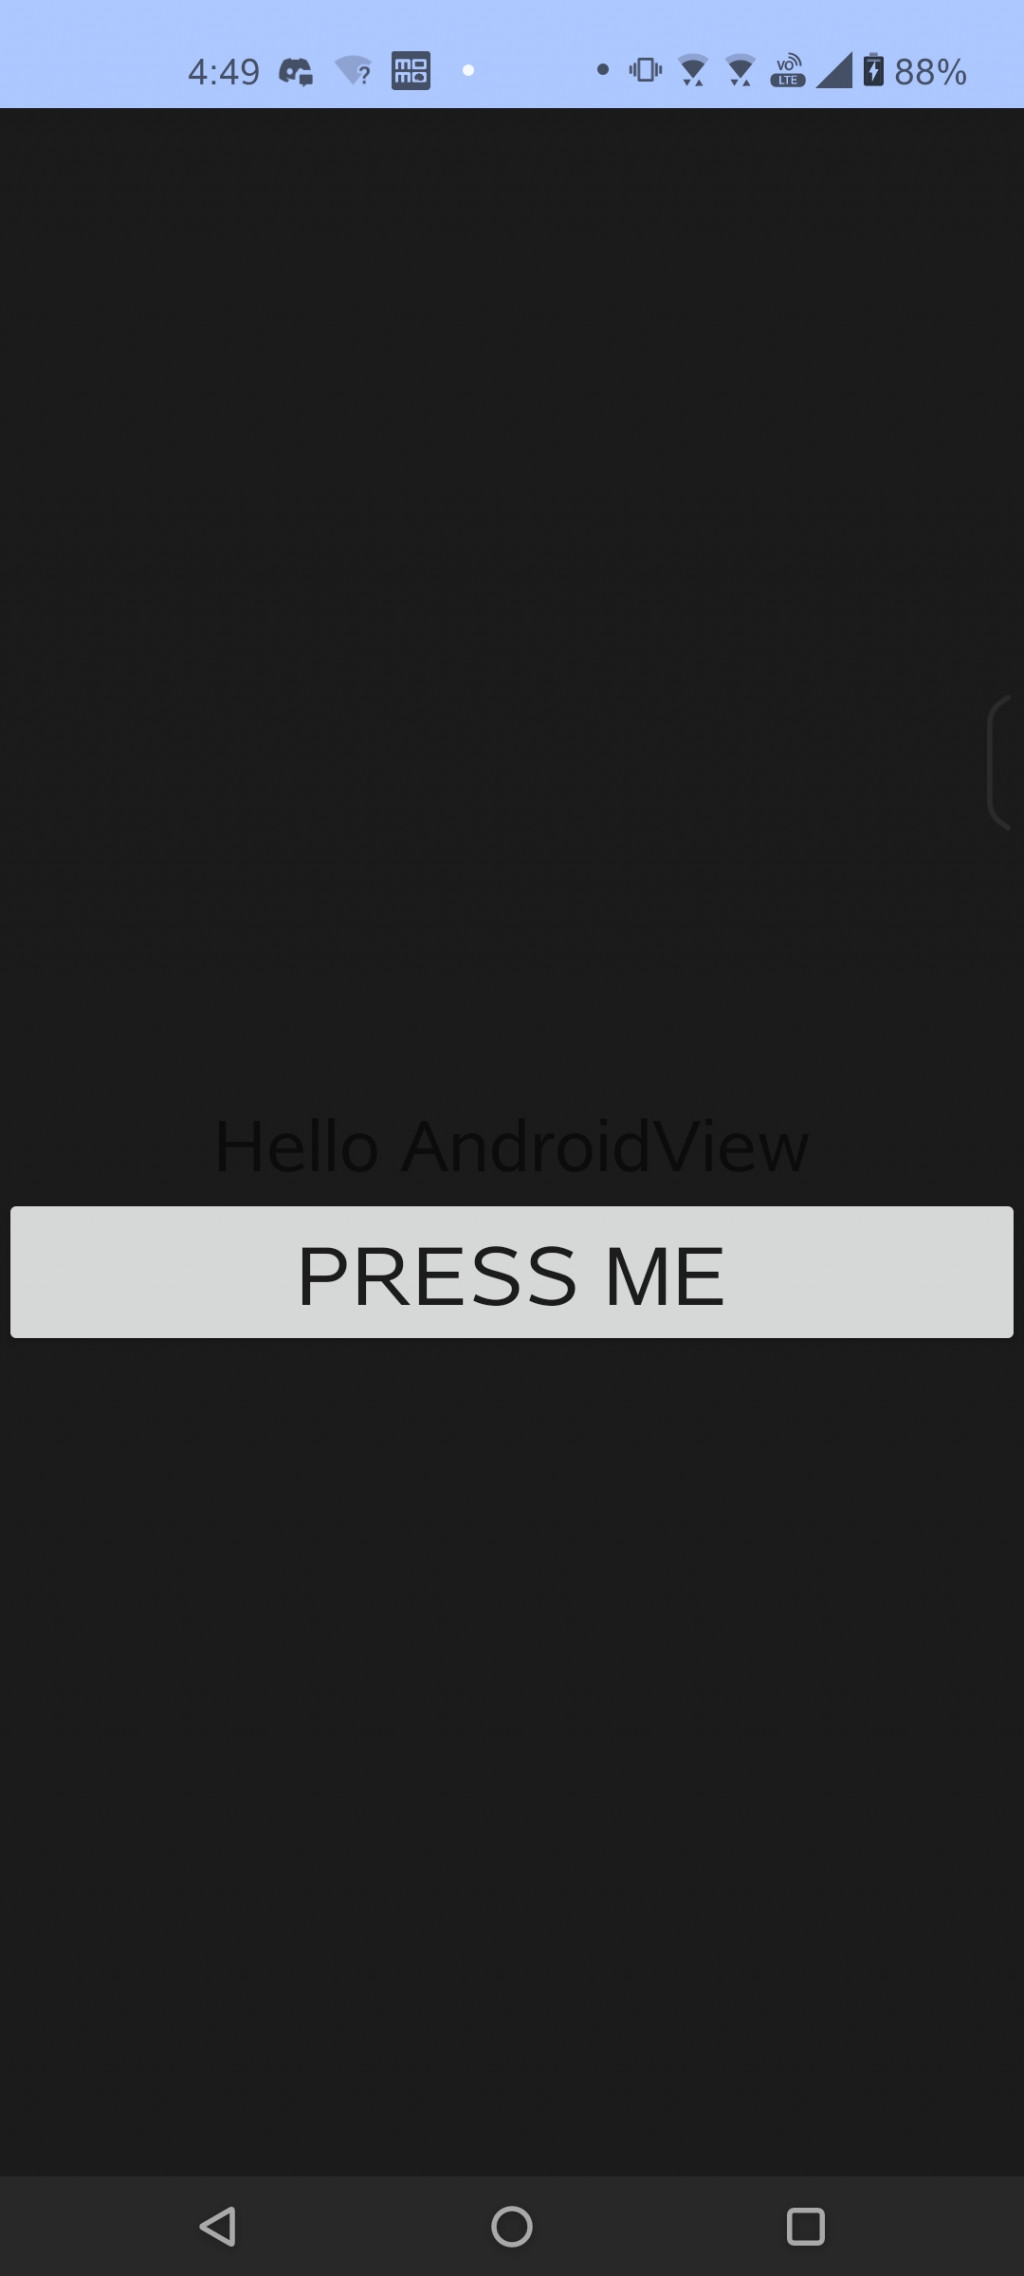
XML布局頁面也能搬運至此處進行再次開發。以下是使用AndroidView來結合XML布局畫面來顯示畫面。
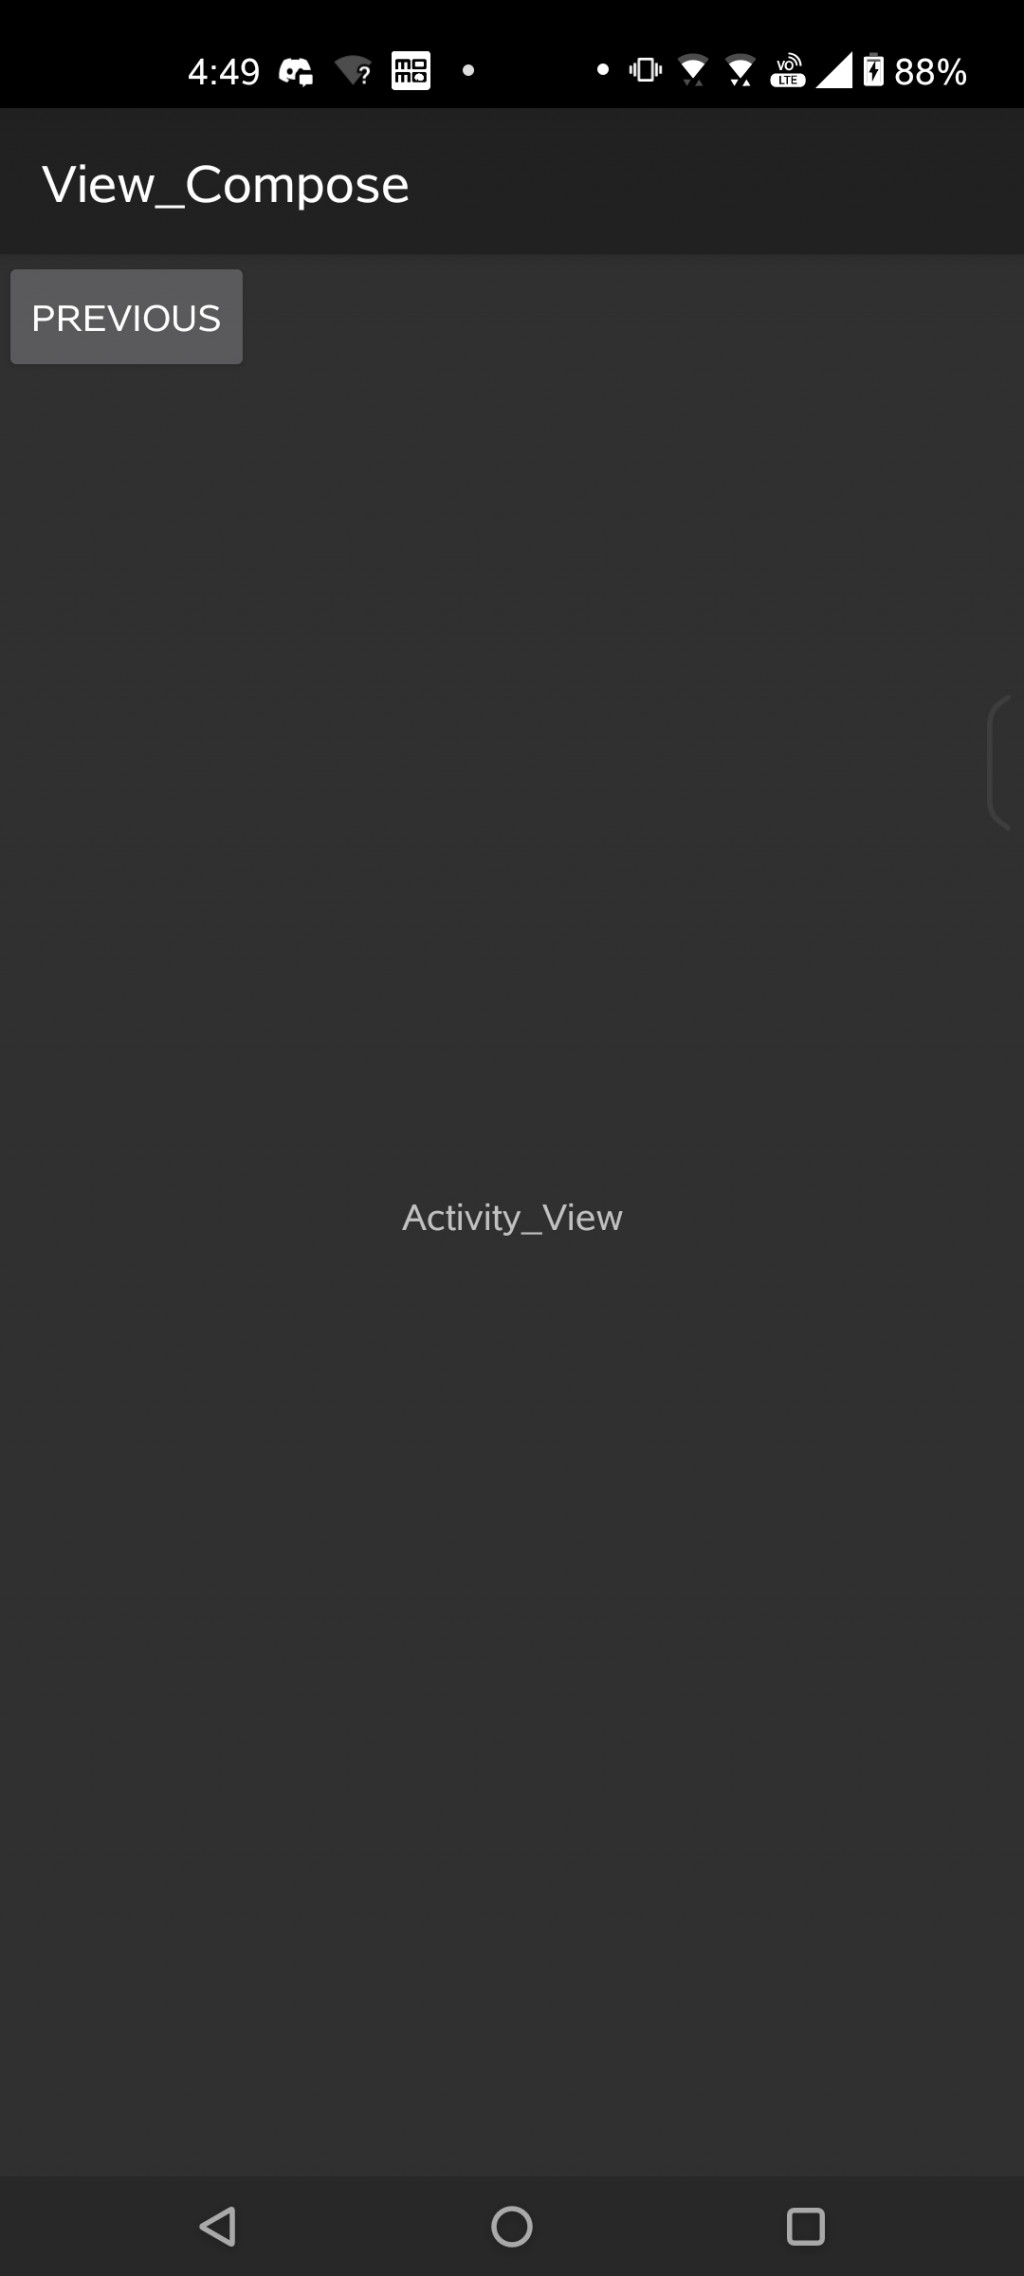
這邊我實作的功能是在Compose結合XML的class中建立跳轉功能並跳轉到一般的ActivityXML的class上。
@Composable
fun MyView() {

    val inflater = LayoutInflater.from(LocalContext.current)
    val context = LocalContext.current

    // 定義參數來綁定View、textView、Button...等等的XML元件
    val view = remember { inflater.inflate(R.layout.compose_view, null, false) }
    val textView = remember { view.findViewById<android.widget.TextView>(R.id.compose_textView) }
    val button = remember { view.findViewById<android.widget.Button>(R.id.compose_button) }

    AndroidView(
        // 設定View為綁定的R.layout.compose_view
        factory = {view},
        update = {
            // 執行以下動作持續監聽是否有改變。
            textView.text = "Hello AndroidView"

            button.setOnClickListener {
                val intent = Intent(context, MyActivity::class.java)
                context.startActivity(intent)
            }
        }
    )
}
class MyActivity : AppCompatActivity() {
    val button by lazy { findViewById<Button>(R.id.previous_btn) }
    override fun onCreate(savedInstanceState: Bundle?) {
        super.onCreate(savedInstanceState)
        setContentView(R.layout.activity_my)

        button.setOnClickListener() {
            val intent = Intent(this, MainActivity::class.java)
            startActivity(intent)
        }
    }
}
若執行時發現跳轉後是直接閃退回主頁面並且在logcat中顯示如 圖1. 的問題時,需要在AndroidManifest.xml的程式碼中新增以下程式碼。
這個的問題是因為MyActivity需要使用 Theme.AppCompat 主題或其派生主題,所以需要在下列的MyActivity中添加theme的設定。

<activity
    android:name=".MyActivity"
    android:exported="true"
    // 畫面的主題設置
    android:theme="@style/Theme.AppCompat"/>
<activity
    android:name=".MainActivity"
    android:exported="true"
    android:label="@string/app_name"
    android:theme="@style/Theme.View_Compose">
    <intent-filter>
        <action android:name="android.intent.action.MAIN" />

        <category android:name="android.intent.category.LAUNCHER" />
    </intent-filter>
</activity>
