前言
這次我會試範Firebase與Android studio的結合使用,這一個篇章我會先教導如何在Android studio安裝Firebase的套件,還有一些而外新的套件,有一種套件方便在寫code時,可以直接把你當前樣綁定的xml的物件給直接顯示出來,而不用再寫findViewById(R.layout.xxx);去特別記住xxx的部分。
1.先到firebase的官網並創建一個android studio的空專案
firebase的網址:https://firebase.google.com
點擊紅色圈起來的部分
2.按下增新專案的部分。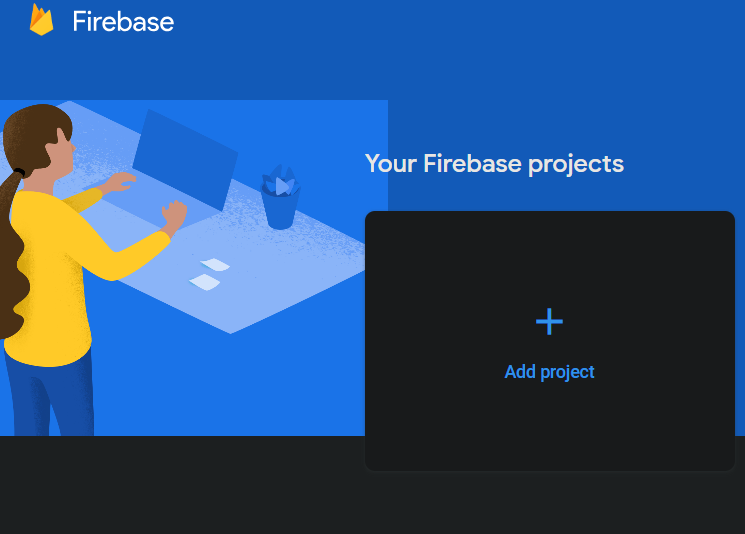
3.取名子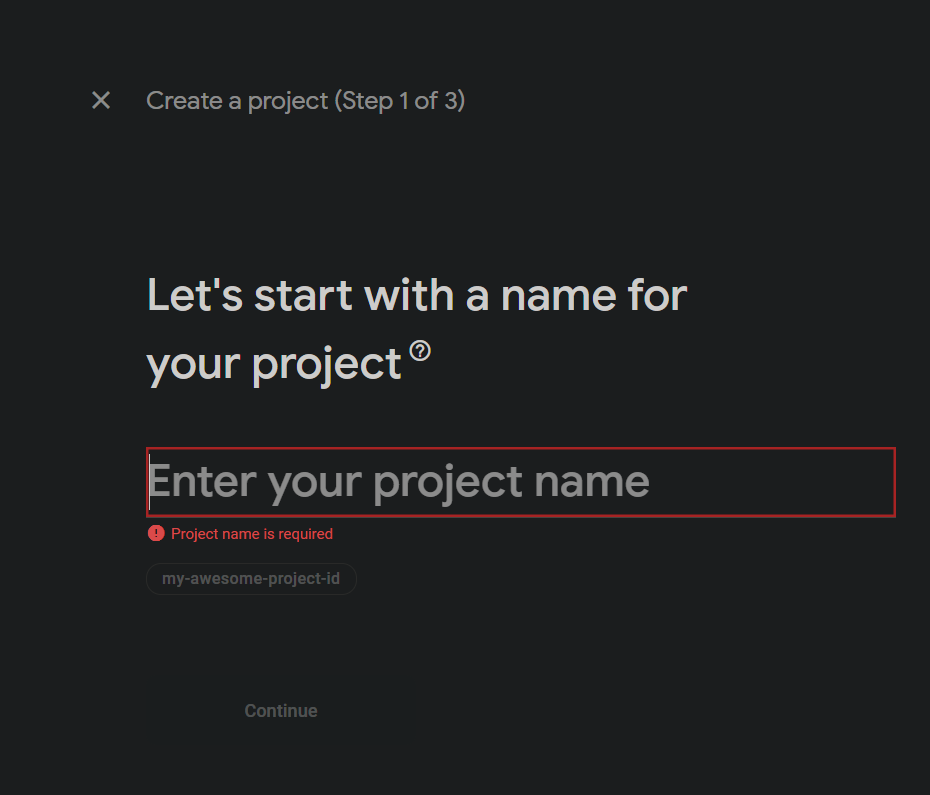
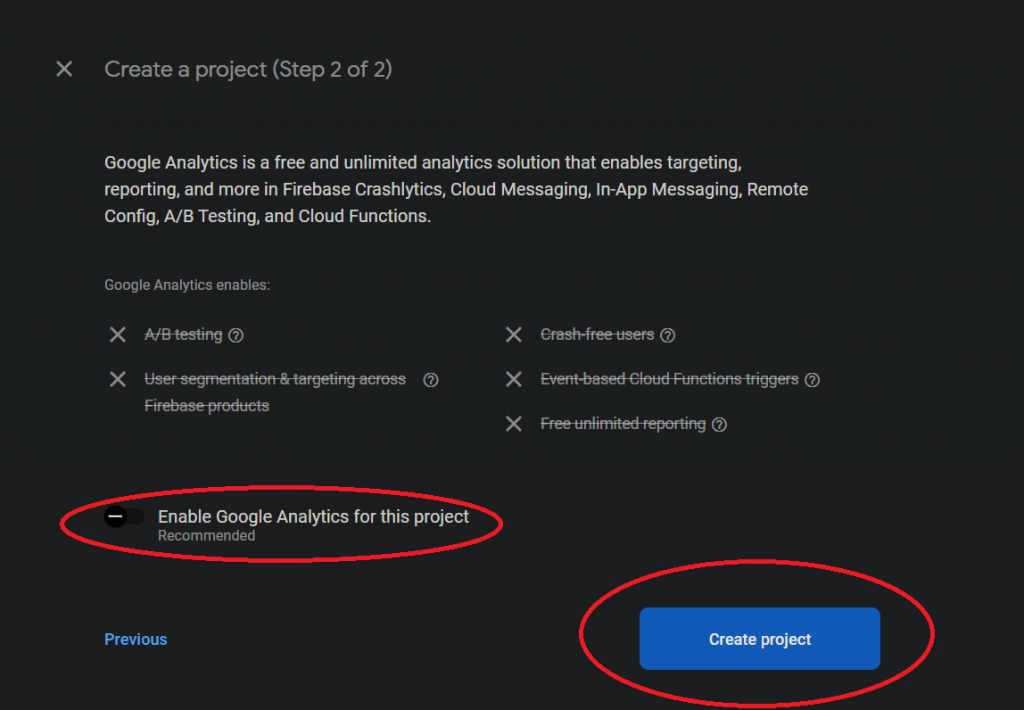
4.關閉Enable Google Analytics for this project 並按下創建,等待進度完
5.按下Android圖案的圖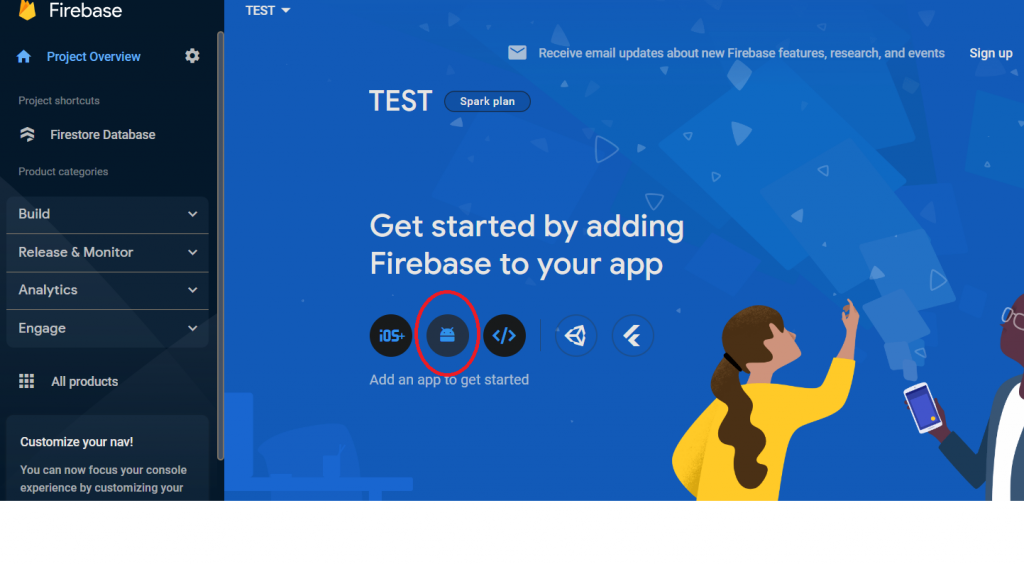
畫面進到如下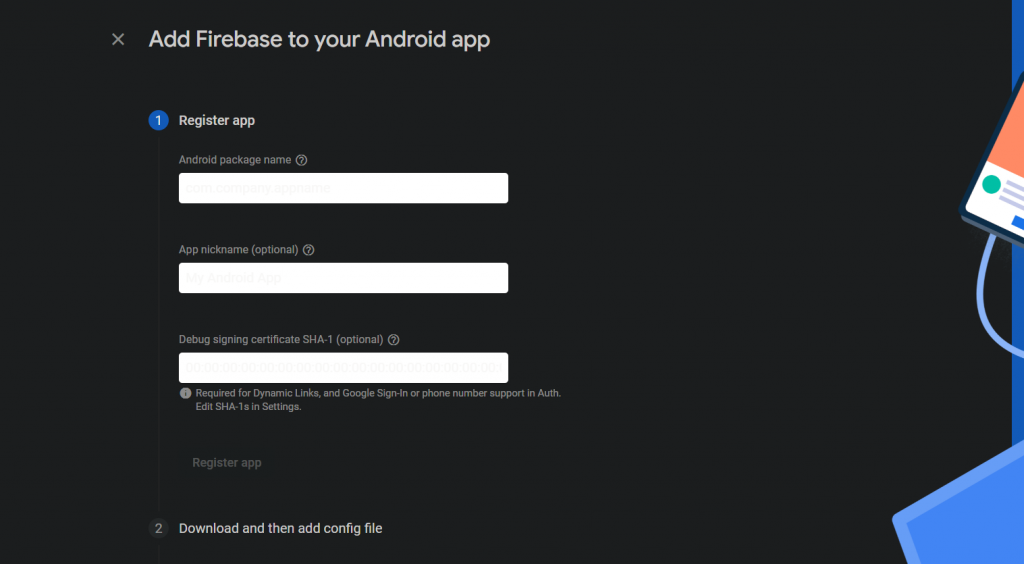
第一個Android package name輸入你的Android studio裡這段名稱 只需要"com.example.xxxxxx"的部分白色字的部分不用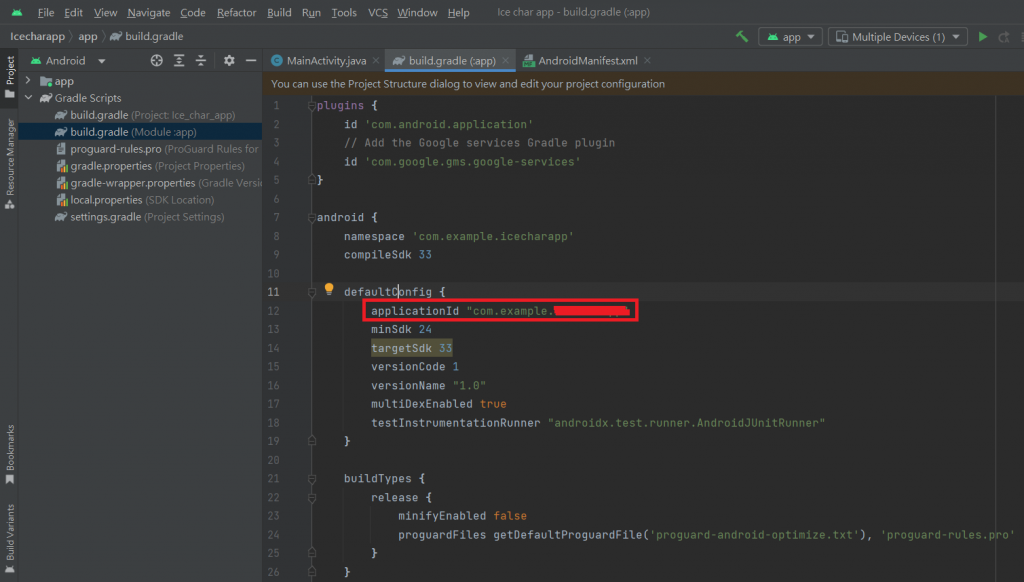

輸入完再按下Register app。
6.下載google-sercices.json 把它打包進Android studio

7.在android studio的build.gradle (Module :app)照著說明對應對位置複製上貼上套件代碼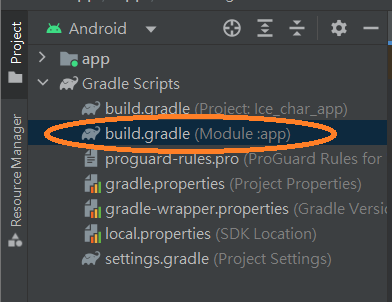
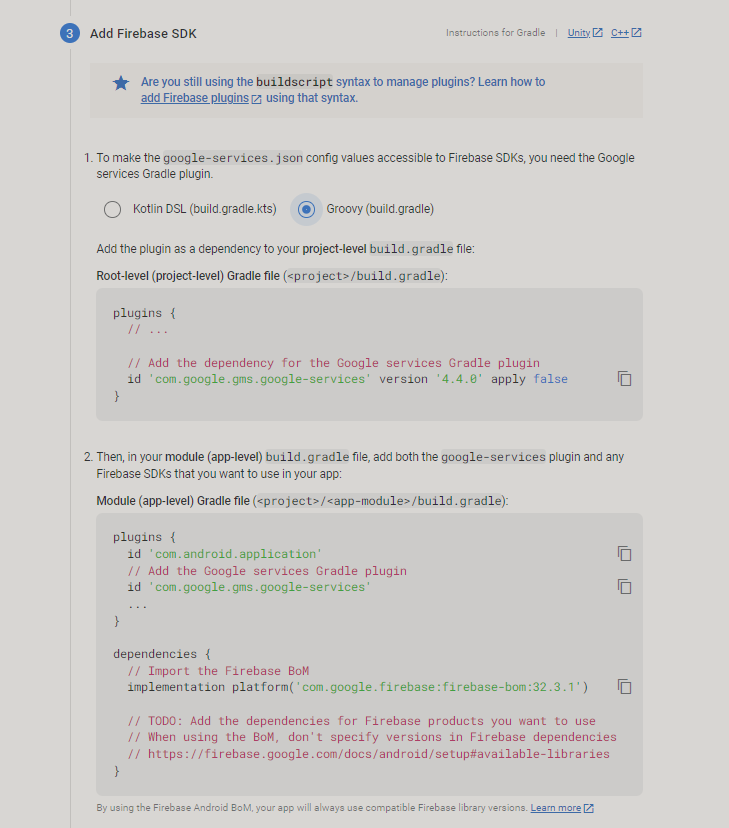
8.按下黑色框框的部分完成
1.到Tool點擊可以看到Firebase點擊它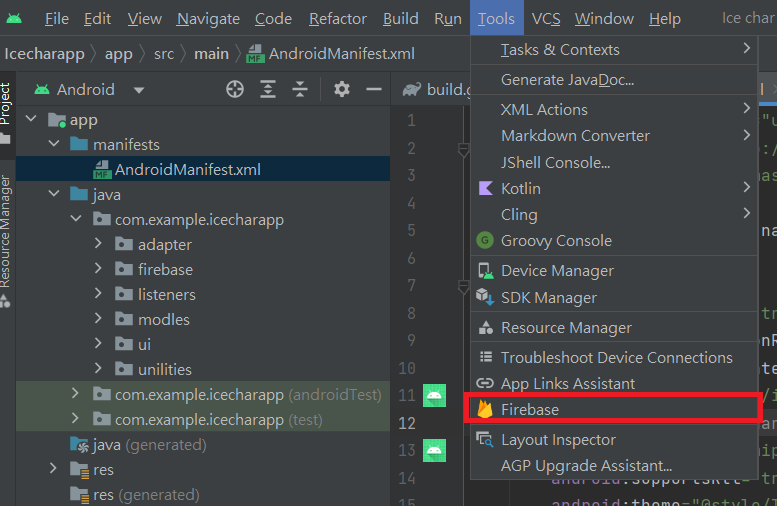
2.找到Firebase的Cloud Firestore點擊橘色圈起來的部分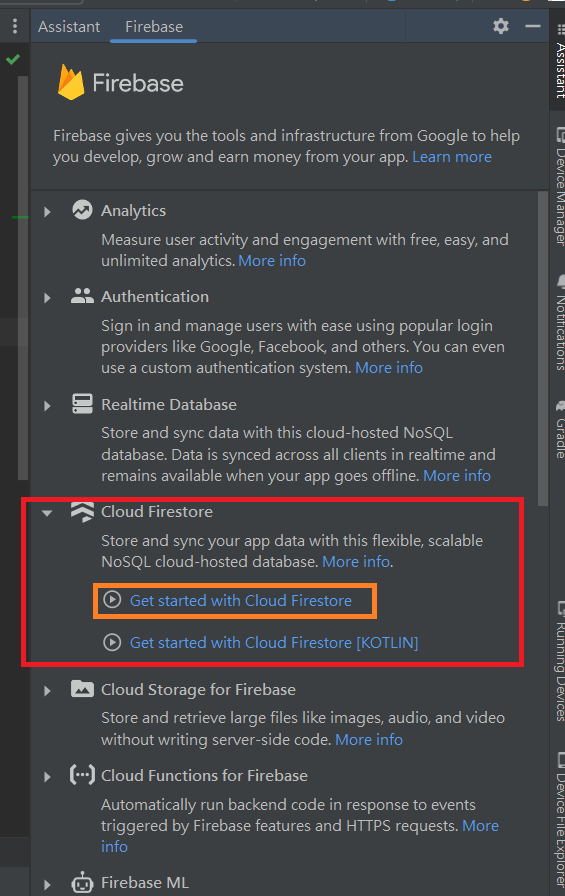
3.可以看見橘色圈是前面步驟完成後會看見已連接的部分,直接執行第二步驟安裝SDK套件到Module裡,過程中會詢問你直接同意就好
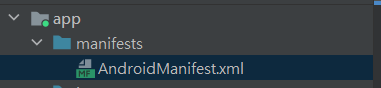
4.android的檔案管理區點選AndroidManifest.xml
<uses-permission android:name="android.permission.INTERNET" />


2.結果會長這樣,因我有做出專案了 你們看到會是空空的部分。

結語
這裡先交大家安裝有關firebase套件的部分下一章會開始直接使用firebase在Android studio的套件,並在安裝兩個新的套件給大家下載做使用


 iThome鐵人賽