Firestore 是 Google 基於 Google Cloud 而產生的 NoSQL 資料庫,具有靈活、高擴充性的優勢,因此適合用於 Firebase 和 Google Cloud 上進行應用程式或是網站的開發。
Firestore 採用了 Document (文件)導向的數據模型,是 firestore 儲存數據的基本單元,每個文件都有唯一的 ID,文件的內容 (data) 以 JSON 格式來進行表示。這些文件可以組成文件的集合(Collection),用於將特性相近或類型相仿的內容進行群組。
如下圖,collection 類似資料夾的概念,存放著一個個的檔案 document ,這些 document 中則裝有其資料內容 data 。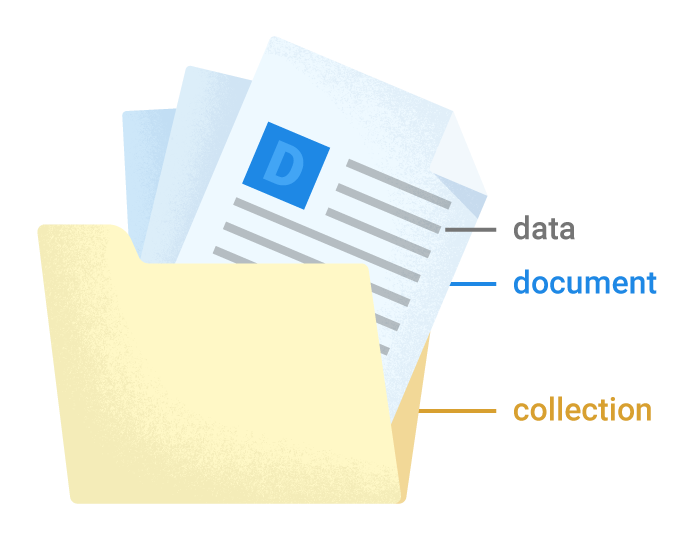
Firestore 支援了以下幾種的資料格式:
| 資料格式 | 介紹 |
|---|---|
| Array | 列表,且元素內不得再有列表格式。換句話說就是不支援二維矩陣。 |
| Boolean | 布林值 |
| Bytes | 位元組,最大可儲存 1MB 資料 |
| DateTime | 時間戳記,精準到微秒 |
| Floating-point number | 64-bit 的倍精度浮點數 |
| Integer | 64-bit 有號整數 |
| Geographical point | 經緯度資料,但官方並不推薦使用 |
| Map | 可儲存 key, value pair 的資料 |
| NaN | 無 |
| Null | 無 |
| Reference | 指向到 firebase 的其他存儲位置 |
| Text string | 文字資料,最大可儲存至 1MB 的資料 |
了解到 Firestore 的強大之處之後,為什麼我們應用程式需要他呢?
目前我們的應用程式有使用到 firebase authentication 服務,其可以讓我們輕易的建構身份驗證系統。但由於authentication 服務中,每位使用者欄位內容是固定的,我們並無法提供內容的加值。如我想要加入一個欄位來記錄使用者的自我介紹,單純使用 firebase authentication 是無法做到的,因此我們才需要額外使用 firestore 來幫助我們進行更加彈性的存儲效果。
請使用下列指令來安裝套件,我們一次將此篇章與下篇章會使用到的套件內容一併進行下載:
flutter pub add cloud_firestore firebase_storage image_picker
安裝完成後,若你是在 iOS 上進行開發,會發現又遇到一次 xcode build 失敗的問題,請重新執行 Day 13 教大家的解決方式,就能成功繼續囉!
請開啟 Firebase 主控台,並於左側「產品類別」底下的「建構」列表中找到 「Firestore Database」 的項目,成功進入後,請點選「建立資料庫」來開始建立流程。
步驟1. 首先請選擇,「以測試模式啟動」。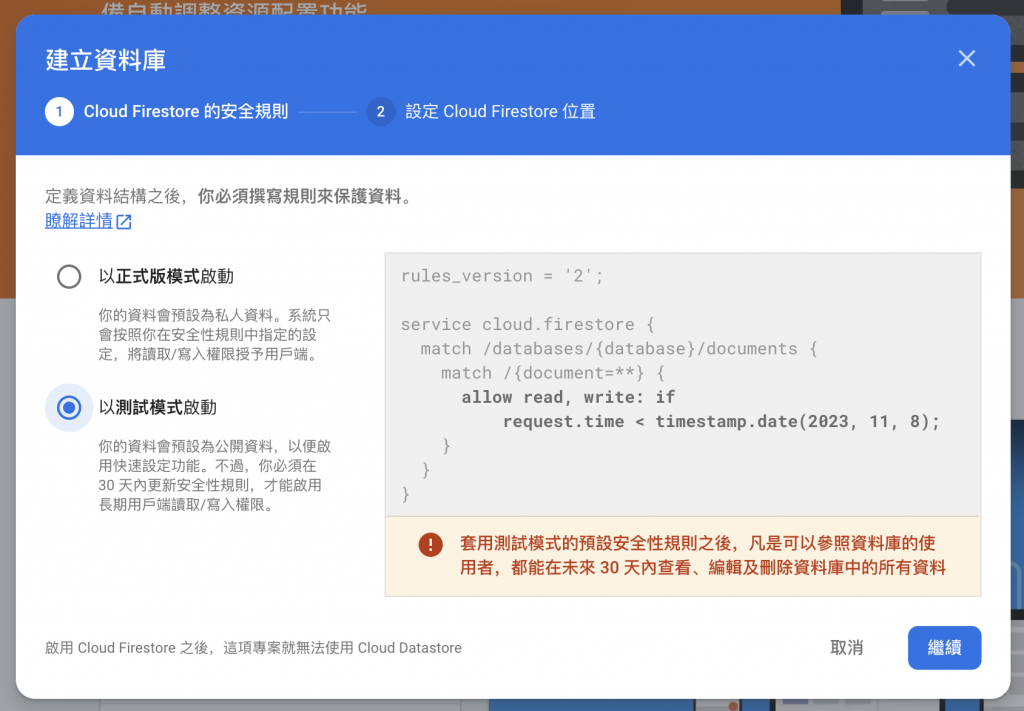
步驟 2. 請選擇 Cloud Firestore 位置,並挑選您最近的地區。這邊我挑選的是 Taiwan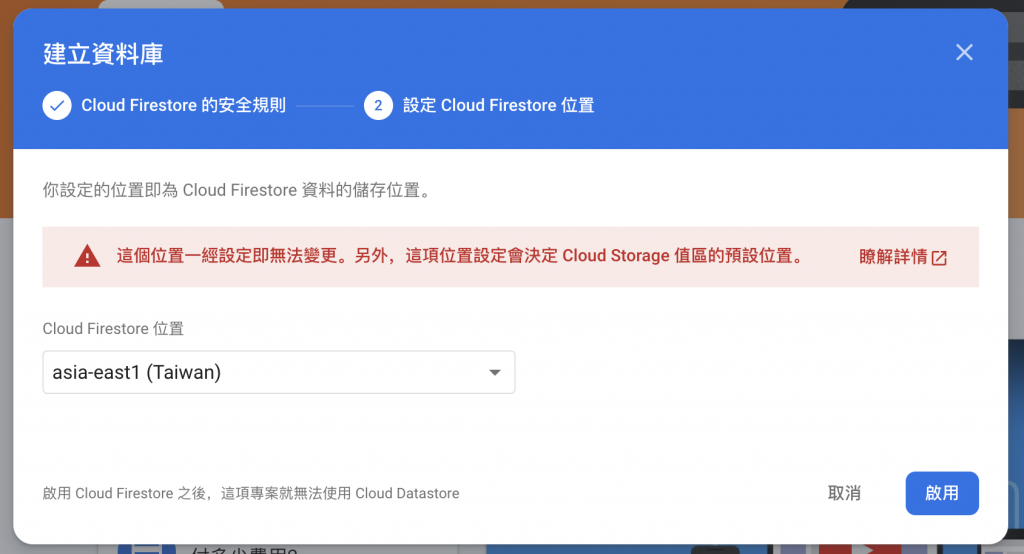
步驟3. 完成之後會進入 Cloud Firestore 的資料頁面。請點選「新增集合」按鈕,也就是建立一個新的 collection。請在「集合 ID」 的欄位中輸入 Users ,我們將建立一個用於表示使用者資料的集合。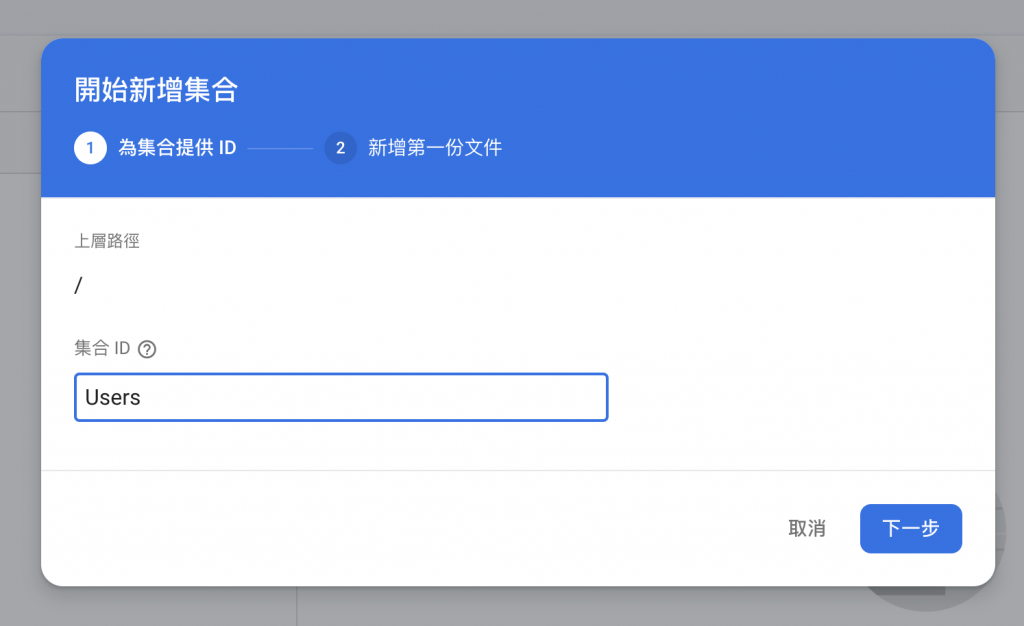
步驟4. 接下來你需要新增第一份文件(document),您可以隨意輸入文件 ID 或自動產生。欄位請輸入以下的範例文件:
| 欄位 | 類型 |
|---|---|
| name | string |
| string | |
| description | string |
| avatar | string |
| createdAt | timestamp |
至於欄位內容要填入什麼就交給各位自行決定。如此便成功的建立好 firestore 的第一個集合與第一筆文件囉。
原先我們在建立使用者的帳號或使用第三方(Google) 登入 firebase authentication 後,都可以在 FirebaseAuth.instance.currentUser 中獲取已登入帳號的資訊。在帳號資訊當中記錄了使用者的名字、信箱、頭貼以及 user id。
現在我們要將這些既有的資訊轉移到儲存在 firestore 上,並以 user id 作為 document id。也就是說每位使用者都會存成一份 document 資料。
接下來我們移動到程式碼區塊,讓我們先建立使用者資料的格式。請在 models 資料夾下建立一個 user.dart 檔案並參考下方程式碼:
class UserModel {
  final String name;         // 使用者名字
  final String email;        // 使用者信箱
  final String avatar;       // 使用者頭貼
  final String description;  // 使用者簡介

  UserModel({
    required this.name,
    required this.email,
    required this.avatar,
    required this.description,
  });

  factory UserModel.fromJson(Map<String, dynamic> json) {
    return UserModel(
      name: json['name'],
      email: json['email'],
      avatar: json['avatar'],
      description: json['description'],
    );
  }
}
請開啟 repository 資料夾建立一個 user.dart 檔案並參考下方程式碼:
class UserRepository {
  final FirebaseFirestore _db = FirebaseFirestore.instance;
}
我們將在此檔案中進行新增、更新、取得使用者的方法。
傳入參數為通過 firebase authentication 驗證的使用者資訊,並將已知欄位的內容傳遞過去。不過由於 displayName 與 photoURL 初始值皆為 null ,僅有透過第三方登入的帳號才會有值,因此若該值為 null 的則改為存儲空字串。
void createUser(User user) async {
  await _db.collection("Users").doc(user.uid).set({
    'name': user.displayName ?? '',
    'email': user.email,
    'avatar': user.photoURL ?? '',
    'description': '這是我的自我介紹',
    'createdAt': DateTime.now(),
  }).whenComplete(() => print('使用者建立資料庫成功'));
}
根據某位使用者的 userID 找尋到對應 document,並修改內部的值。
void updateUser(
  {required String userId,
  String name = '',
  String description = '',
  String avatar = ''}) async {
    await _db.collection("Users").doc(userId).update({
      'name': name,
      'description': description,
      'avatar': avatar,
    }).whenComplete(() => print('使用者更新資料庫成功'));
  }
根據某位使用者的 userID 找訓到對應的 document,並以 UserModel 的型態進行回傳
Future<UserModel> getUser(String userId) async {
  try {
    final response = await _db.collection("Users").doc(userId).get();
    if (response.exists) {
      return UserModel.fromJson(response.data()!);
    } else {
      return Future.error('使用者不存在');
    }
  } catch (e) {
    return Future.error('連線錯誤');
  }
}
接下來請開啟 main.dart 並移動至下方的 StreamBuilder 中,我們先前已建構好為登入時導向登入畫面;登入成功後導向新聞分頁頁面的流程。因此最好將 firebase 驗證的使用者同步至 firestore 的最佳時機就是在登入成功後,請參考下方程式碼:
StreamBuilder(
  stream: FirebaseAuth.instance.authStateChanges(),
  builder: (context, snapshot) {
    if (snapshot.hasData) {
      // 進入前先檢查 firestore 中是否有資料,若無則新增
      final user = FirebaseAuth.instance.currentUser;
      final userRepository = UserRepository();

      // 檢查 firestore 中是否有資料
      userRepository
          .getUser(user!.uid)
          .then((value) {
            // 若該筆 user id 有資料表示該使用者資料已同步至 firestore
          })
          .catchError((error) {
        // 若無則新增,並傳入 firebase user 資訊
        userRepository.createUser(user);
      });

      return const TabLayout();
    } else {
      return const LoginScreen();
    }
  })
透過上述流程,便可以保證使用者資訊與 firestore 的紀錄得已同步。
在我們應用程式的個人檔案頁面中,仍有未完成的事項。也就是點擊上方的「使用者名稱」的 ListTile 理應導向一帳號頁面,如下: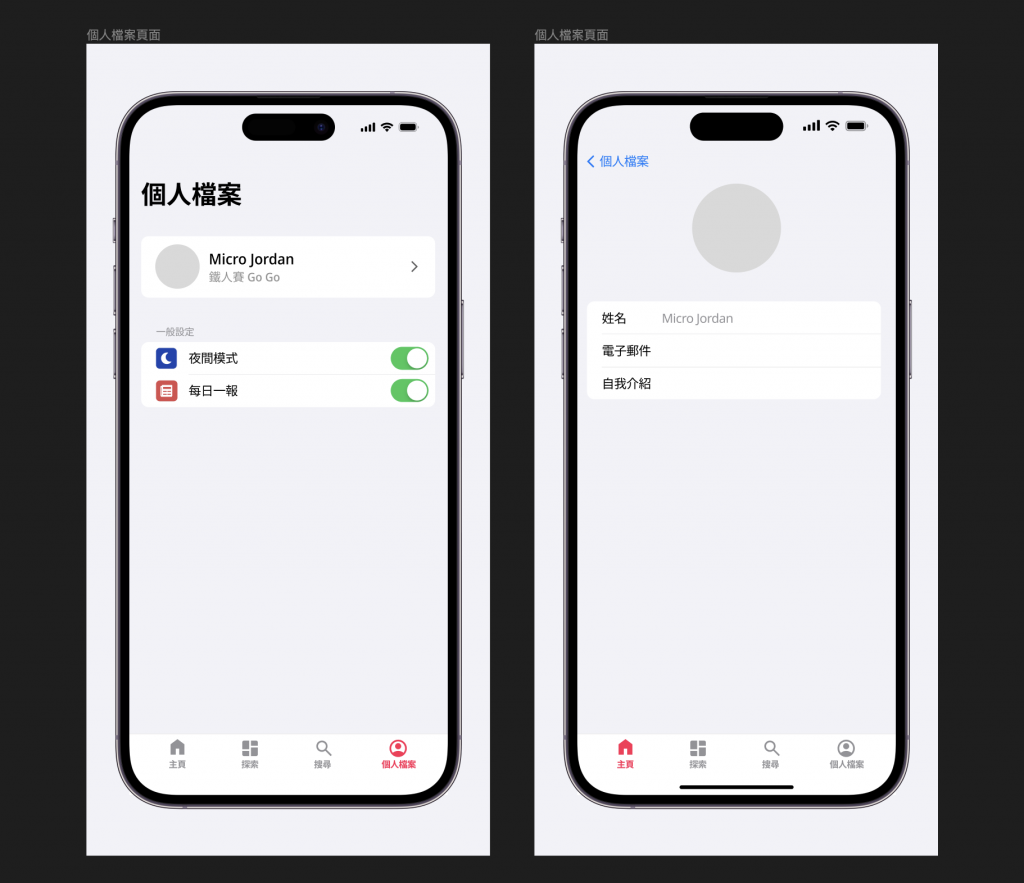
因此讓我們來製作該頁面吧!請於 screens 資料夾底下建立 account_screend.dart 的檔案宣告一 stateful widget,並請參考下方程式碼:
class _AccountScreenState extends State<AccountScreen> {
  bool _isChanged = false; // 用於記錄該頁面的內容是否有經過更動
  late Future<UserModel> _user; // 用於 FutureBuilder
  late TextEditingController _nameTextController;  // 姓名輸入框
  late TextEditingController _emailTextController; // 信箱輸入框(建議設定為唯讀)
  late TextEditingController _descriptionTextController; // 自我介紹輸入框

  @override
  void initState() {
    super.initState();
    _nameTextController = TextEditingController();
    _emailTextController = TextEditingController();
    _descriptionTextController = TextEditingController();
    _user = UserRepository().getUser(FirebaseAuth.instance.currentUser!.uid).then((value) {
      setState(() {
        // 獲取 UserModel 的值後,分別將名字、信箱、自我介紹的輸入框設為該值
        _nameTextController.text = value.name;
        _emailTextController.text = value.email;
        _descriptionTextController.text = value.description;
      });
      return value;
    });
  }
  // 以下省略
}
如此便設定好了基礎的使用者畫面。接下來的畫面內容就交給各位自行發想以及設計拉~同樣我會將今天的參考程式碼分享於文末的連結中。
今天我們認識了 firestore 這個彈性十足的 NoSQL 資料庫,並將其用於擴充原先 firebase authentication 的資料。透過實際的設定與串接,相信各位讀者已經開始對 firestore 有了基本的認識。不過我們還尚未將當前頁面的資料更新至 firestore ,原因是明天我們會再進一步的在應用程式中加入上傳使用者照片並存儲於 firebase 的功能,請各位讀者靜候明天的文章內容拉!
今天的參考程式碼:https://github.com/ChungHanLin/micro_news_tutorial/tree/day24/micro_news_app


 iThome鐵人賽